Felting Lesson
Happy Heart
Welcome and thank you for picking up a felting needle and creating a handcrafted work of art! These step by step instructions teach the process and techniques to felt your wool into a happy heart wall hanging. Have fun!
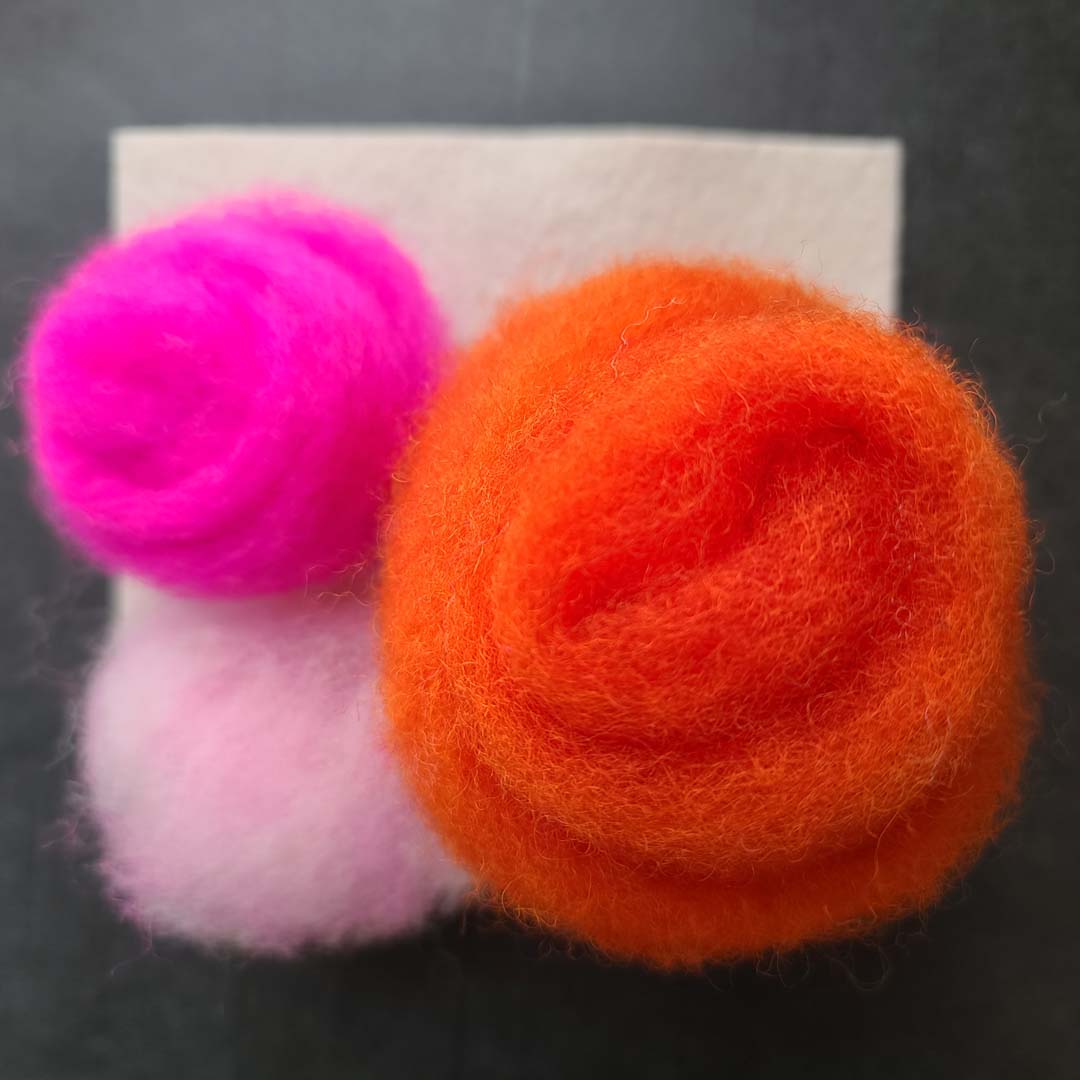
Needle Felting Setup
First, gather together your supplies, and choose a well lit work surface or table. If you have a kit that includes tools you’re really ready to roll. Otherwise, pull out your felting foam and a couple of your favorite felting needles (I use small and medium for this design) to use with the wool included in your kit. Remember, slow and careful is important when creating with barbed needles!
Attaching the Back Loop
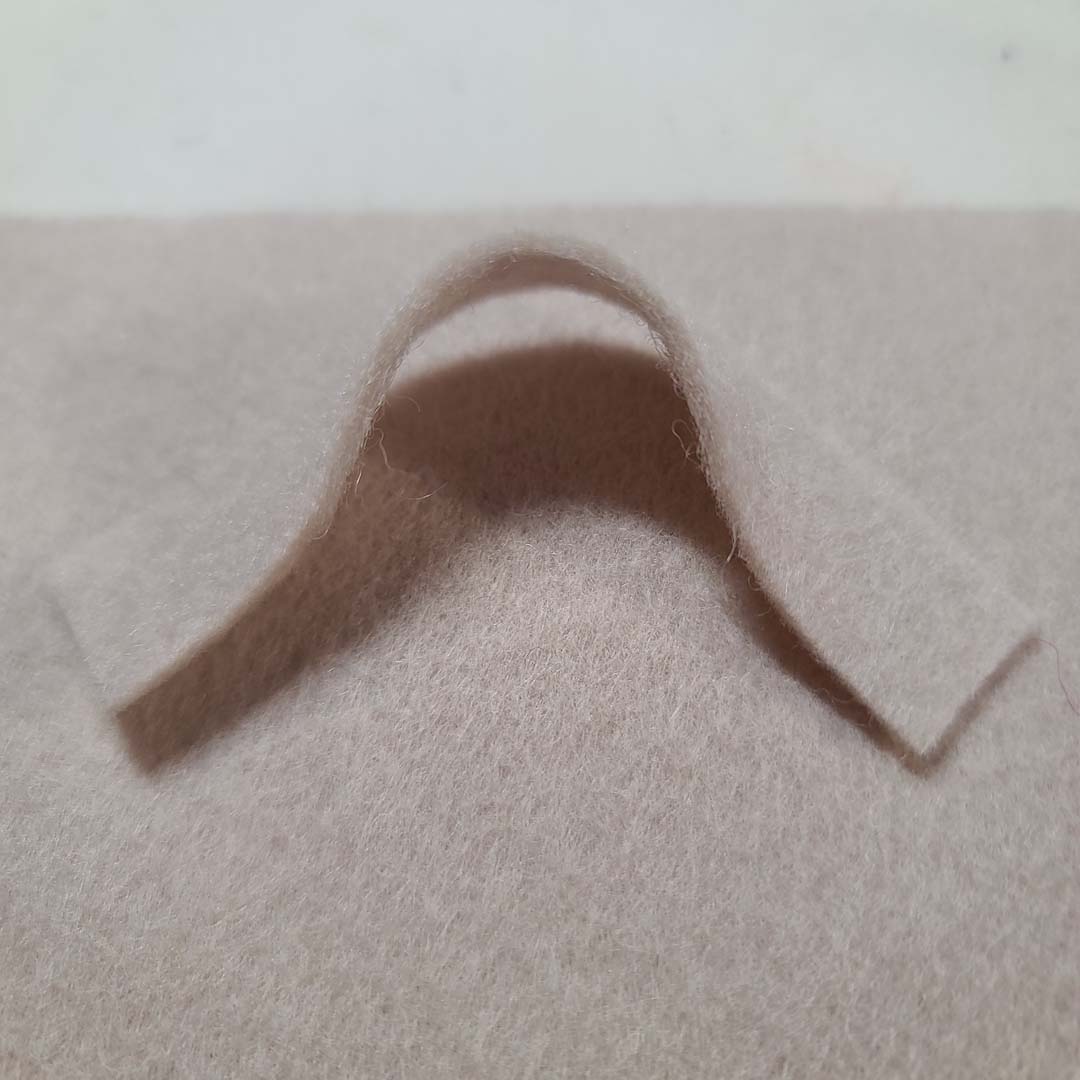
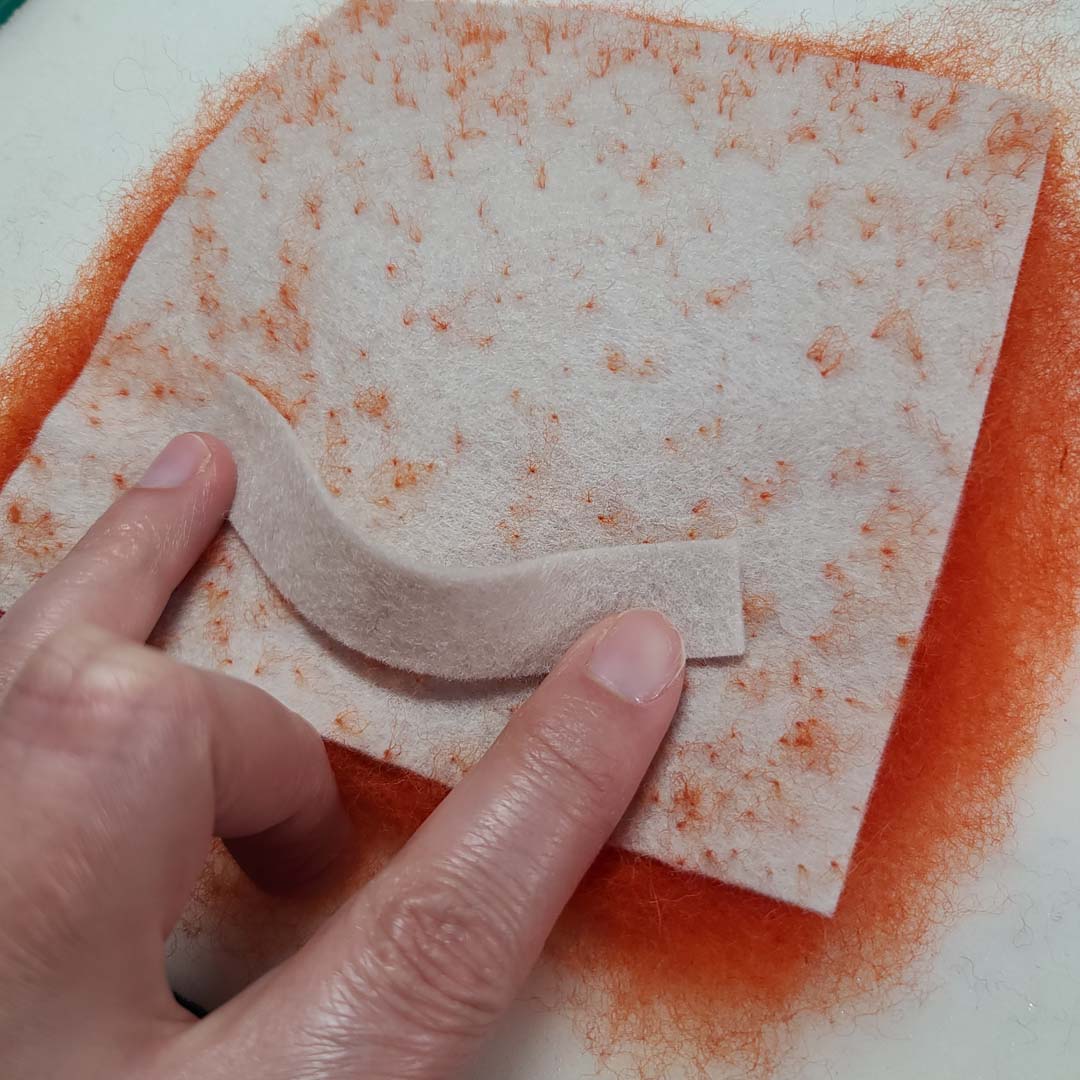
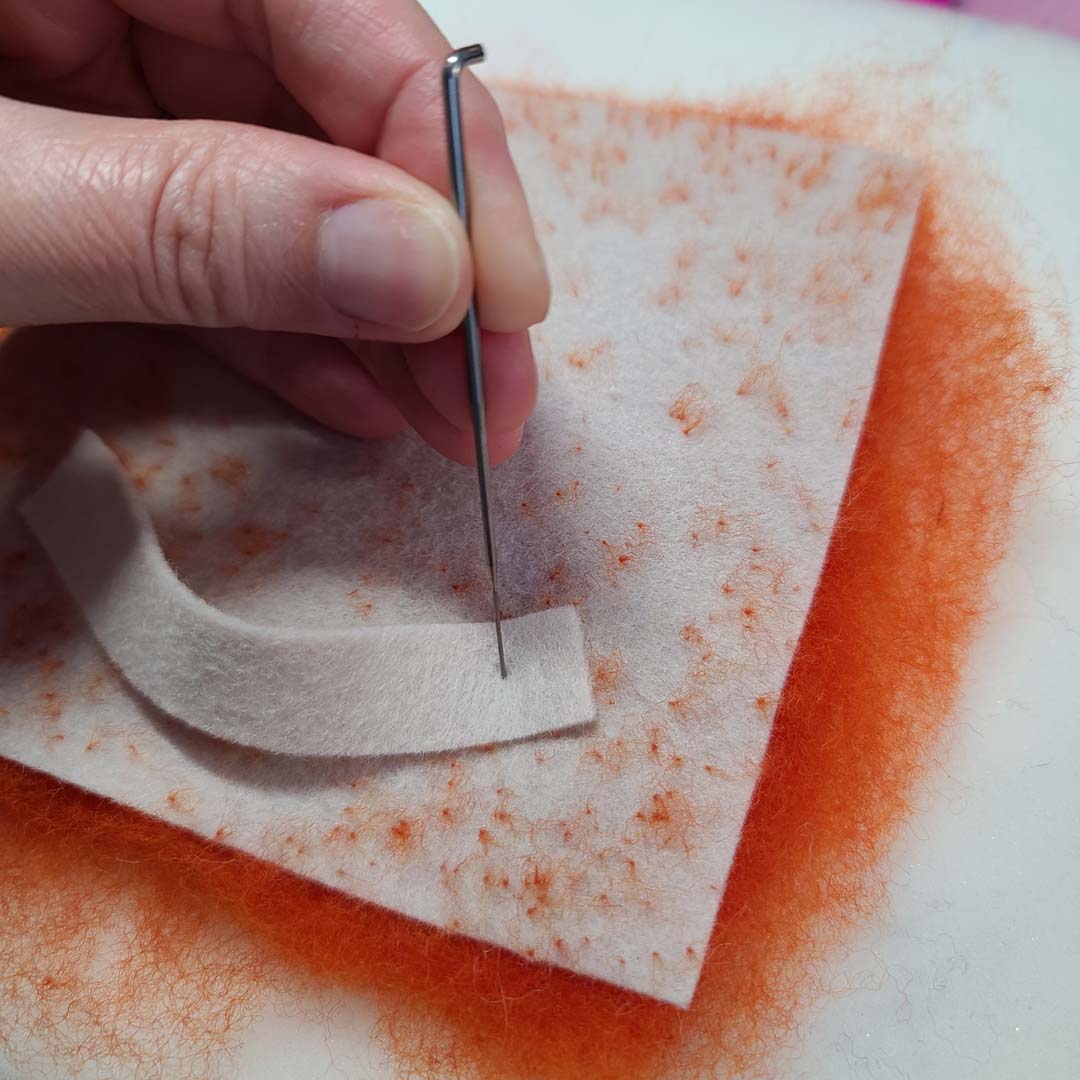
Attaching the hanging loop to the back of your piece can be done as the first step, or after you’ve placed the first layer of base color. Place the wool strip along the center edge of the square, allowing for a slight curve and lift in the strip. Needle felt both ends to secure them in place. When I do this as my very first step I needle from both sides to strengthen the bond.
Securing the Loop
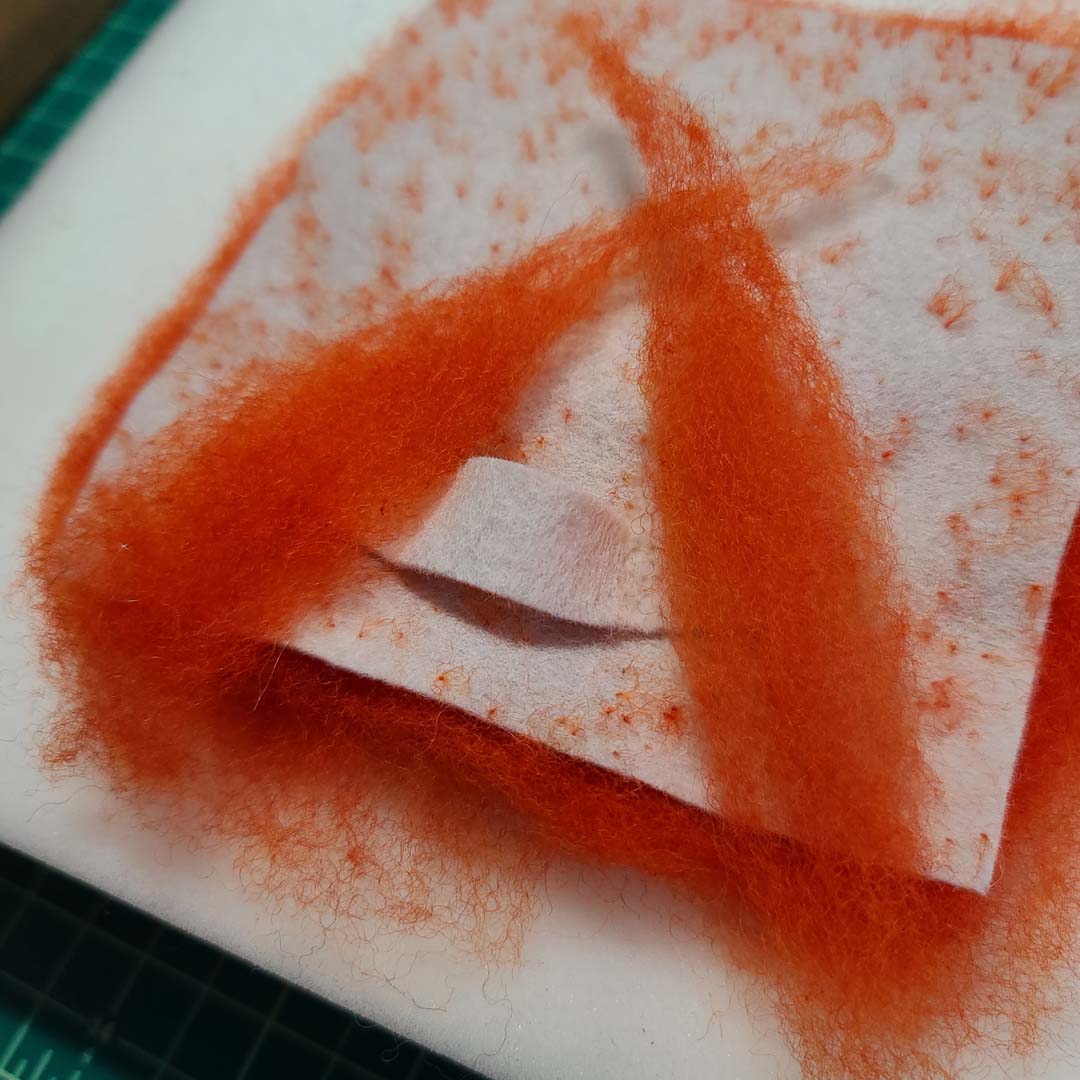
This design is extremely light and will hang very easily on the wall with a simple wool loop. I have found that how well the loop is felted onto the base will determine how strong that bond will stand up over time. To add strength and surface area, I recommend creating an X shaped wedge with small pieces of your base color wool. Needle the wedge of wool from the lowest point all the way up to the edge of the square, felting right over the ends of the loop.
Felting the Base Color
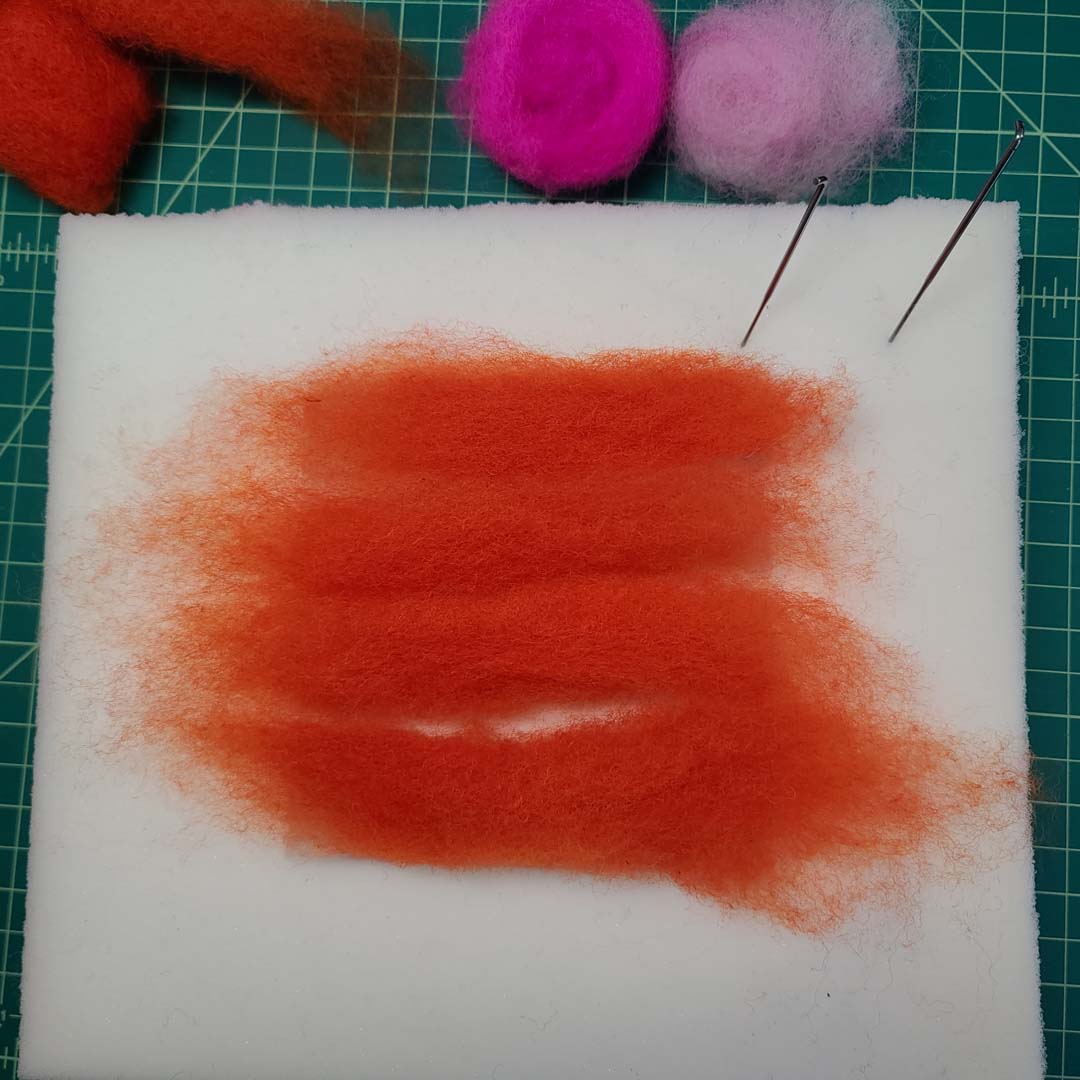
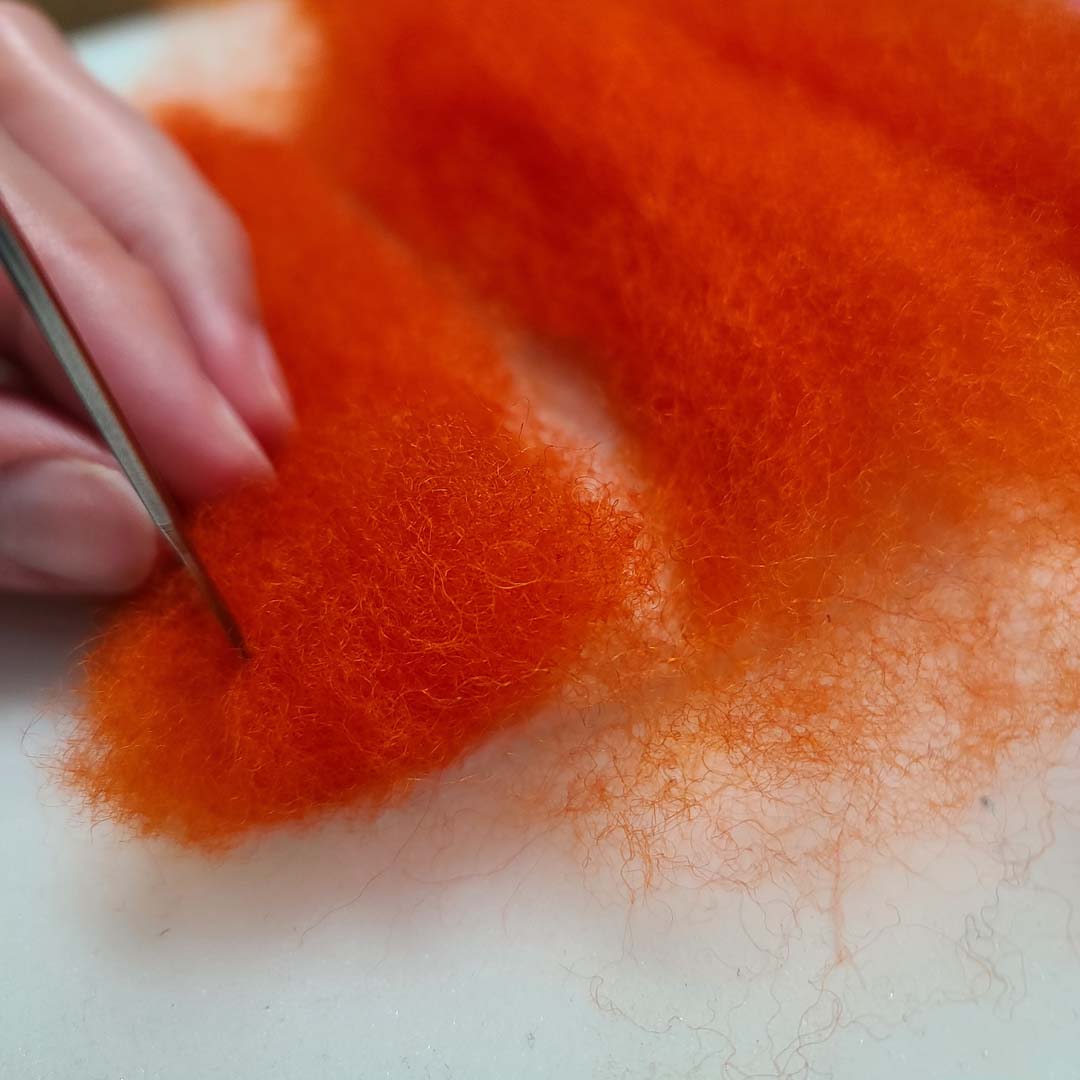
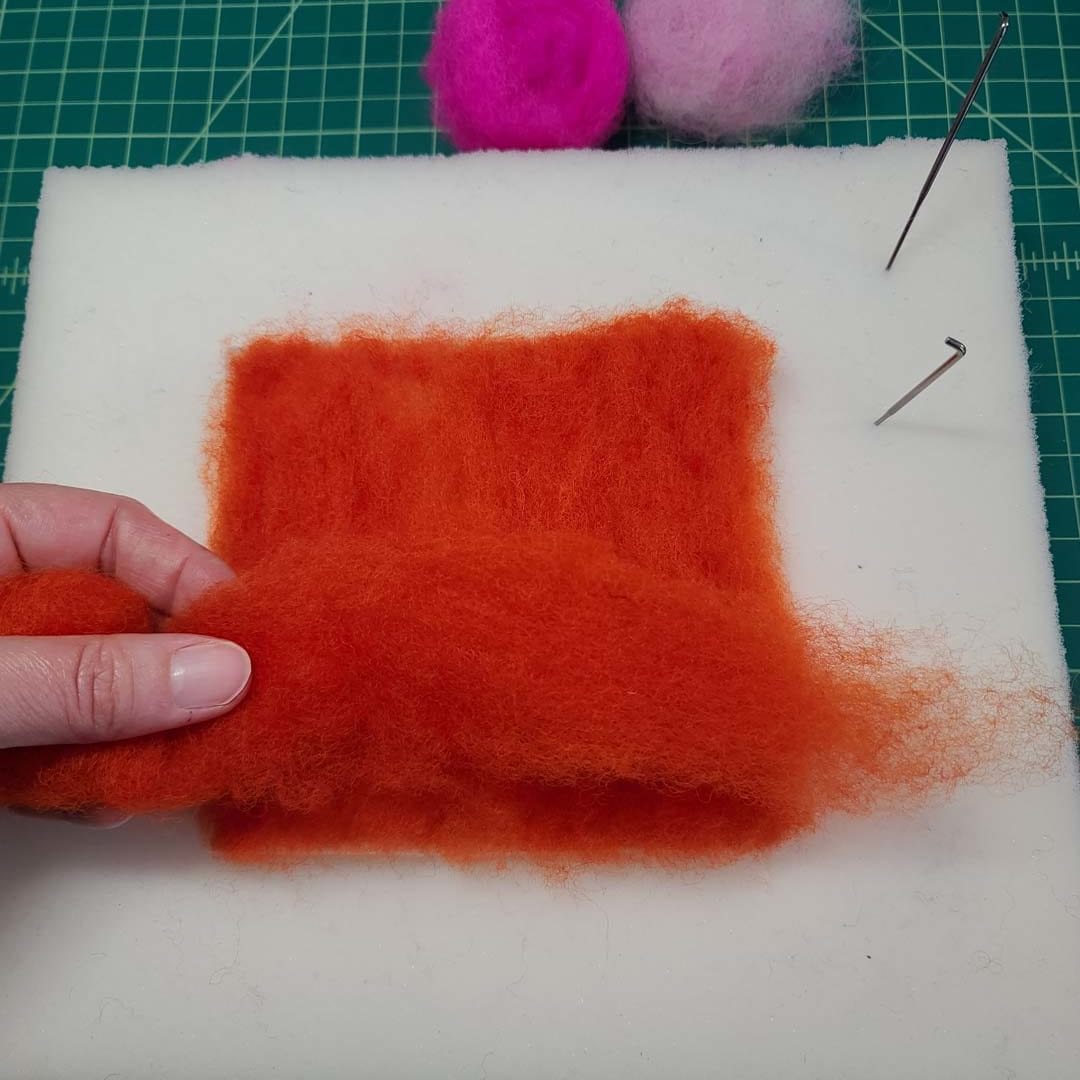
Take the larger amount of colored wool (you have more of the color for your base than you do for your heart) and split it in half. First you’ll lay down sections to fully cover the wool square. After pulling the fibers apart till roughly the same thickness lay them across the square. needle all over the surface, attaching the wool as you felt. There will be wool fiber ends hanging over the edges. Fold them back over on themselves to create a cleaner edge and felt them to the surface.
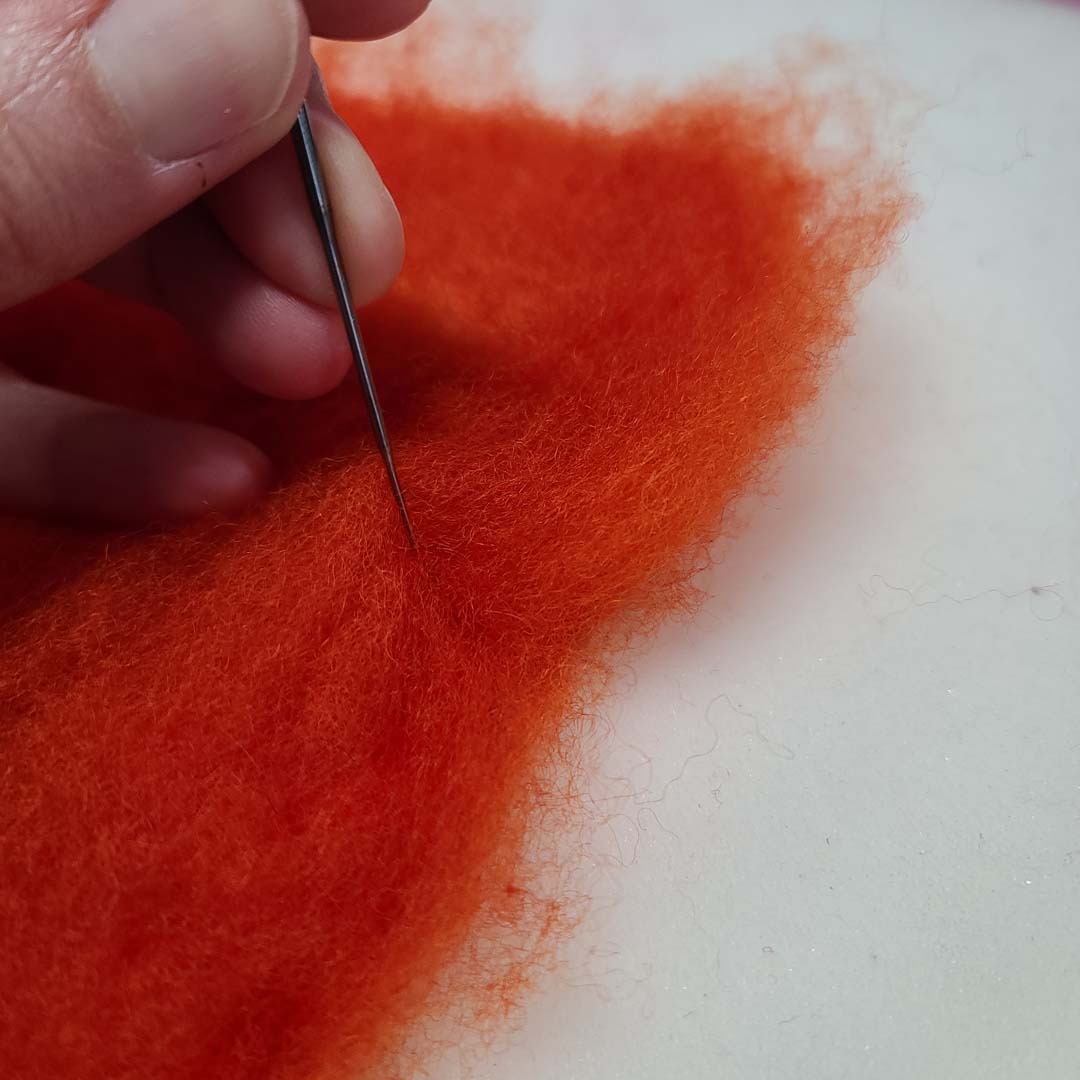
Turn the square 90 degrees and repeat the process to add a second layer of the base color. Loosen and spread the wool fibers so that you create an even covering of the square. With your heart placed in the center, the edges are where you should place any excess base wool.
Now it’s time to tidy up the edges again. Fold the base color back over on itself and felt onto the square. Remember, you have a border color, so the edge will be cleaned up when we add that third and final color.
Adding the Felted Happy Heart
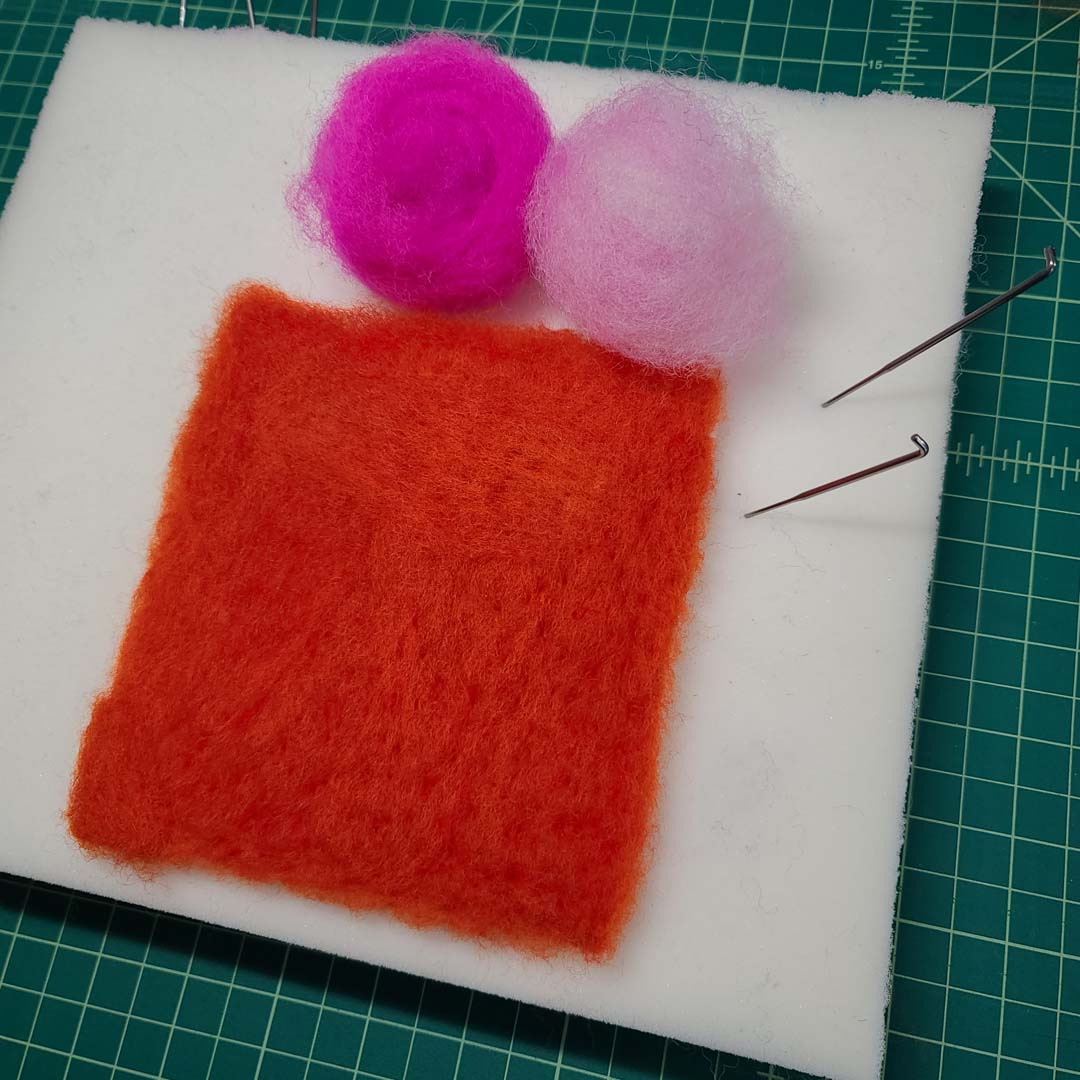
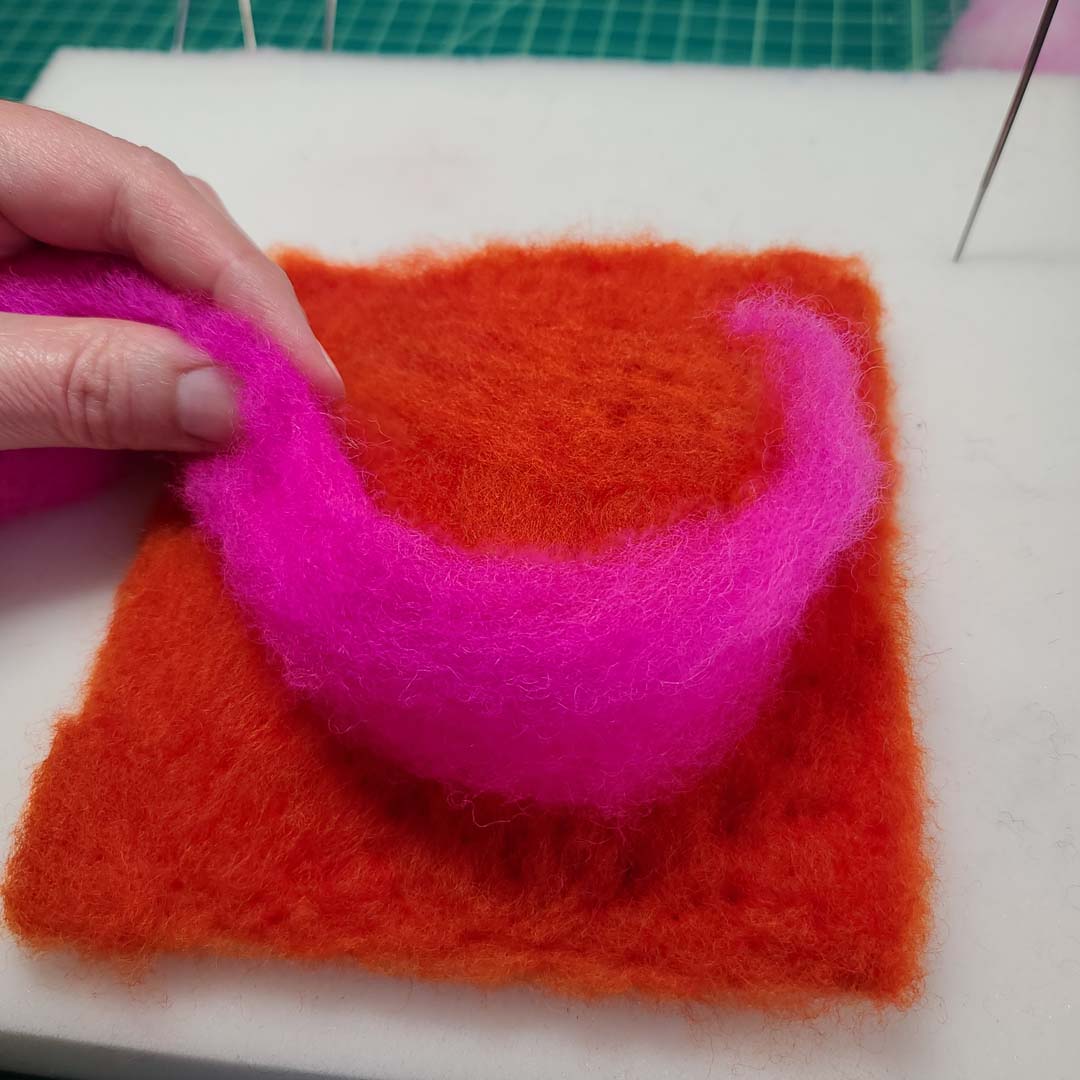
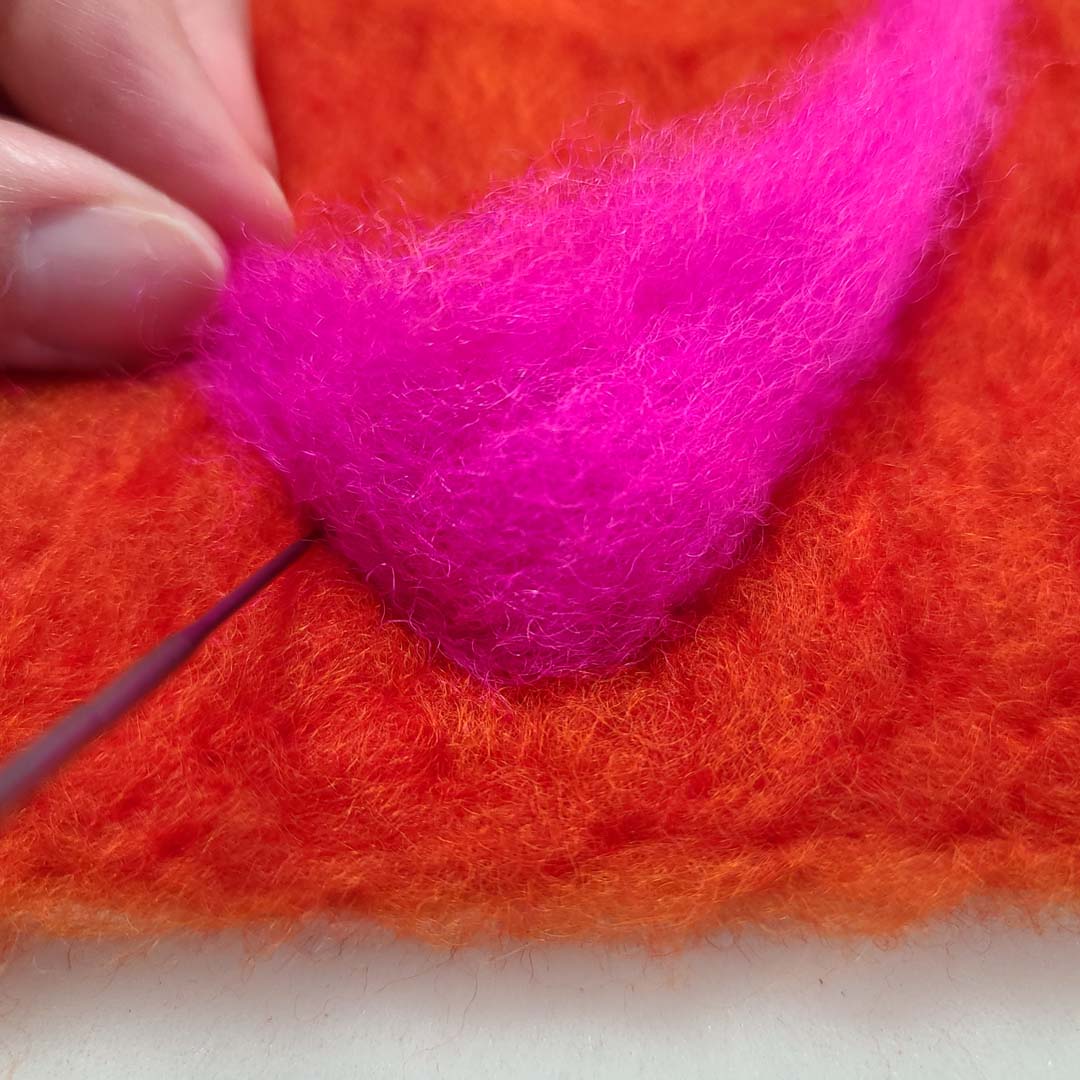
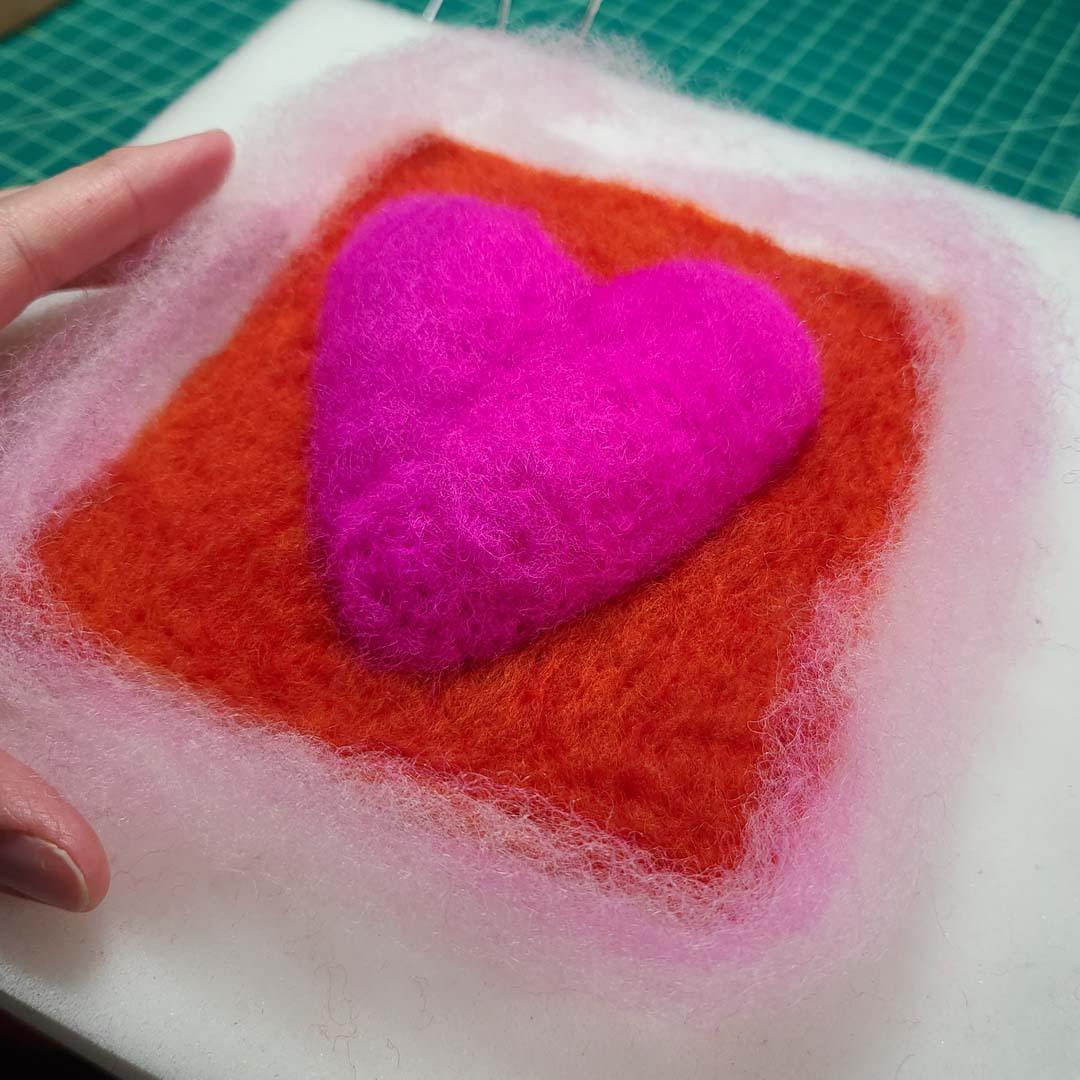
I like to begin the heart at the upper right corner (I am right handed). Begin by felting the outer edge of the heart to felt the edge in place. Needle along the line of that edge right down to where you want the bottom point of the heart to be. Felt the second edge right back up to outer edge of the left (opposite) top bump of the heart. The left ventricle if you will. 🙂
Give That Heart Some L❤️VE
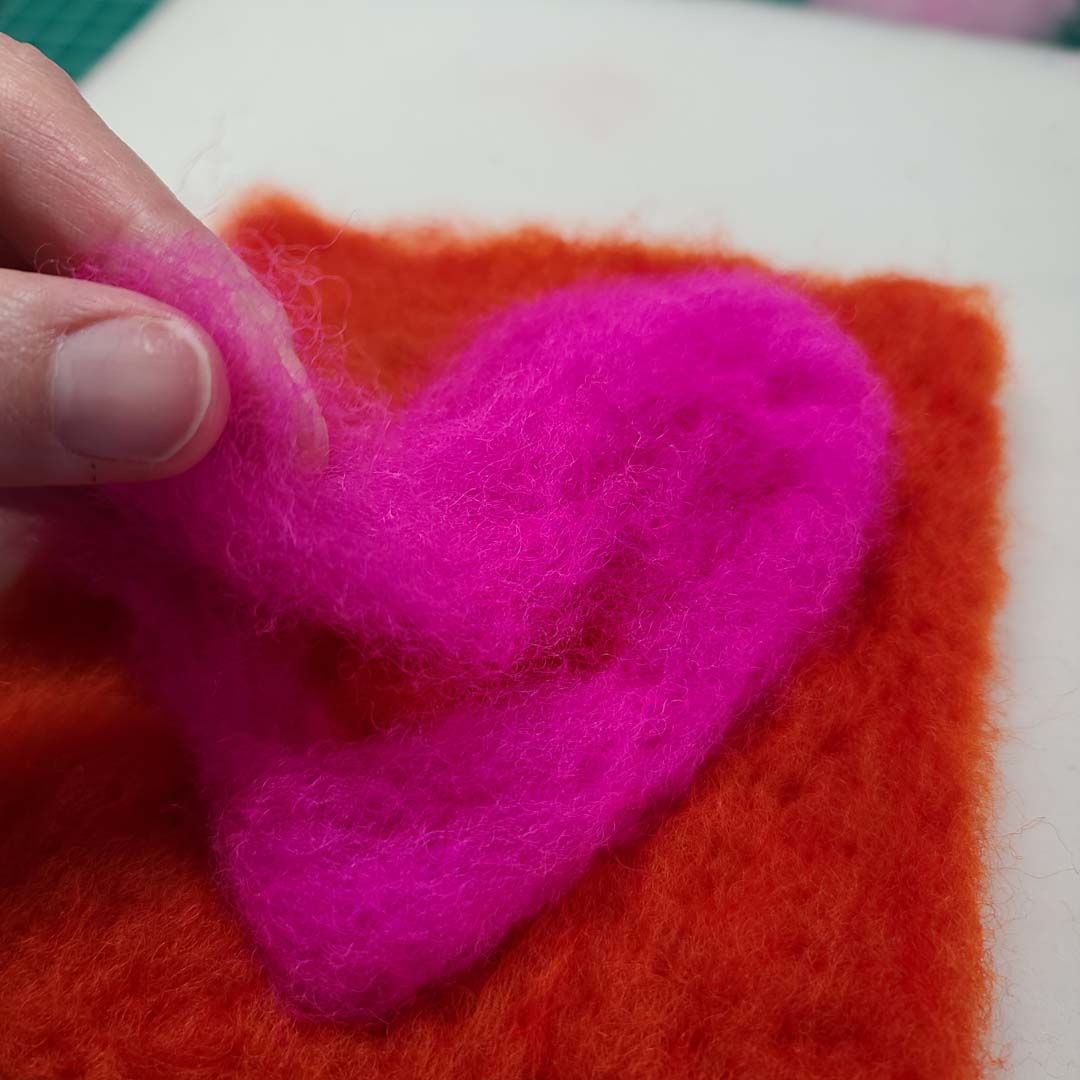
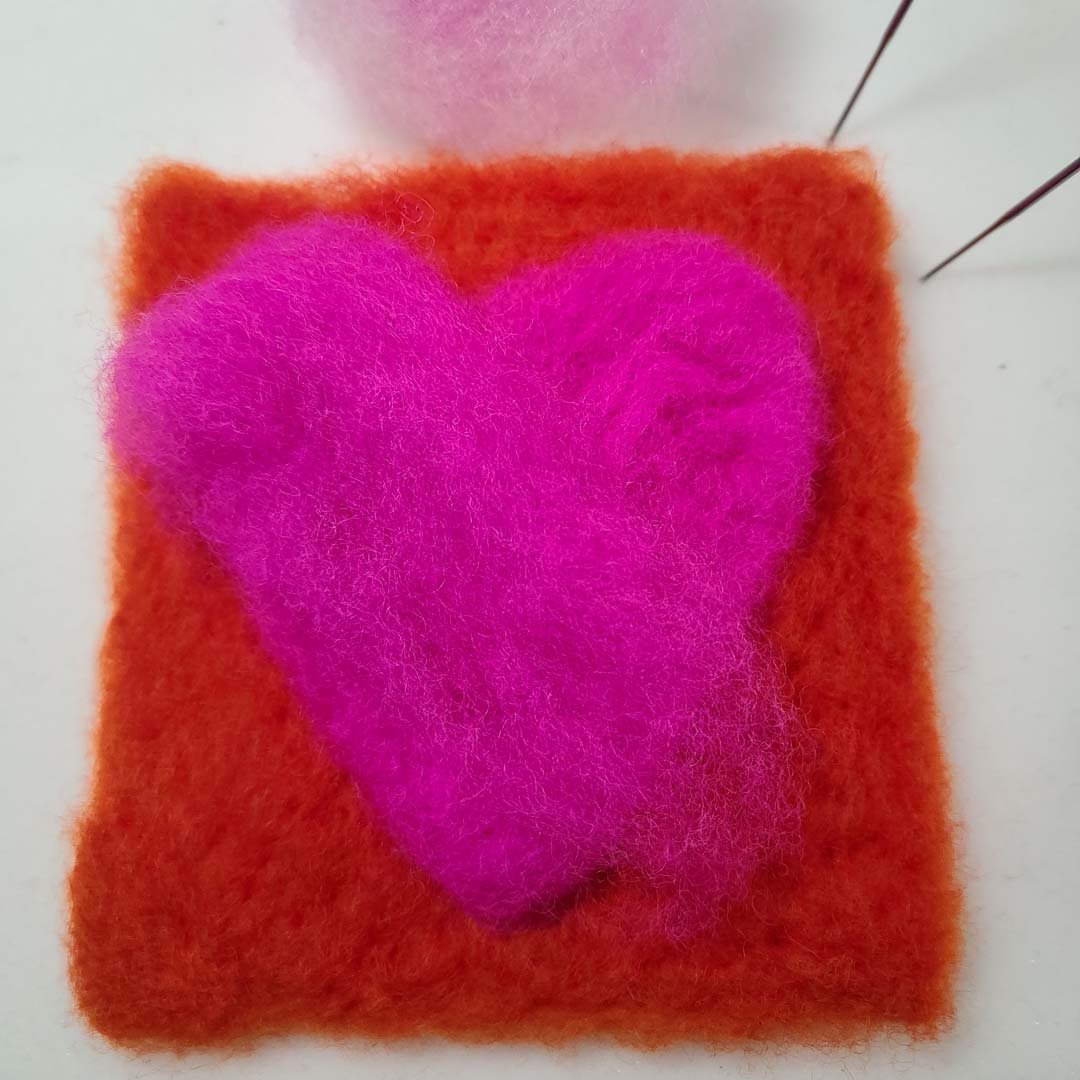
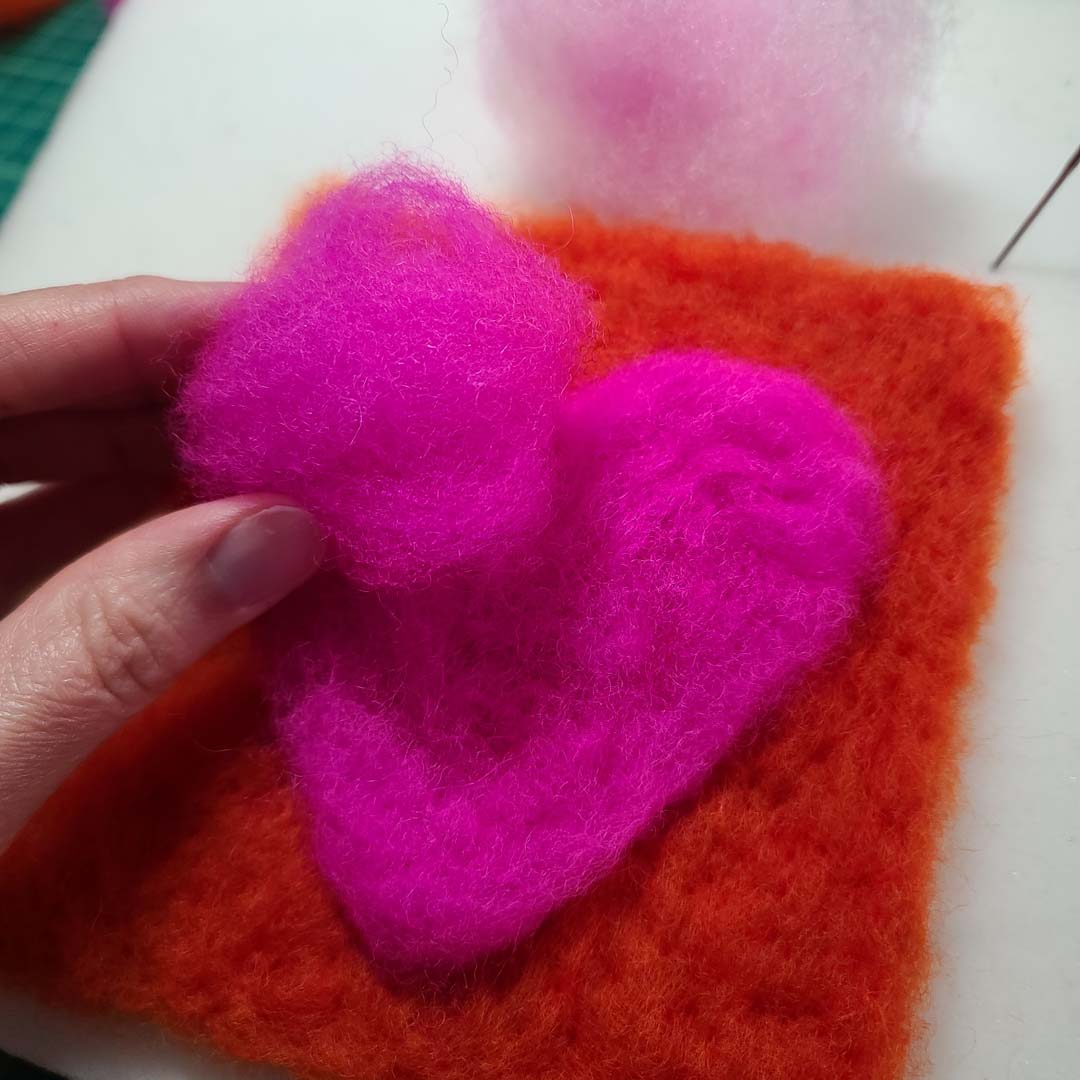
Use the rest of your flower power pink (Seriously, that’s the name of this dye lot. Sweet, right?) to lay in the shape of your heart and bulk up the volume to create a 3D pop pff the base. You can absolutely needle to your heart’s content to create a denser, more flat design. Either way, place the wool into your heart shape and felt it until you have a heart that makes you happy.
The Finishing Touch
The very last step is to add the blended pink around the edges to frame your Happy Heart with a felted border. First, pull the wool into a long rope like piece that is evenly distributed into a consistent thickness. Place it around the outer edges of the square to ensure you have it long enough to cover the full length of your border.
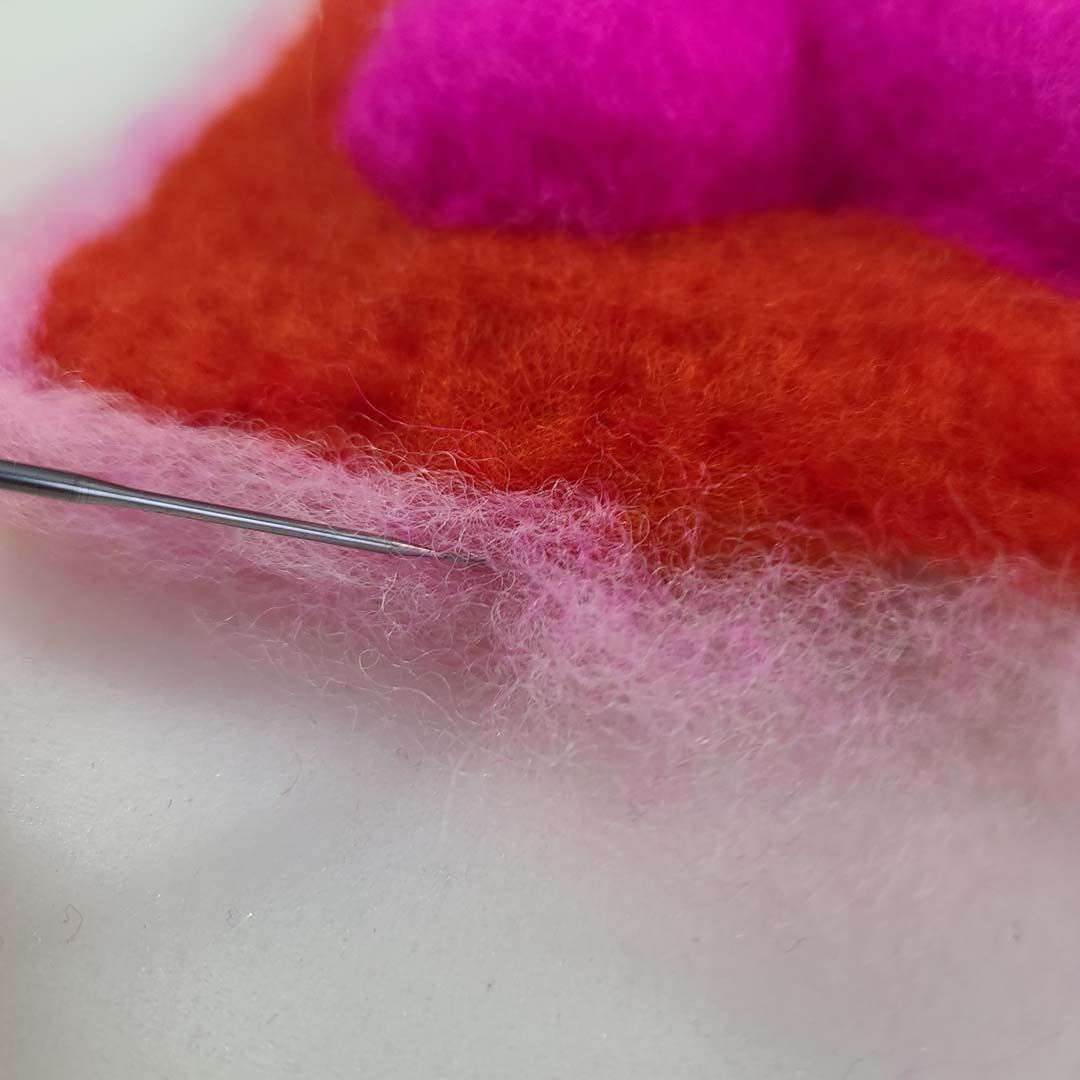
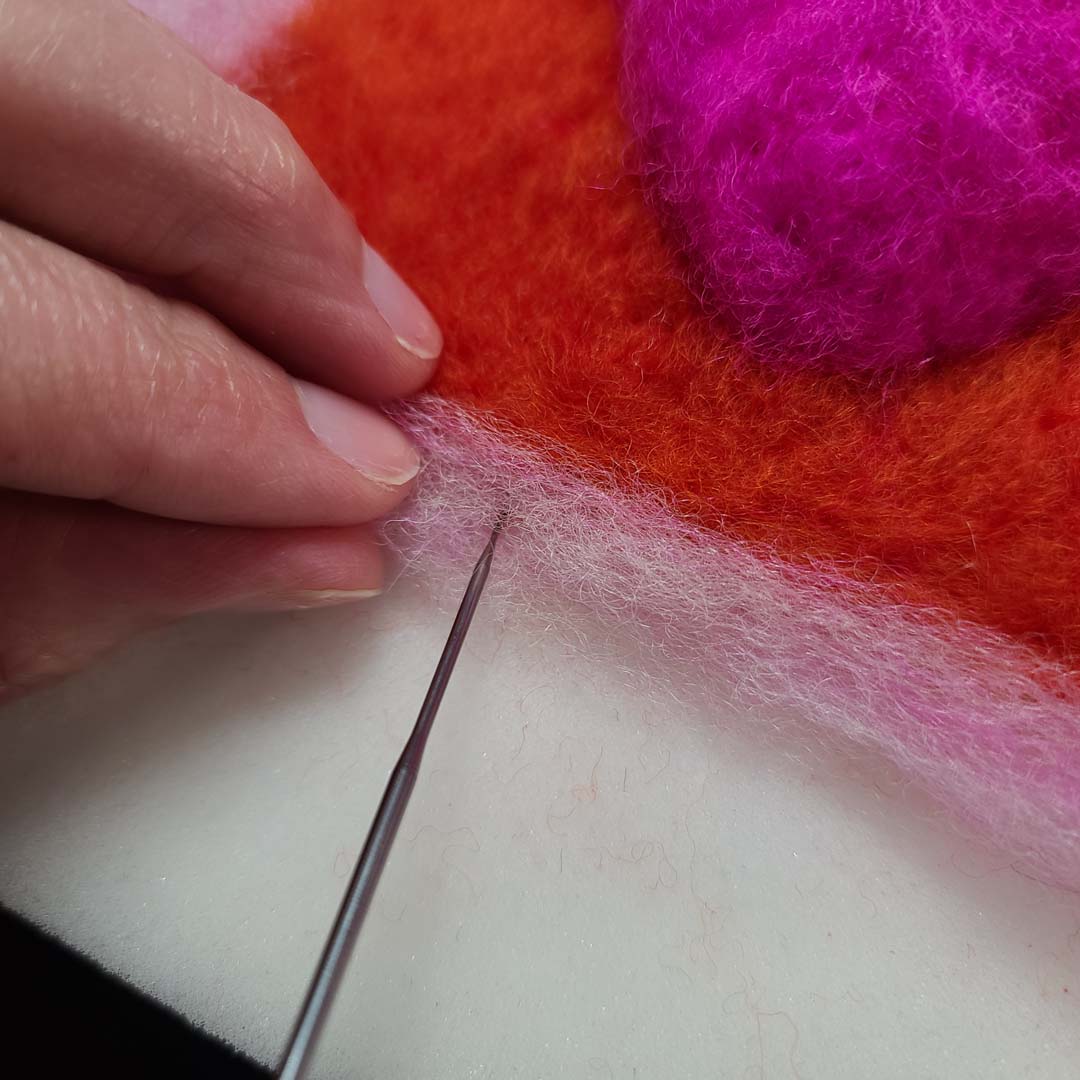
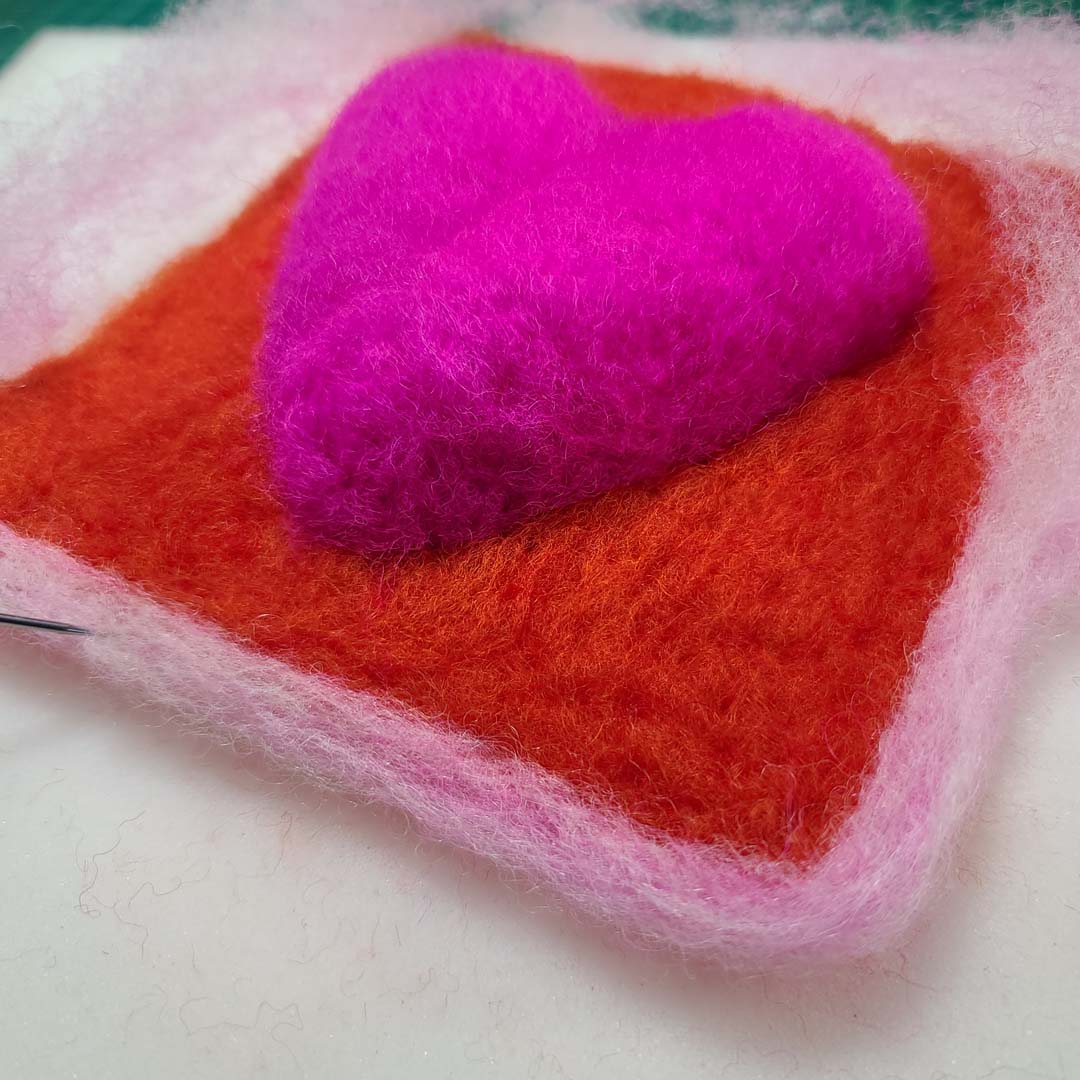
With the edge of your blended pink laying over the outer edge of the square, use the felting needle to attach the border along one edge. As you felt the border into place, use the needle to gradually pull more of the wool into the edge. I find that doing this gradually helps it remain even, felting from the top down (needle held perpendicular to the edge) and also straight in from the edge in (holding the needle horizontal to the foam) works well in combination. Work your way around the full border and then go back to make final touches and clean up loose fibers with a bit more felting.
Congrats, fellow felting artist, you did it!
Basics of Needle Felting
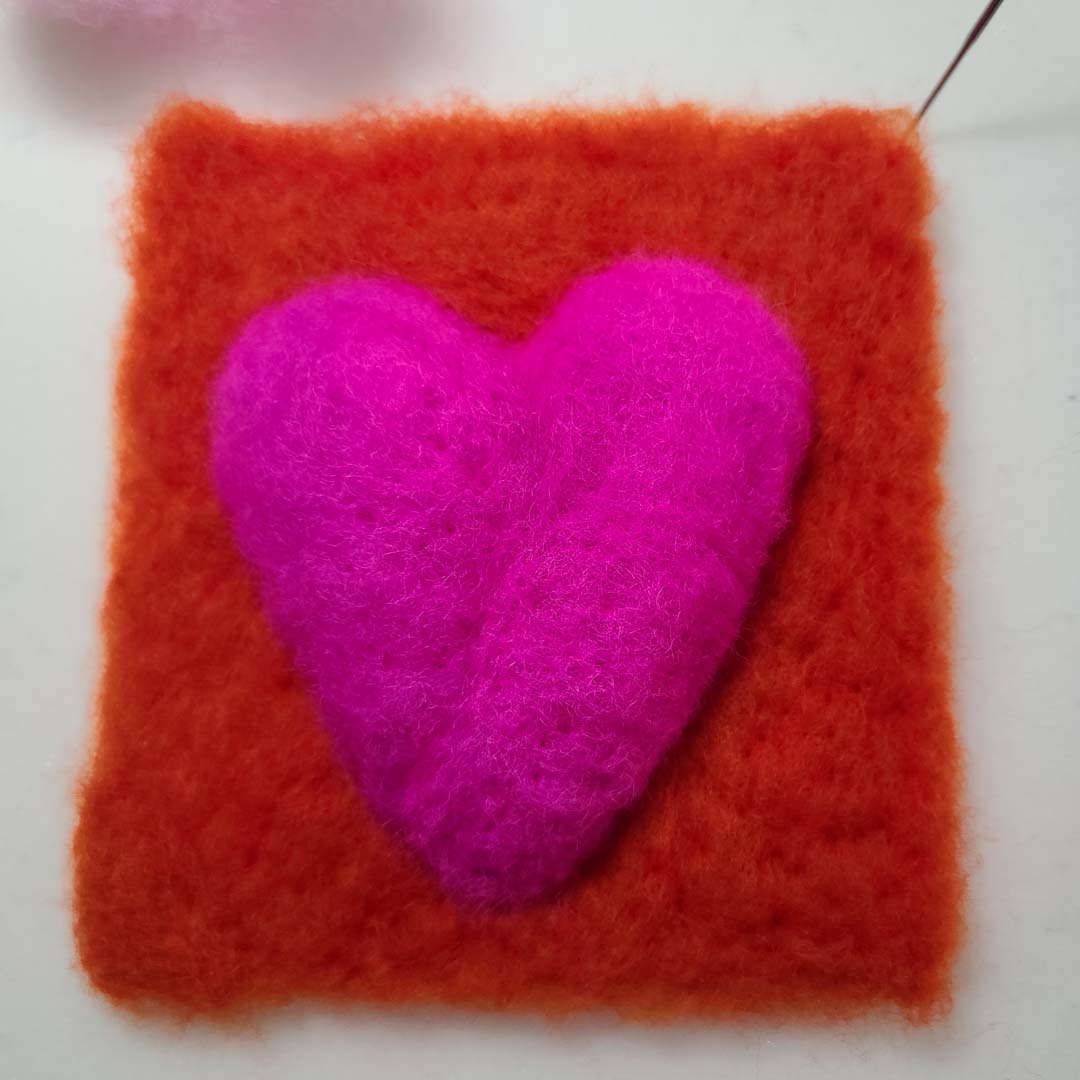
Needle felting is an incredibly relaxing craft that can easily and quickly develop into an artistic medium for the creation of so much beauty. Needle felting may take the form of a 2D piece that lays flat or bulk out into a 3D sculptural object. Or, as I tend to do, combine a 2-dimensional piece with 3-dimensional components. The options are only as limited as your imagination. I hope you enjoy felting as much as I do.
Browse the Complete Shop of Lichendia
The video below covers more basics of needle felting.
