Needle Felting a Sleeping Child
step by step tutorialMaterials List
Felting needles
Sturdy foam or wool pad
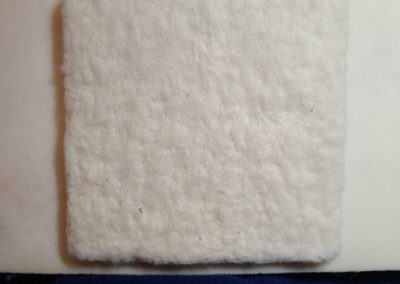
Prepared base panel of felted wool
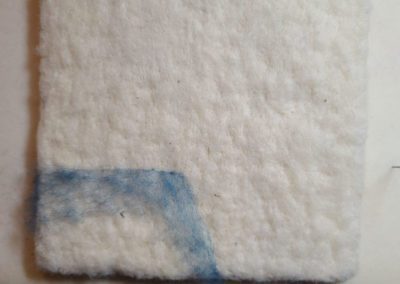
Background color already felted
Thumbnail sketch of the sleeping child
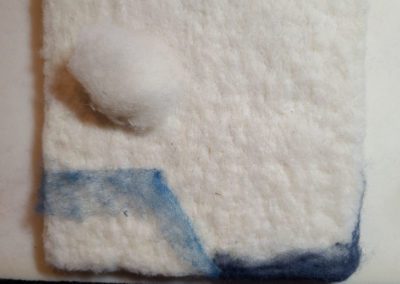
Core wool to place shapes of your composition
Wool: flesh tone and hair colors
Each of the proceeding videos includes step by step instructions that walk you through selecting and using wool to needle felt the head and face of a sleeping child. This finished illustration will be the cover illustration for the children’s book currently underway. Thanks to our community of needle felting artists, the lessons include just a bit of light banter that captures a snapshot of life in the Dow household at this point in time. This lesson was recorded on January 18, 2022.

Thank YOU for being part of our community. Enjoy the lesson? Please write a review on Google!
Felting Master Tip:
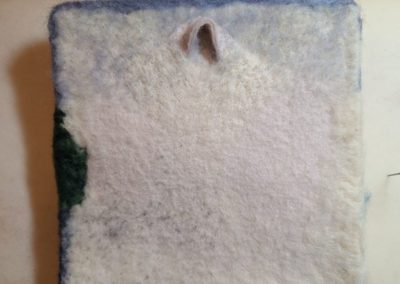
Spending time preparing your wool fiber base upon which you’ll build your felted illustration is an important step that is so worth the time. With a thick sturdy wool base, and a wool loop attached to the back, your illustration will be ready to hang and the thickness will keep it from curling at the corners as it hangs on the wall.
Part 1 placing the nose, flesh color, eye sockets, eyeballs
Part 2 Evening out the skin, defining facial features, eyebrows, lid line and lashes
Part 3 Hair, lips, ear, shadows
Still Image Gallery
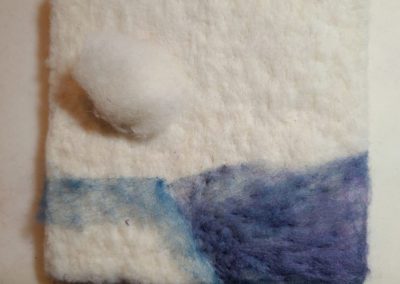
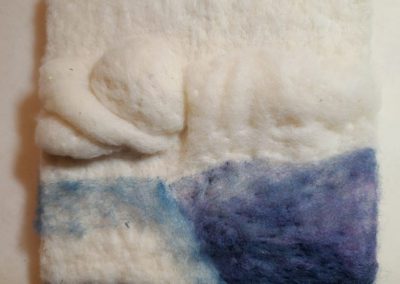
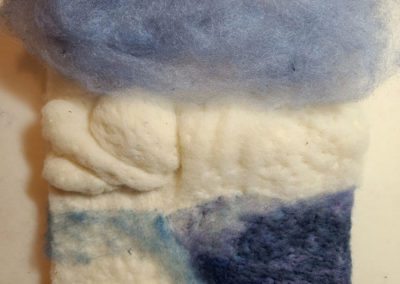
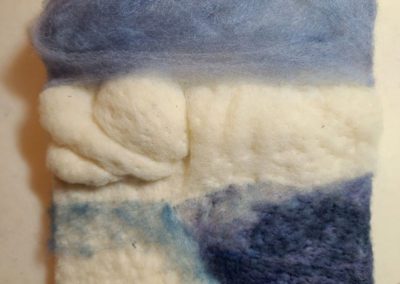
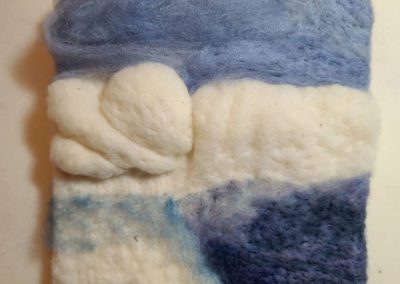
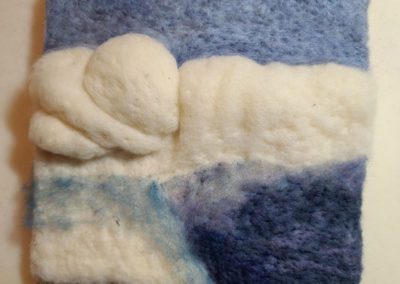
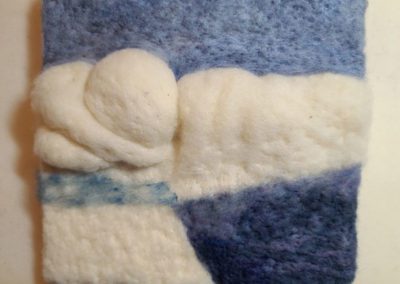
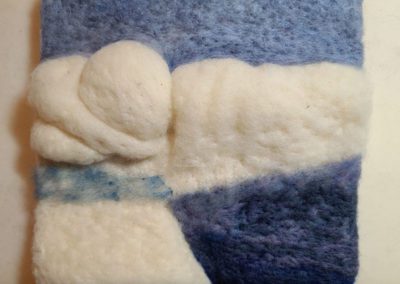
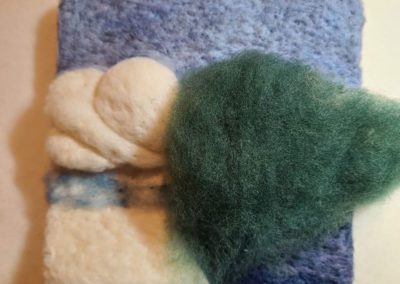
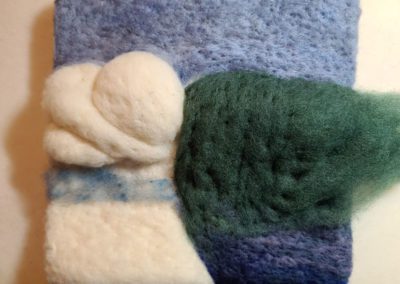
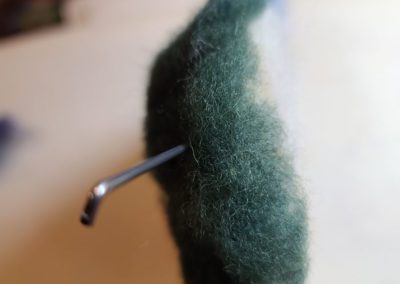
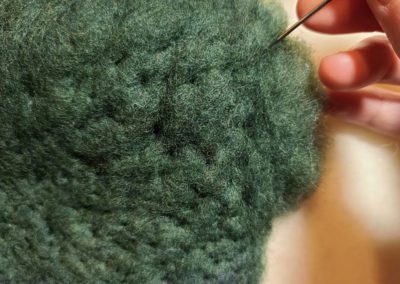
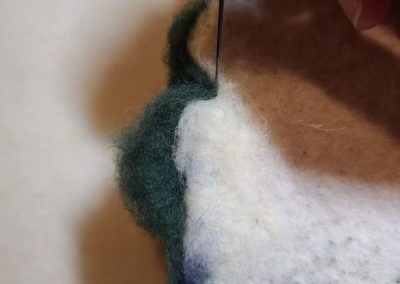
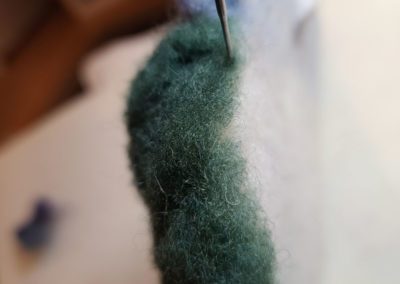
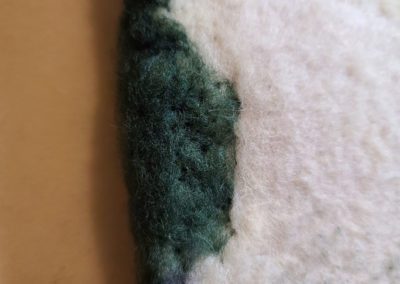
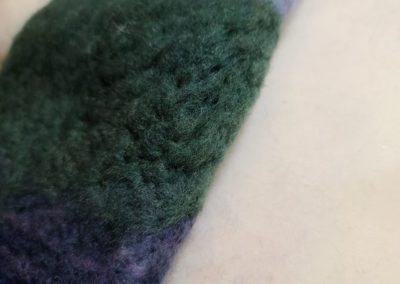
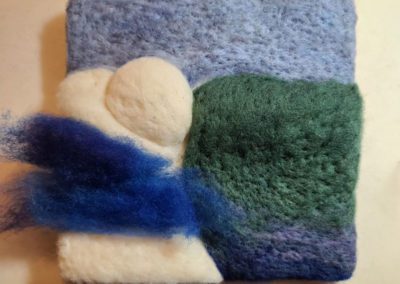
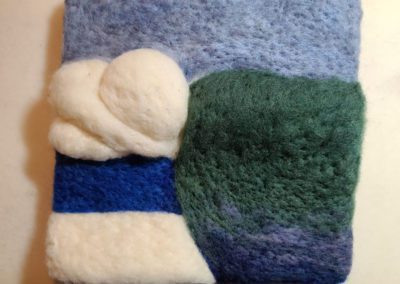
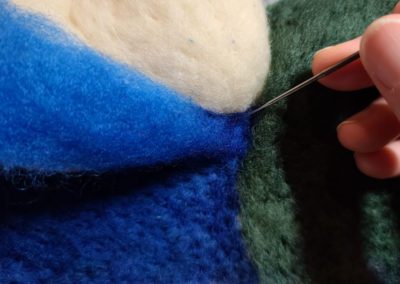
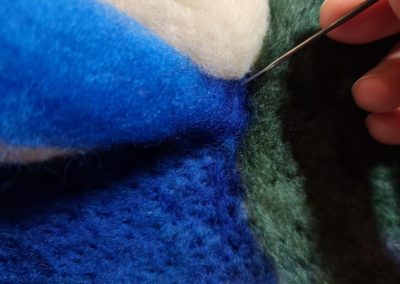
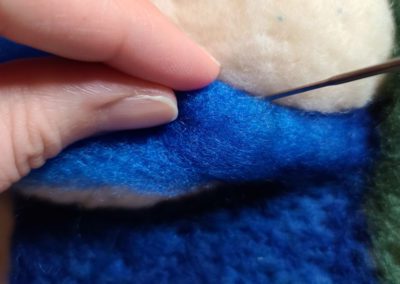
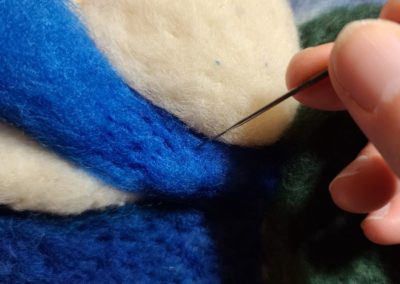
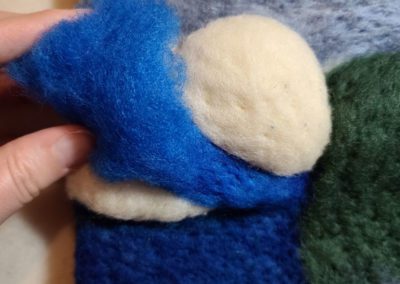
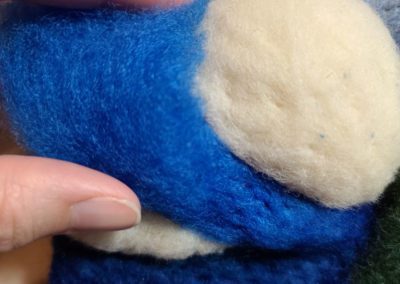
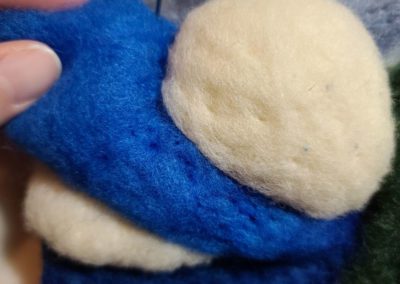
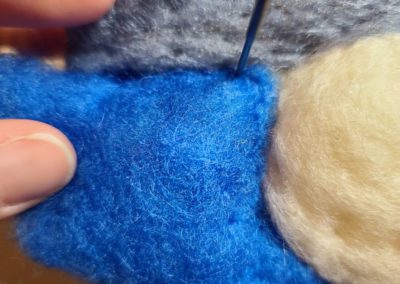
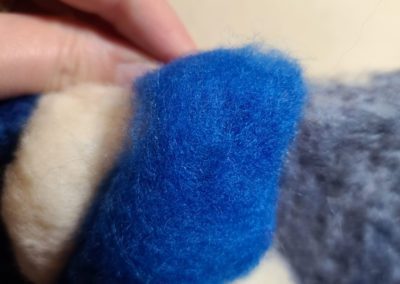
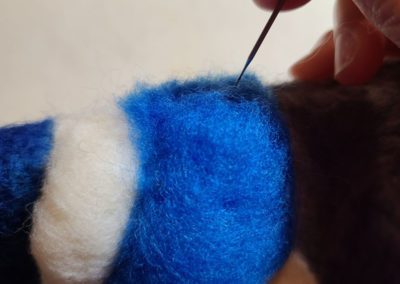
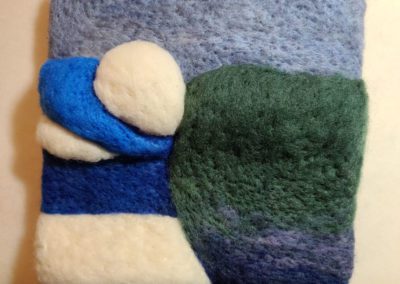
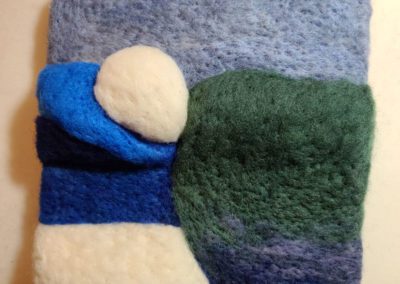
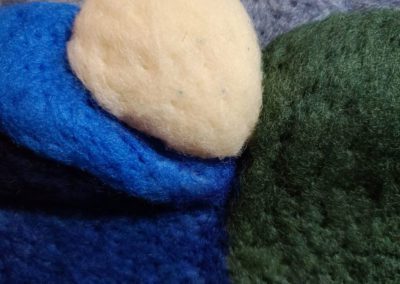
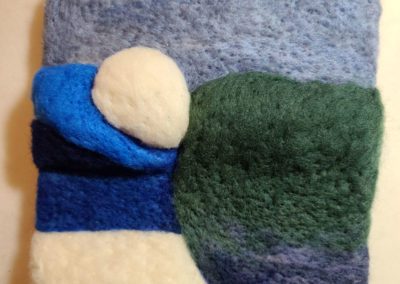
Here is a still image gallery of steps taken to create the shapes of the pillows, blanket, and bedstand, an example of additional content I include in my paid felting lessons and felting master class.

Meet Your Instructor
Hi, my name is Hillary Dow. A few of my many hats include mother, wife, outdoor adventurer, author, family chef, marketing professional, felting artist in Maine, and oh so many more. I write children’s books illustrated with my wool creations. It is such a thrill to be a part of helping someone develop their skills and CREATE artwork. Thank you for joining me!

