Needle Felting a Standing Child
step by step tutorialMaterials List
Felting needles
Sturdy foam or wool pad
Prepared base panel of felted wool
Background color already felted
Wool: lots and lots of colors close at hand
Felting Master Tip:
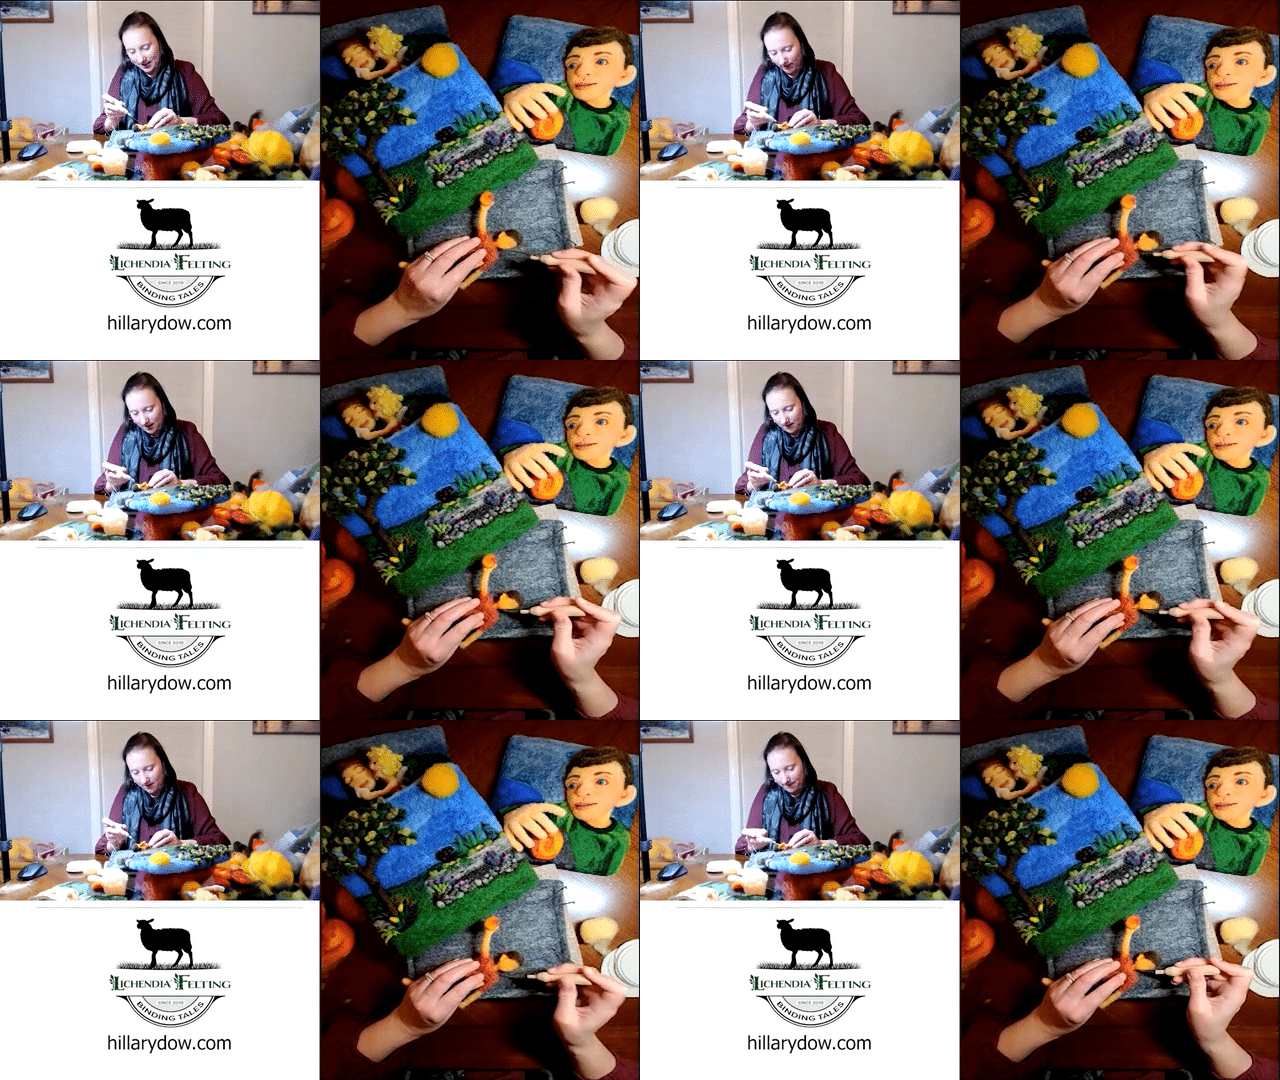
When illustrations are intended to be displayed together, whether in a book or on a wall, using common colors from one piece to the next creates unity in your color palette. This approach pulls the collection of pieces together. In the case of this illustration, I’ll be sure to use the same blue for the sky and yellow/orange/red for the sun that I have used on the other pieces needle felted for The Sun Fairy book.
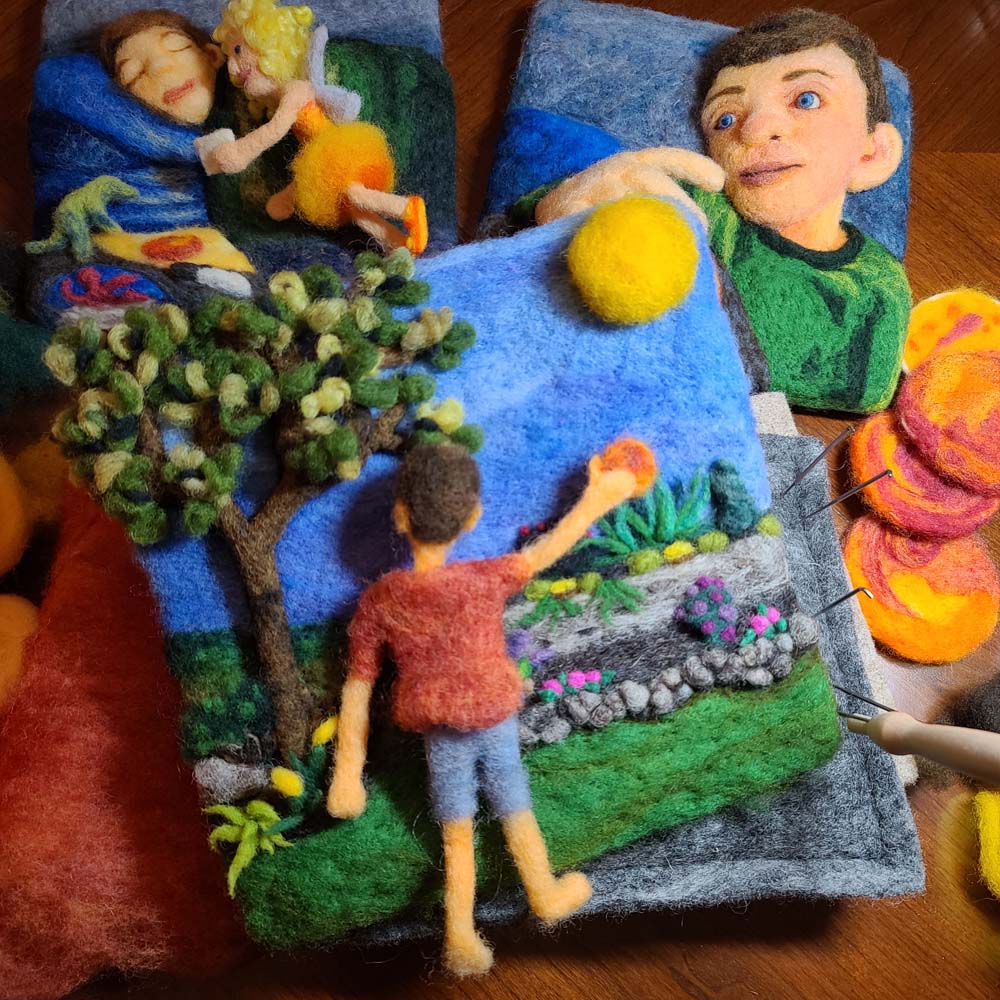
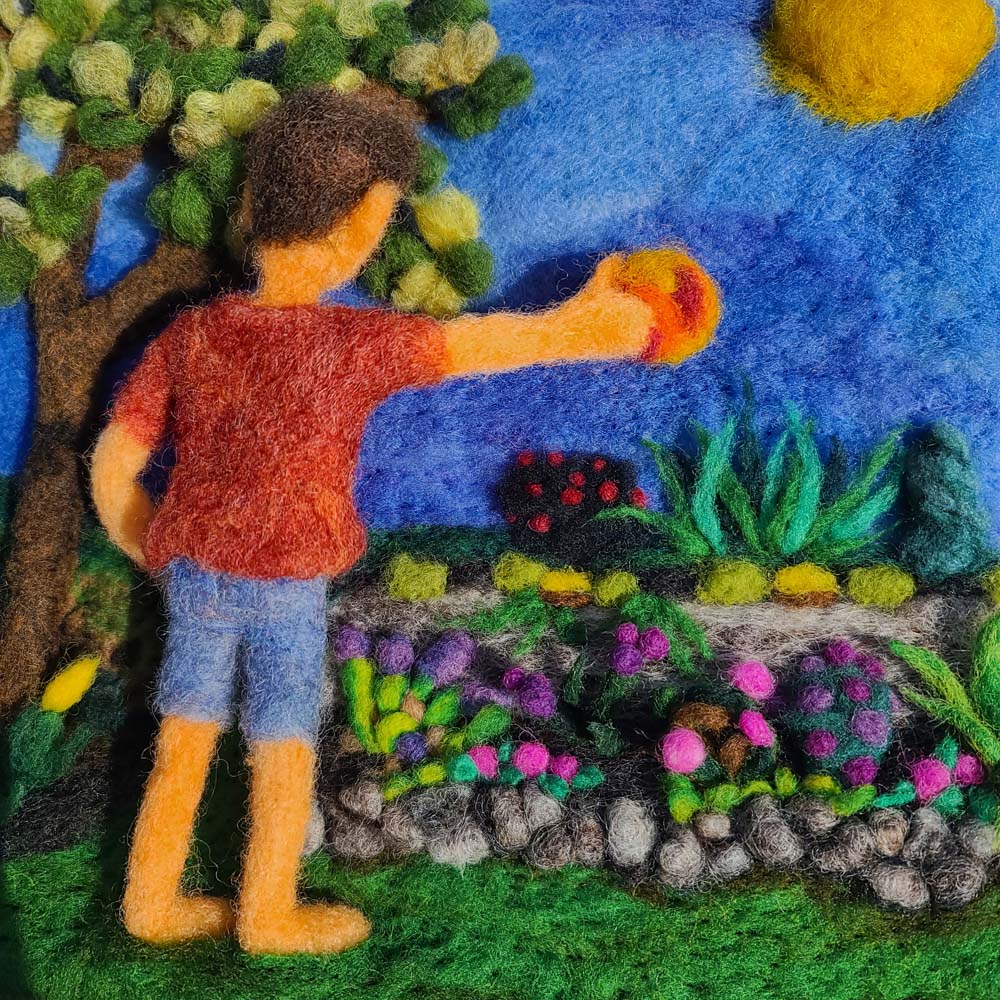
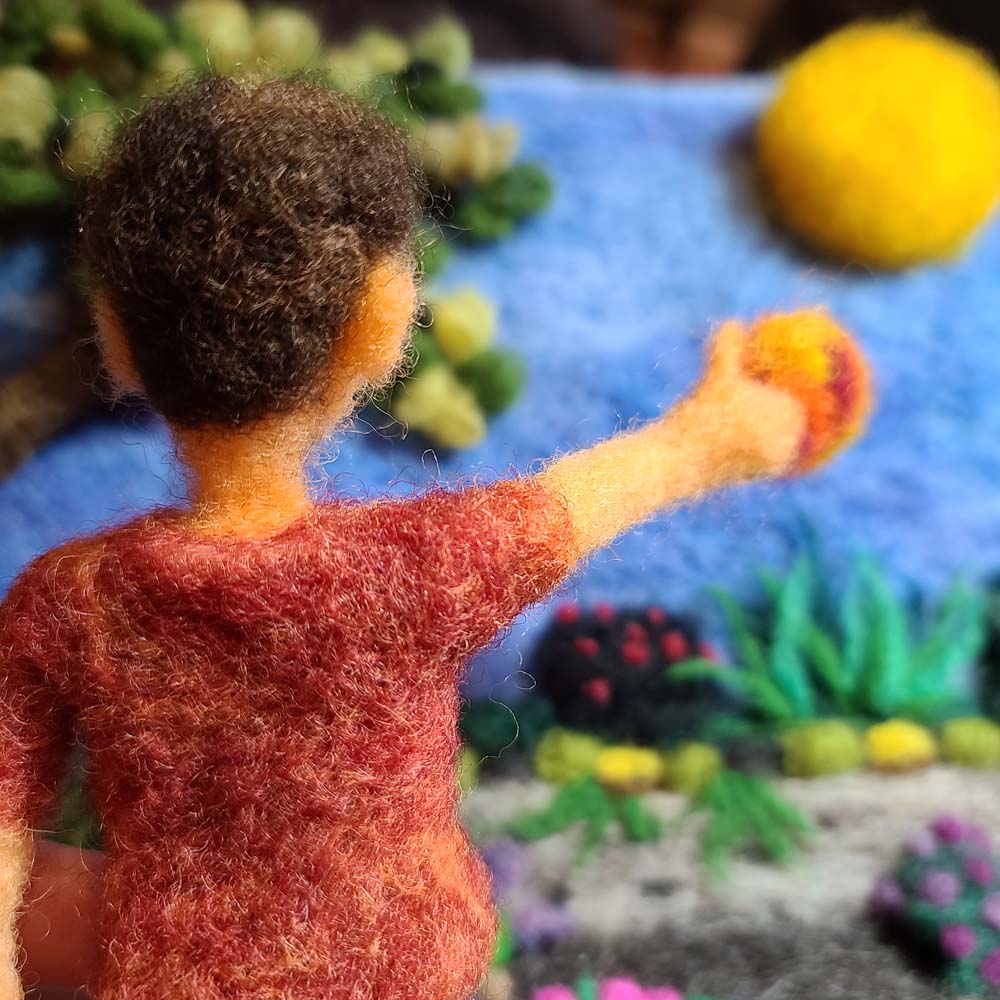
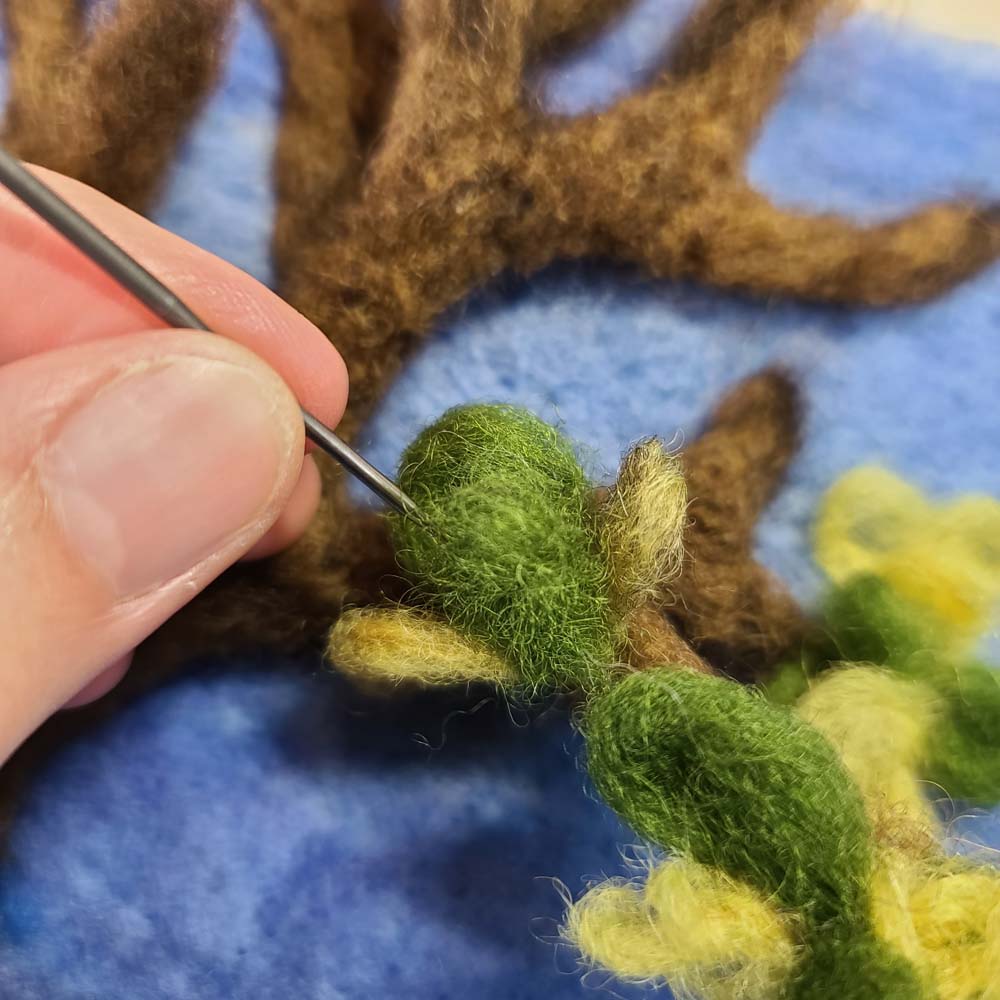
Each of the proceeding videos includes step-by-step instructions that walk you through the steps of needle felting a small figure wearing shorts and a t-shirt. This finished illustration will be in the children’s book currently underway. The lessons include just a bit of light banter that captures a snapshot of life in the Dow household at this point in time. This lesson was recorded on March 15, 2022.
Part 1: Felting the arms, legs, and bare feet
Part 2: Torso and t-shirt
Part 3: Felting the shorts, attaching the legs
Part 4: Felting the head, neck & ears, attaching to the shoulders

Meet Your Instructor
Hi, my name is Hillary Dow. A few of my many hats include mother, wife, outdoor adventurer, author, family chef, marketing professional, felting artist in Maine, and oh so many more. I write children’s books illustrated with my wool creations. It is such a thrill to be a part of helping someone develop their skills and CREATE artwork. Thank you for joining me!

Thank YOU for being part of our community. Enjoy the lesson? Please write a review on Google!
Thank you for being a part of my growing community of felting artists! I hope you are able to pick up new techniques and continue to develop your own unique felting style. Be on the lookout for the monthly felting lesson, landing in your inbox on the fourth Tuesday of every month.
Want even more?
Take your felting to a whole new level! Join the Felting Master Class today! Membership is $200 annually or monthly payments of $16.50.
