Needle Felting Lesson: Leona's Tuba
step by step tutorialMaterials List
Felting needles
Sturdy foam or wool pad
Prepared base panel of felted wool
Reference photo of a tuba
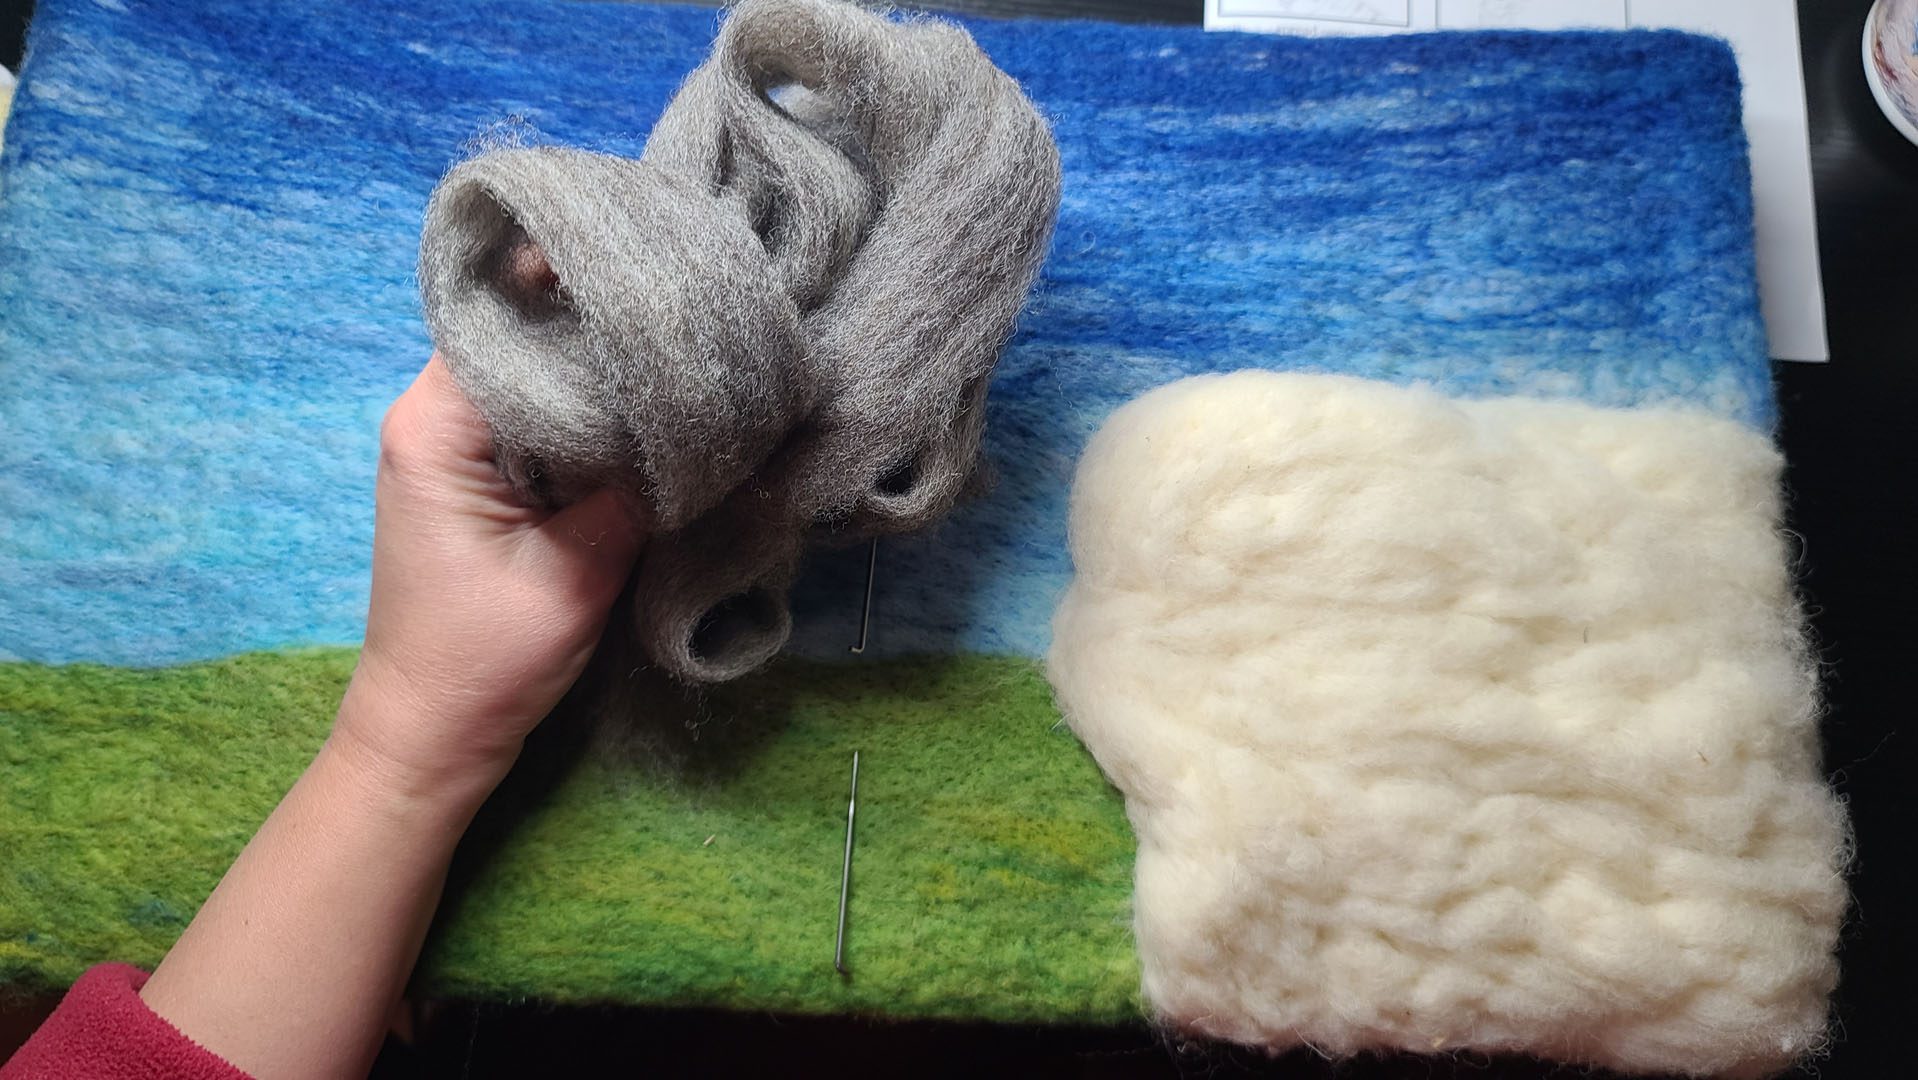
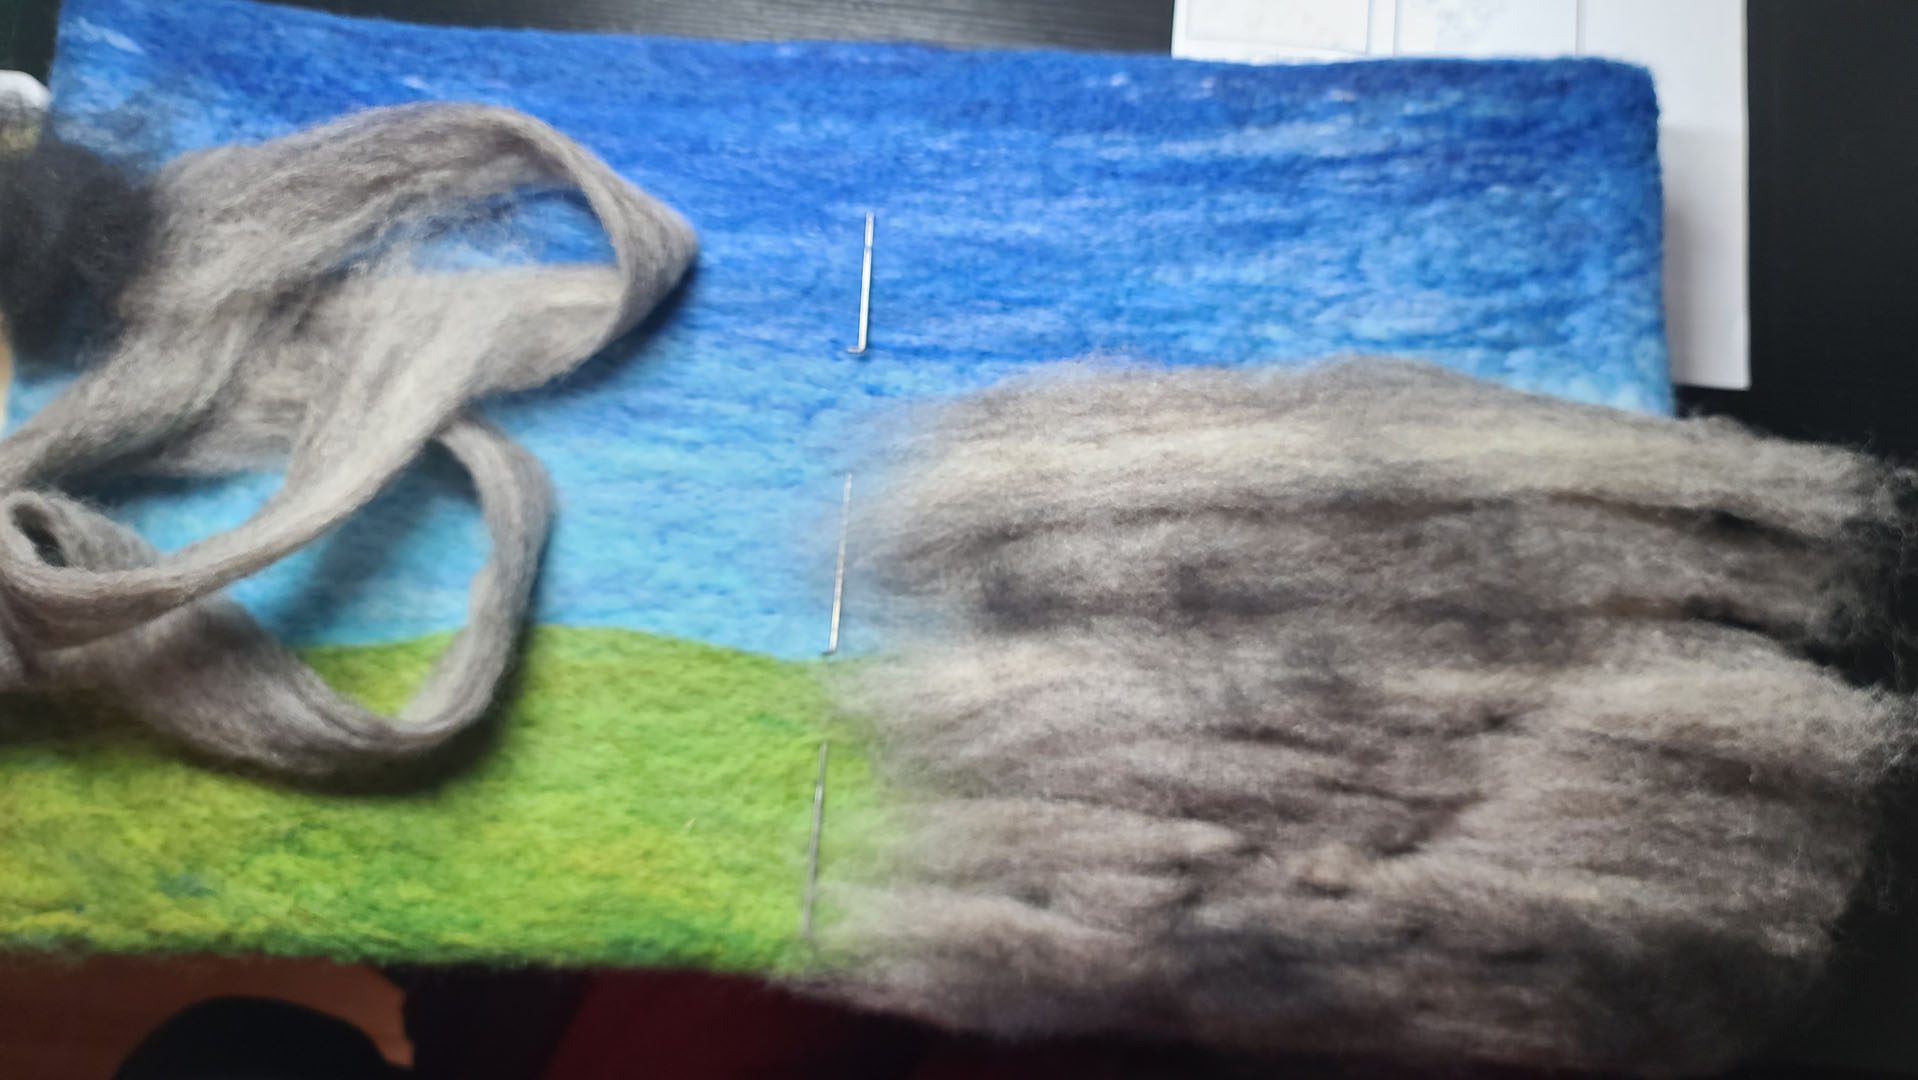
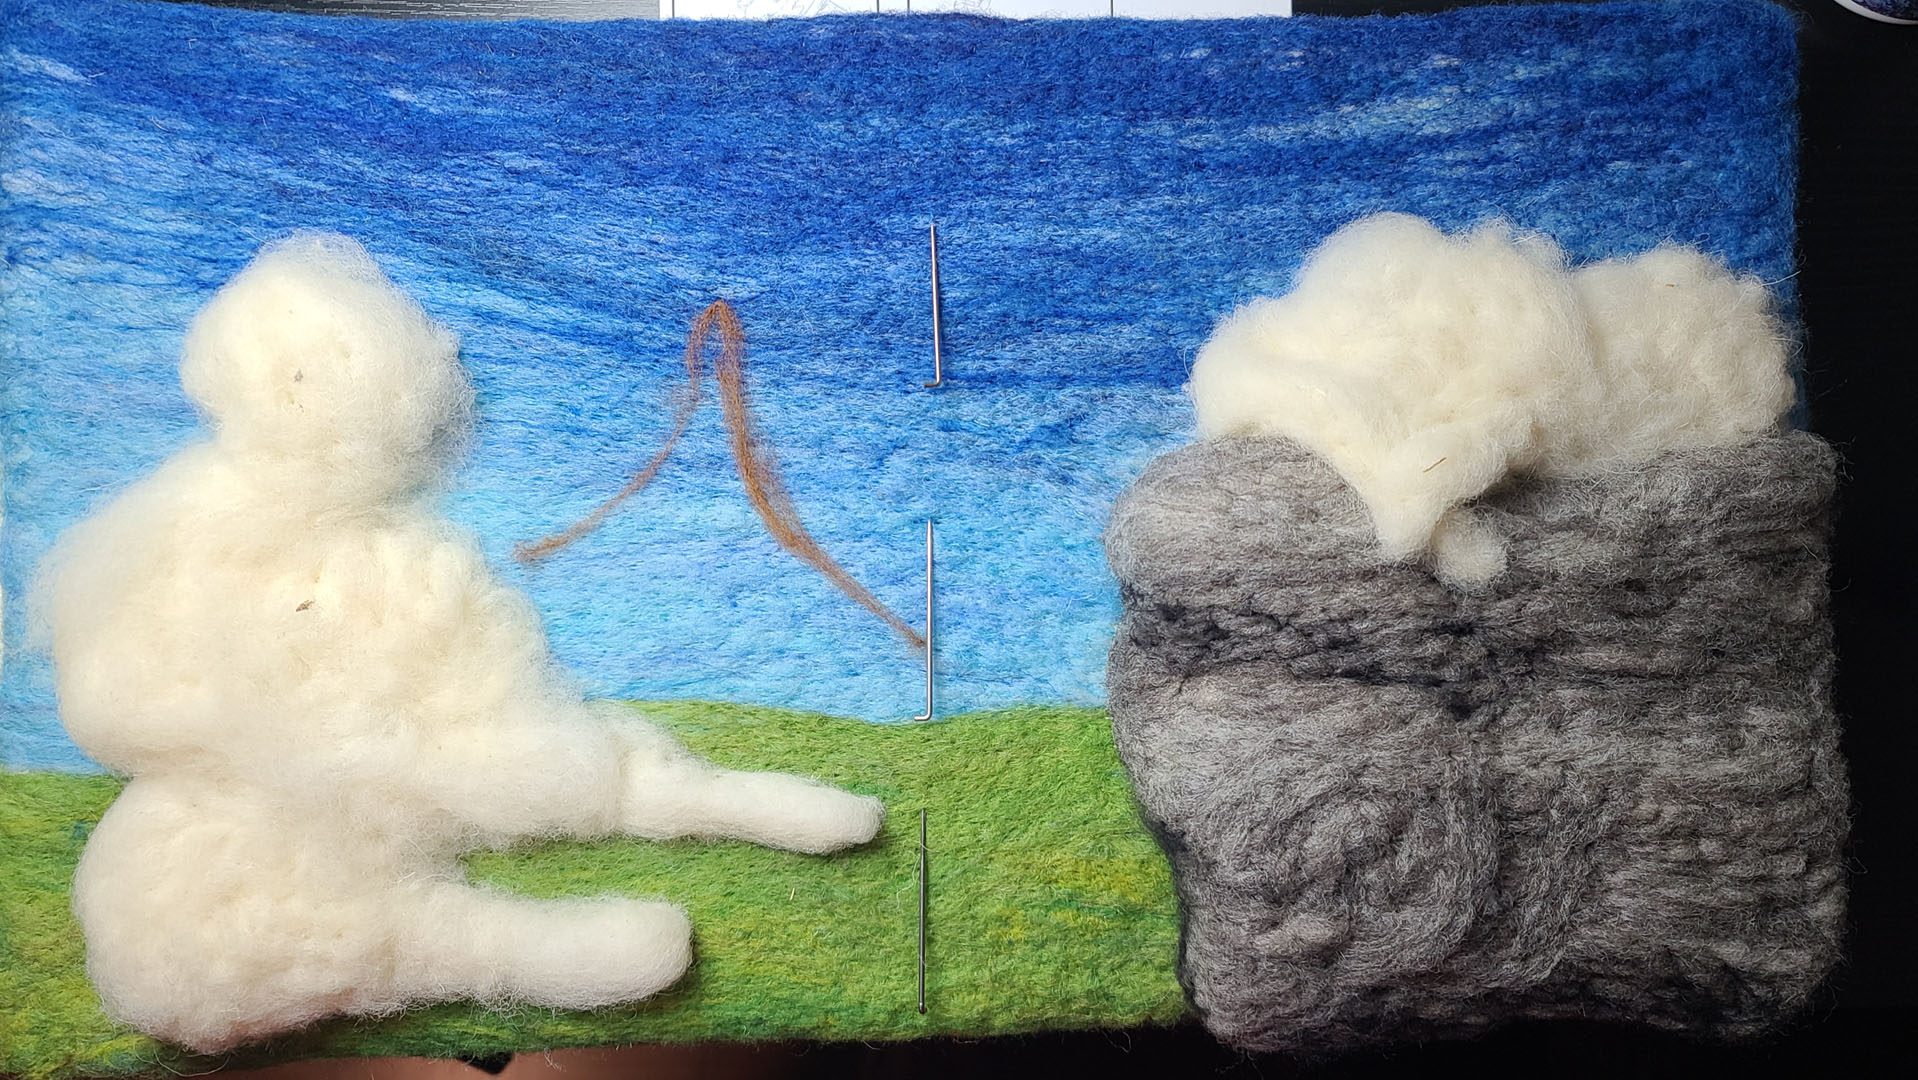
Core wool for the sheep
Curly locks for the sheep
Black and pink for facial features
Brassy hues to use for the tuba

Welcome to the needle felting lesson: Leona’s Tuba. Together we’ll work throughout the process of developing the third illustration of my picture book, Flock of Rock! Thank you for sharing this journey with me. This lesson was originally recorded in March 2024.
Still Image Gallery
Tip: Click on the first image and then scroll through the enlarged format, you’re able to see everything much better.
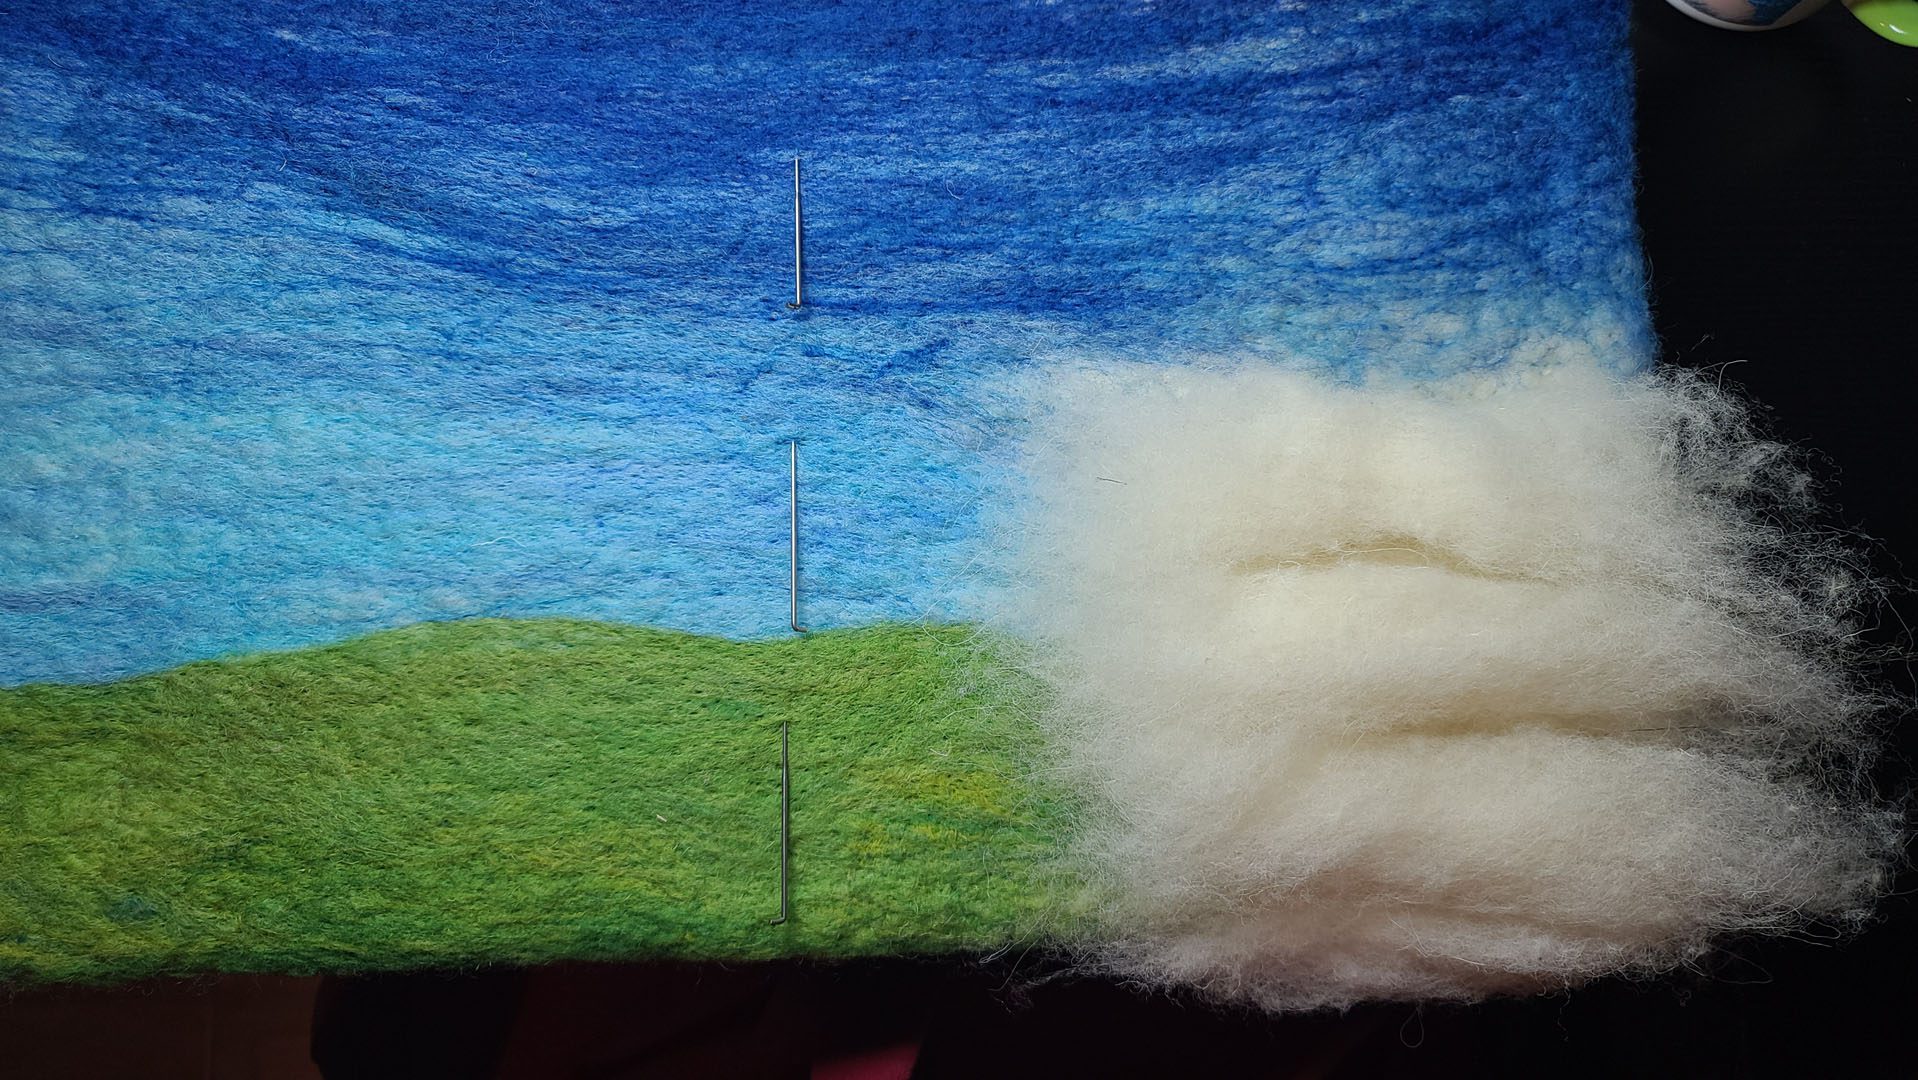
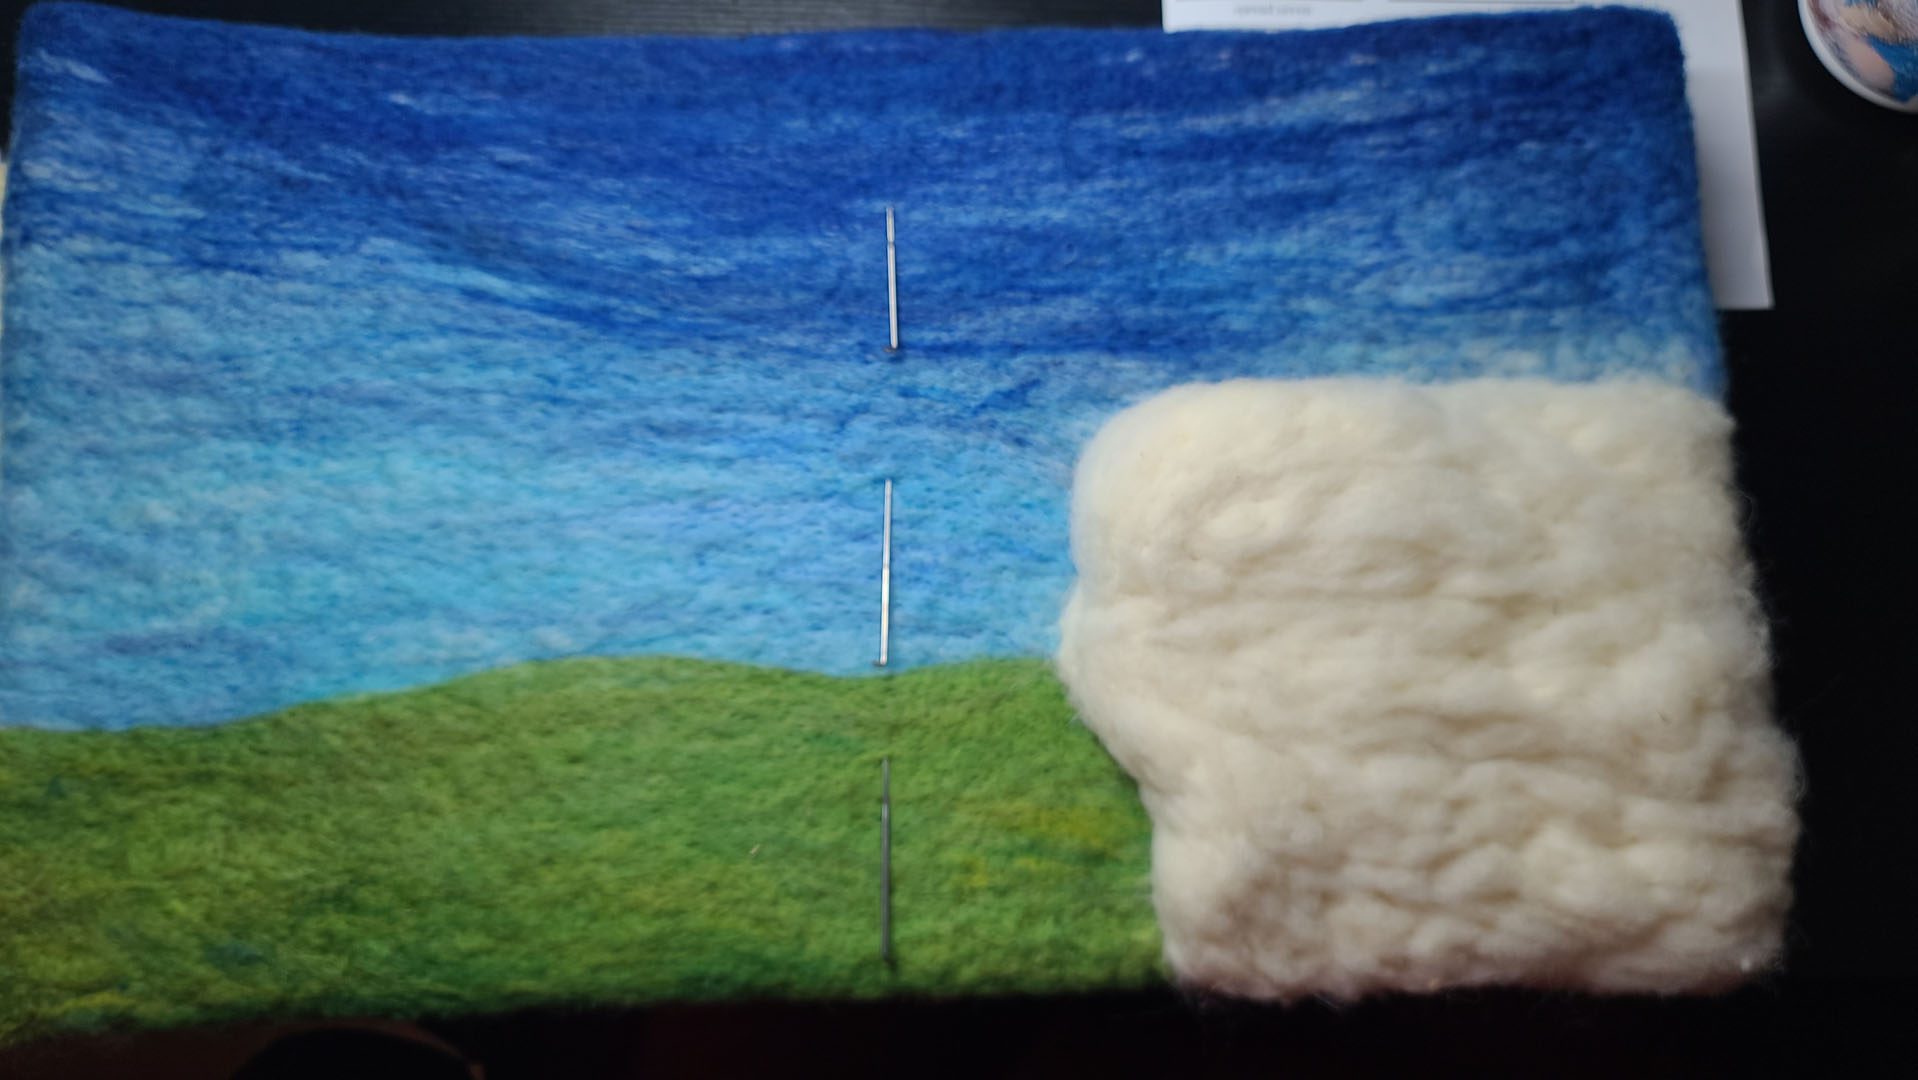
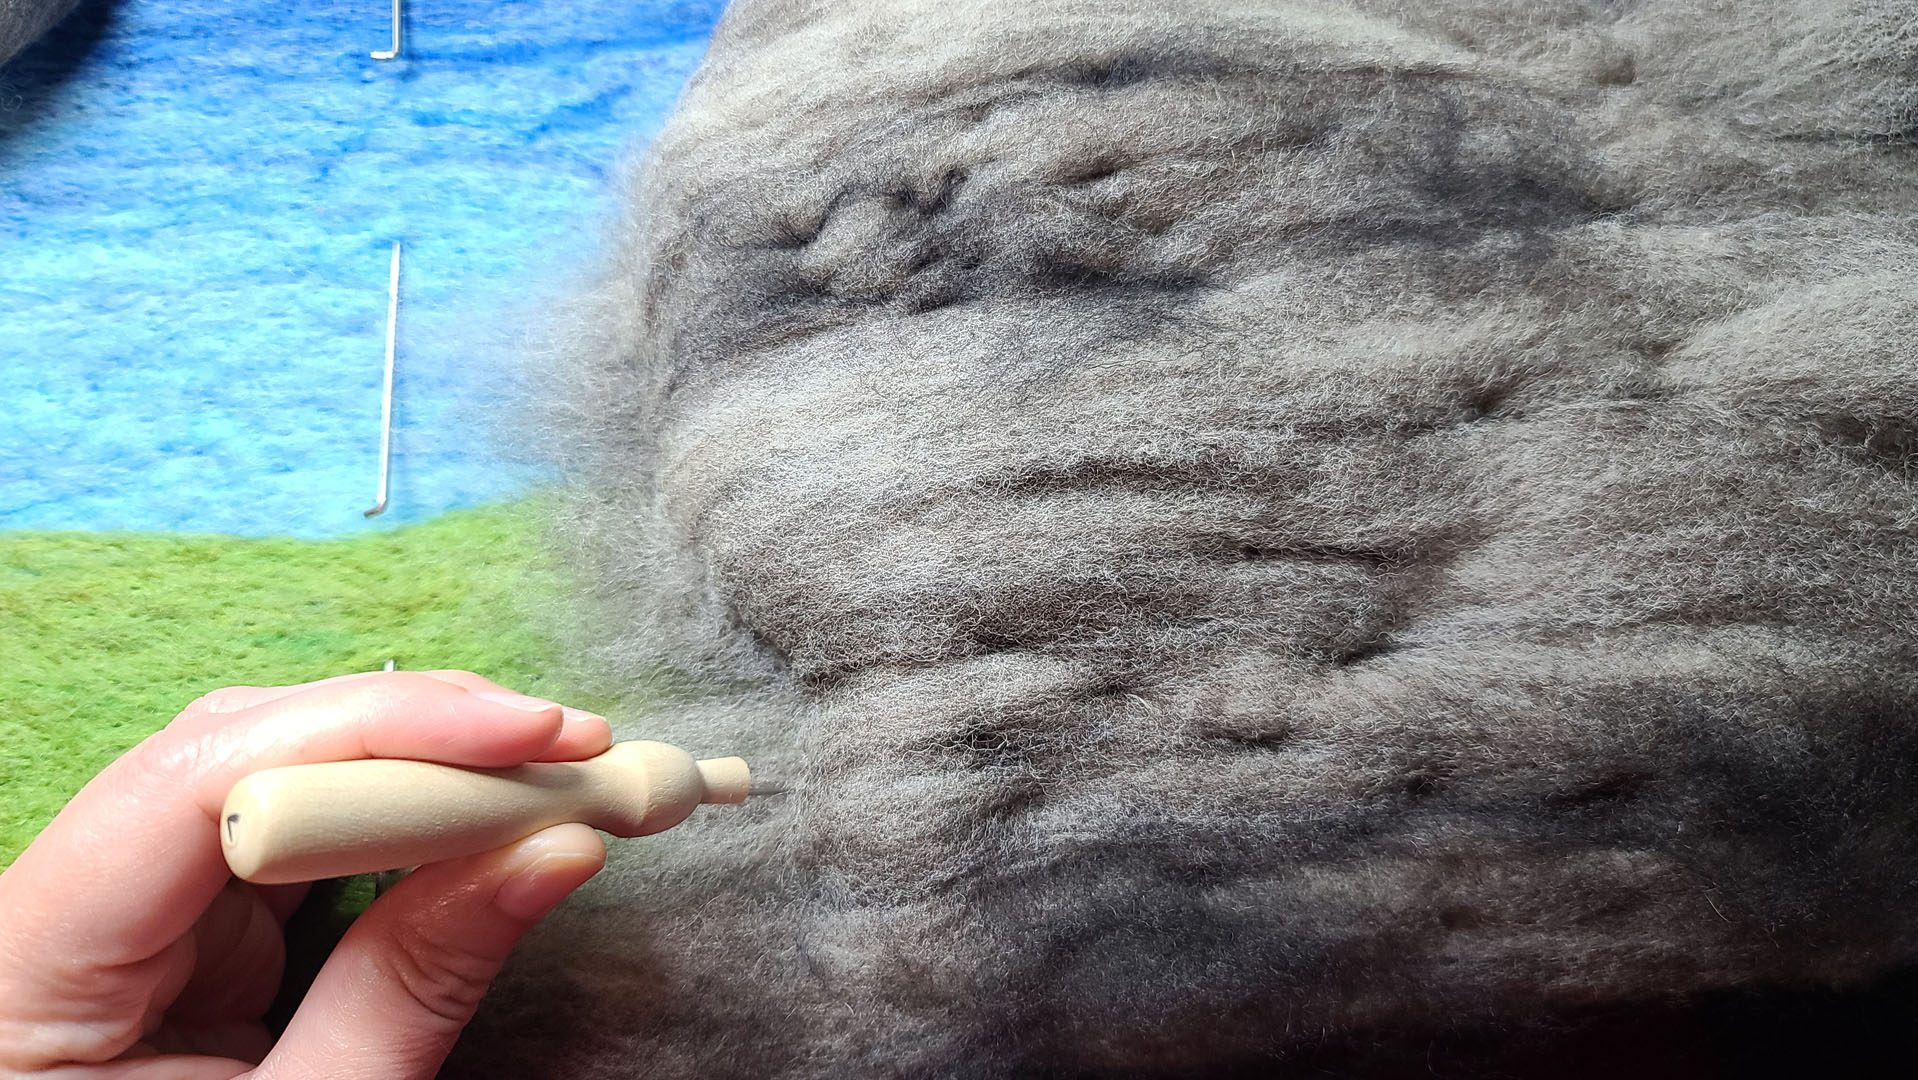
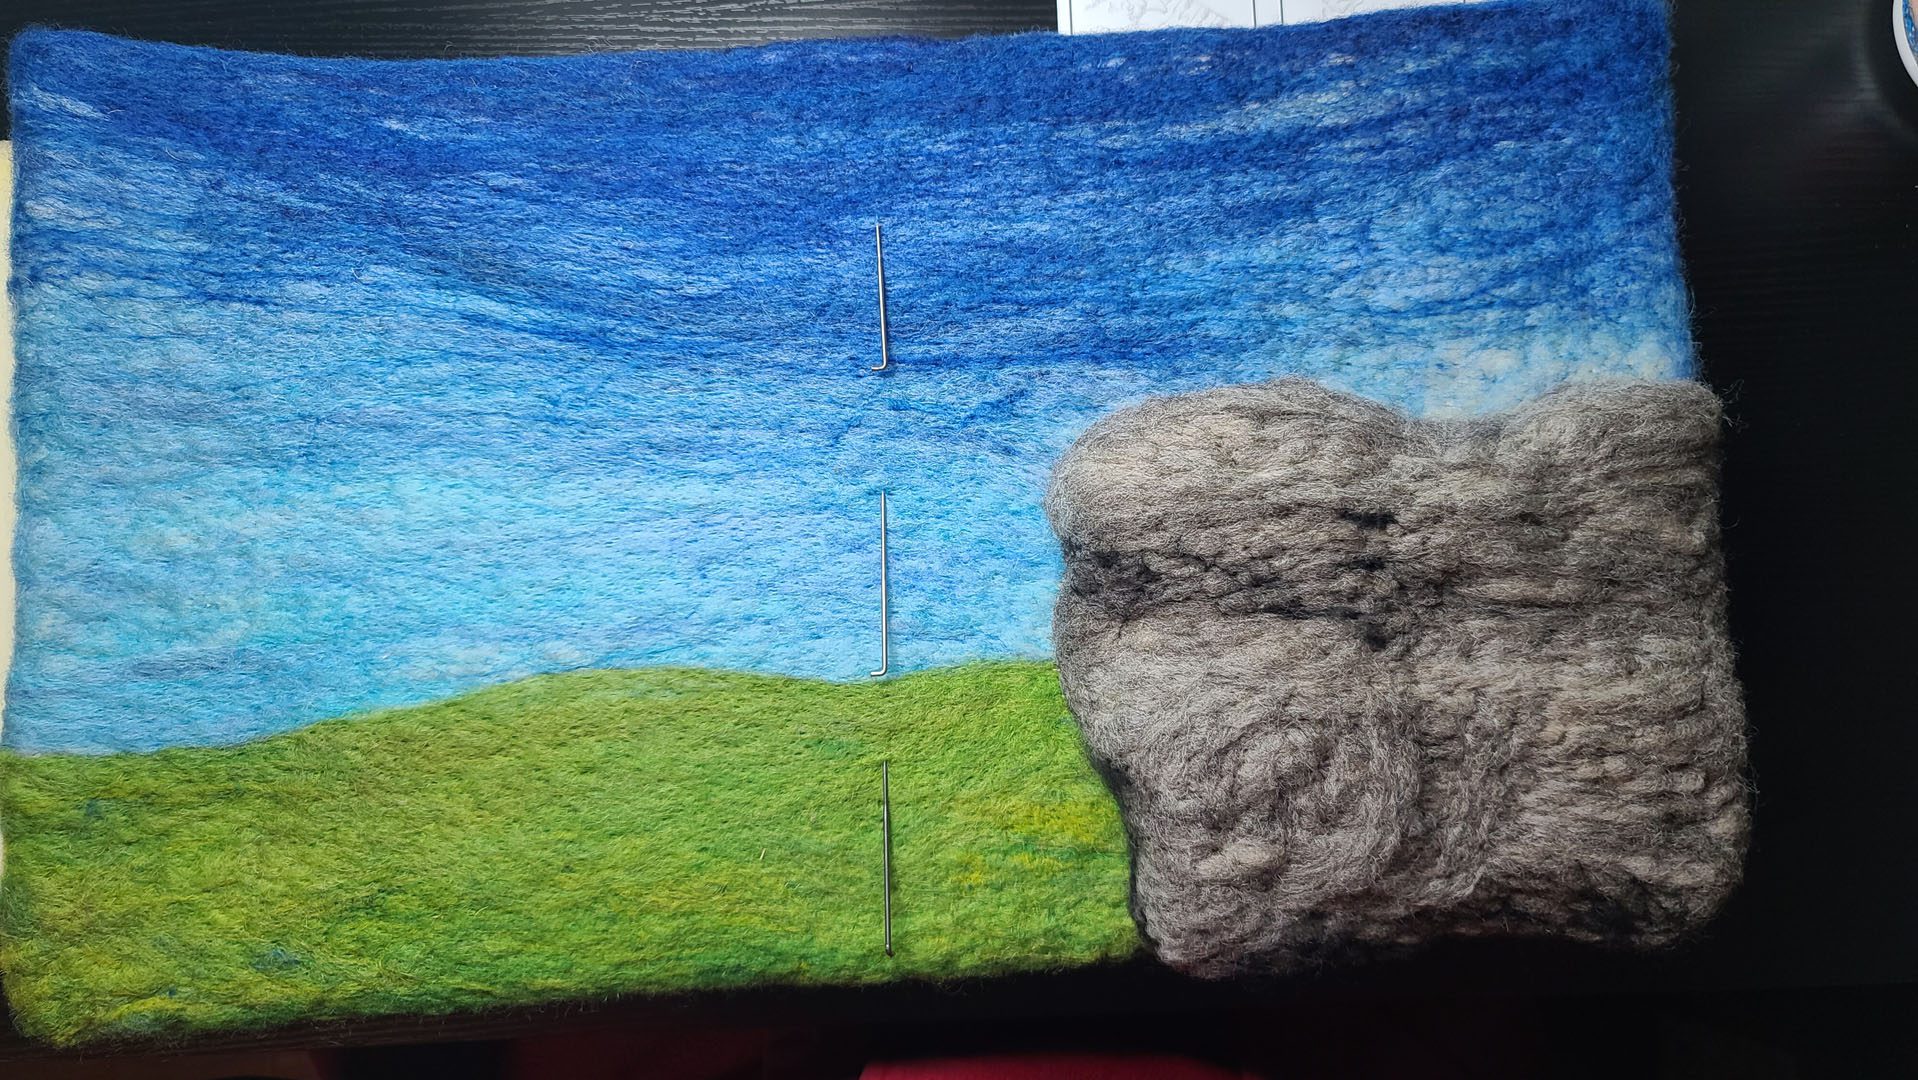
Blocking Out Subject Composition
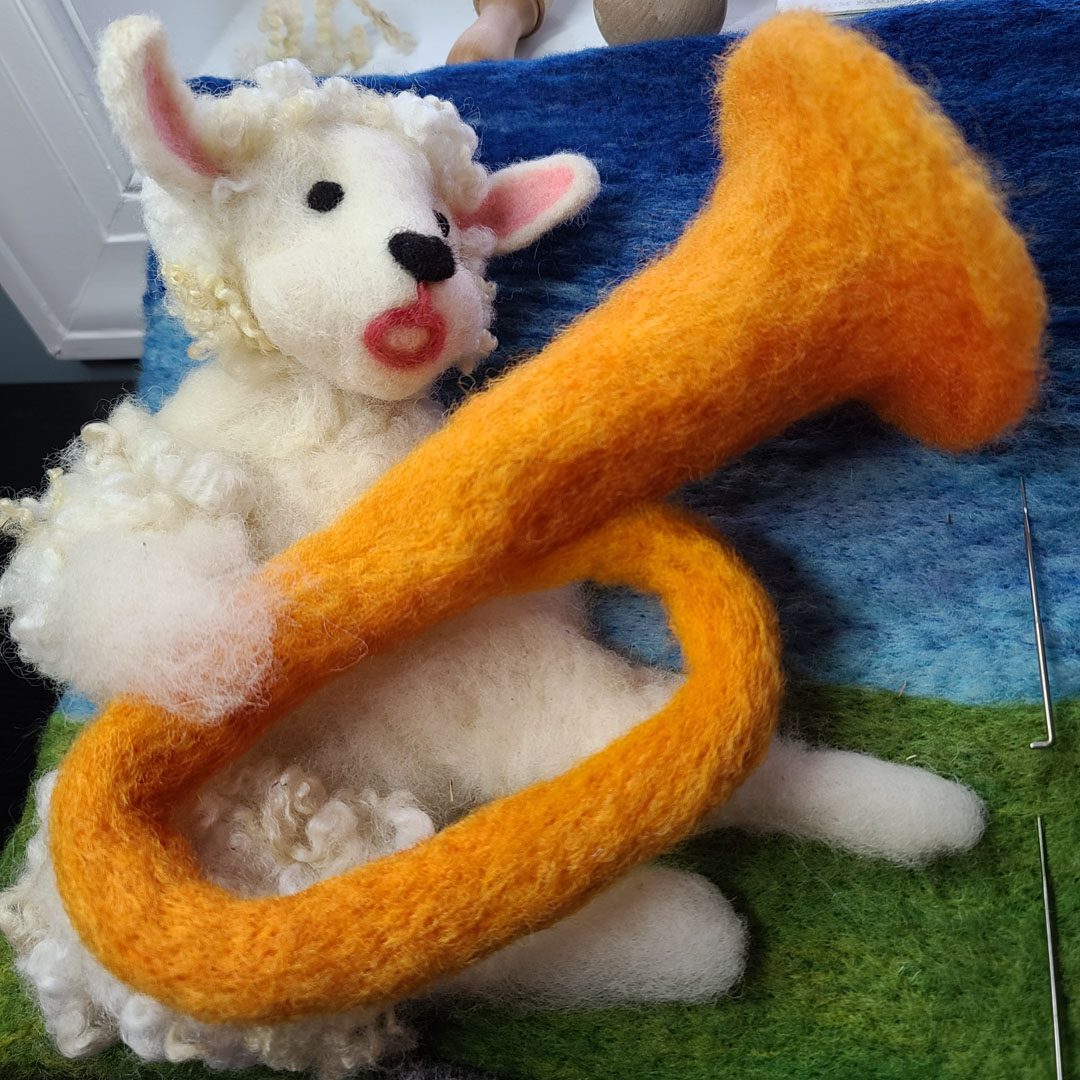
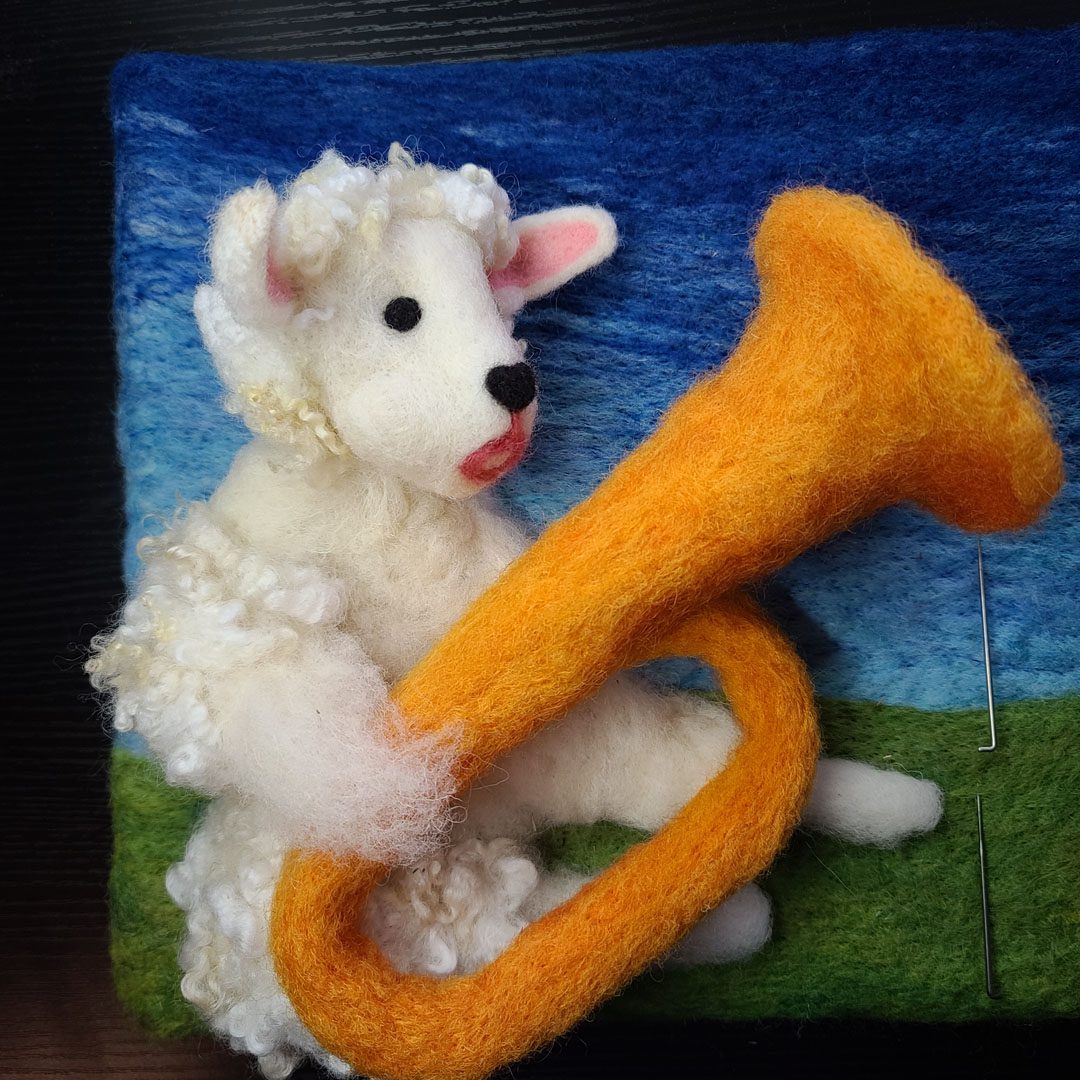
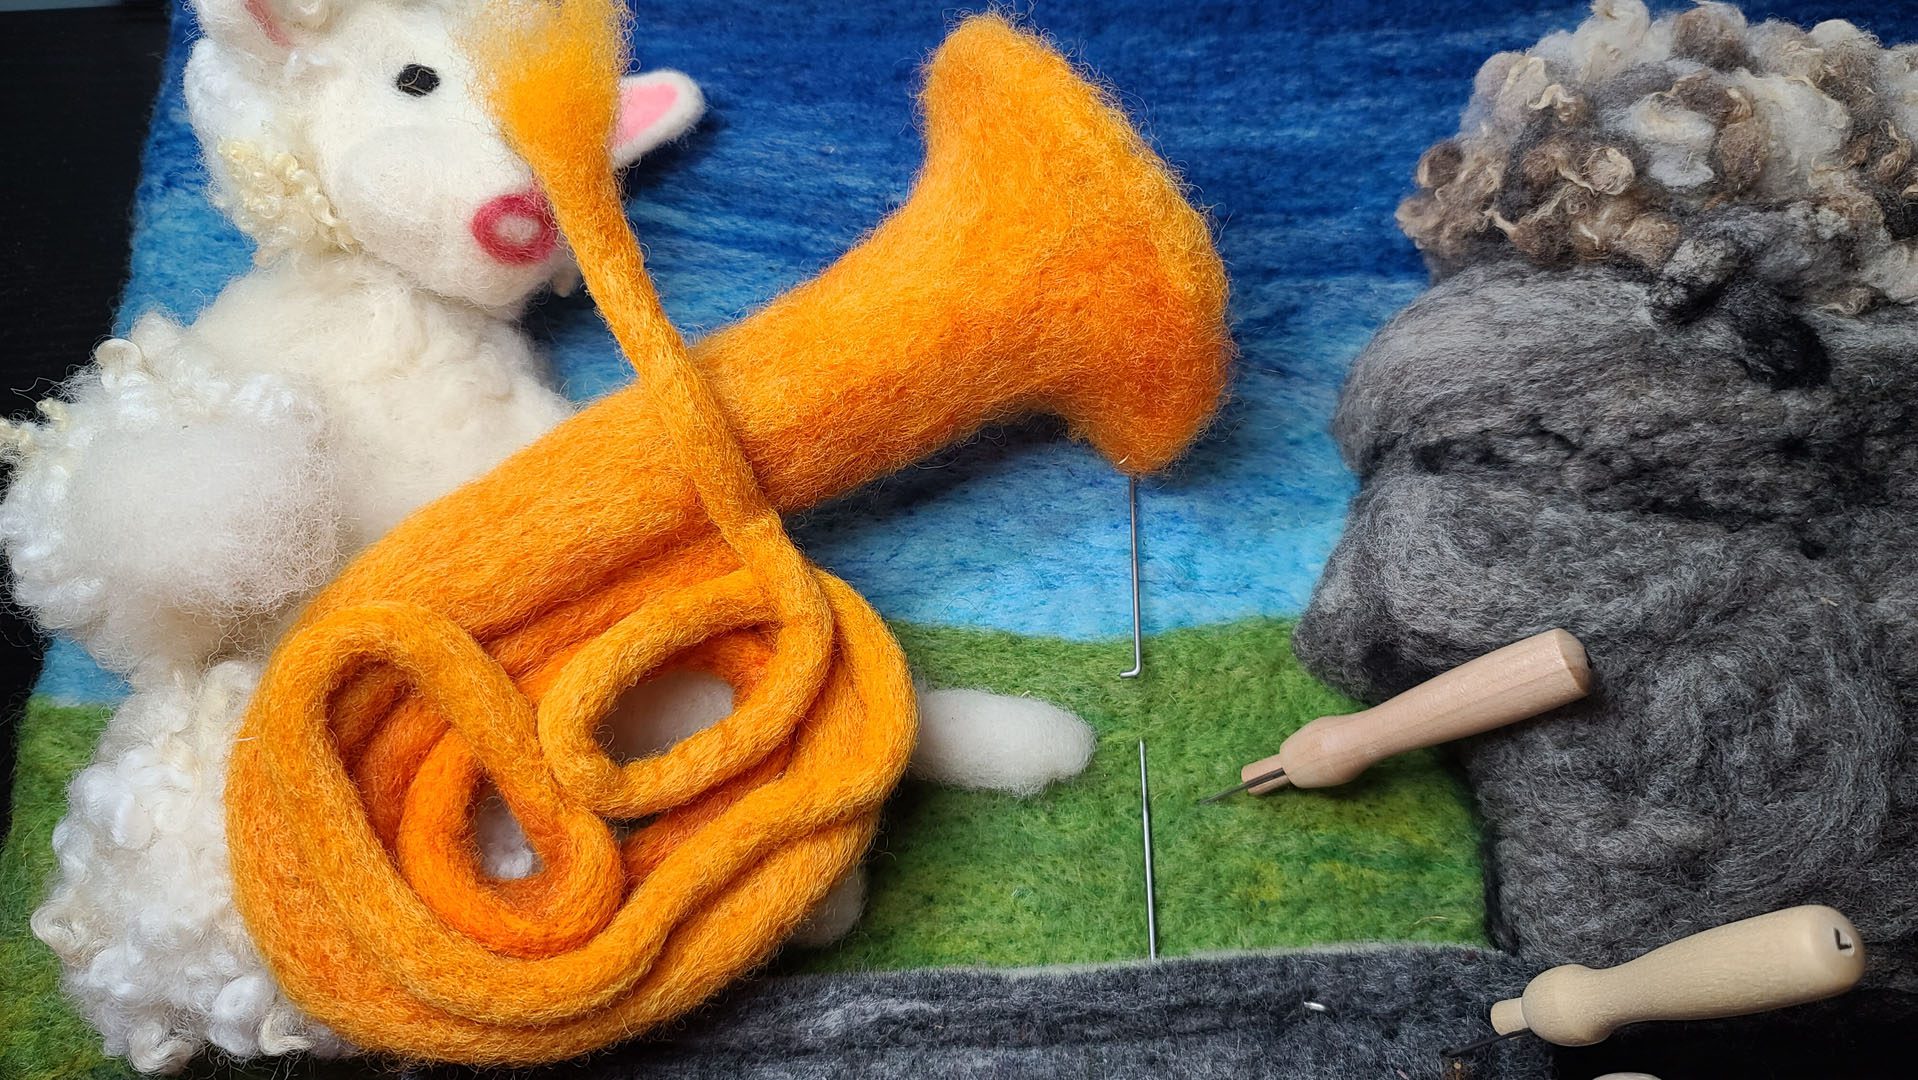
This gallery includes pictures from the initial stages of blocking out the primary subjects of the composition and attaching wool shapes to the base. This illustration features Leona playing a tuba on the left page illustration and a sheep sitting atop a large rock in the line of the tuba sound on the right page illustration.


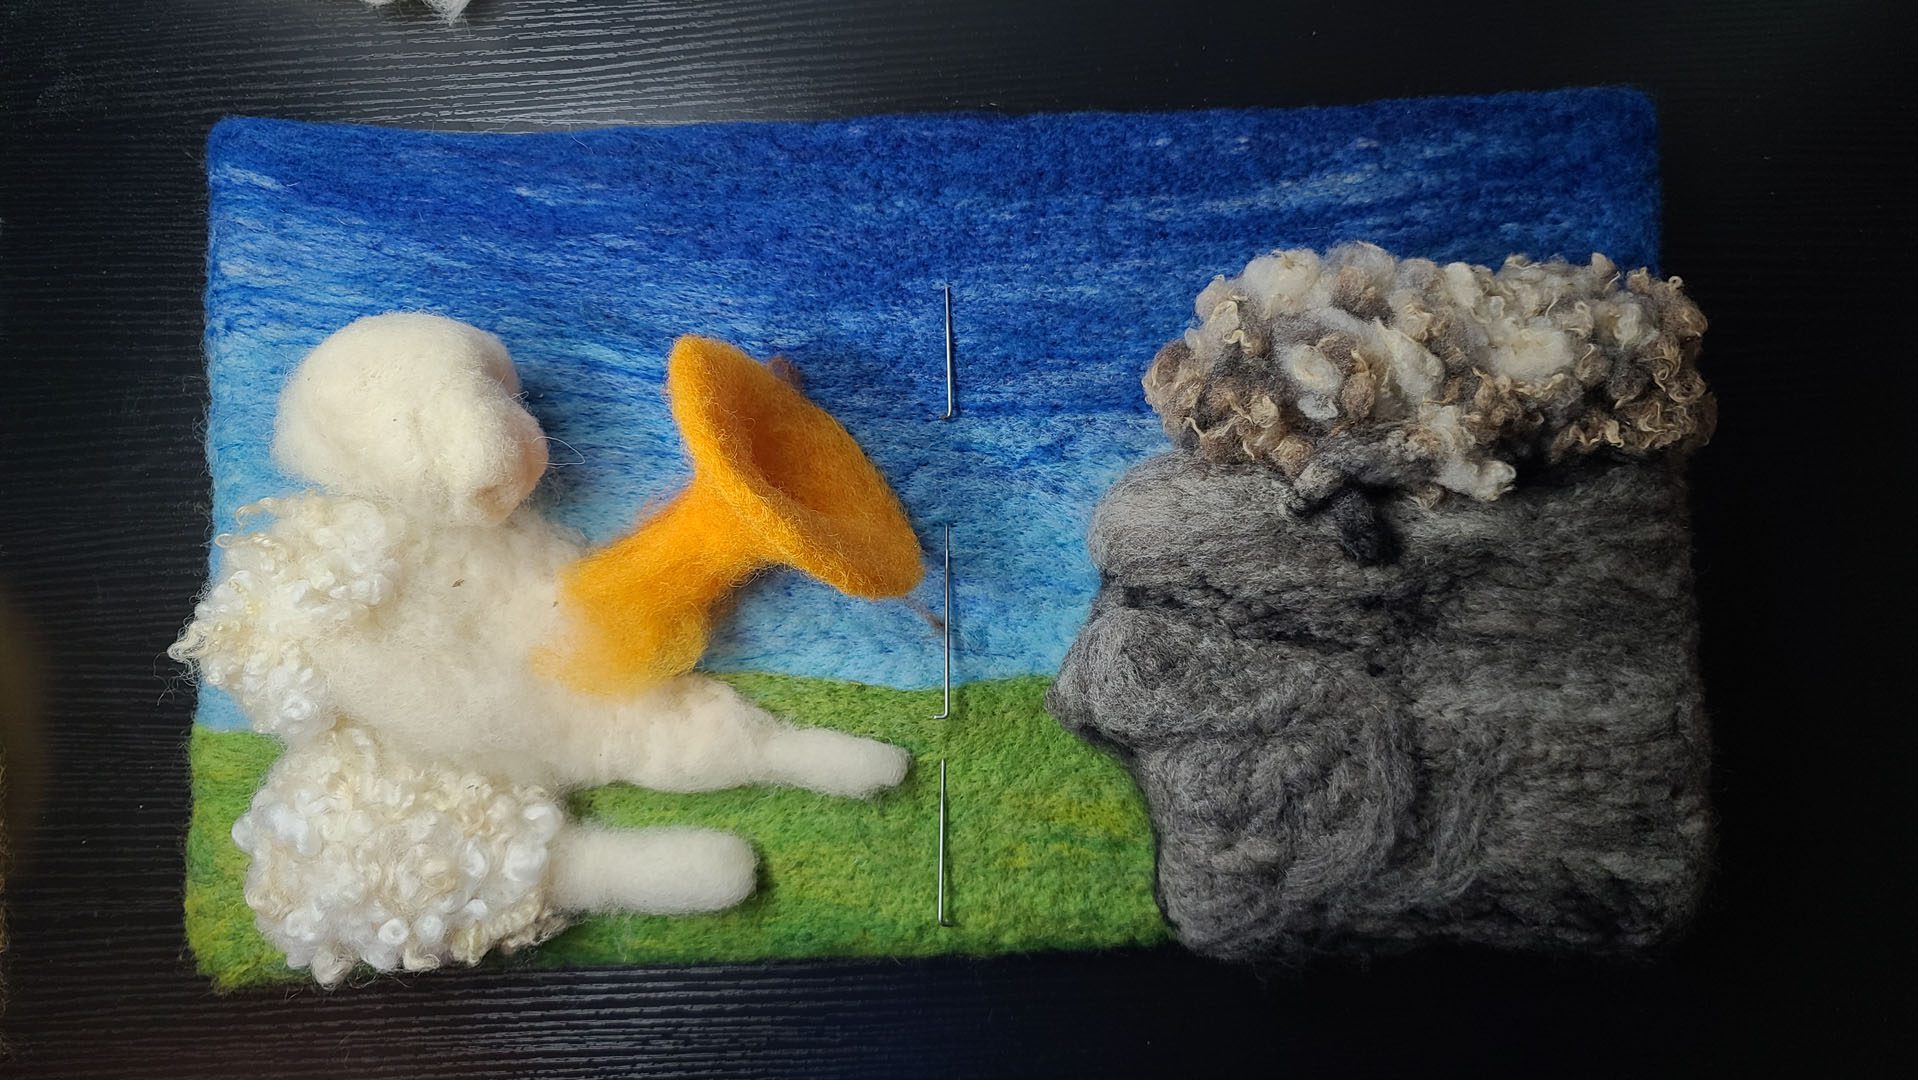
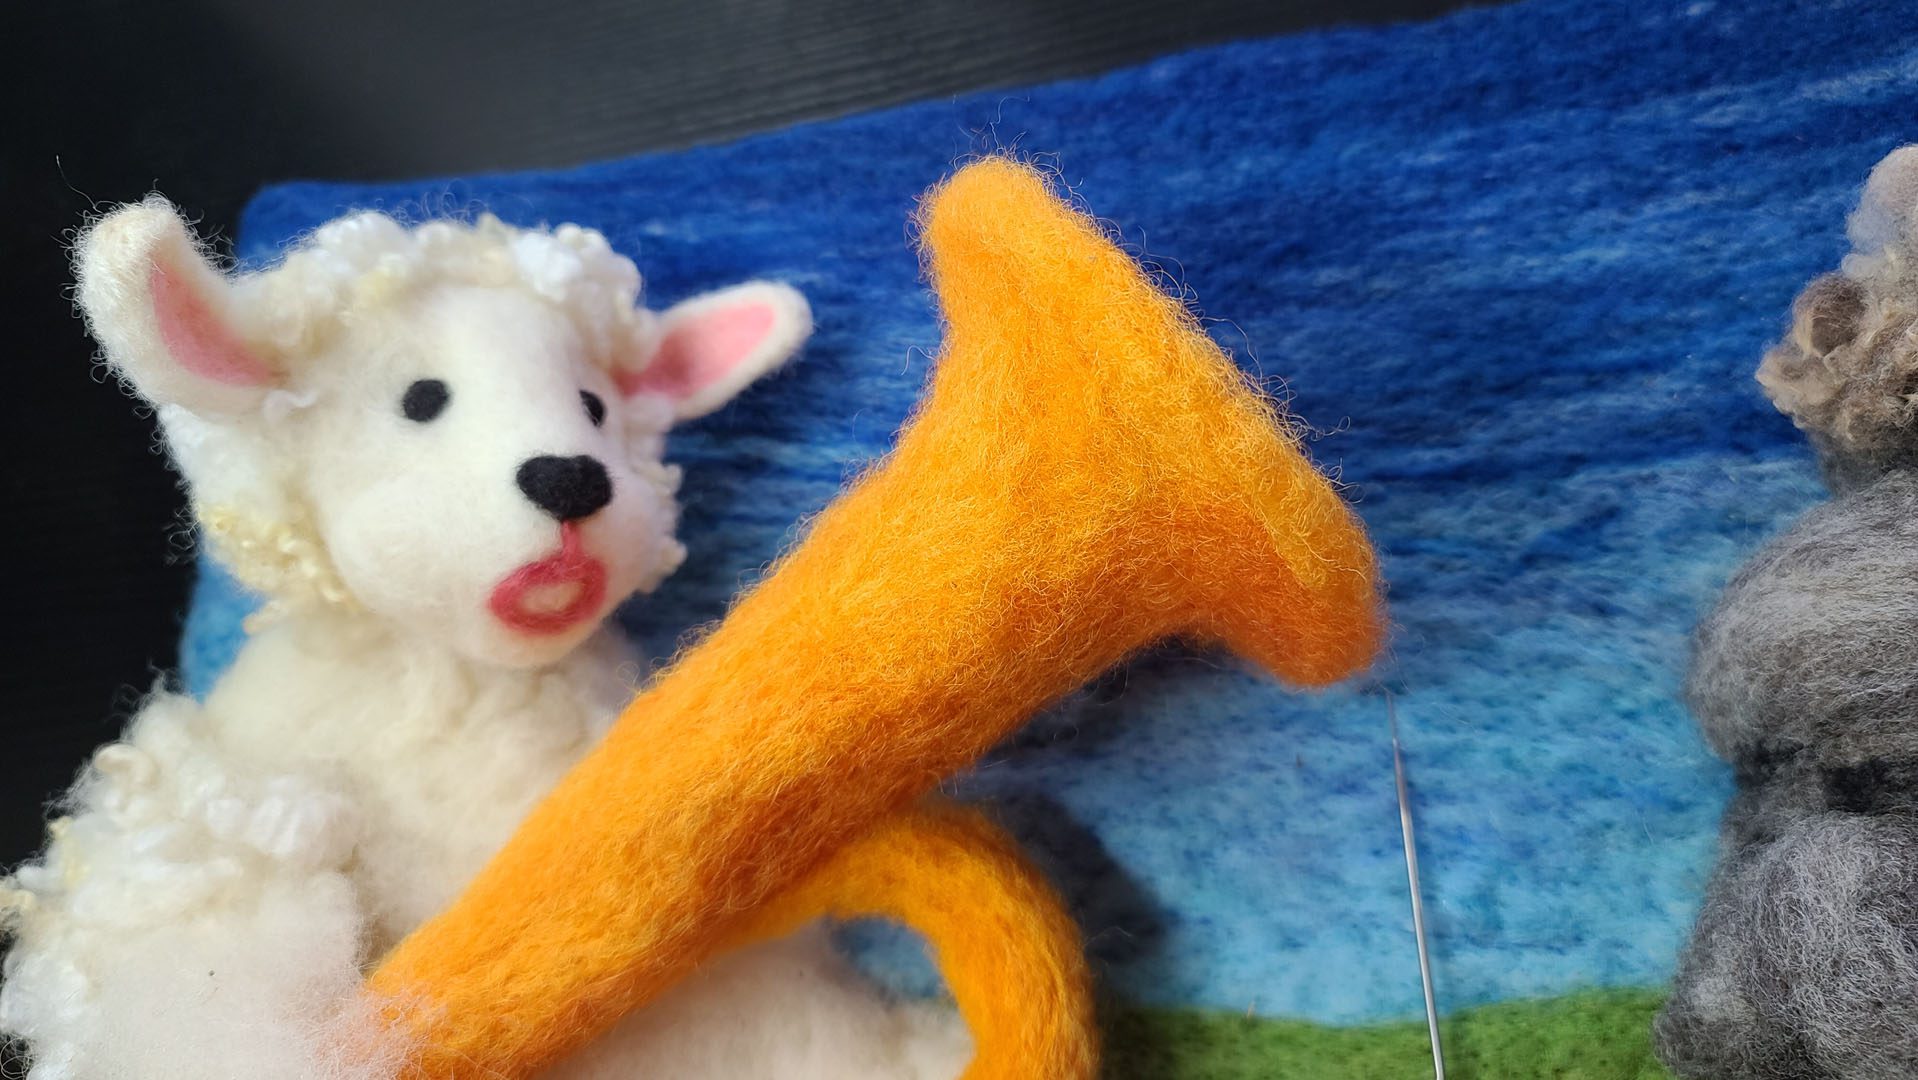
Felting the Tuba Bell
Kicking off the felting of Leona’s tuba with the bell. Please forgive my lack of correct terminology as I describe what I am doing. I believe I refer to the tuba bell as the horn. As you can see, I’m not well versed in instrument anatomy! I promise to look up instrument parts BEFORE I start felting the next illustration.
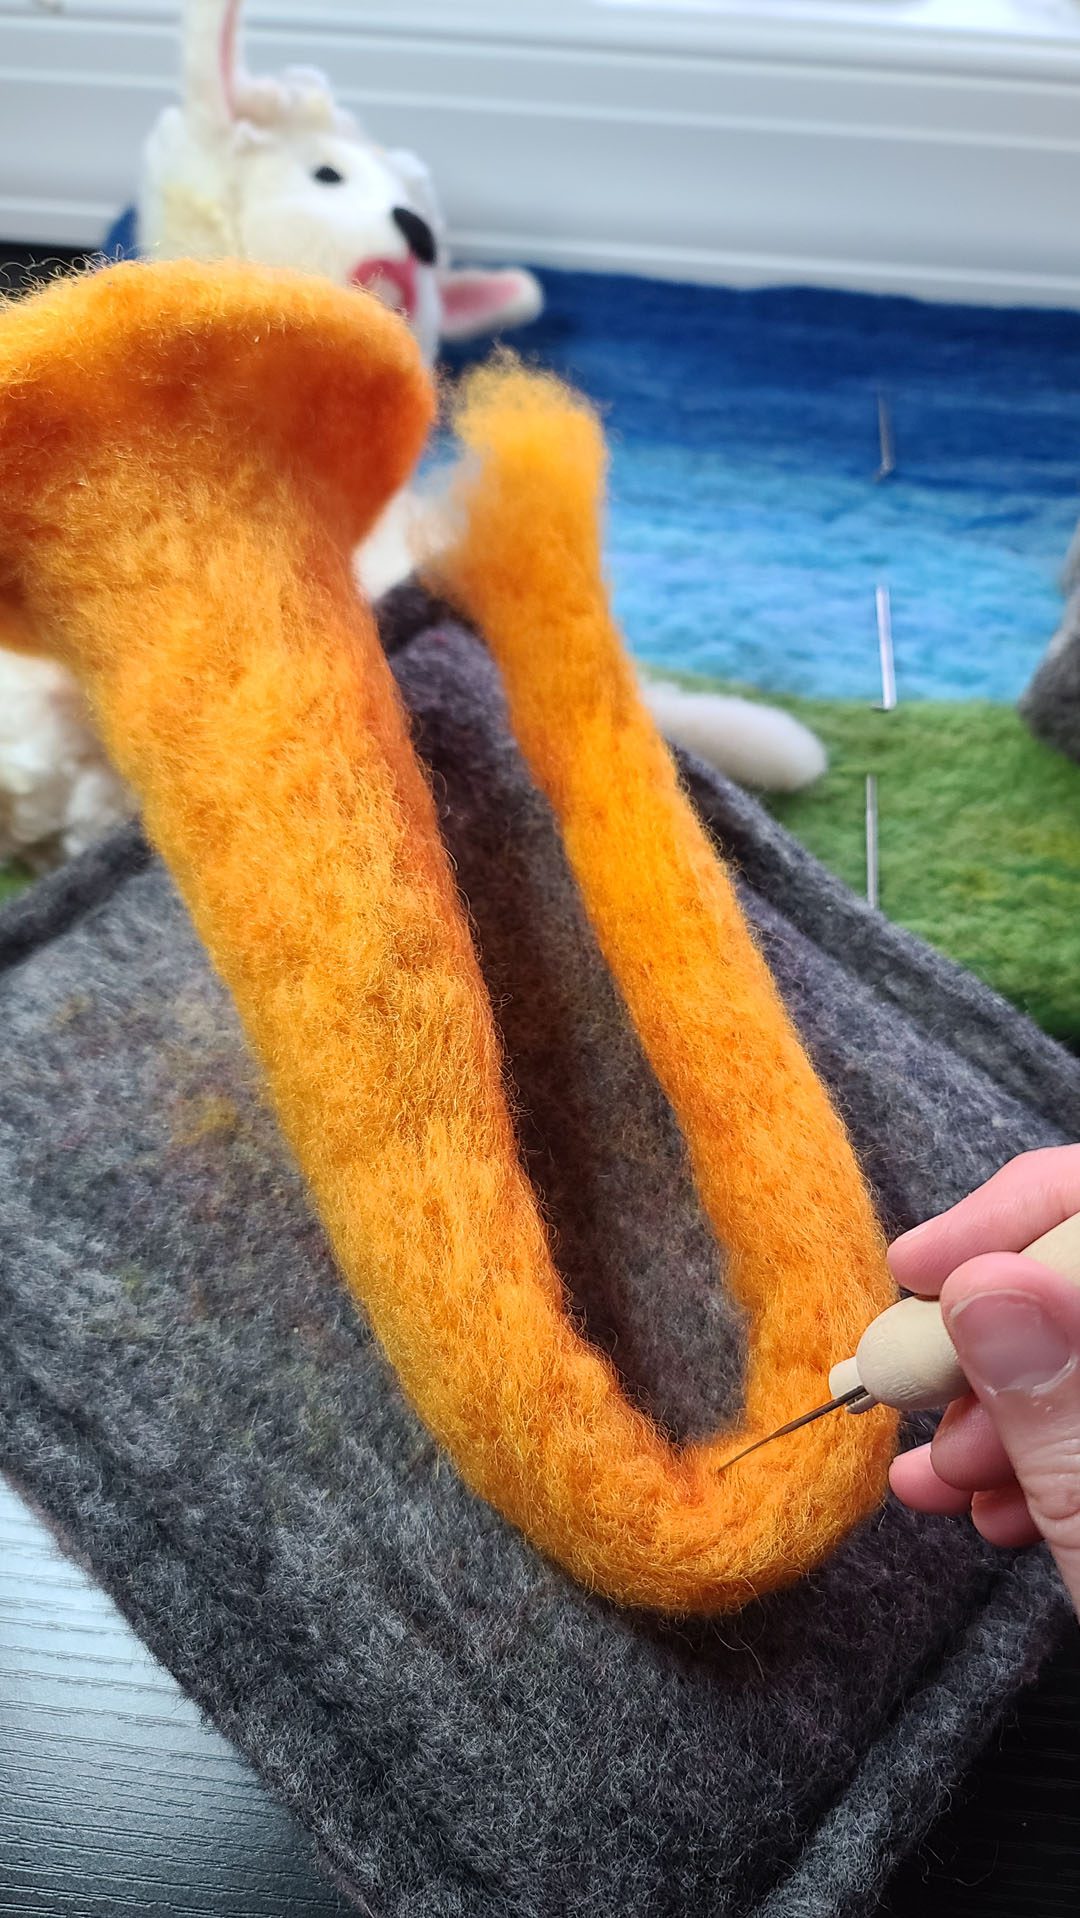
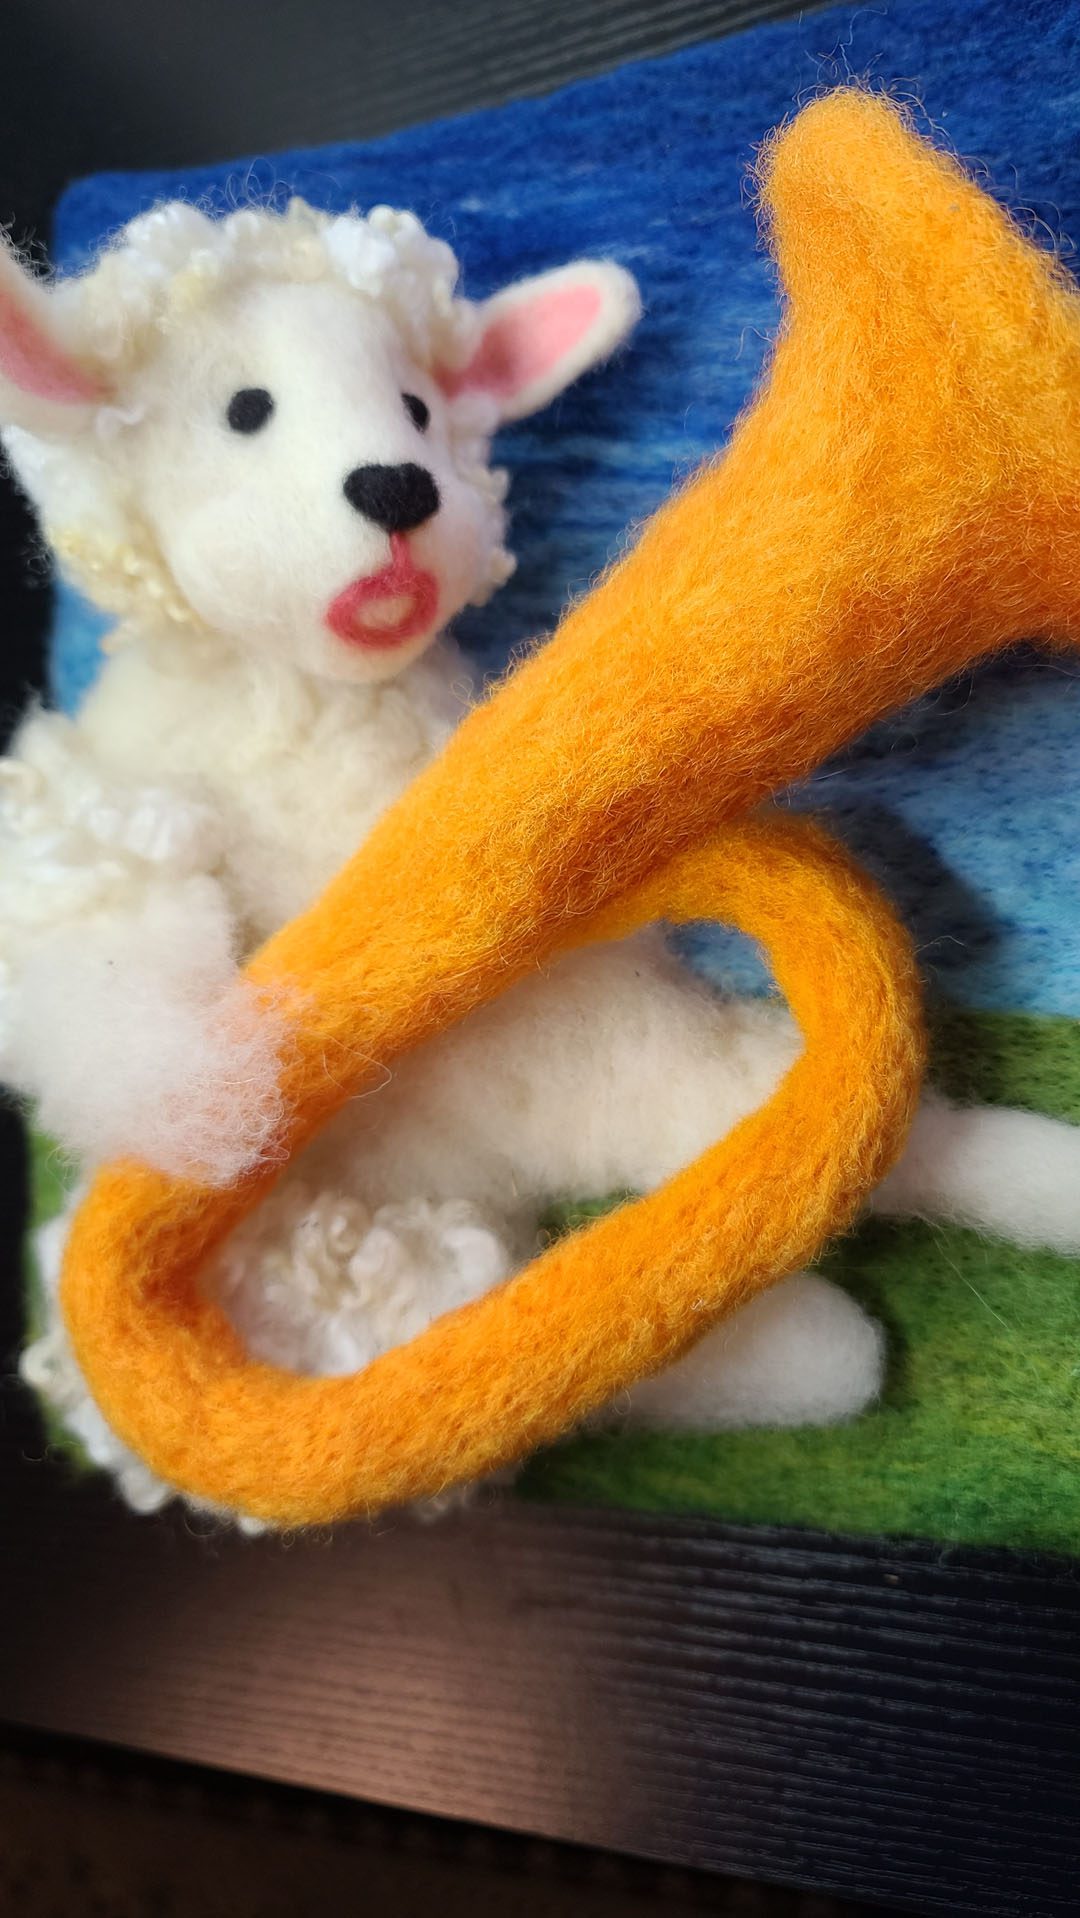
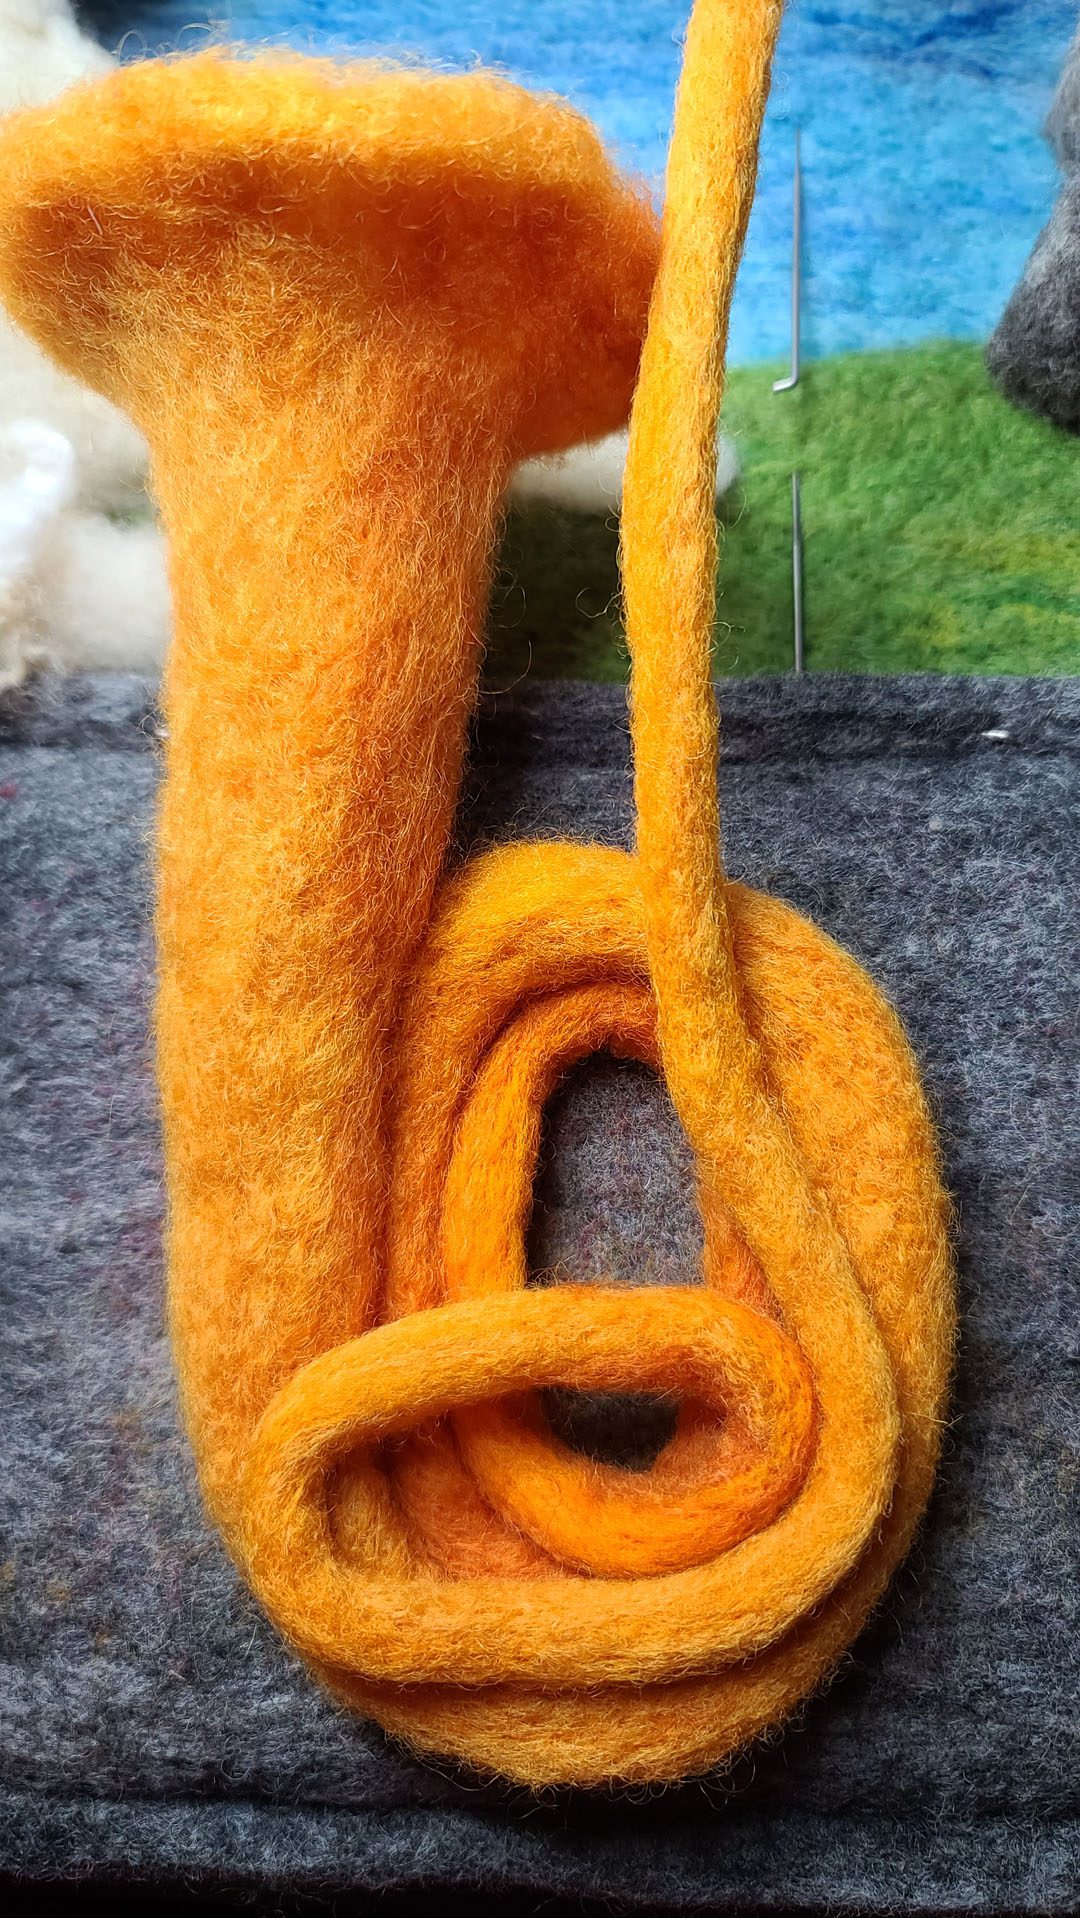
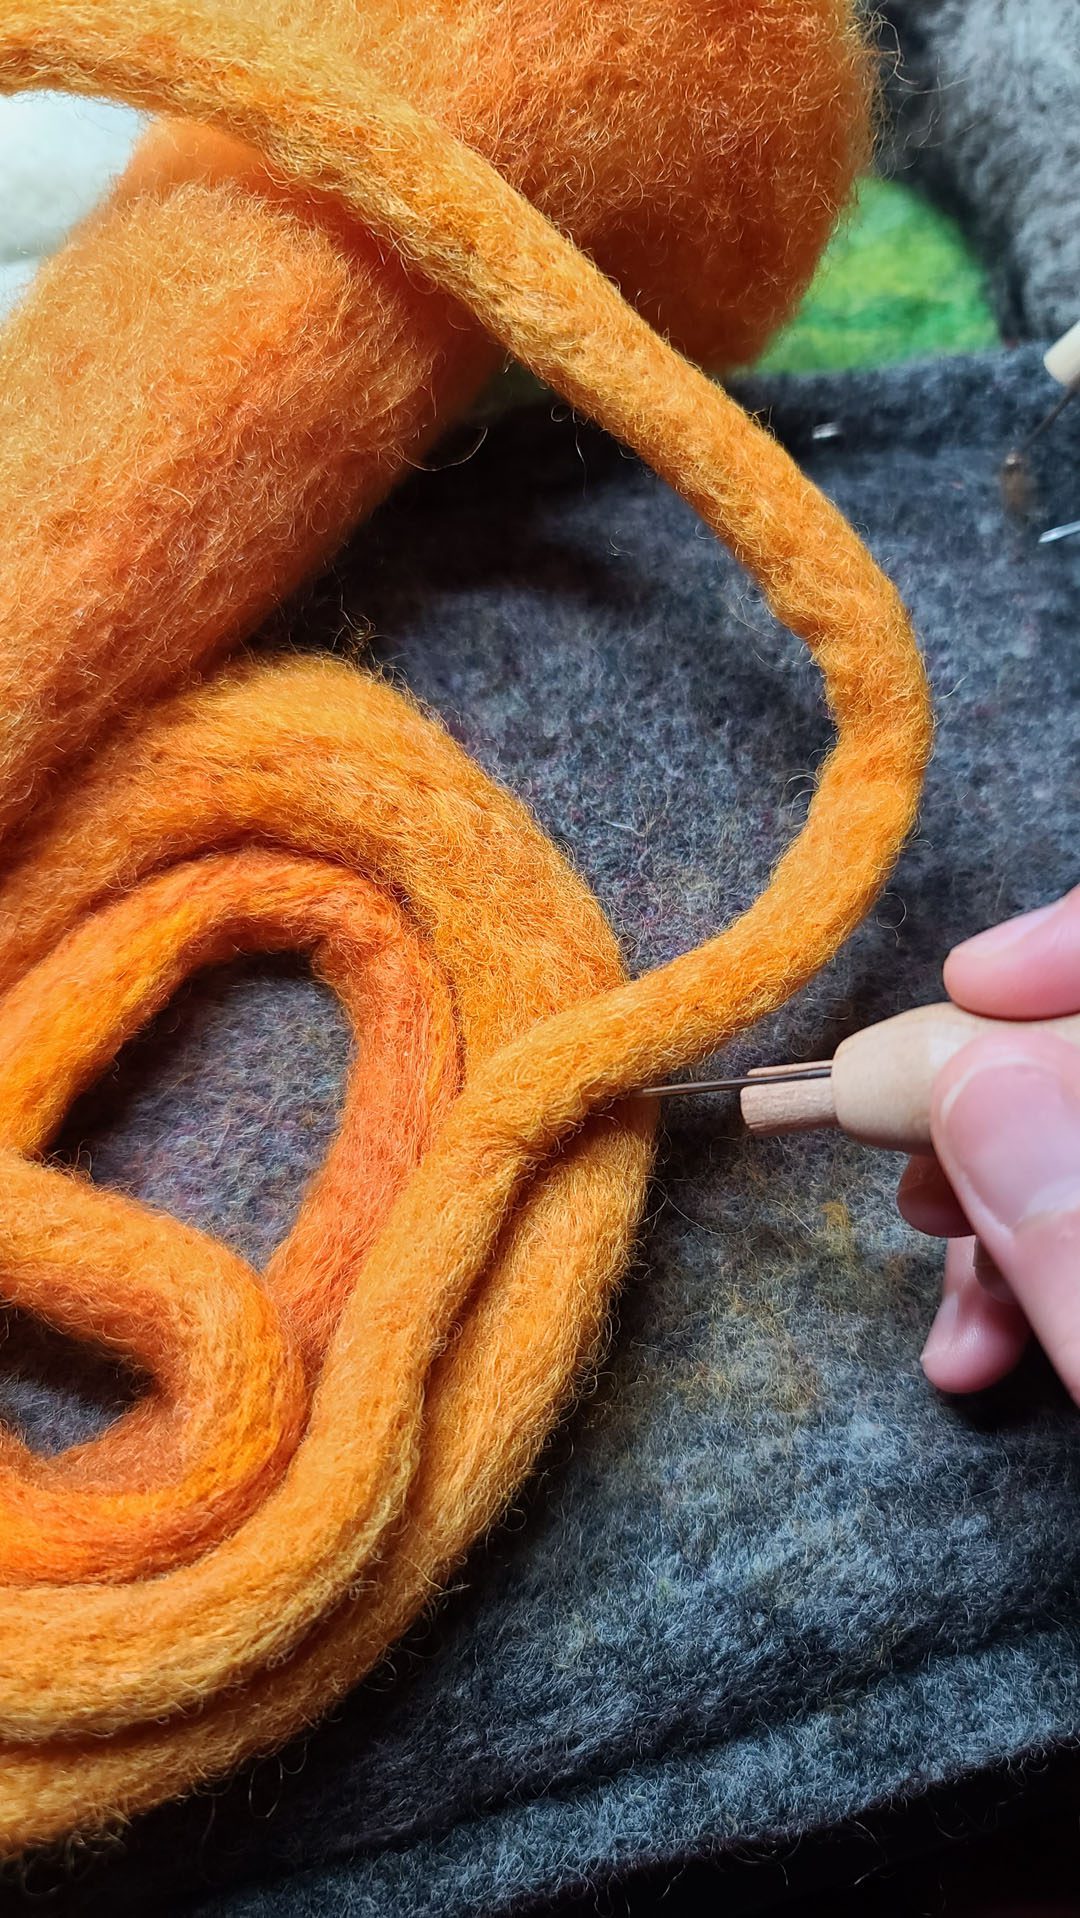
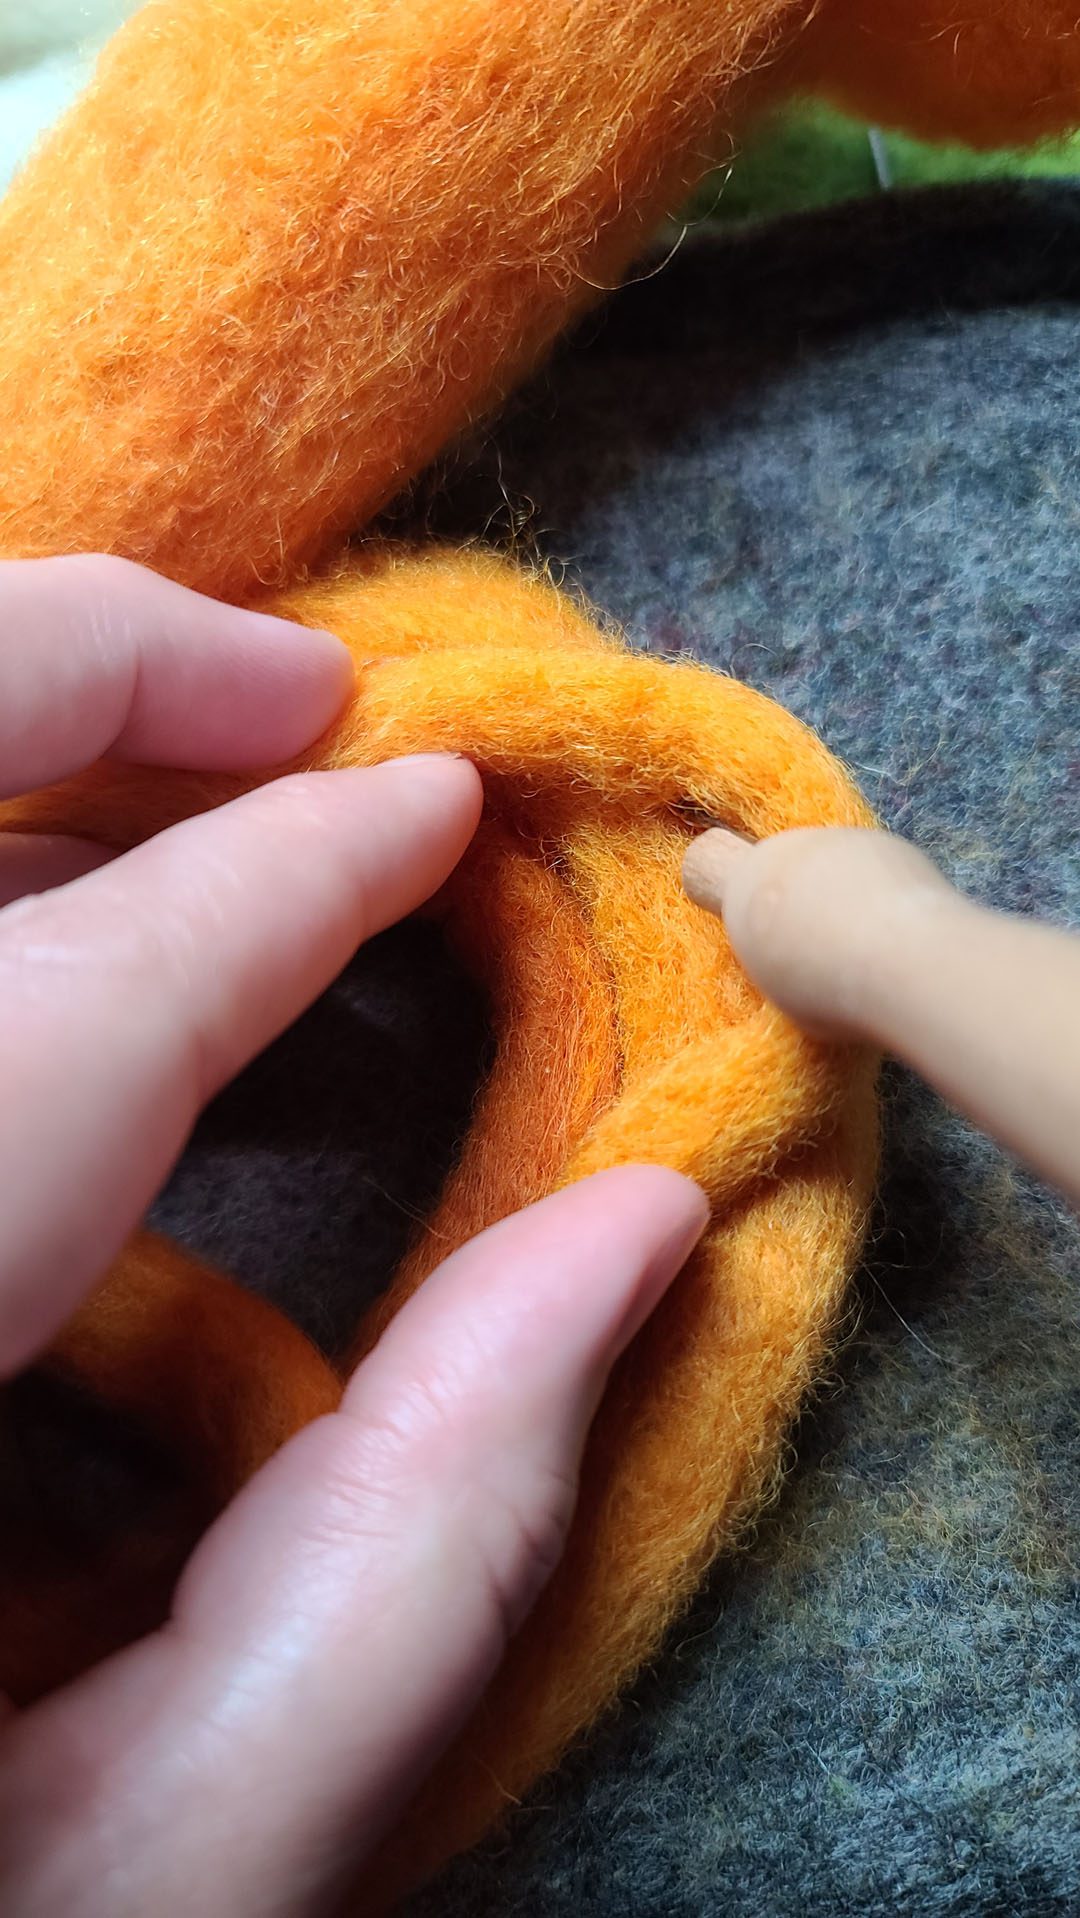
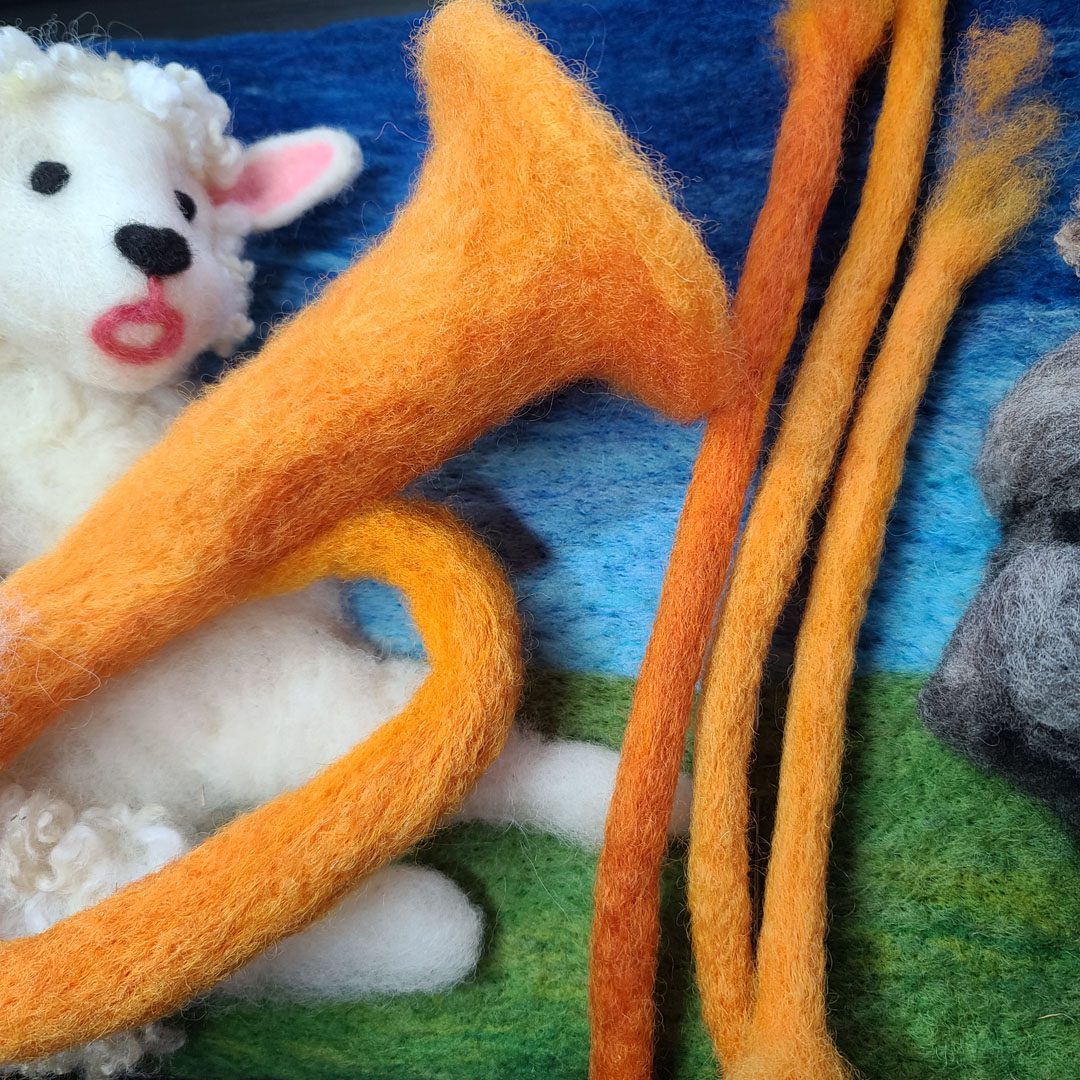
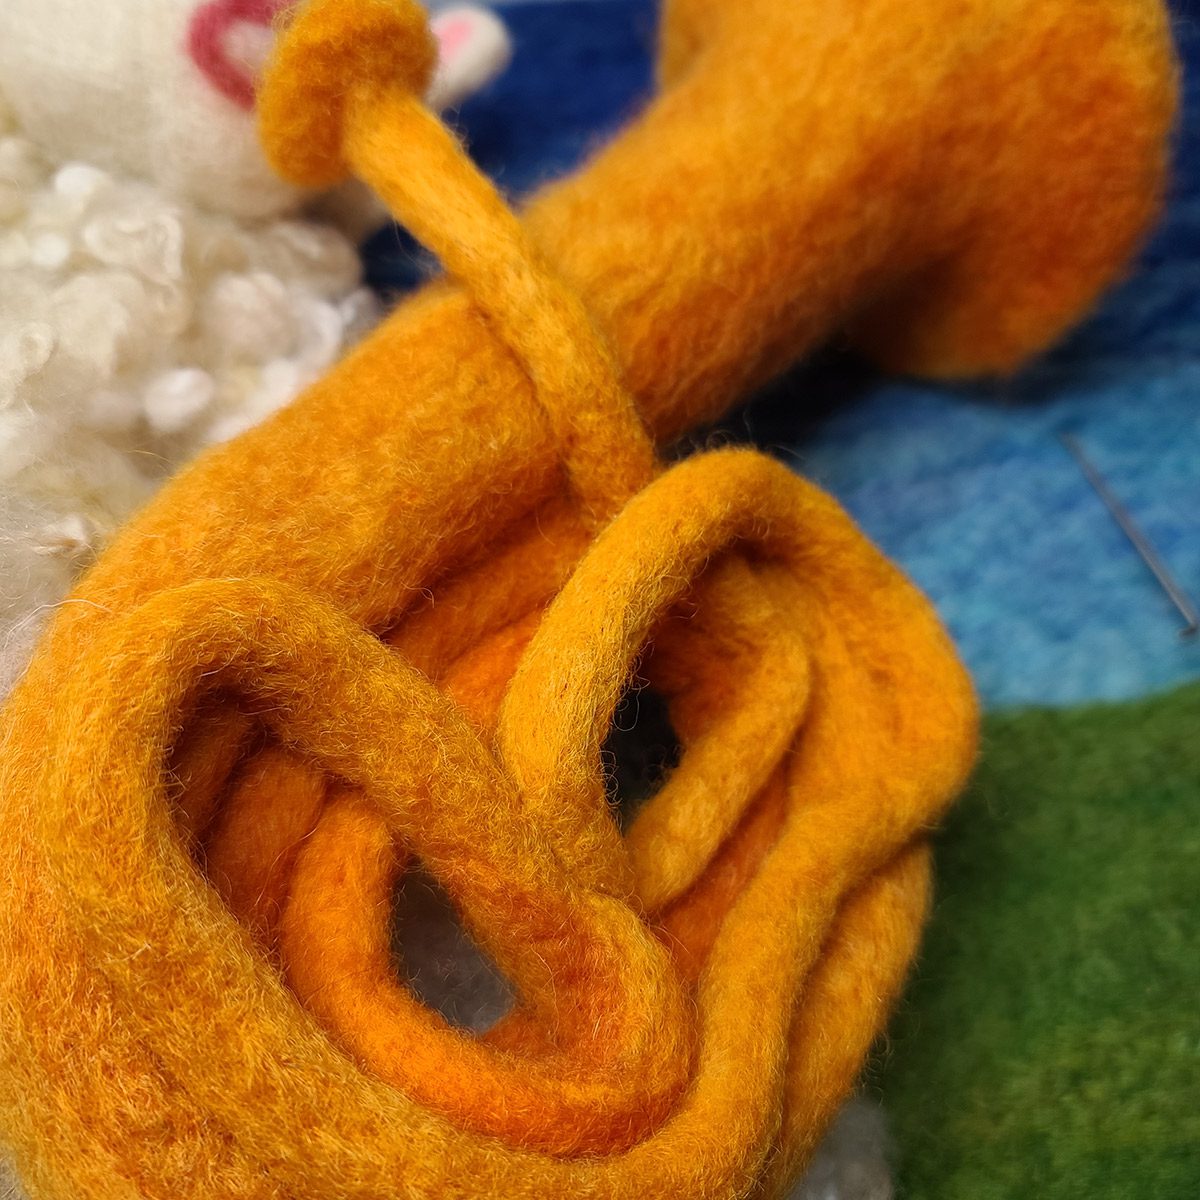
Felting Tuba Slides in Layers & Loops
In this video lesson, we add layers of long, round sections of felt to create layers of brassy tuba slides!
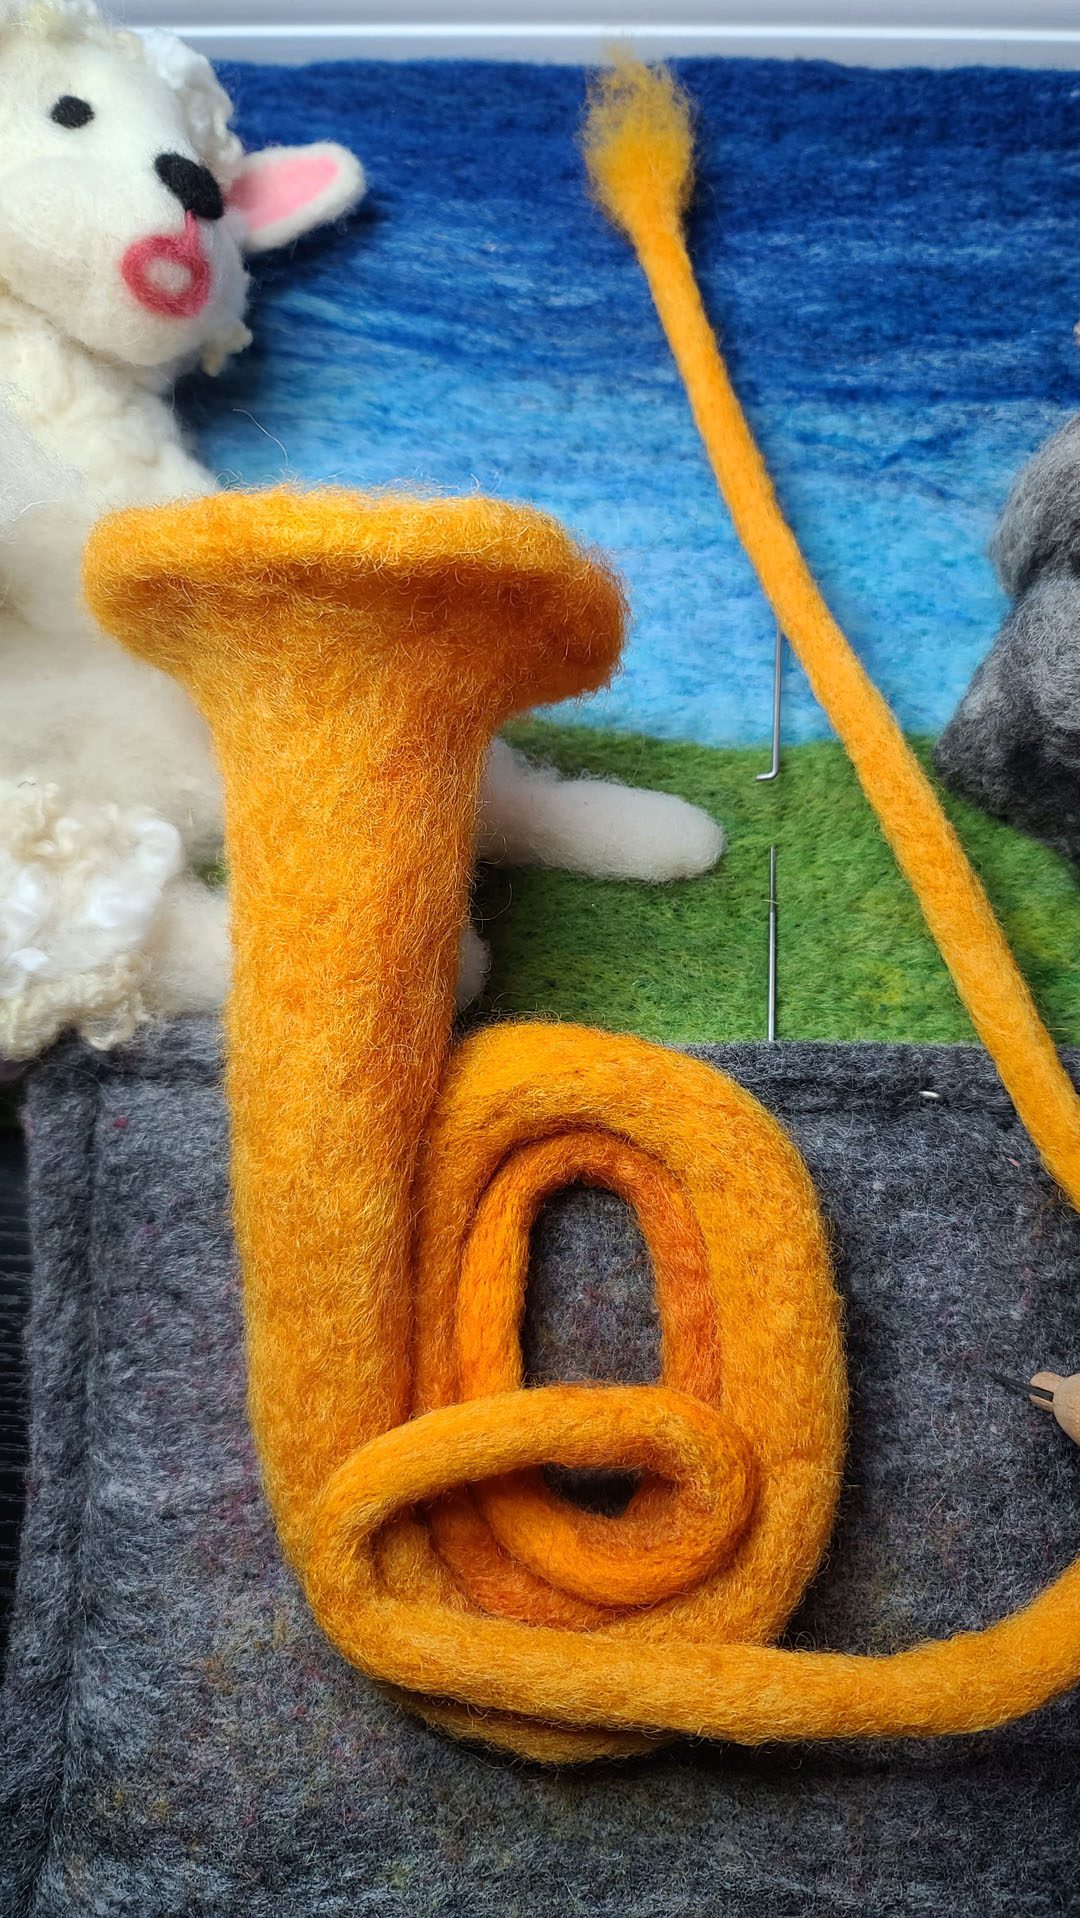
Forming the Tuba Mouthpiece
In this video lesson, I shape the mouthpiece of the tuba.
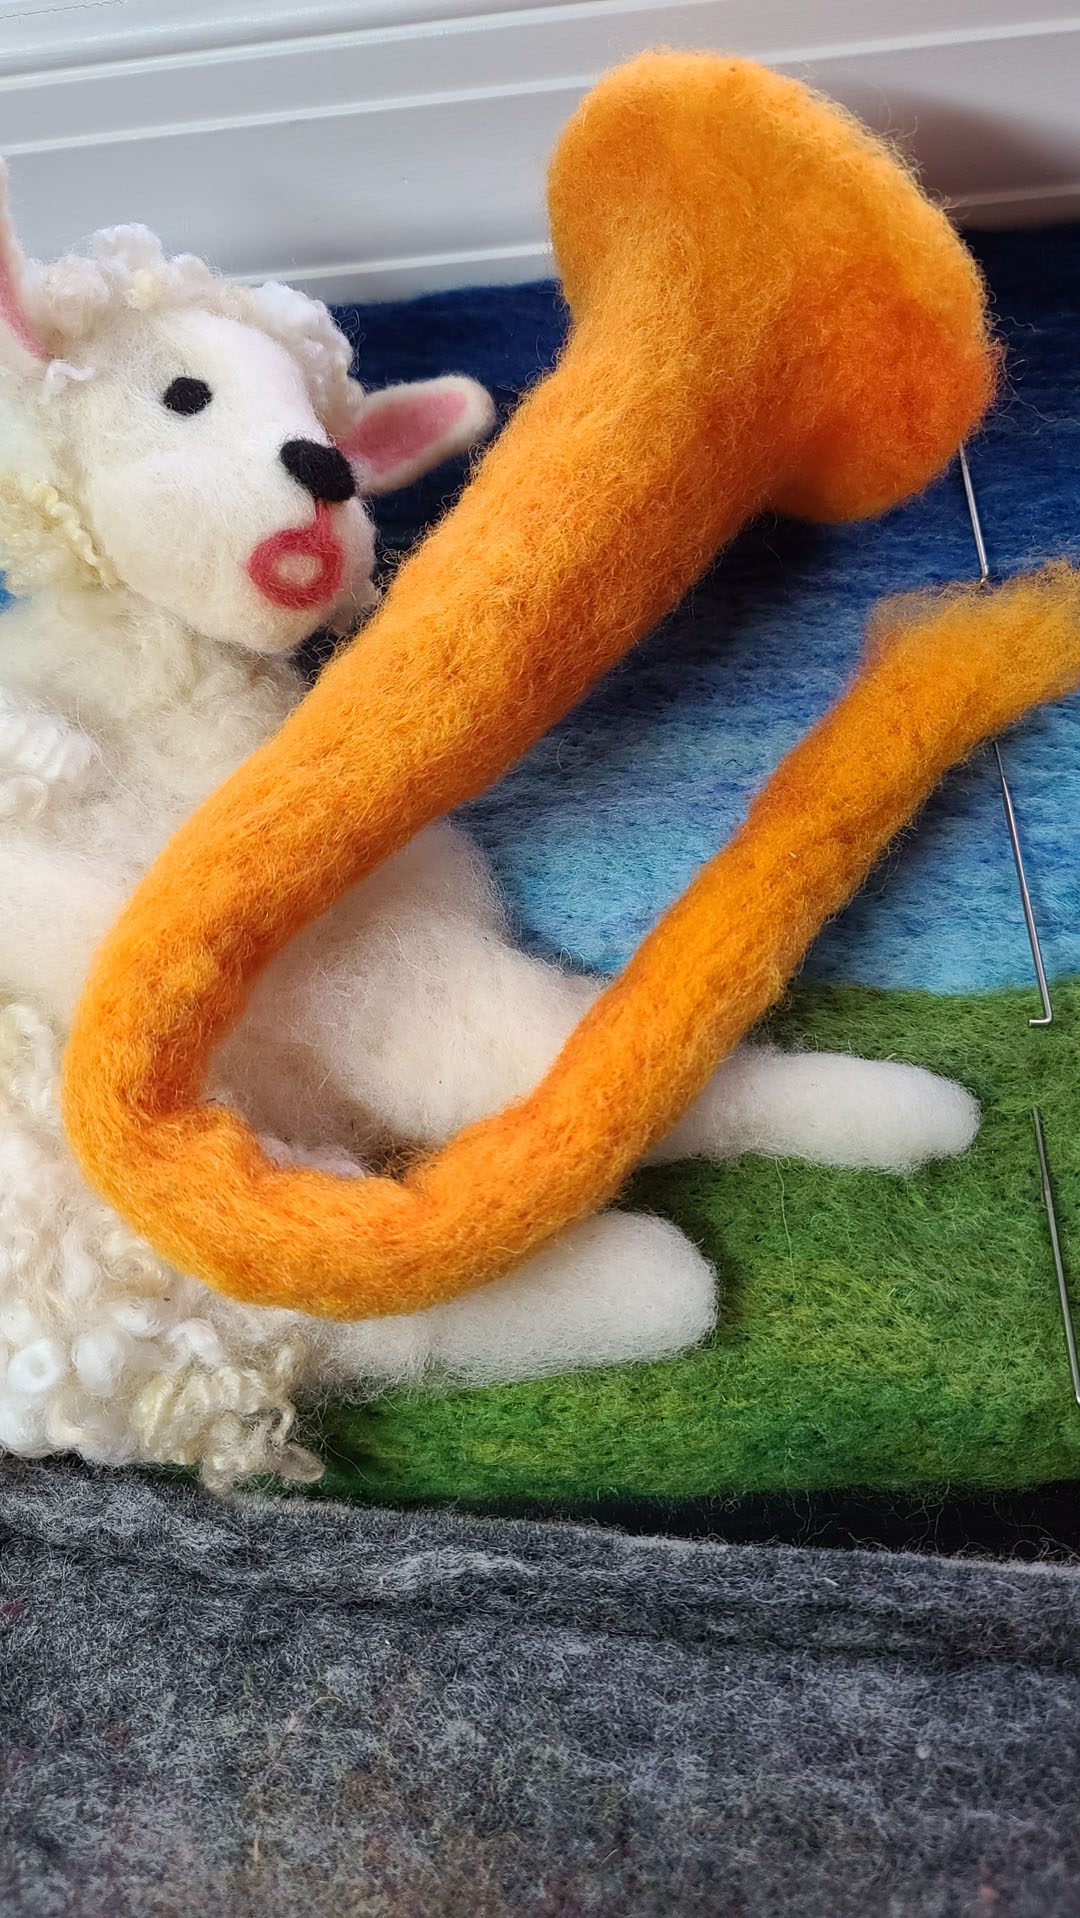
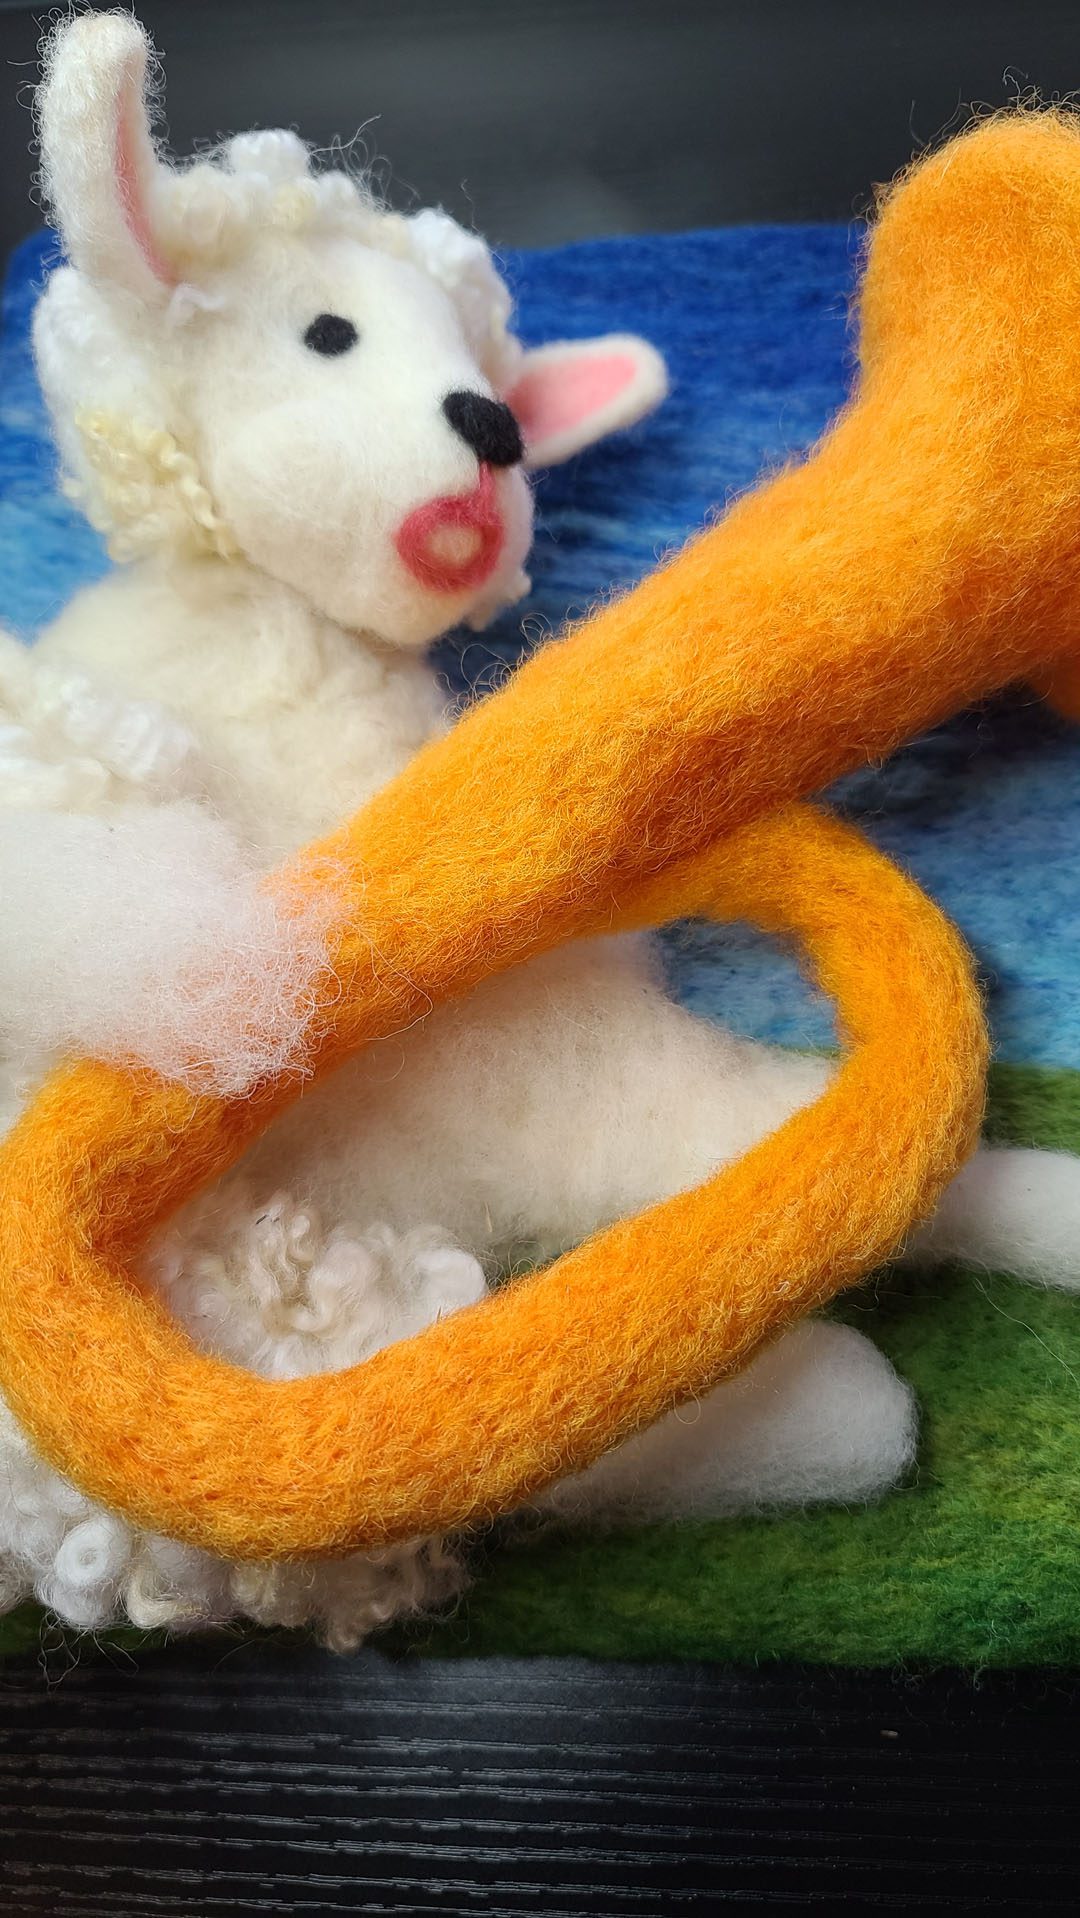
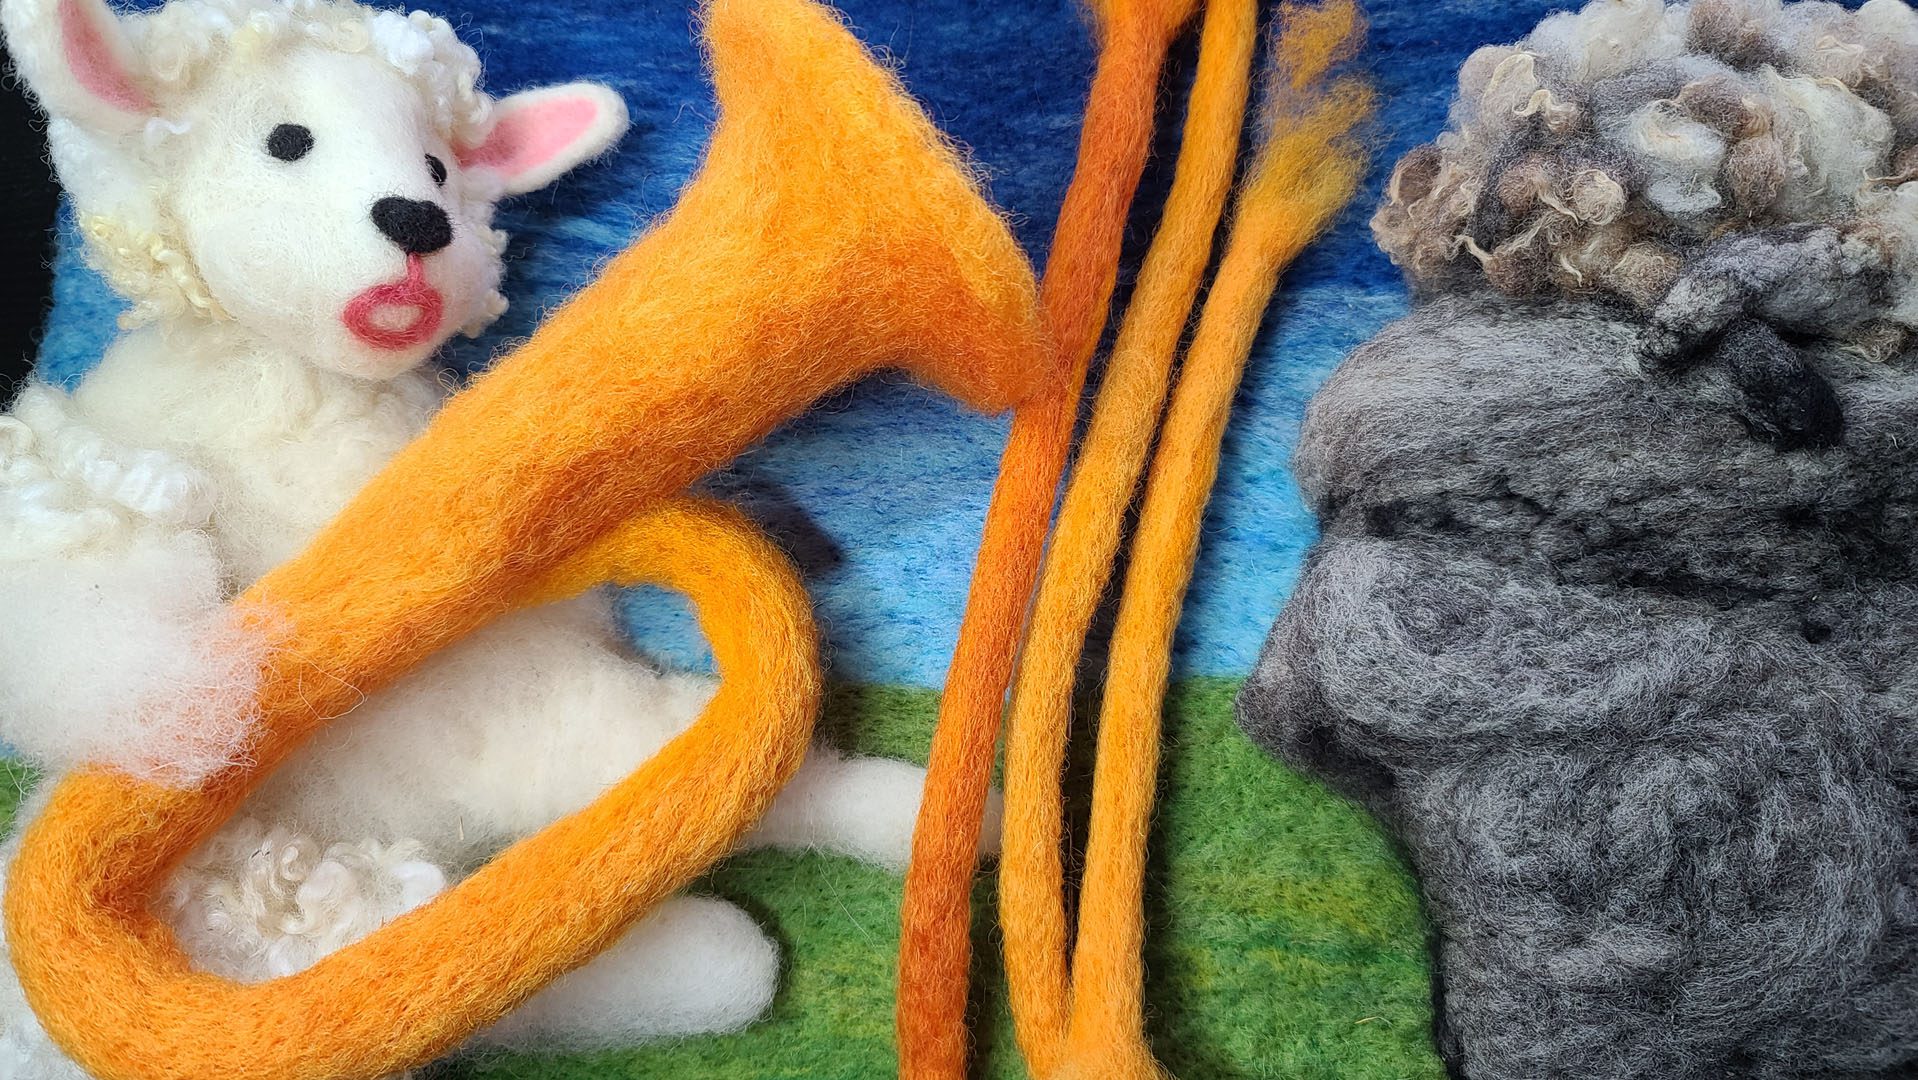
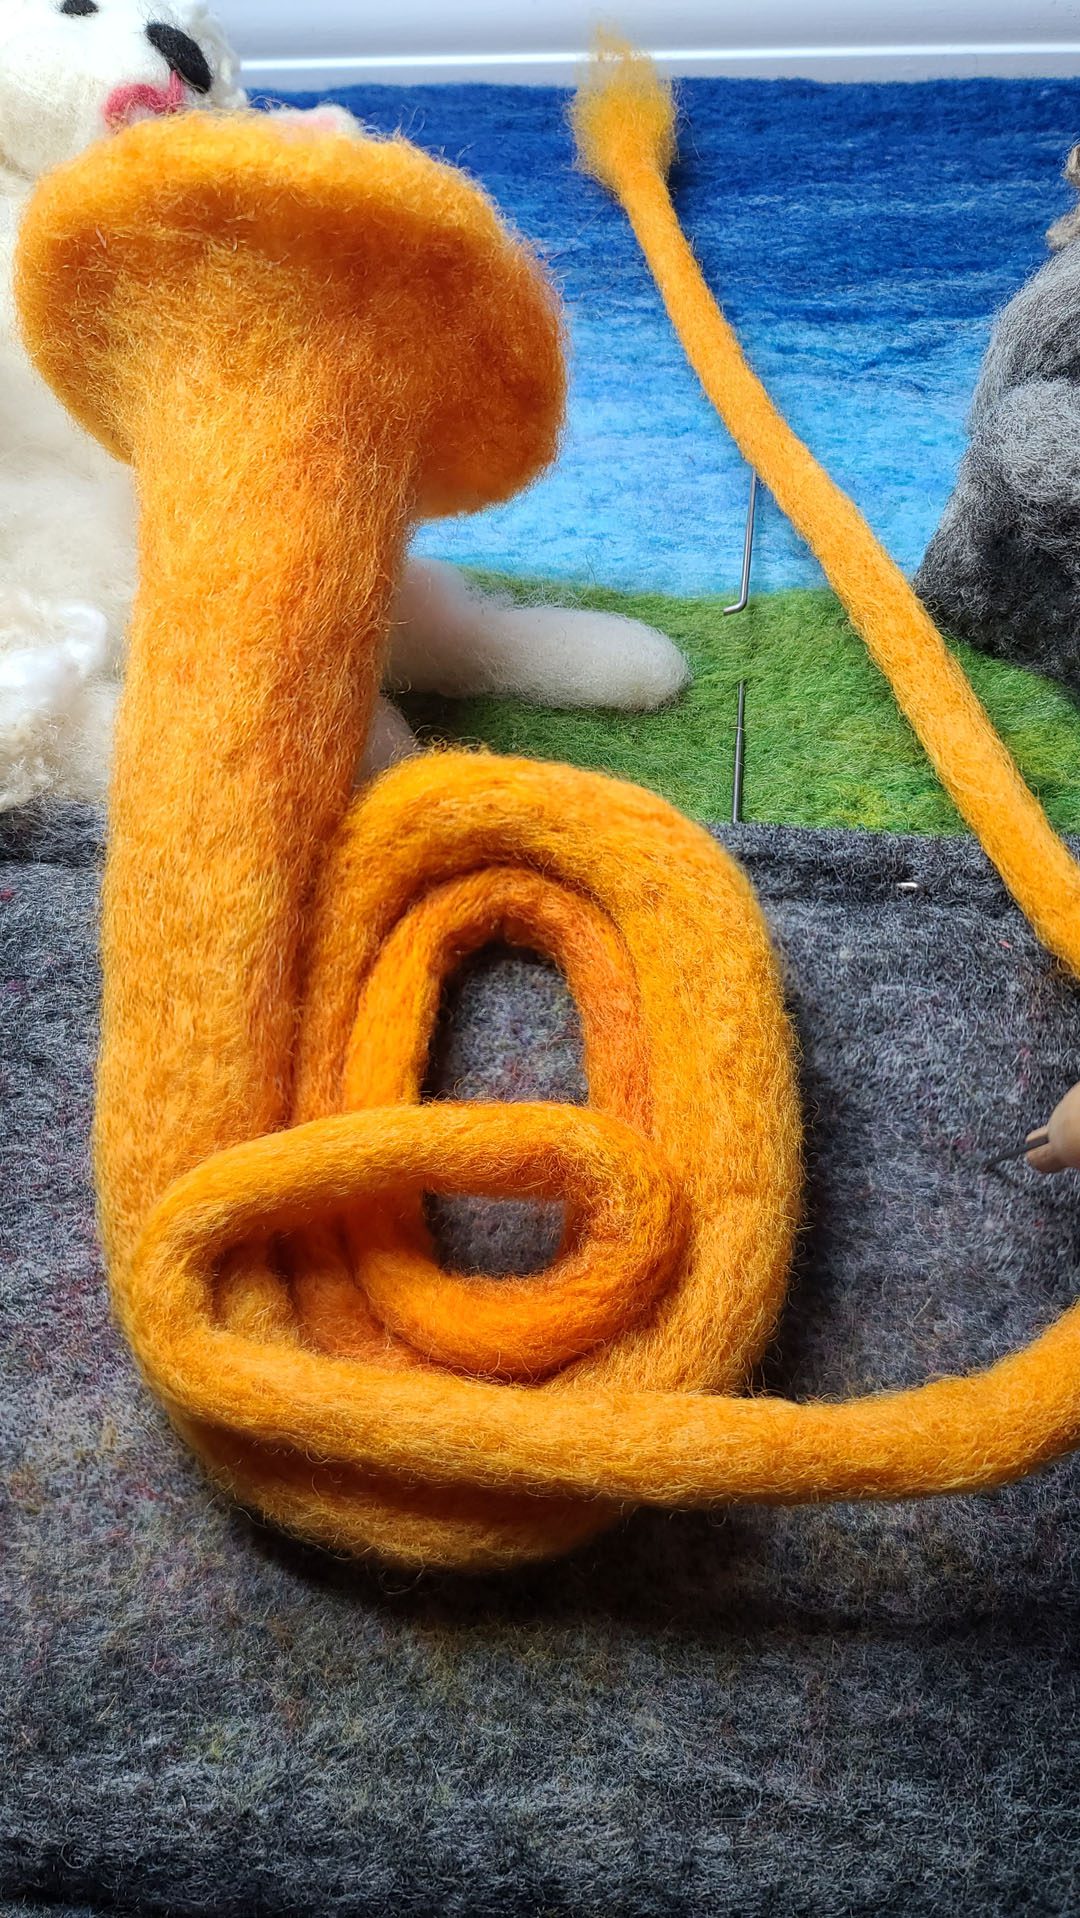
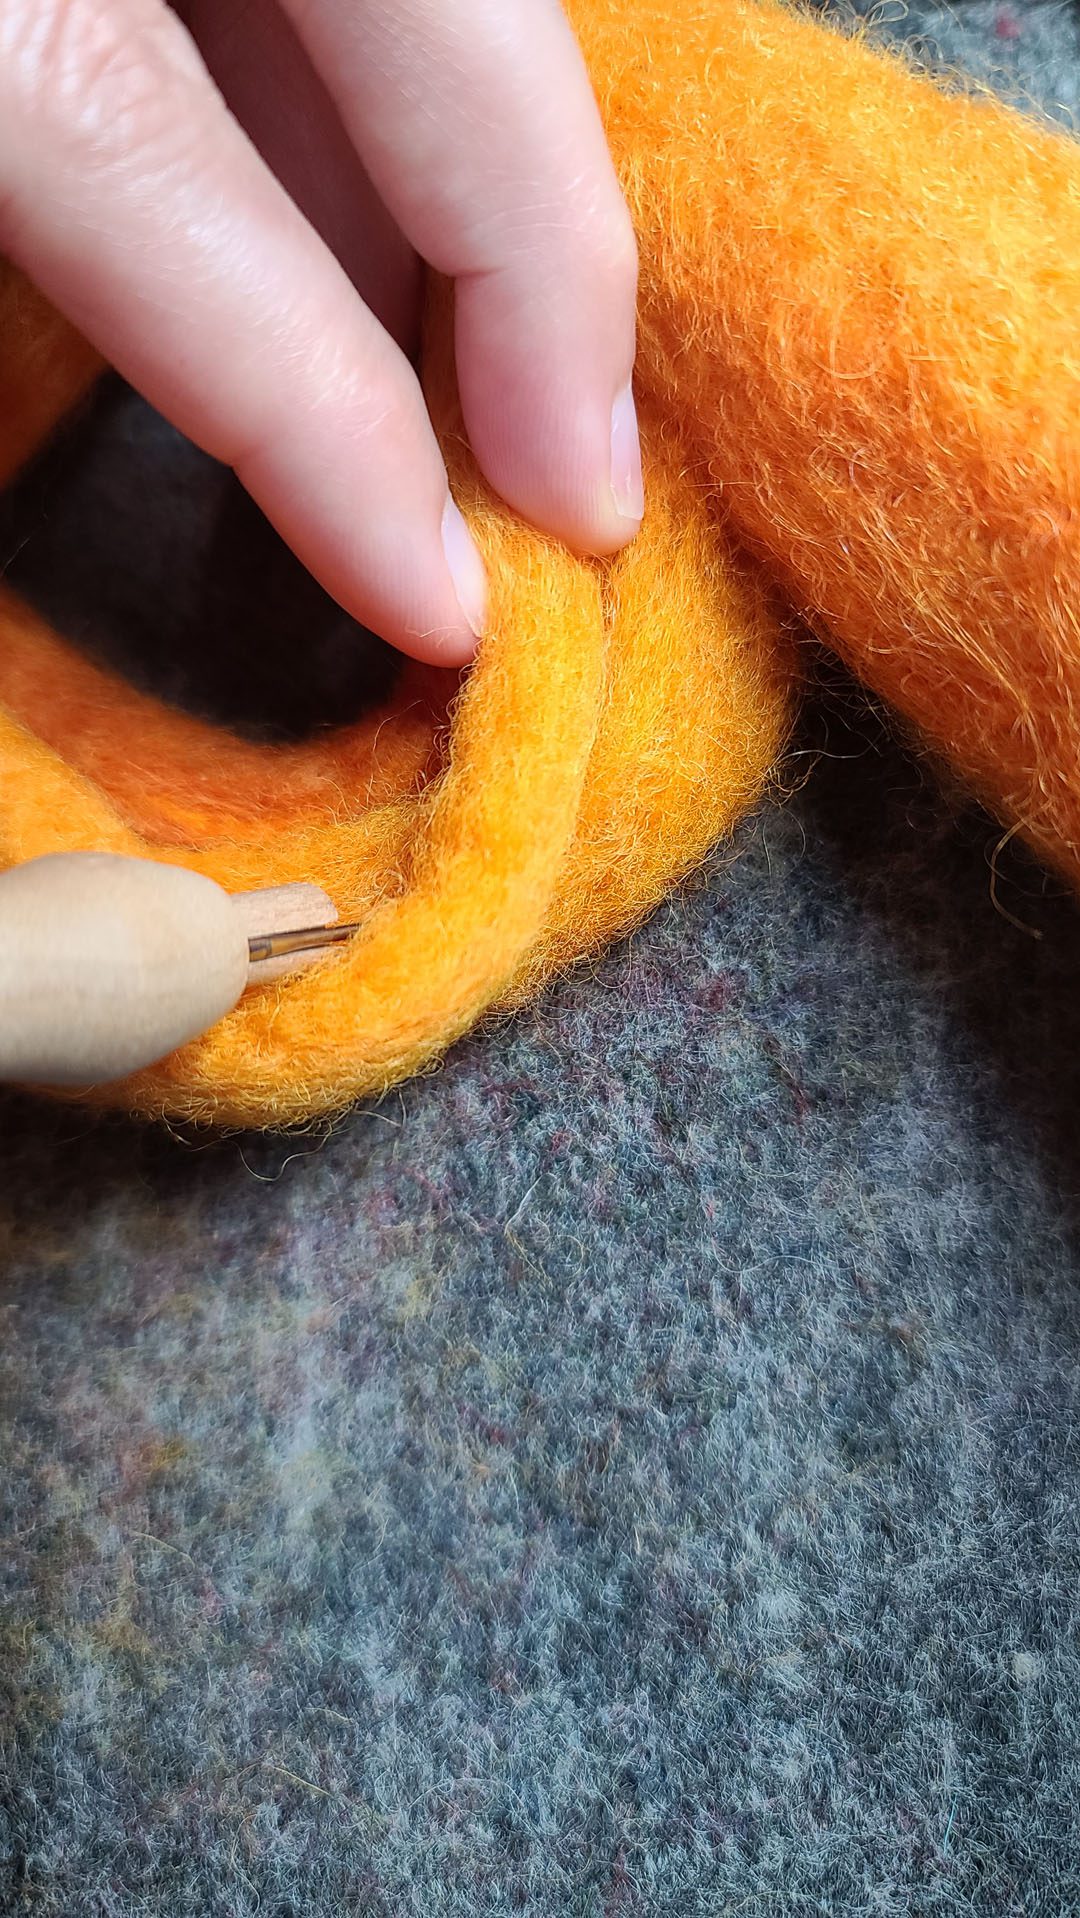
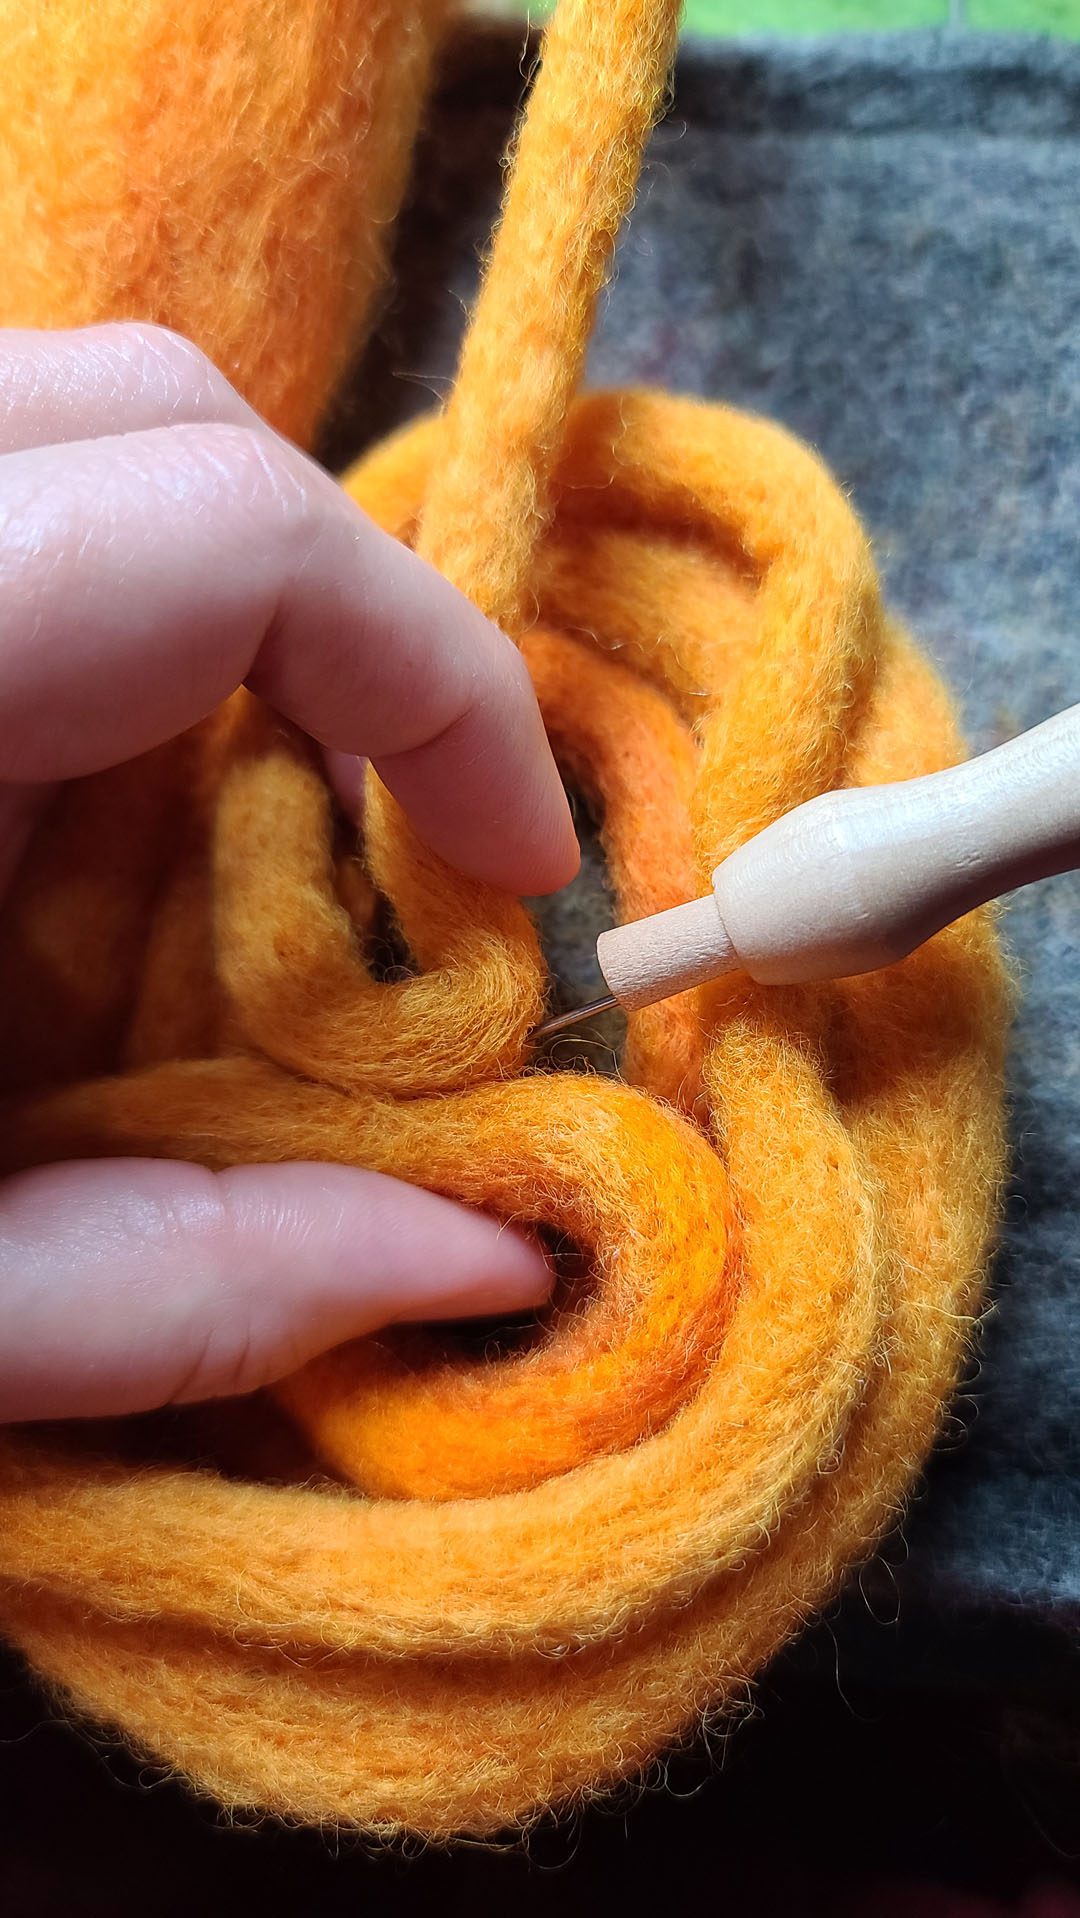
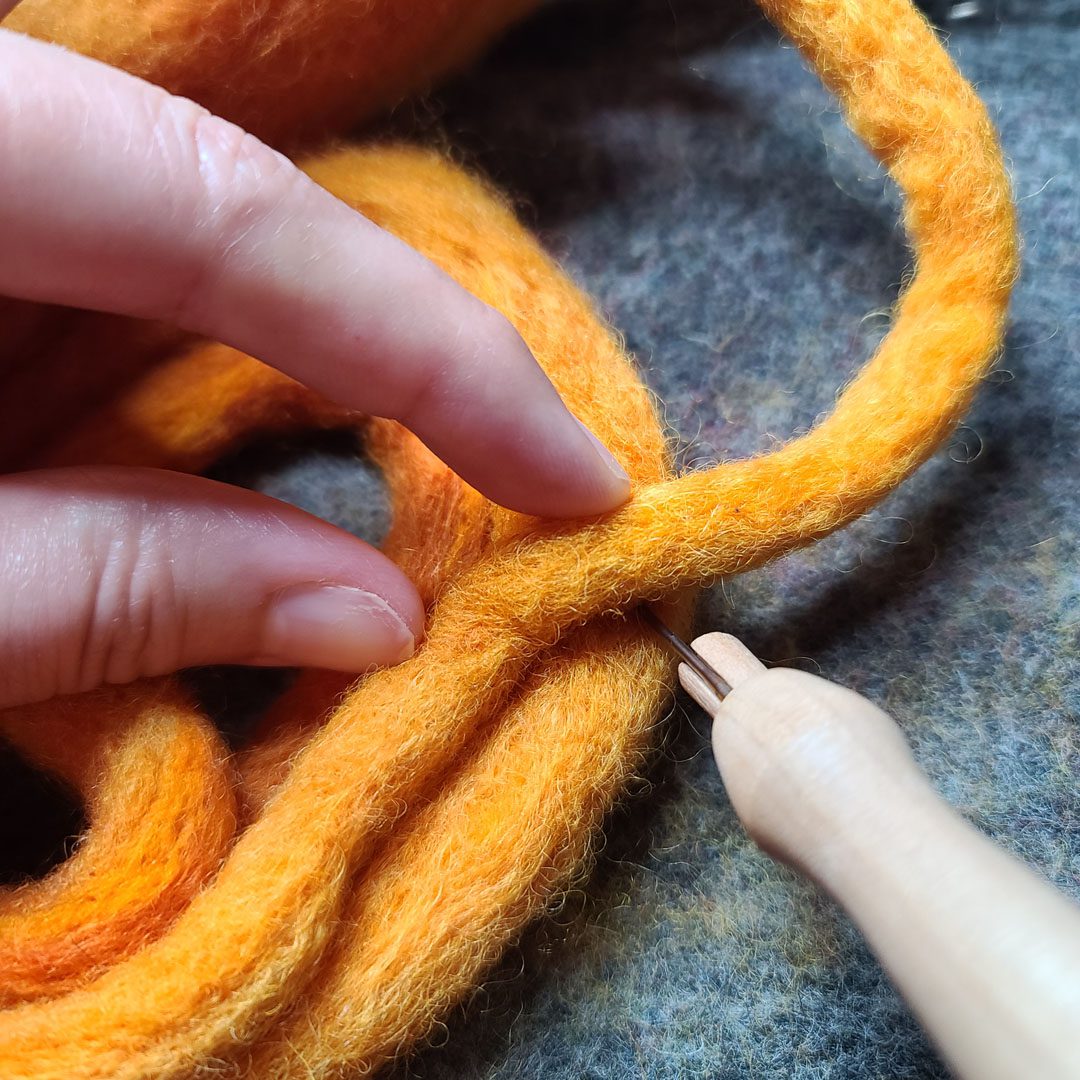
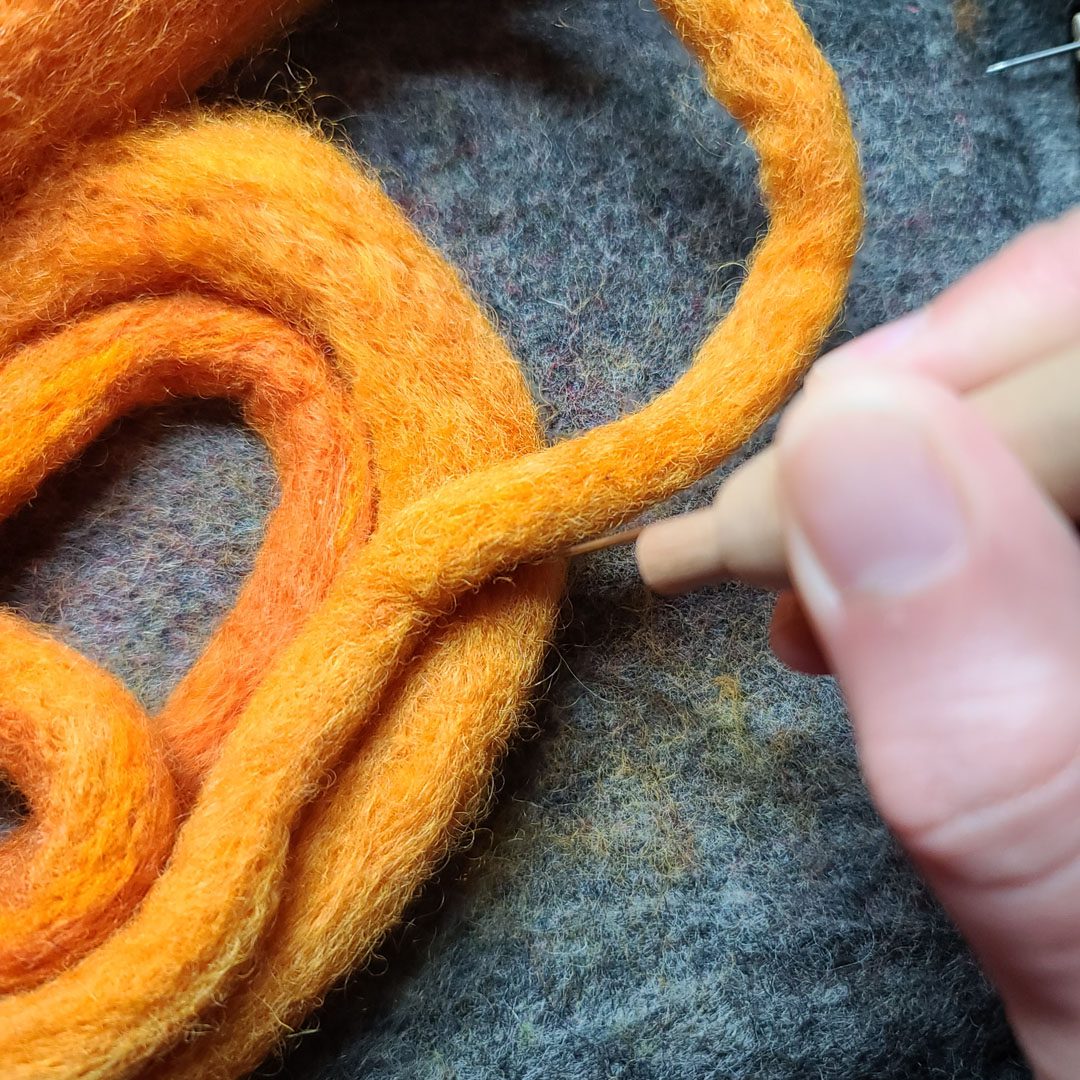
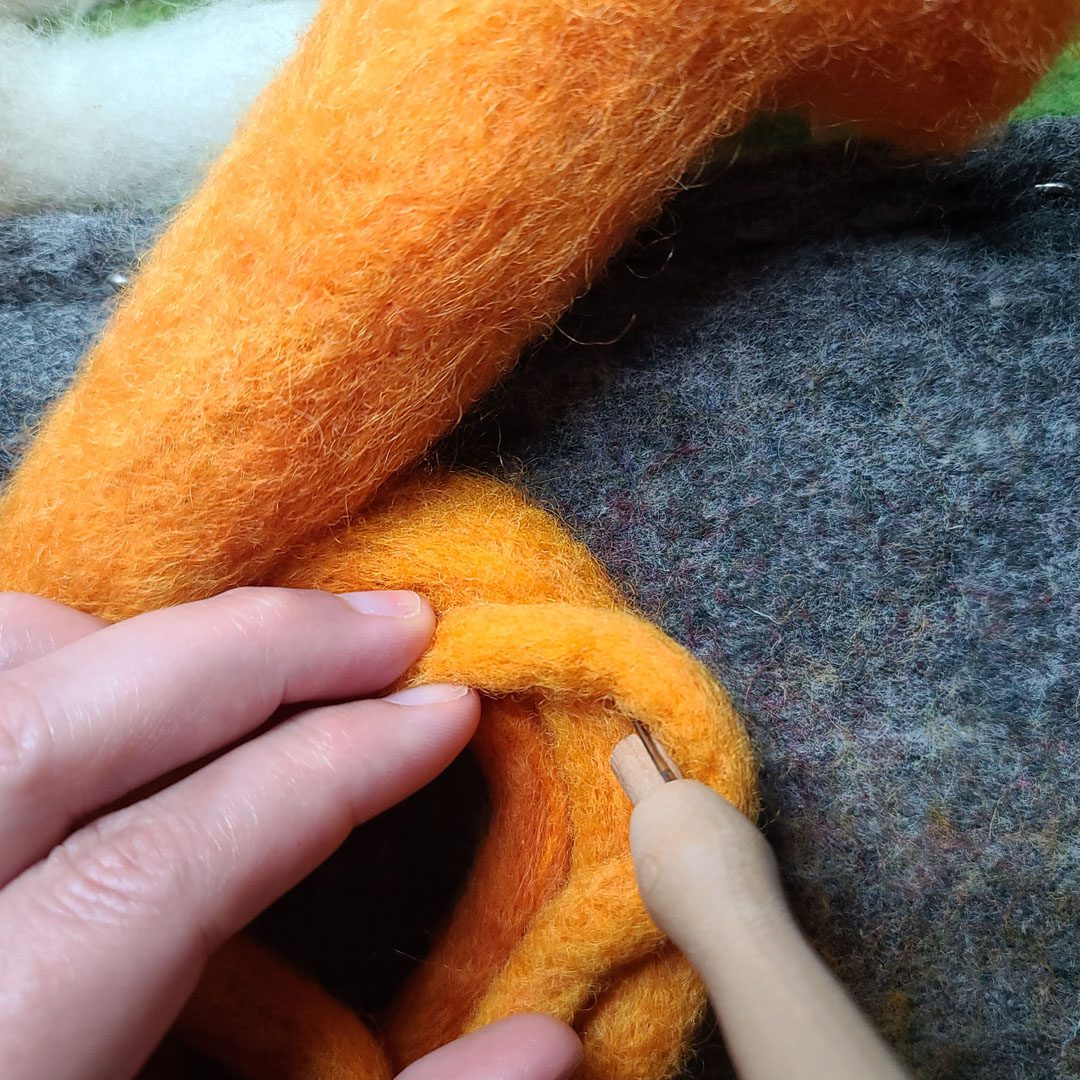
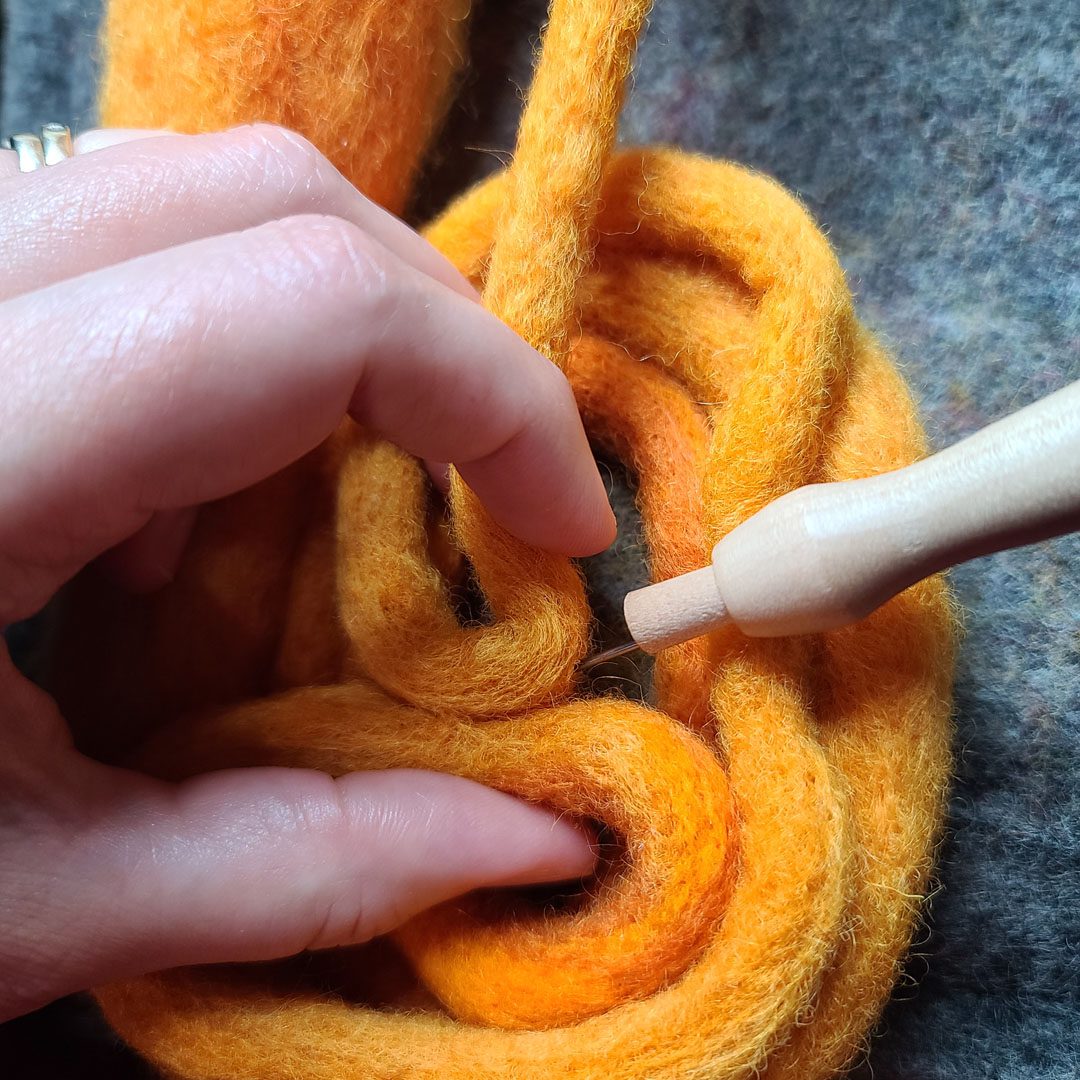
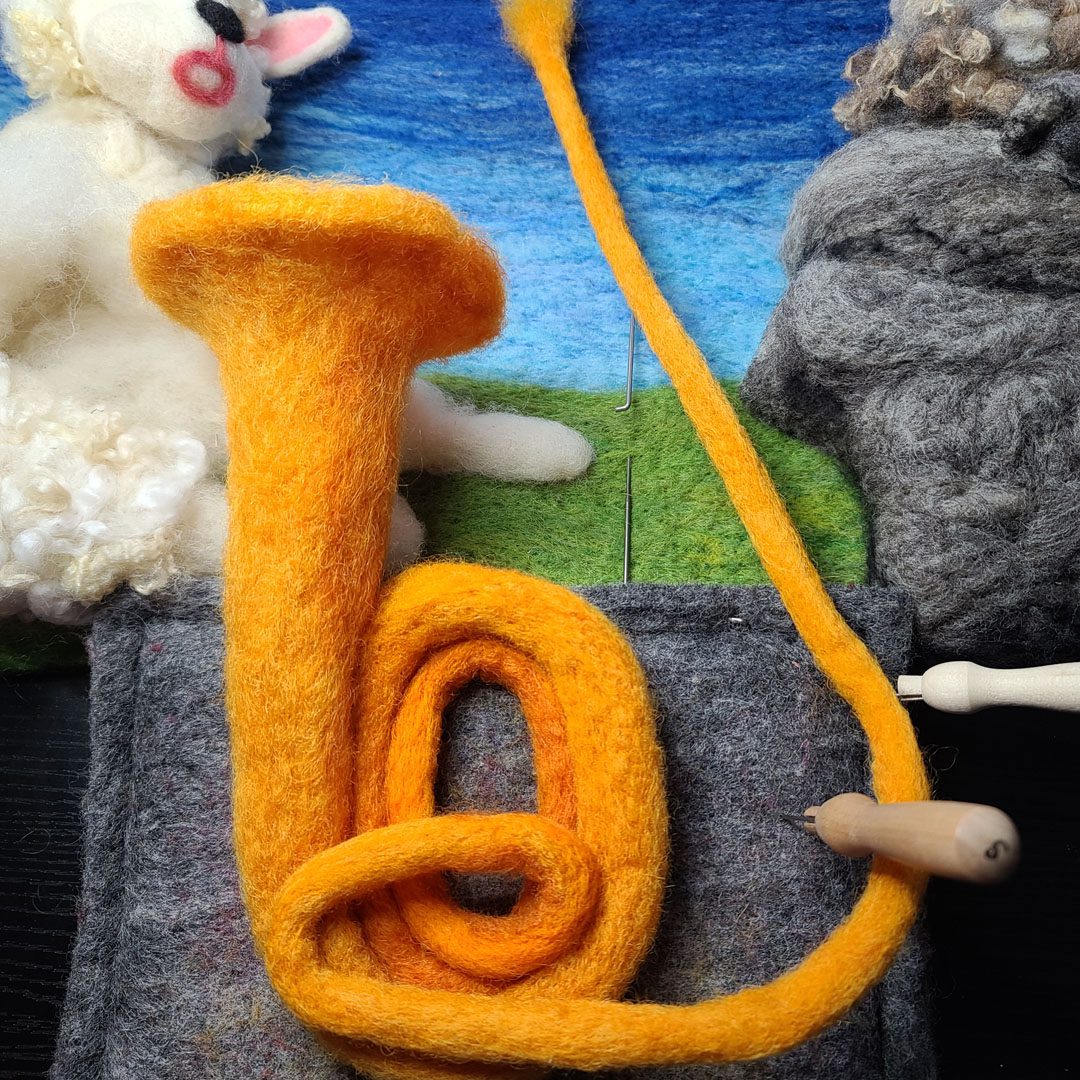
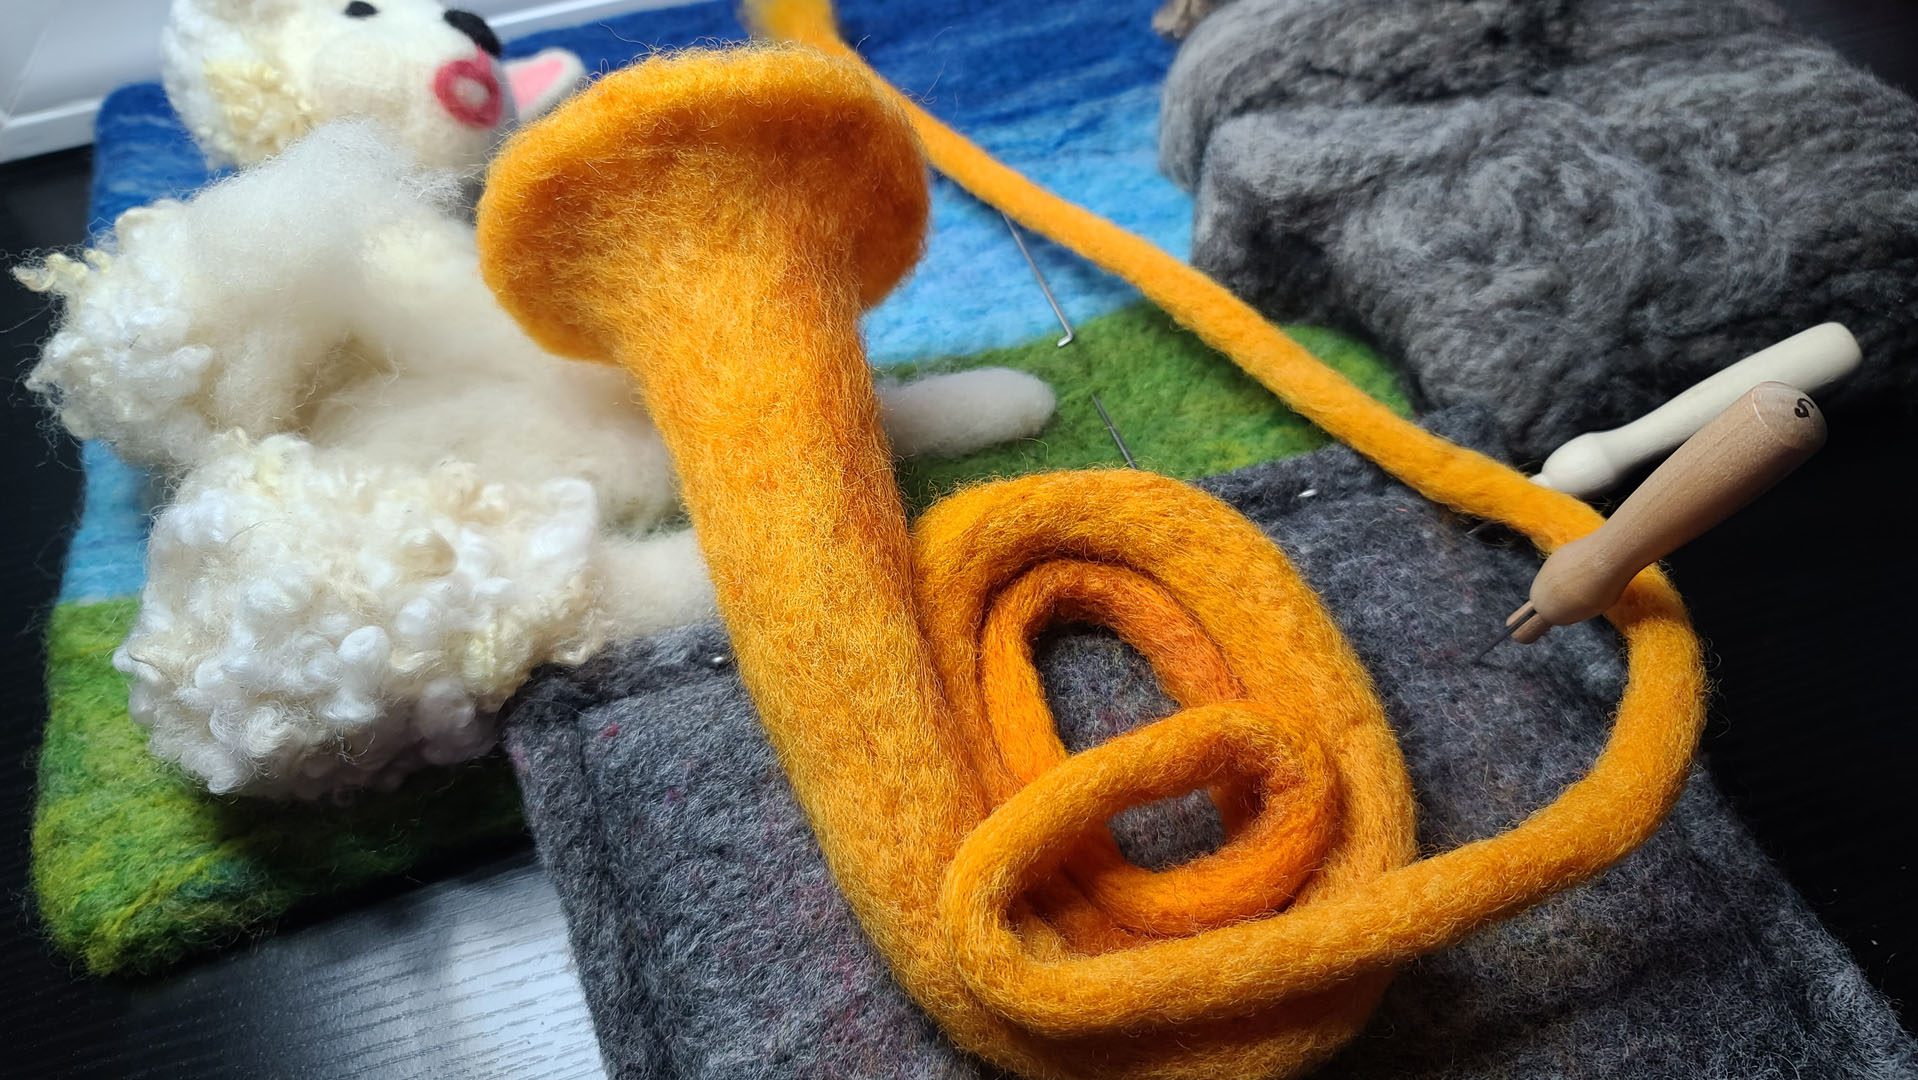
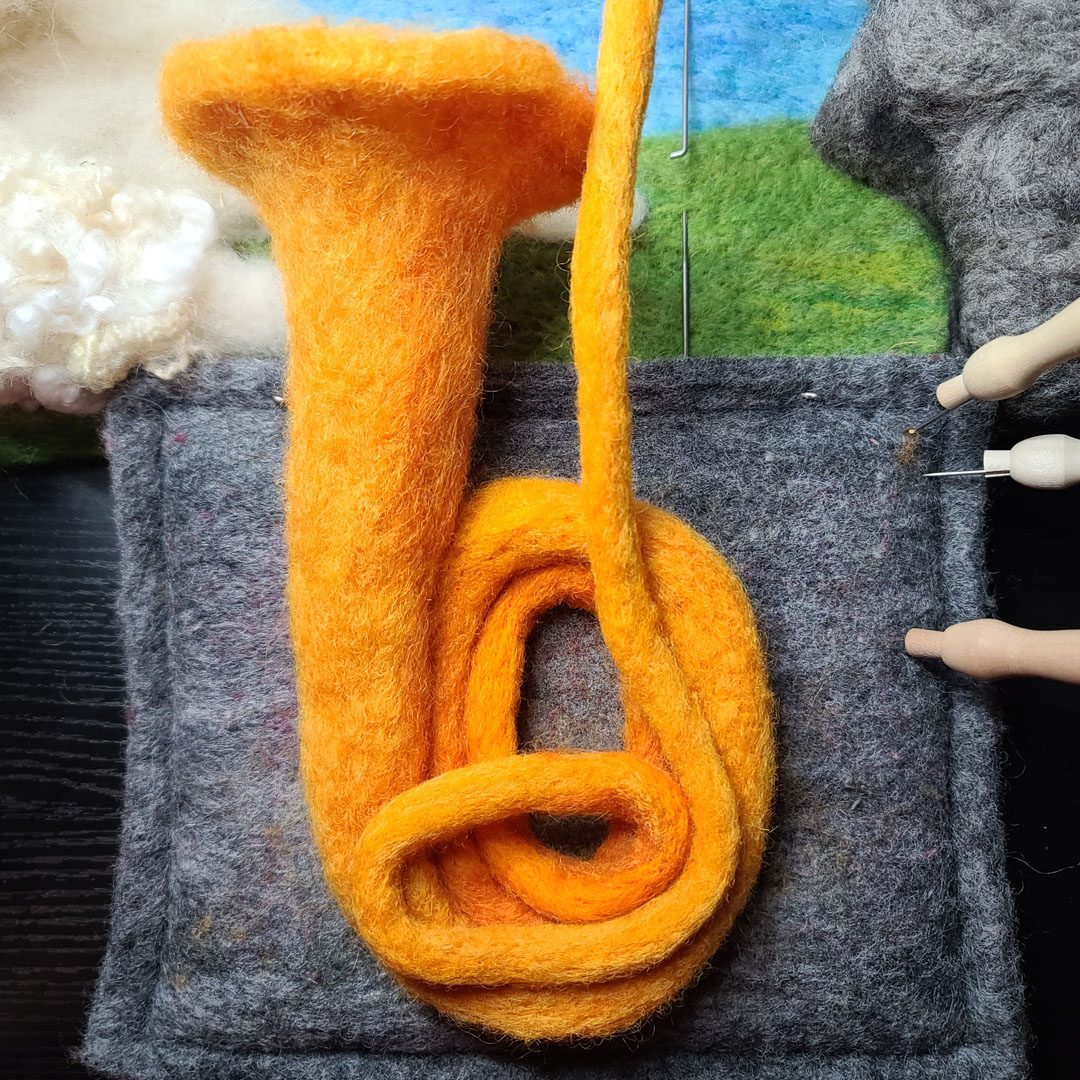
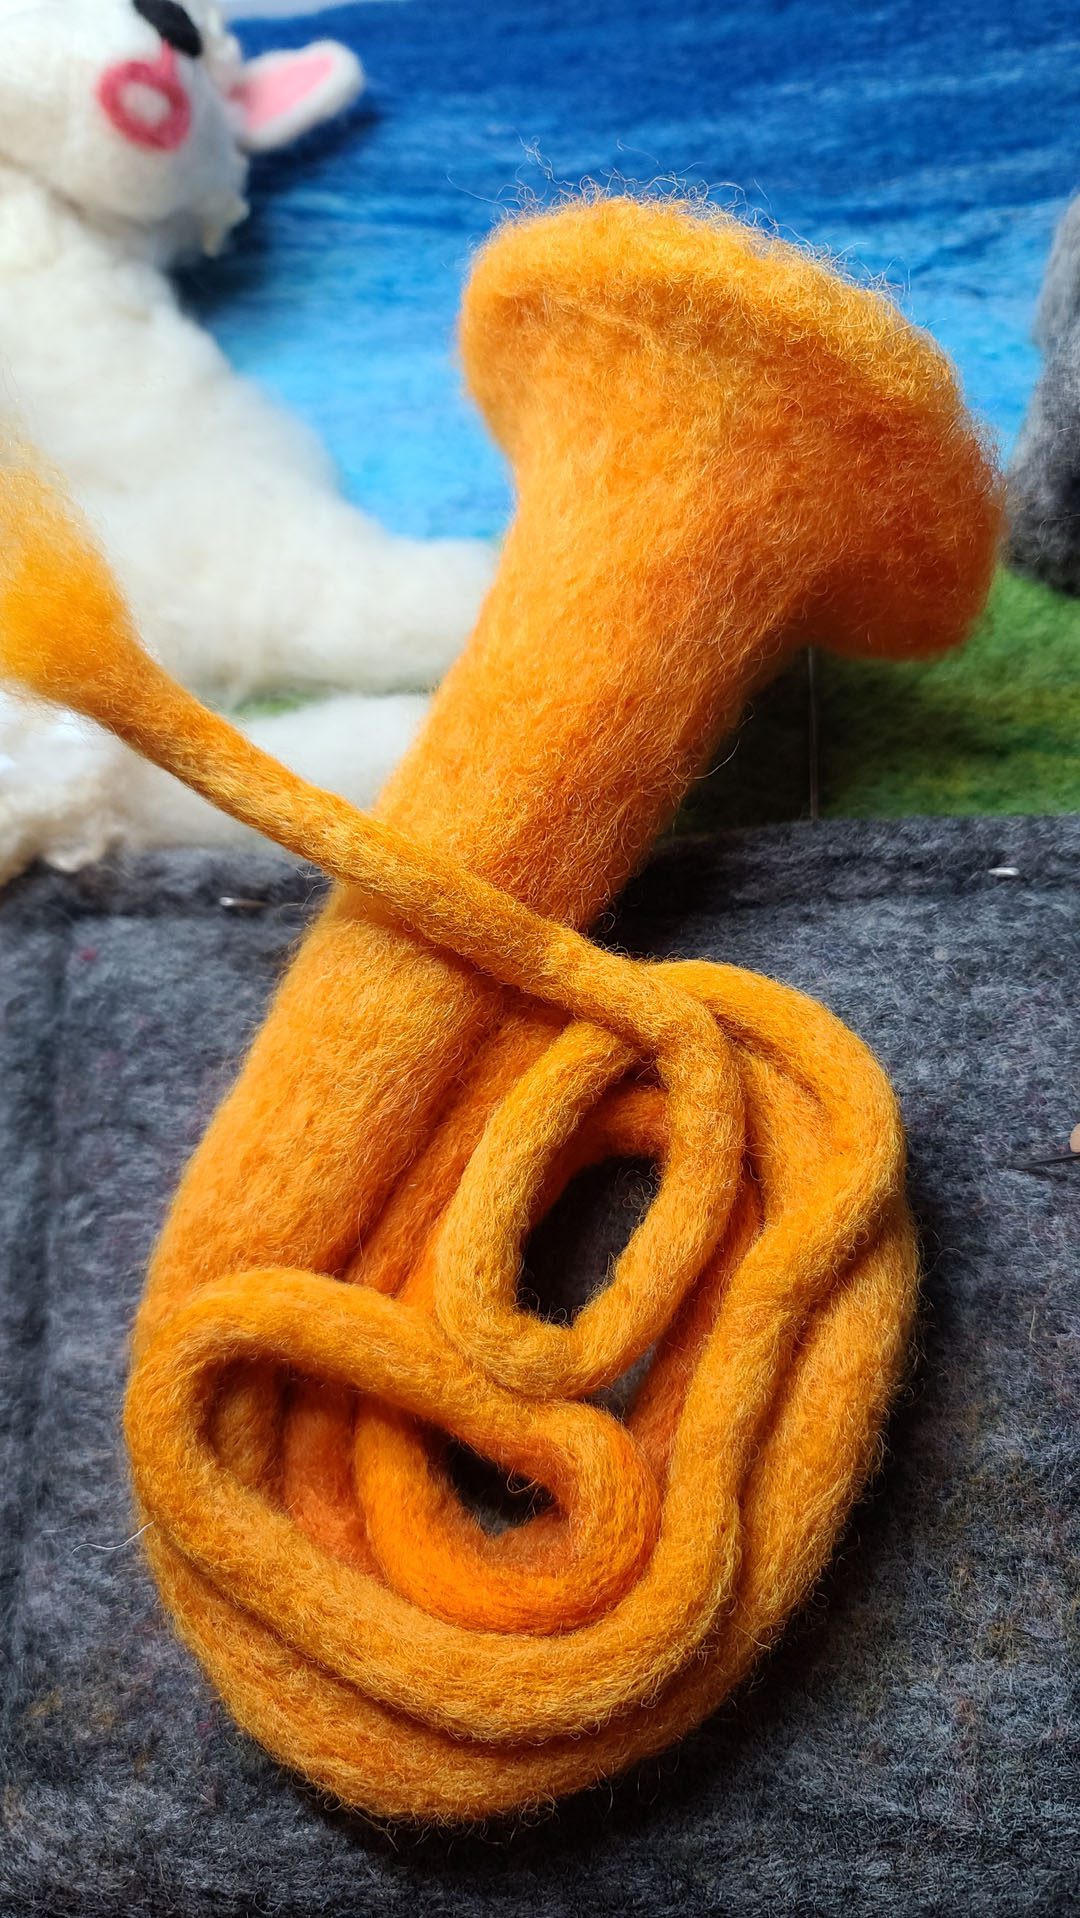
Felting a Tuba out of Wool
Here is a series of step-by-step process images that transform cords of brassy colored wool into a tuba!


Felting Leona’s Curly Locks
In this video lesson, we add curly locks to the armature of Leona’s body.
Time Lapse Videos
Rather than taking still images as I wrapped up this illustration (which can slow me down quite a bit), I captured several videos to create time lapse videos at 2x their speed. Plus, Adam keeps telling me that I should add more videos to YouTube. Thanks, honey! If you click on through to YouTube please be sure to subscribe to my channel!
Adding More Wool & Tree Line
On occasion, I do not add initials to my felted artwork. The majority of the time I add a simple HD in a spot that will be visible but located along the bottom. I’ve been told that students have made a game out of hunting for my initials in the pages of my books.
Adding Your Signature to Felted Artwork
On occasion, I do not add initials to my felted artwork. The majority of the time I add a simple HD in a spot that will be visible but located along the bottom. I’ve been told that students have made a game out of hunting for my initials in the pages of my books.
Needle Felting a Wool Bow
In each illustration, Leona is pictured with a pink bow tied with a lavender ribbon tucked in left to her right ear. Before I began the book I created multiple batts on my electric carder so that I would have a consistent blend throughout my process.

Meet Your Instructor
Hi, my name is Hillary Dow. A few of my many hats include mother, wife, traveler, outdoor adventurer, author, family chef, marketing professional, felting artist in Maine, and oh so many more. I write children’s books illustrated with my wool creations. It is such a thrill to be a part of helping someone develop their skills and CREATE artwork. Thank you for joining me!
Want even more? Take your felting to a whole new level! Join the Felting Master Class today for a one time payment of $200.
Felting Master Tip: Color Choice is such an important part of felting. I like to gather the colors together for the composition from the start, so I don’t run out of a color and then need to do my best to color match (which may or may not work well). So I start with all my colors spread out on my table and then apply the colors in a particular order. Adding a dark color first and then a very thin lighter layer makes for a blended shadow. It can be harder to blend a shadow by adding dark on top of light; you’re more apt to get a stark contrast and more defined shadow when you add dark on top of light. Play around with the order of layering color and see what works best for you.

