Felting Wings and Fashion Details
step by step tutorialMaterials List
Felting needles
Sturdy foam or wool pad
Wool in a color palette for fashion details
Pale colored wool for wings
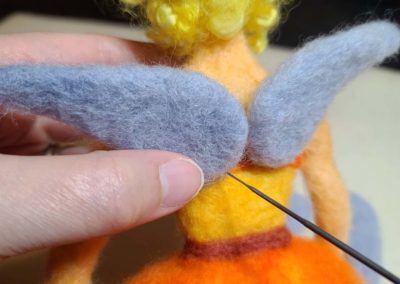
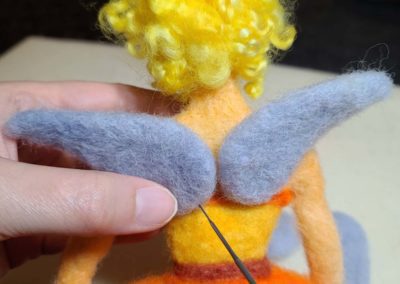
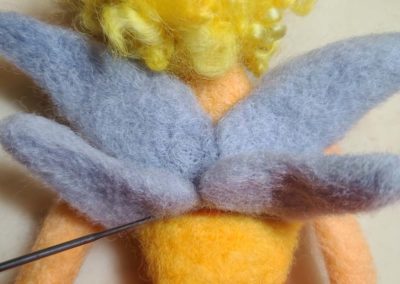
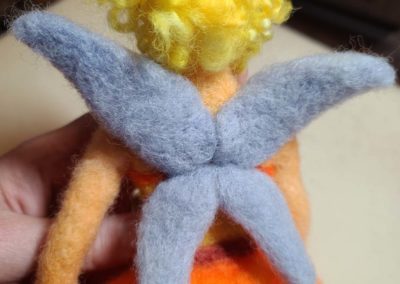
This felting lesson: wings and fashion include step-by-step instructions that walk you through forming and attaching wings to a fairy and adding fashion embellishments to clothes in fine detail. I am working on a Sun Fairy, who is the main character in my second fully illustrated children’s book. This lesson was created in the spring of 2022.

Felting Wings and Fashion Embellishments
Adding the little pops of fashion onto clothes and the addition of the fairy’s wings are such a joy. These last few details add personality and flair, bringing the character to life!
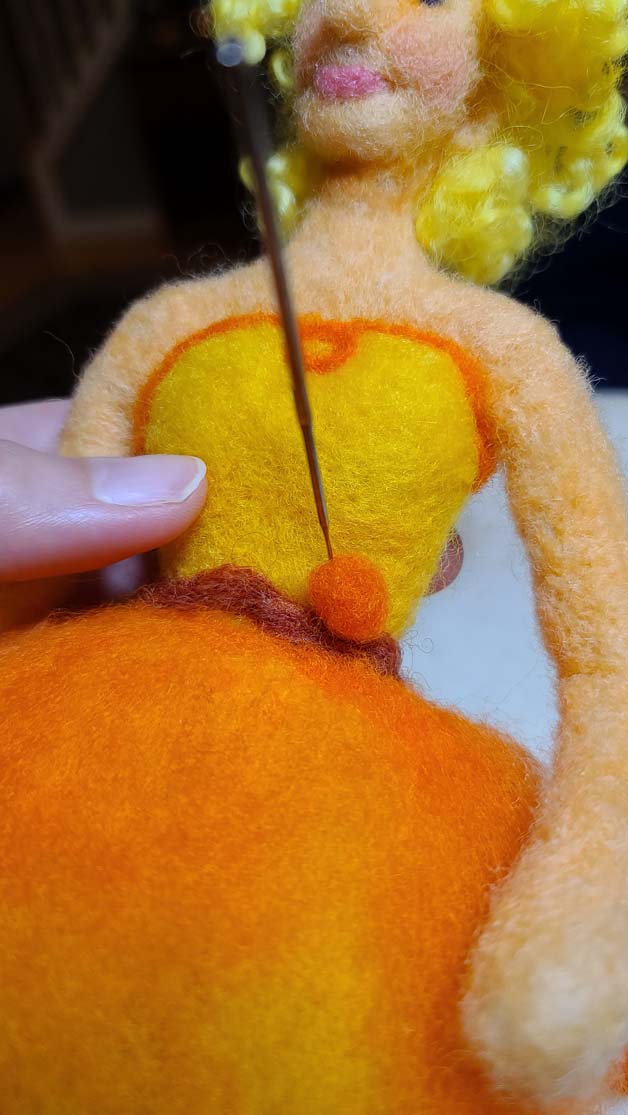
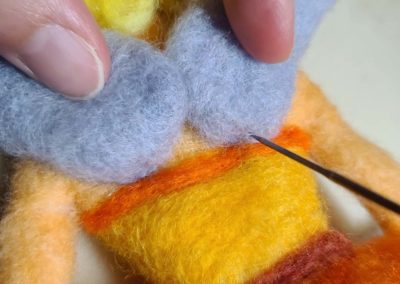
Creating Fashion Details
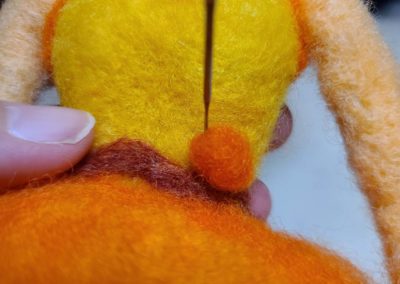
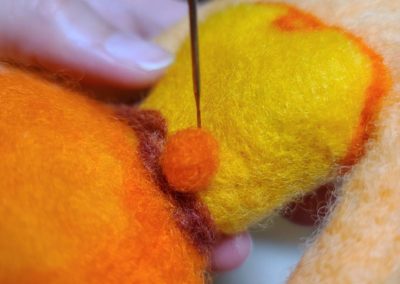
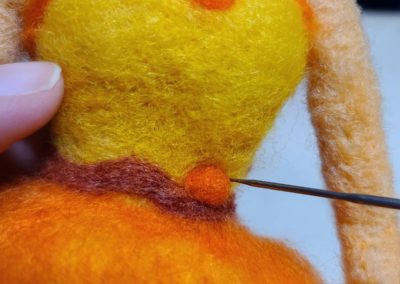
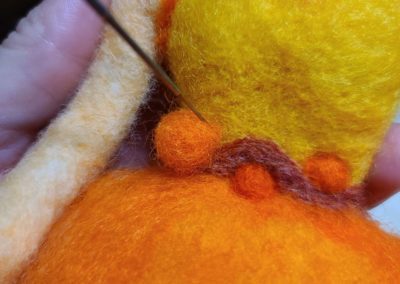
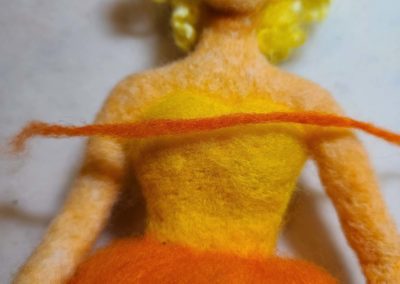
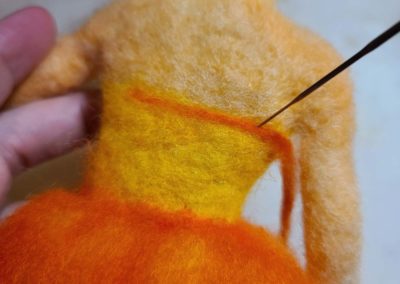
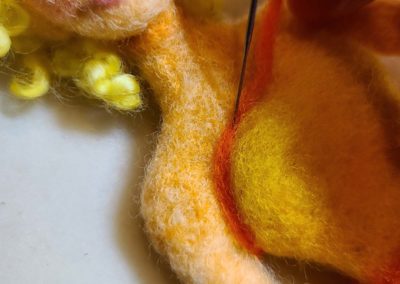
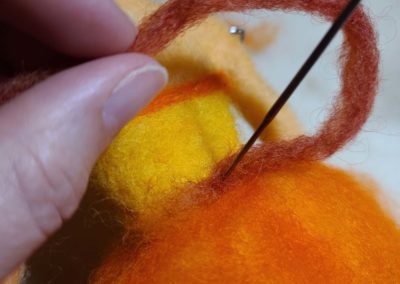
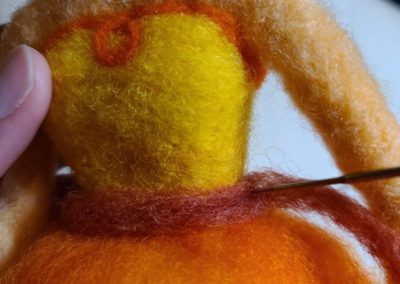
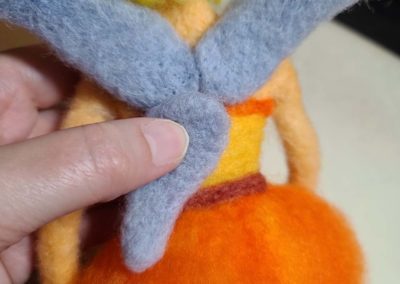
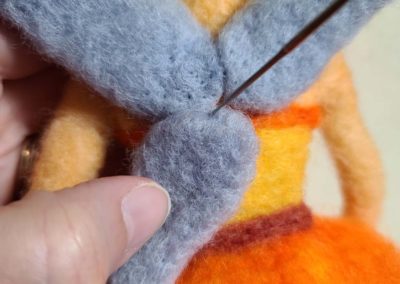
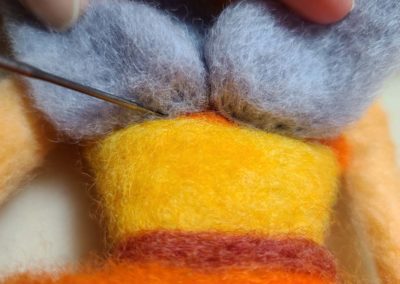
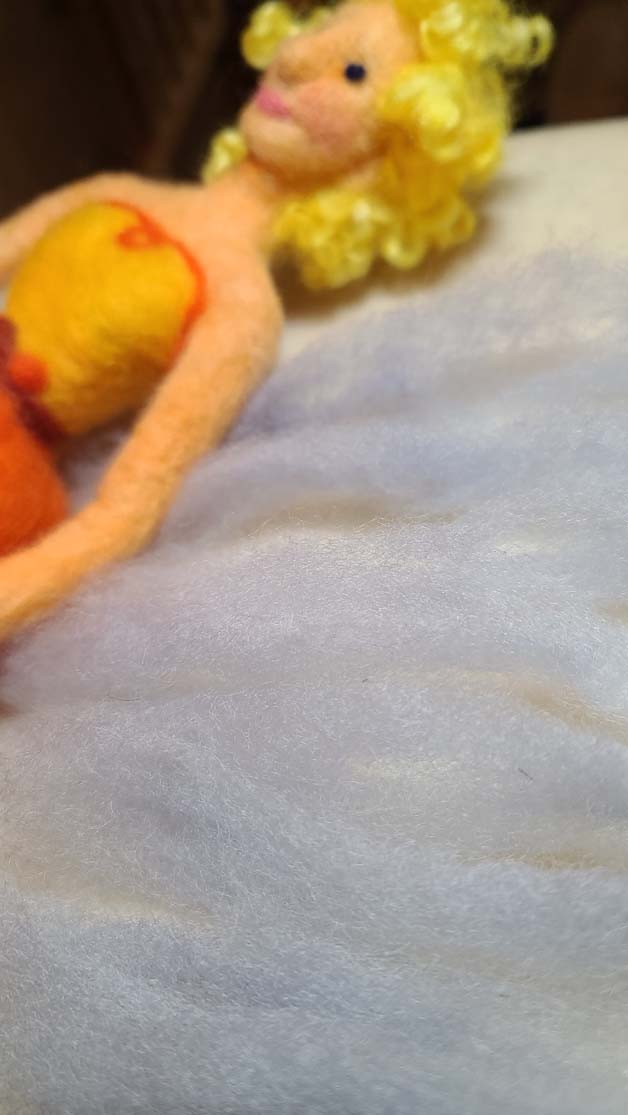
Some characters are very simple and others are fashionistas! For the latter, each little color accent and felted detail makes a difference. Some of the details are created with shapes and colors and others are created simply by deeply felting indents and lines across a solid field of color. This gallery features pictures of the details along the bodice of the Sun Fairy.
*For optimal viewing and learning, click on the first image in each gallery to open the full view and then scroll through. If you view the images in the preview galleries only your view will be a cropped version of each image and you will miss out on the descriptive captions I have added to each picture. Enjoy!
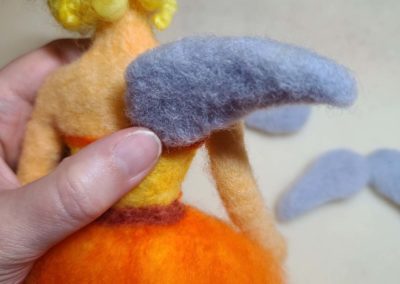
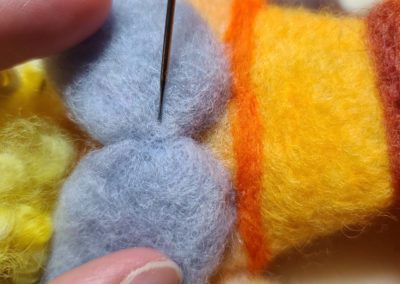
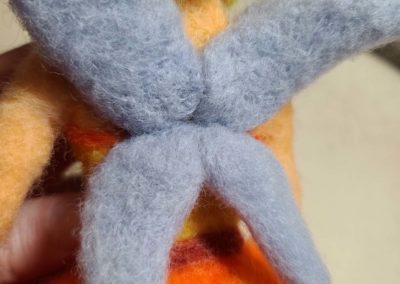
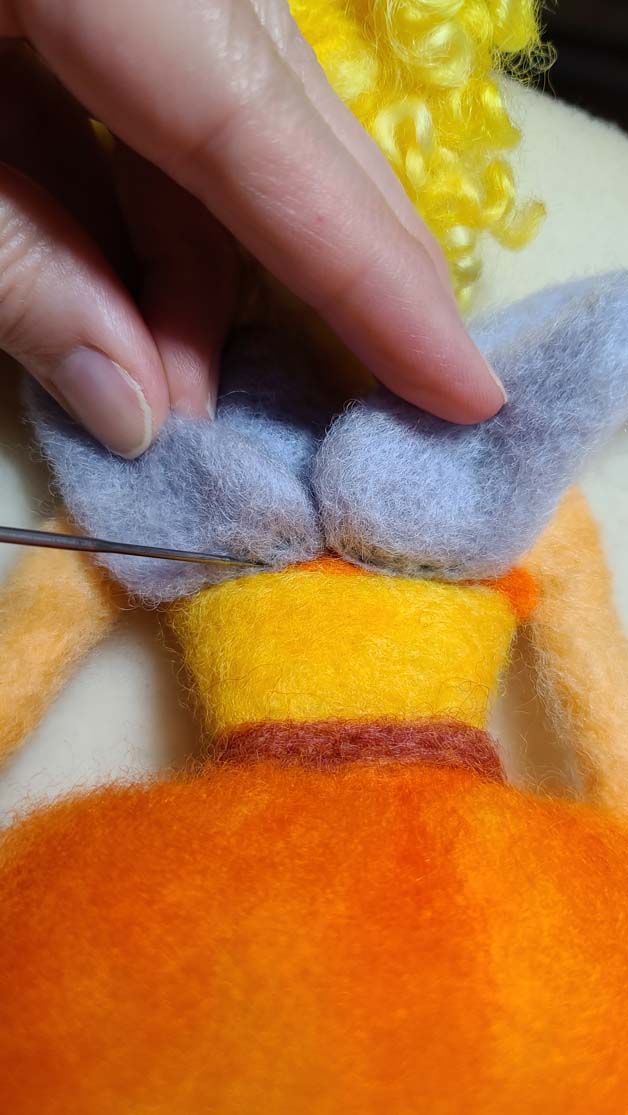
Forming and Attaching Felted Wings
Master Tip: Section Piles of Wool for Like Sized Objects
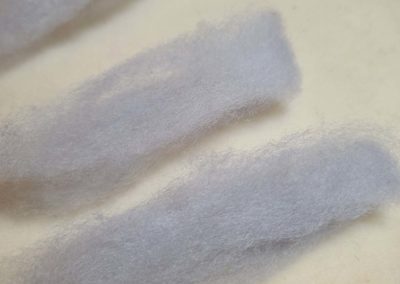
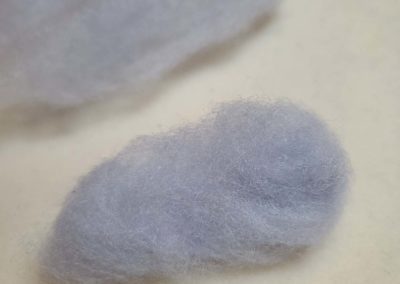
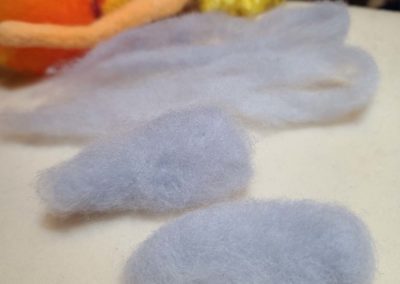
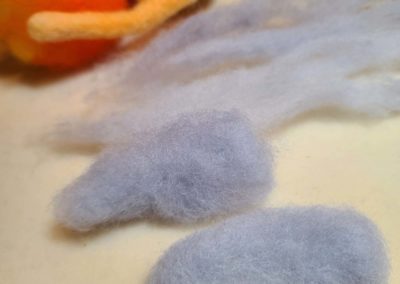
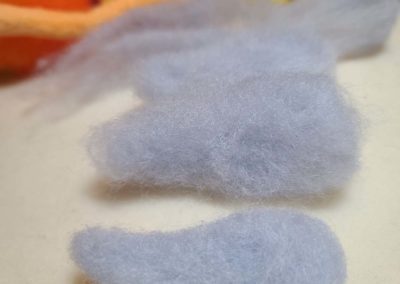
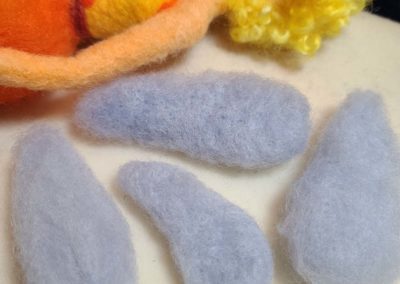
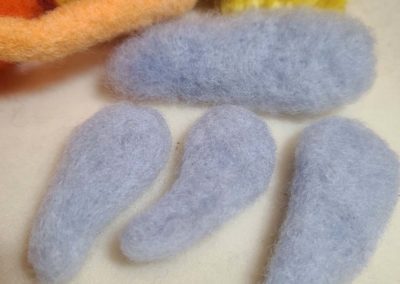
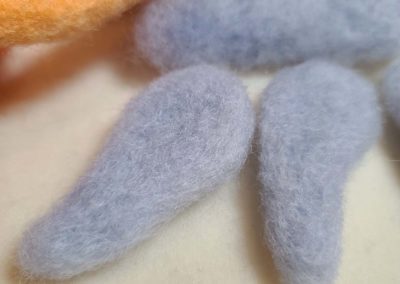
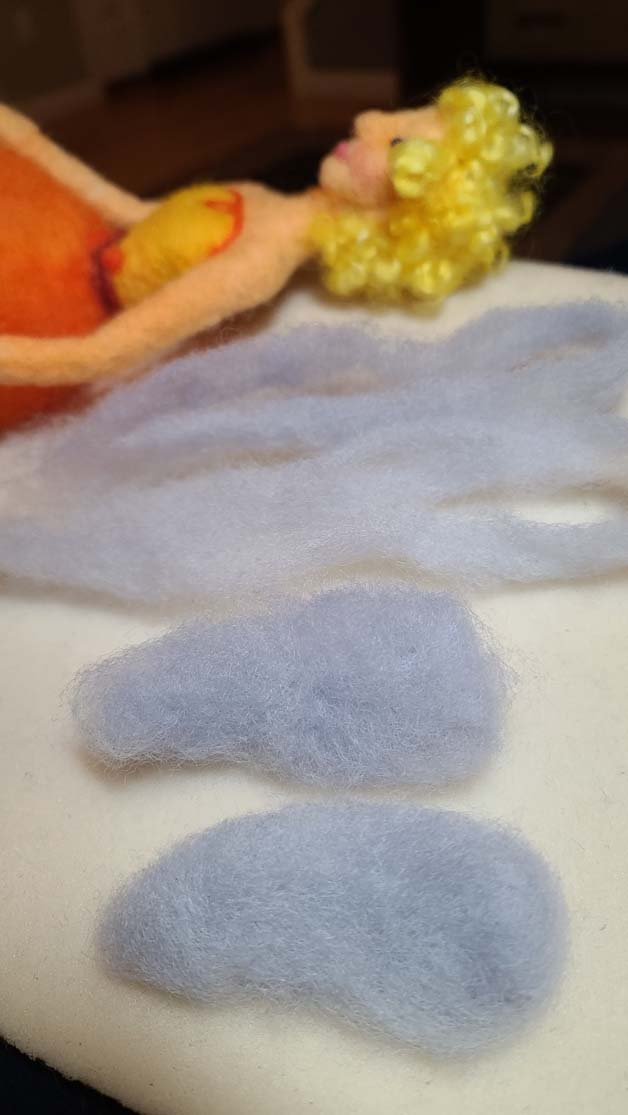
One of the first steps when felting multiples of something (arms, legs, wings, etc.) is to ask yourself if you’d like them to be roughly the same size when all is said and done. If the answer to that question is yes, as it often is, starting with little piles of the same/similar amount of wool for each piece sets you up to have a similar size in the end. Inevitably, when I forget to section out piles as my first step and leave myself to eyeball the right amount once one piece is already felted it is much more difficult to keep the pieces the same size.
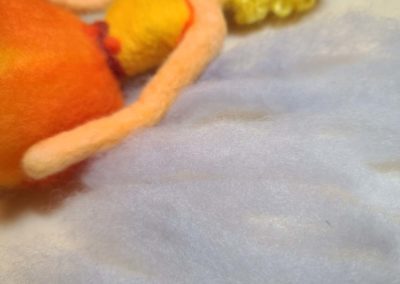
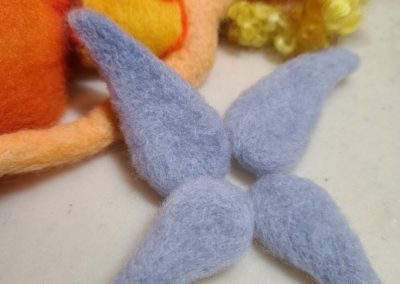
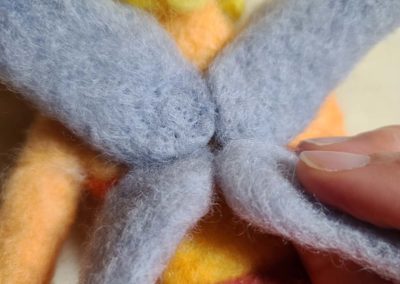
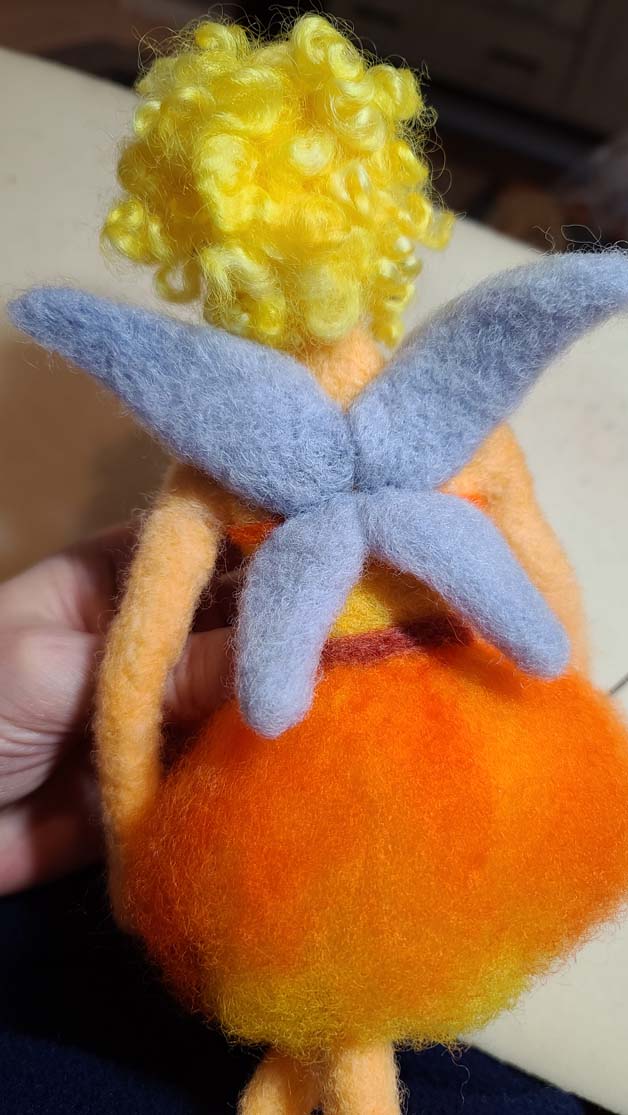
In Lichendia fairies have four wings, with two larger wings on top and two smaller wings on the bottom. When holding your ball of wool, remember to hold it with a loose grip. If your grip is too tight you’re holding both ends of the same fibers and your section is more difficult to separate. It continues to amaze me just how little wool you need to make the little details in a needle felted piece, so section out small piles of wool. I tend to work pretty small, but you will be working in the style you’re comfortable with. Just remember, create similar piles before you begin felting common components and you’ll have an easier time keeping them a similar size.

Meet Your Instructor
Hi, my name is Hillary Dow. I am a mother of two, an author, artist, family chef, marketing manager, marketing consultant, felting artist, outdoor enthusiast, Maine native… and on, and on. I attended the Hartford Art School for my undergraduate studies, diving into the visually narrative world of illustration. Graduate school rounded out my studies with an MBA and I continue to run my own businesses amidst a successful career in marketing. I write and self-publish children’s books illustrated with my wool creations. It is both a thrill and an honor to help others develop their own skills and CREATE artwork. Thank you for joining me!

Have a FREE monthly felting lesson delivered right to your inbox on the fourth Tuesday of every month! Each session includes a core lesson, or simply work on your current project while picking up new techniques and tips!
Want even more?
Take your felting to a whole new level! Join the Felting Master Class today! Membership is $200 annually or monthly payments of $16.50.
