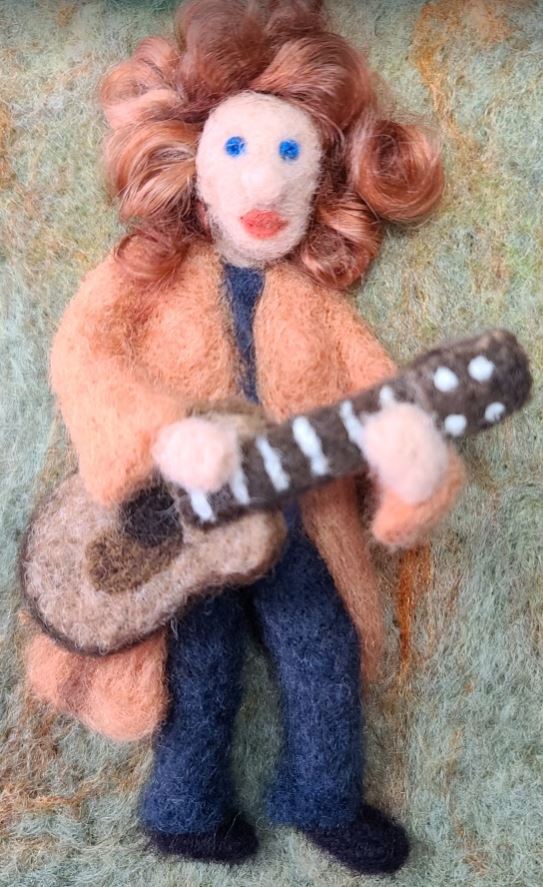
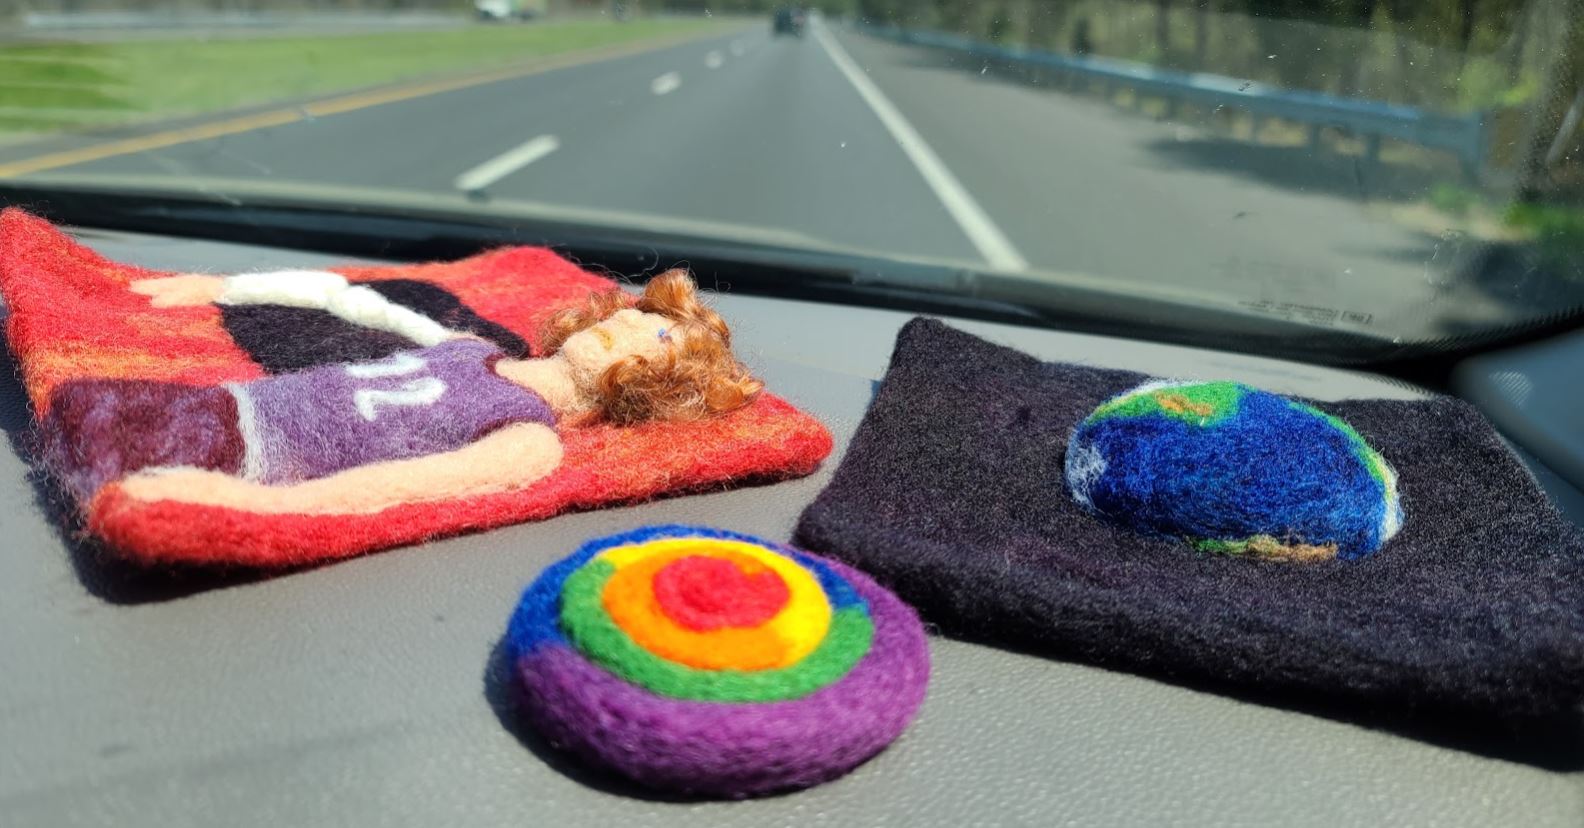
I completed this needle felting illustration with 3D on 2D art for the monthly lesson while sitting in the passenger seat of our trusty old Traverse, heading home from a week-long family adventure in Maryland and New Jersey. The ABC illustrations were originally intended to be car trip projects, so this one is a home run all around.
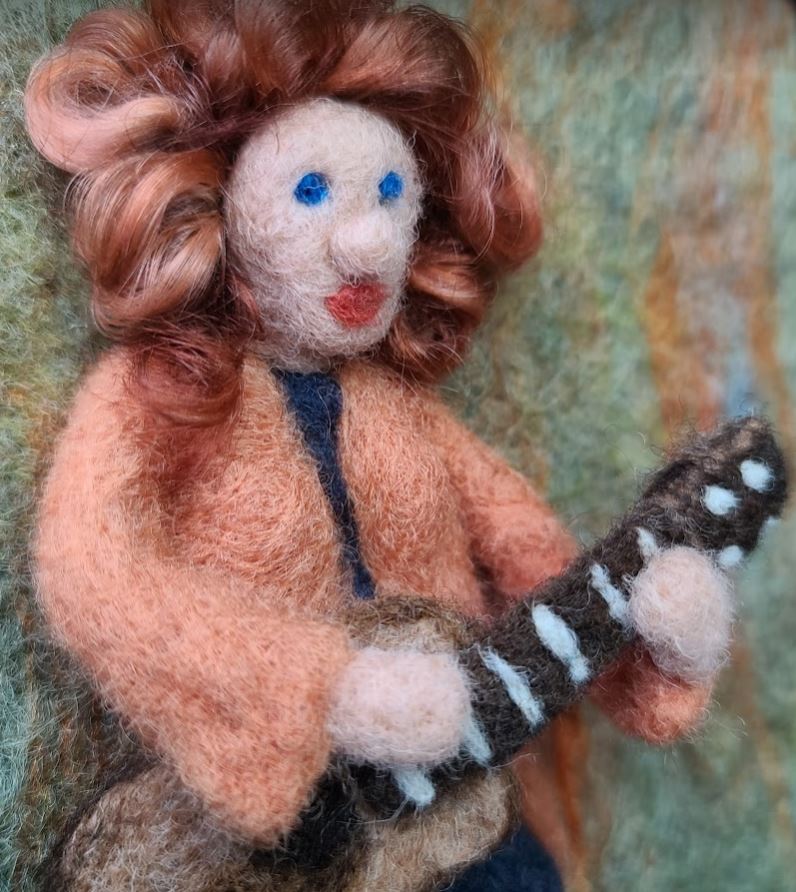
The image of Karen singing as we enjoyed one last dinner during our visit to New Jersey is simply perfect. Never underestimate the power of using a reference photo that holds special meaning or memories, your artwork will blossom with their influence. I couldn’t ask for a better point of reference for this illustration!

3D Makes Art Pop
One thing I have learned about needle felted 2D wall art is that when you add 3D elements to your composition it really pops and adds next level intrigue for the viewer. There are two ways to achieve the 3D look.
1. You build up depth by felting directly onto the base of your 2D artwork, as I have done with the legs and coat. In this illustration I did not use any core wool under the colors. In a larger piece that method would help save your colored wool for more projects and larger surfaces. In this case, the artwork is so small I used only colored wool.
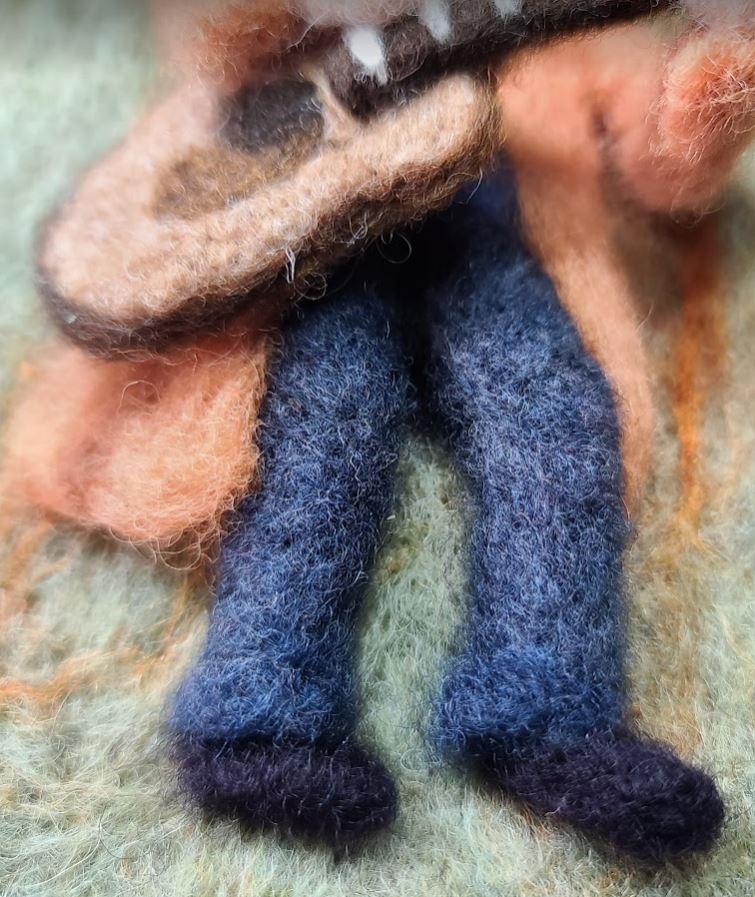
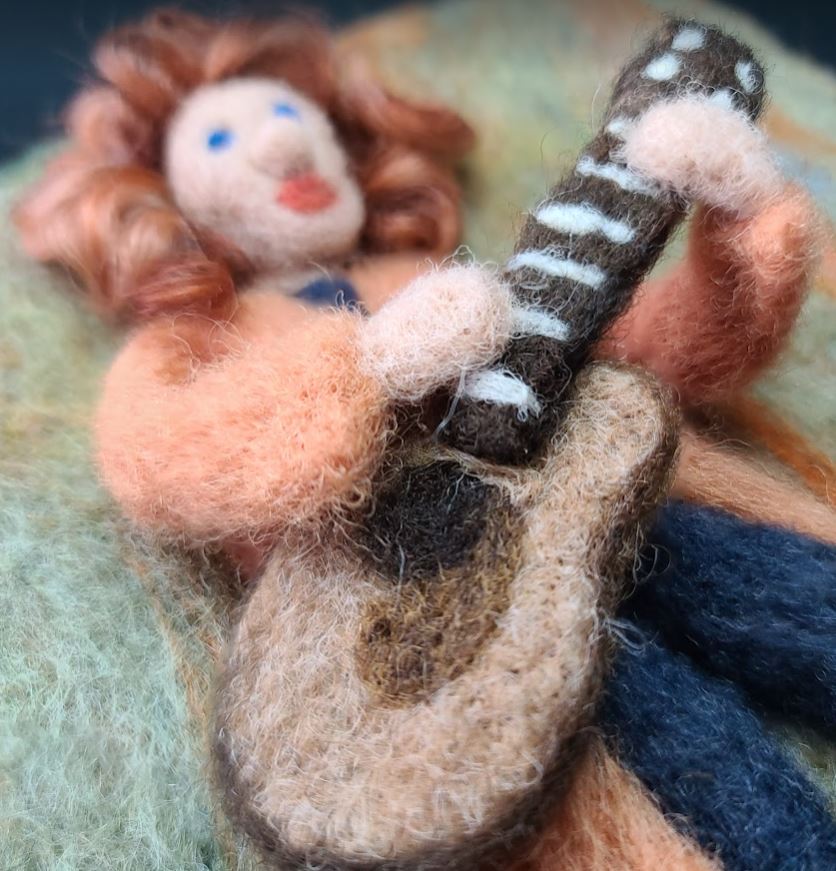
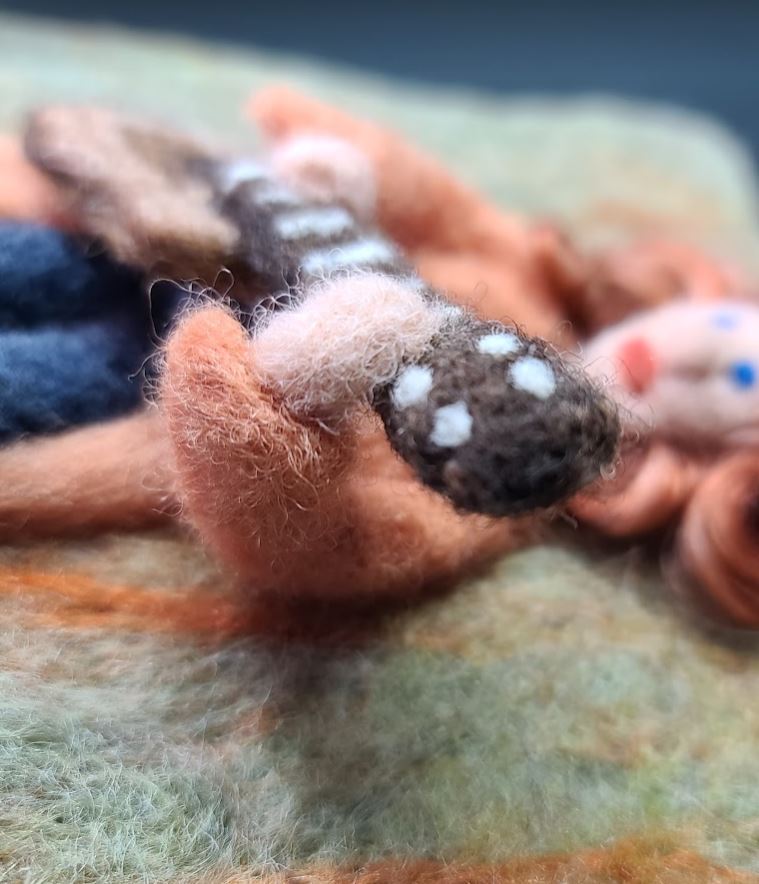
2. You felt 3D objects separately and attach them to the base illustration of your 2D artwork, as I have done with the guitar. The challenge of creating the illusion of depth with a 2D medium disappears when you are actually creating depth by adding volume and shape to your 3D fibers. The degree to which you develop the 3D detail before attaching it to your base is key.
Develop Details Then Attach
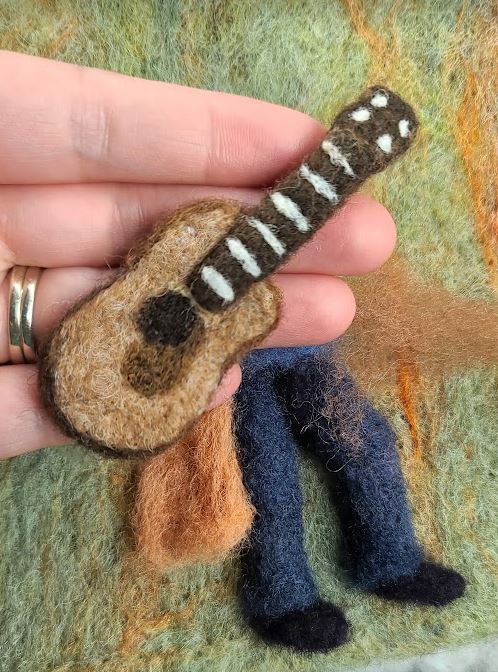
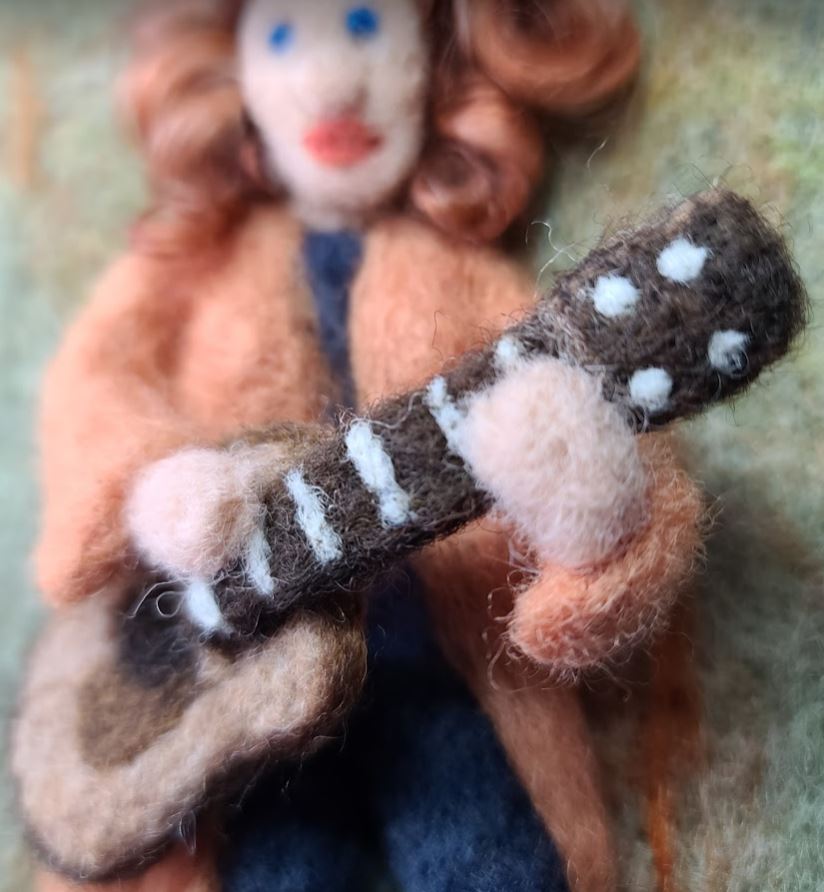
Here I created the guitar and each arm separately before any assembly was done. The guitar came first so I had the correct scale in conjunction with the musician’s figure. Next came each arm and hand, attaching each at the shoulder. In this piece, I attached the hands to the guitar last and had to wedge the corner of my wool pad between the guitar and the musician. Truth be told, I tried to do it without the wool pad and pricked my finger pretty good. Alas, an occupational hazard.
Keep Felting – Develop Your Style
There are no limits to how your own unique style will develop over time. Whether you maintain a relatively flat 2D surface, or you do add pops of depth with the addition of 3D elements, the key is to make your style your own. As a co-pilot, I have ample time for felting projects during long car rides (as long as I plan well and pack what I need), or filling my early morning hours of “mommy time” with creative pursuits. Whenever or wherever your felting needle meets fiber, I do hope you continue to create.
More Lessons from Hillary
Visit Hillary’s Online Shop

Free Felting Lessons
Continue earning techniques used to merge 2D and 3D felting into works of art that POP off the wall!
