Needle Felting a Violin
step by step tutorialMaterials List
Felting needles
Sturdy foam or wool pad
Reference photos of a violin
Natural wool in a variety of browns and black

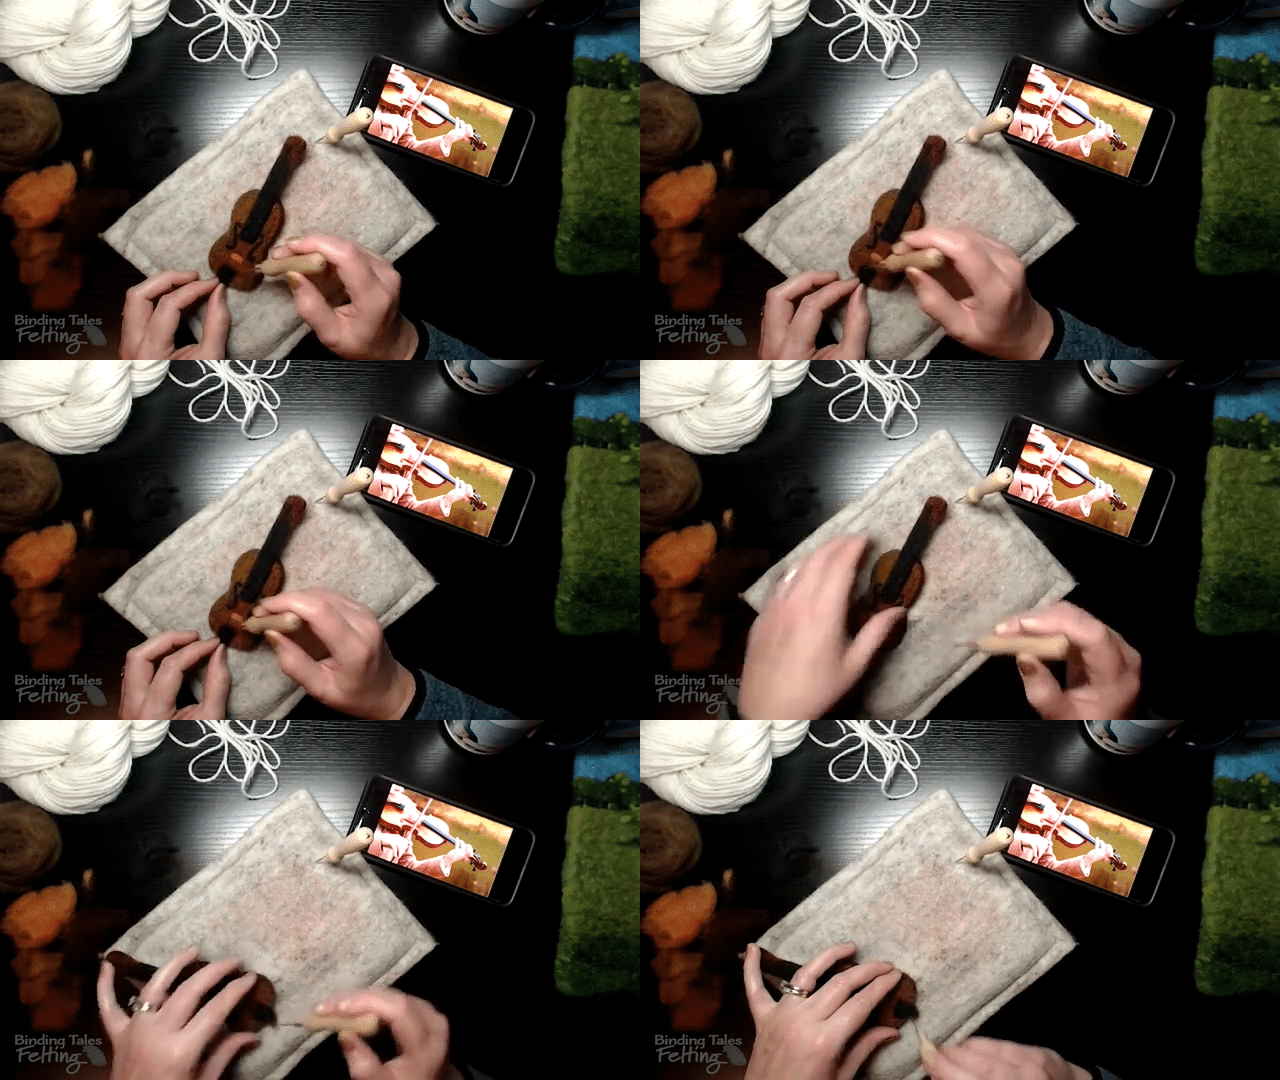
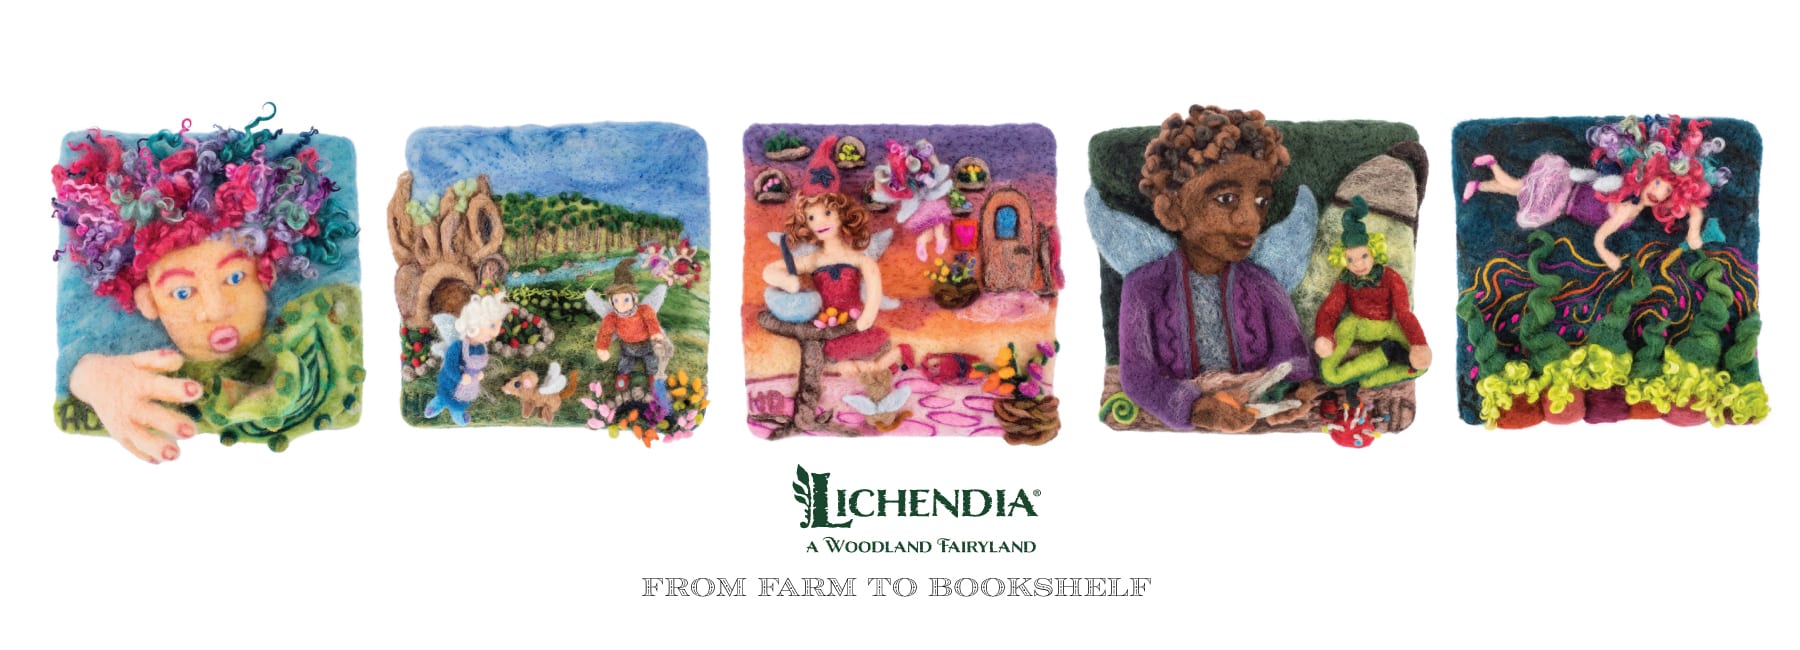
Welcome to the violin felting lesson. You’re going to join me throughout the process of developing a small object out of felt, in this case, a violin. This small object will be added to the 2D base as part of the first illustration in my picture book, Flock of Rock! Thank you for sharing this journey with me. This lesson was originally recorded in January 2024.
Part 1 Needle felting the hollow body of the violin
In this lesson, we form the largest shape of this object, the hollow body of the violin. For small objects like this I do not use white core wool, but the primary color of the object.
Part 2 Felting the neck and fingerboard of the violin
In this video lesson, we add wool shading to the violin body, needle felt the neck and fingerboard of the violin and then attach it to the hollow body. I do add strings made of yarn, but once I see how they overpower the violin I decide against them. What do you think?

Meet Your Instructor
Hi, my name is Hillary Dow. A few of my many hats include mother, wife, outdoor adventurer, author, family chef, marketing professional, felting artist in Maine, and oh so many more. I write children’s books illustrated with my wool creations. I studied illustration at the Hartford Art School back in my 20s (my goodness, I’m old enough to say that!), and now put those lessons into practice for my books. It is such a thrill to be a part of helping someone develop their skills and CREATE artwork. Thank you for joining me!

Thank YOU for being part of our community. Did you enjoy the lesson? Please click here and write a 5 star review on Google!
Want even more? Take your felting to a whole new level! Join the Felting Master Class today for a one time payment of $200.


