Needle Felting Lesson: 3D Santa
step by step tutorialMaterials List
Felting needles
Sturdy foam or wool pad
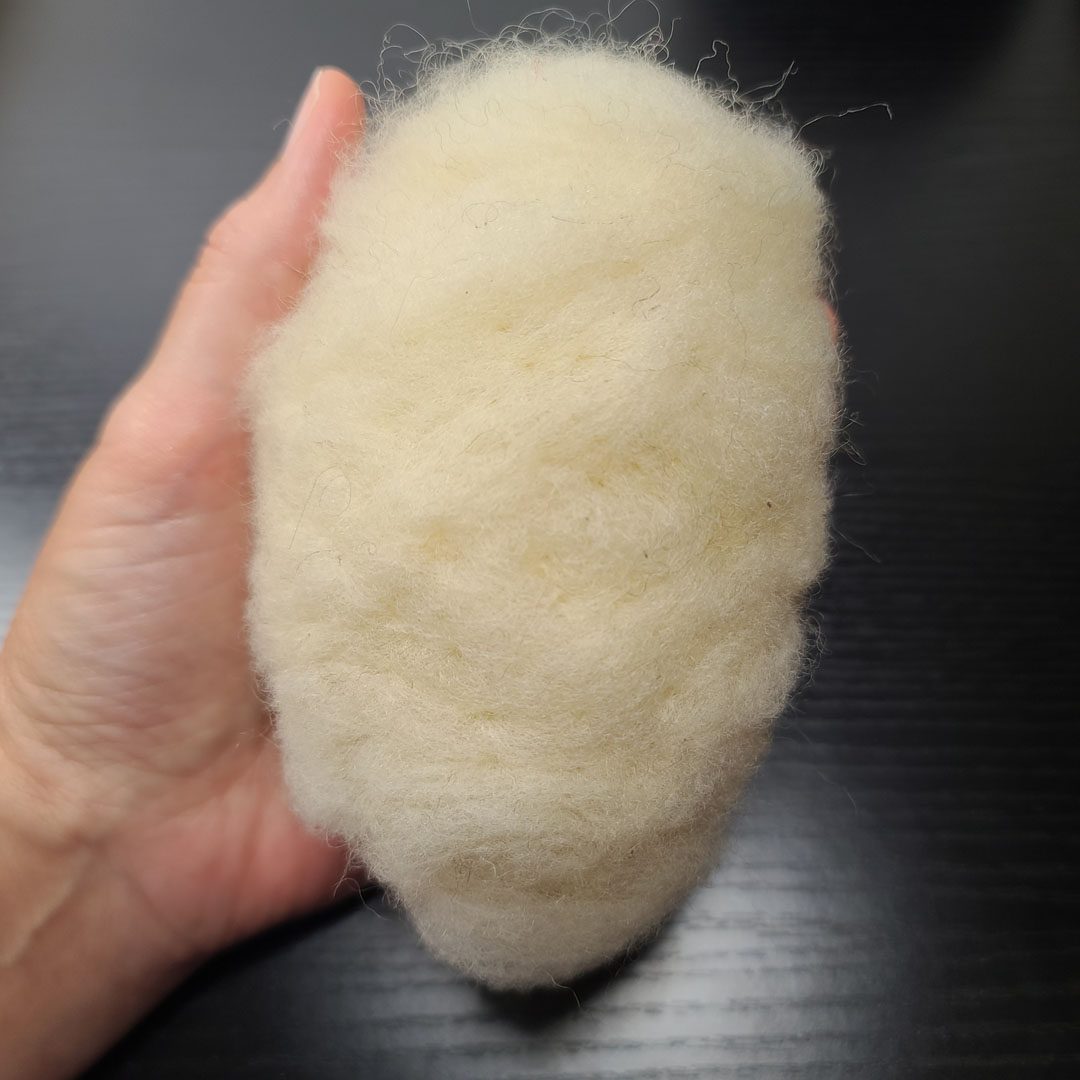
Core wool for the base shapes
Red and white wool for the hat
Curly locks for the hair
Flesh tone, blue, rosy red wool
")
Welcome to the needle felting lesson: 3D Santa. Together we’ll work throughout the process of forming and adorning a 3 dimensional Santa head! He’ll be a perfect addition to your mantle or windowsill! Thank you for sharing this journey with me. This lesson was originally recorded in November 2024.
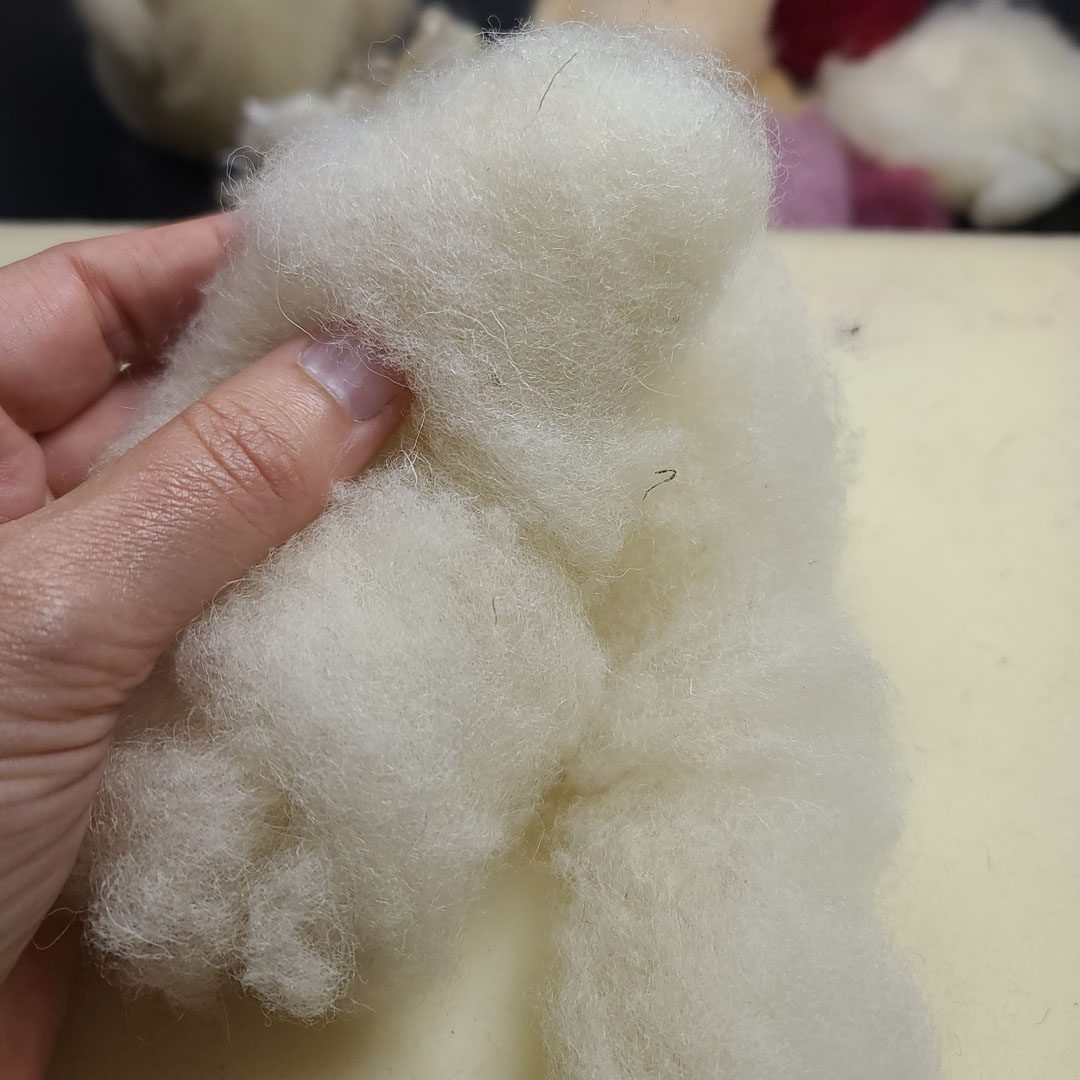
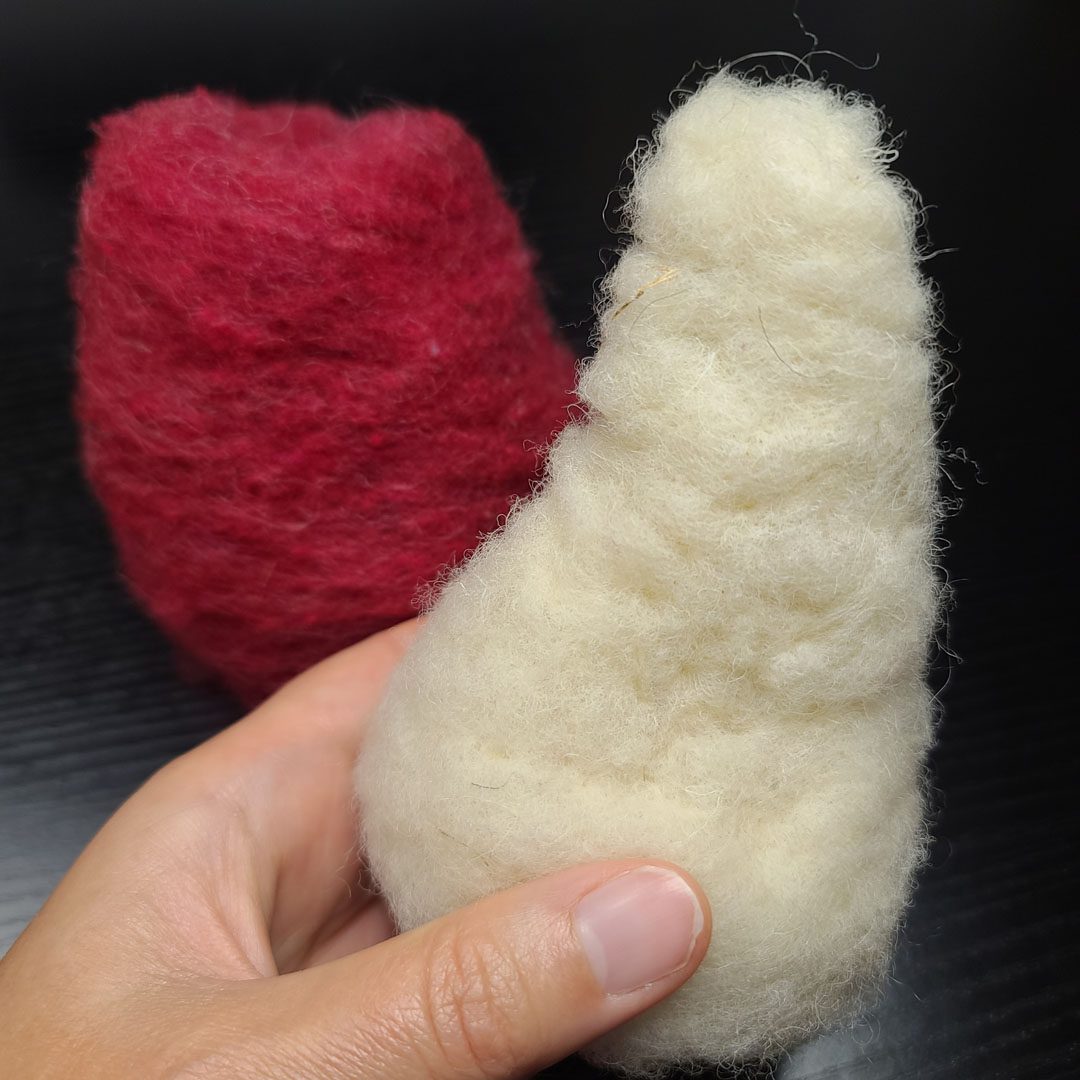
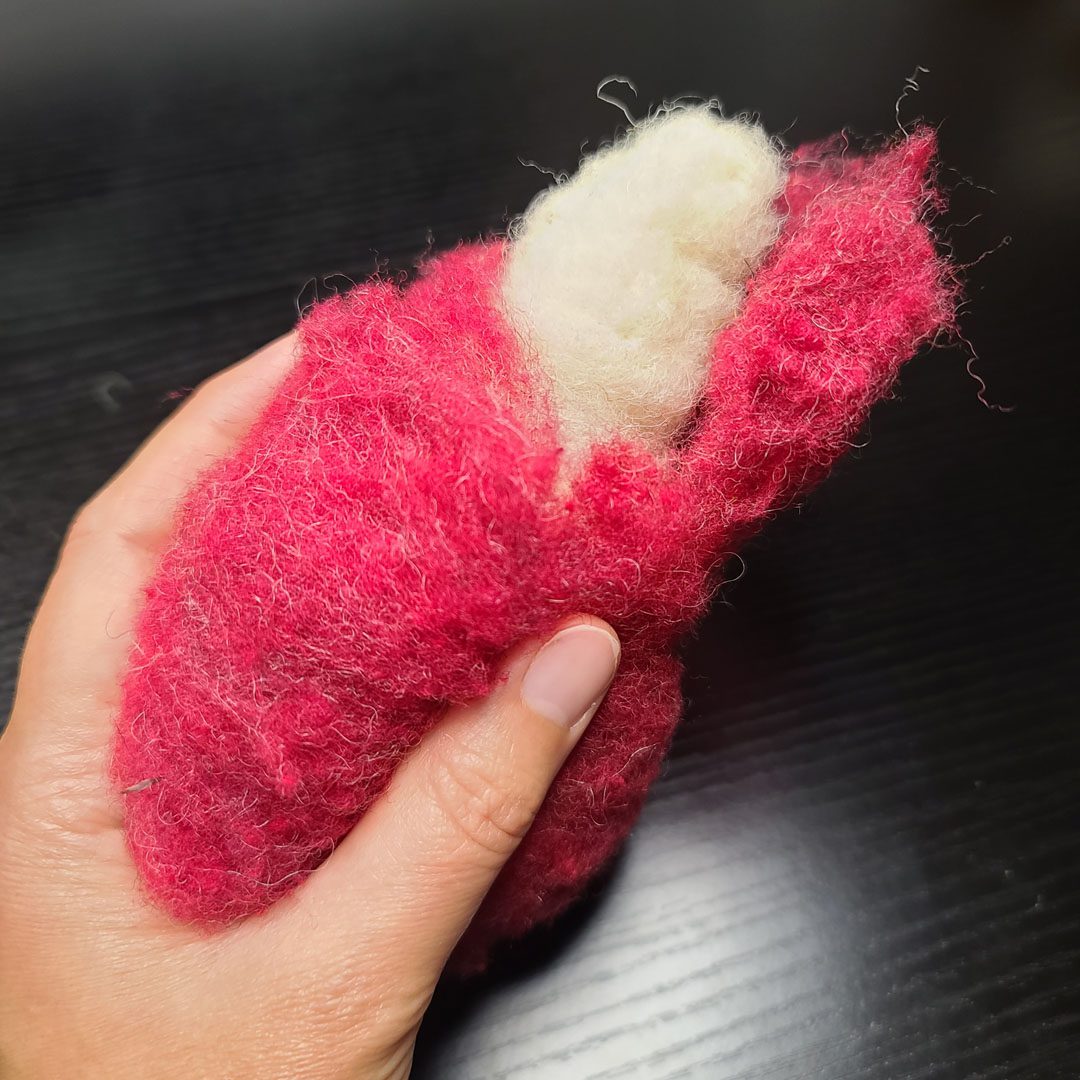
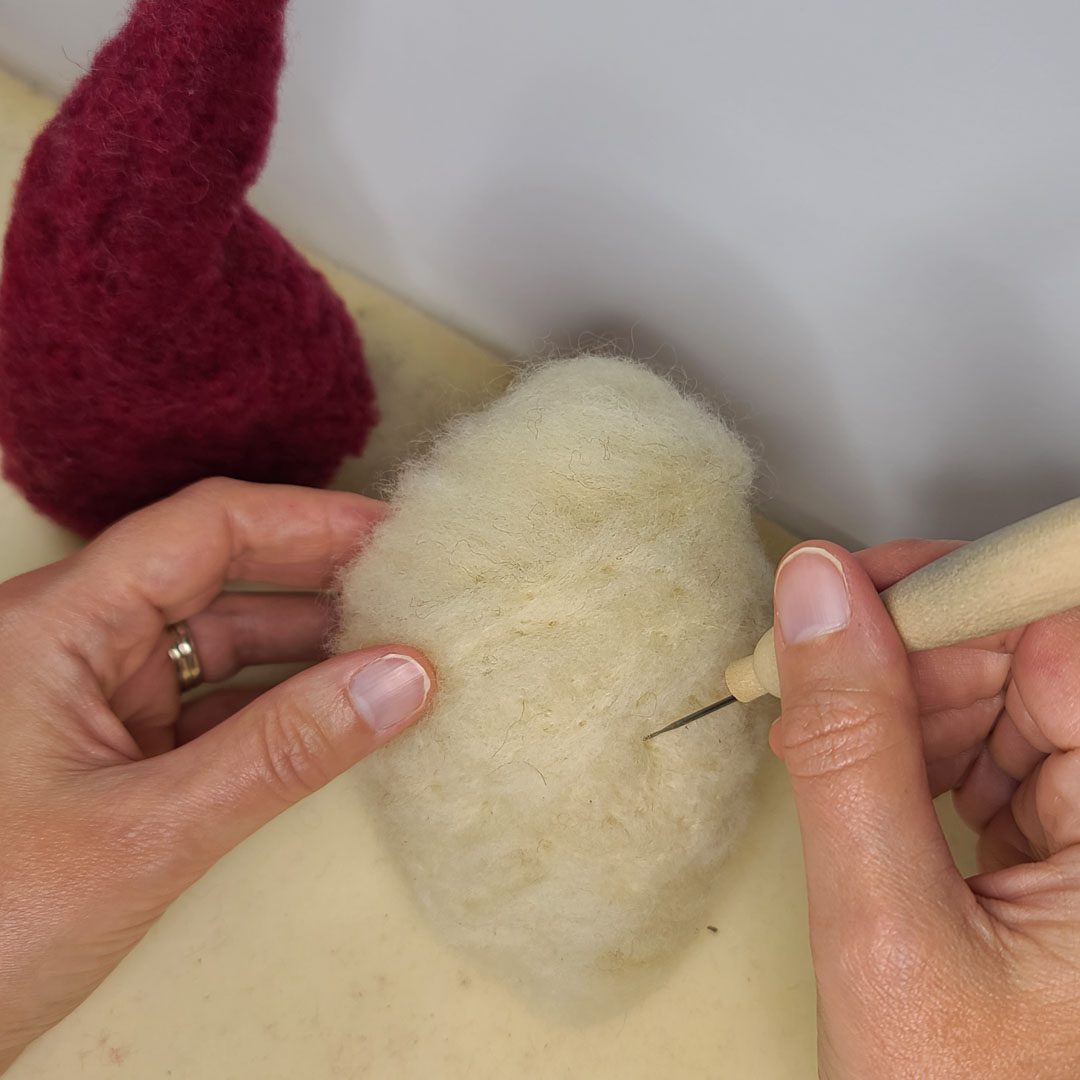
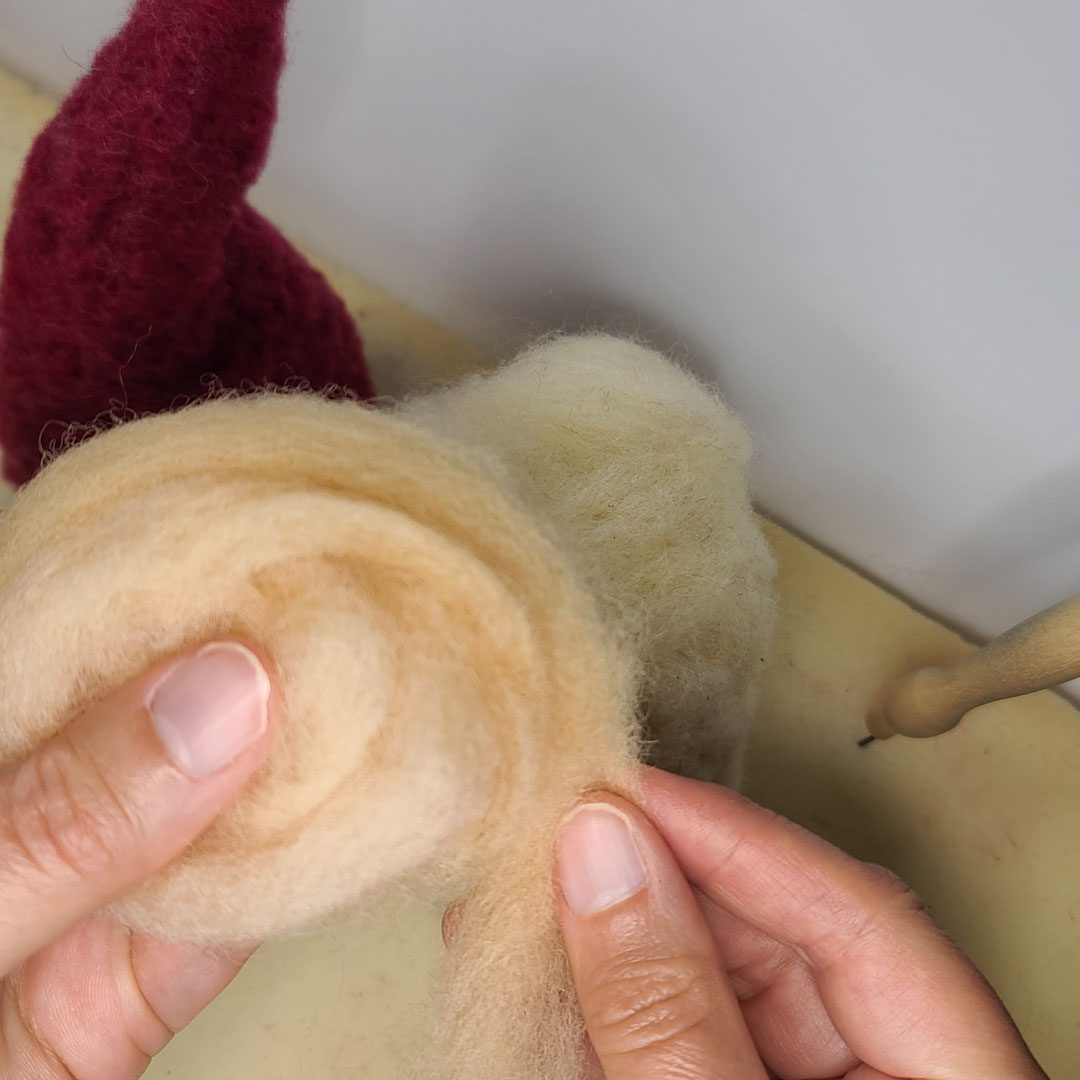
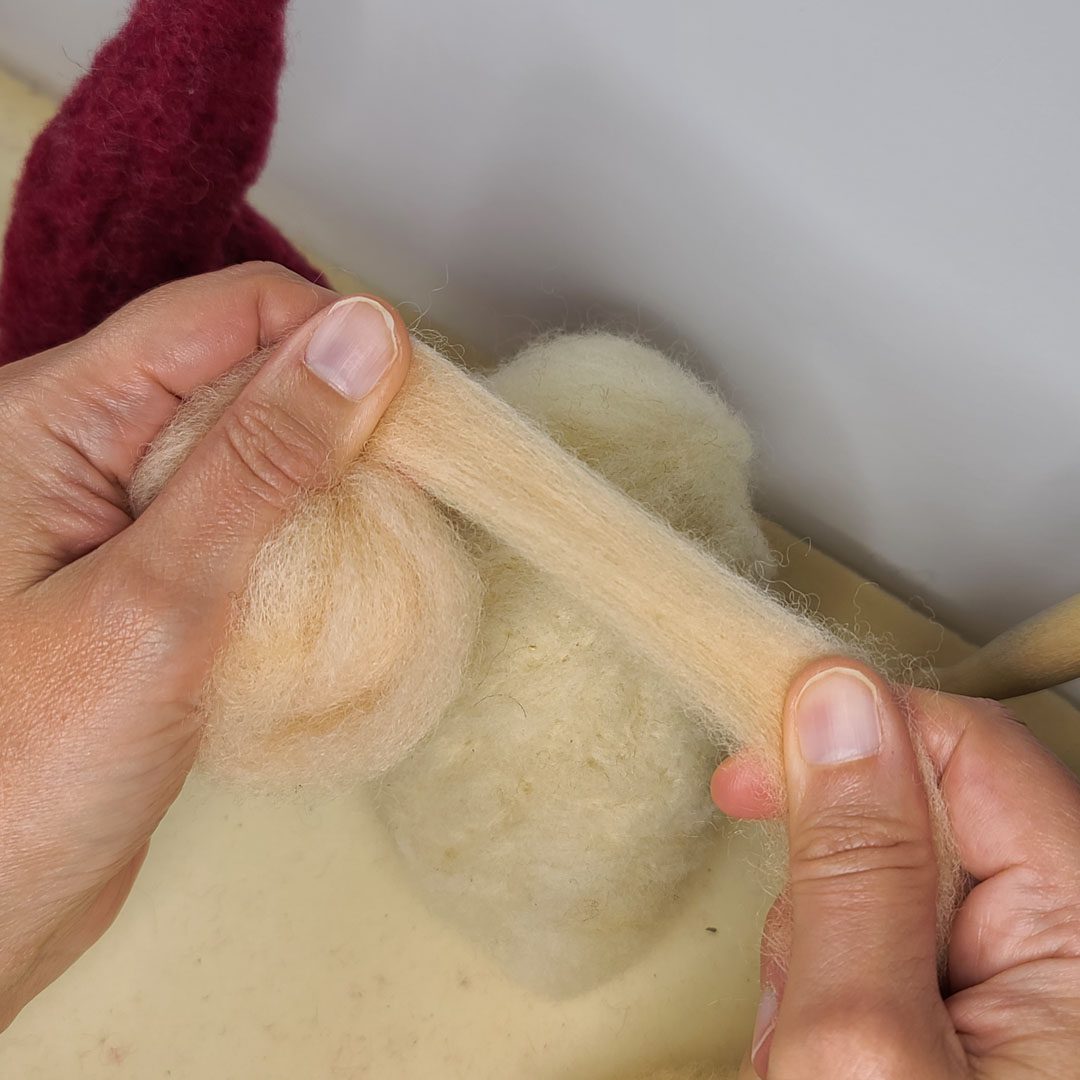
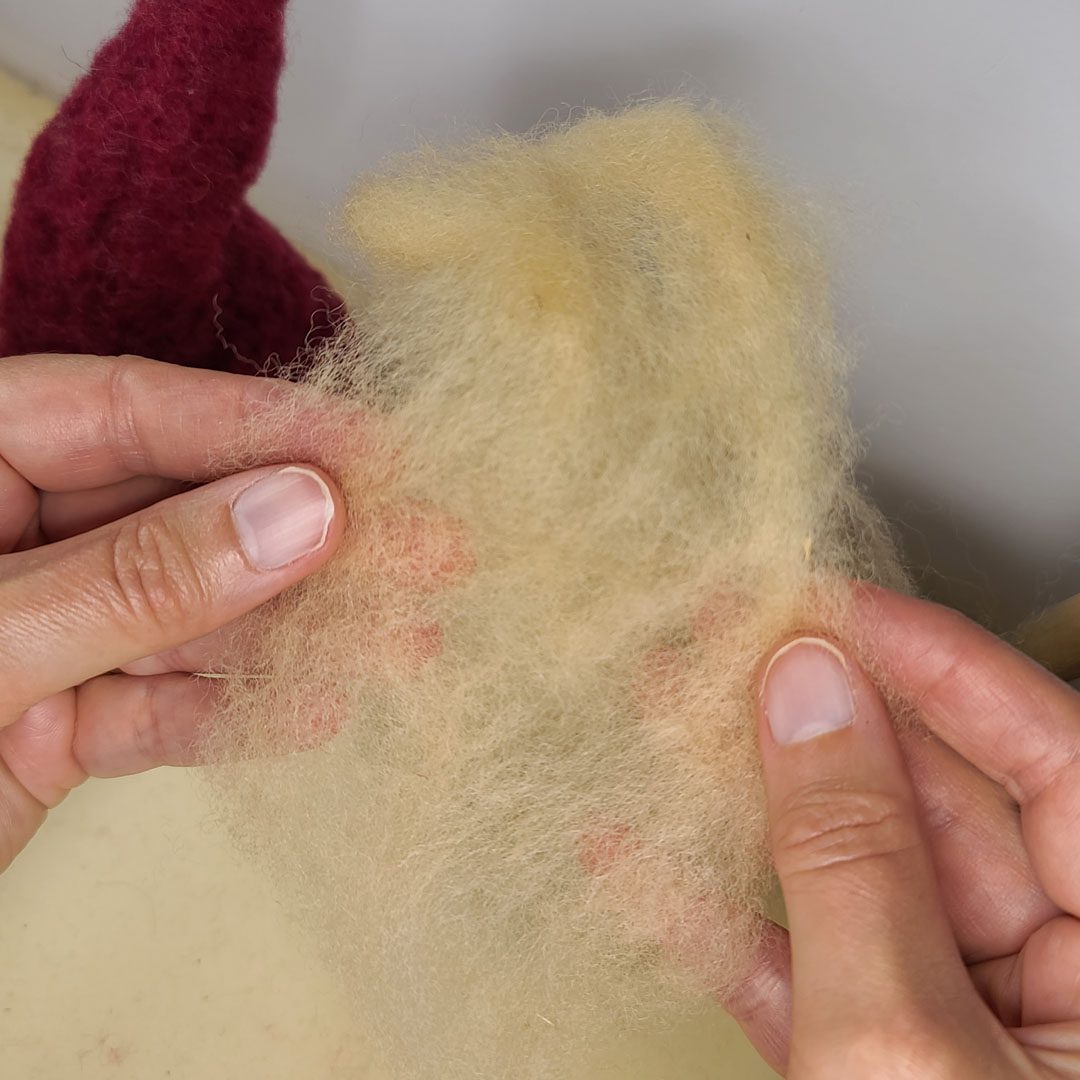
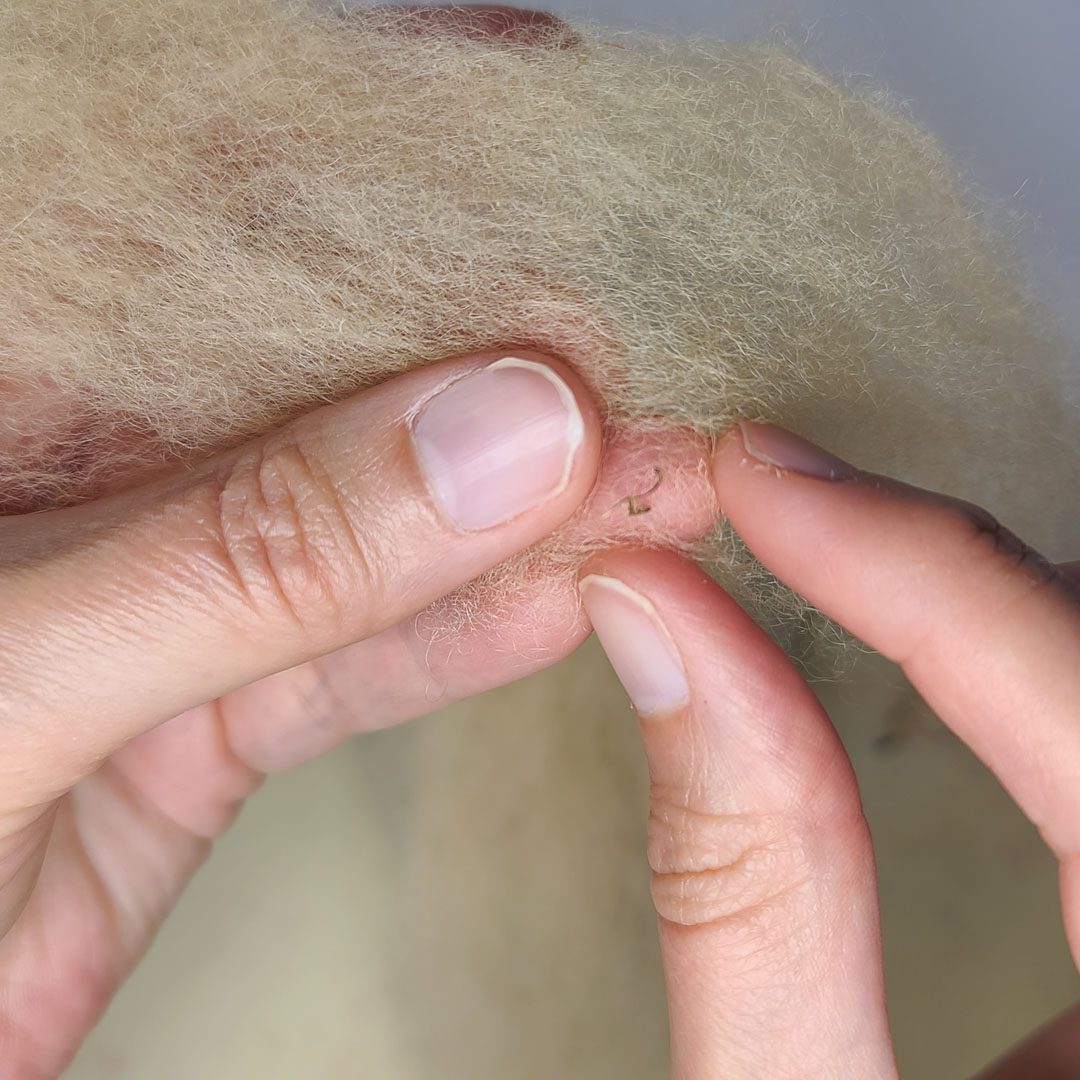
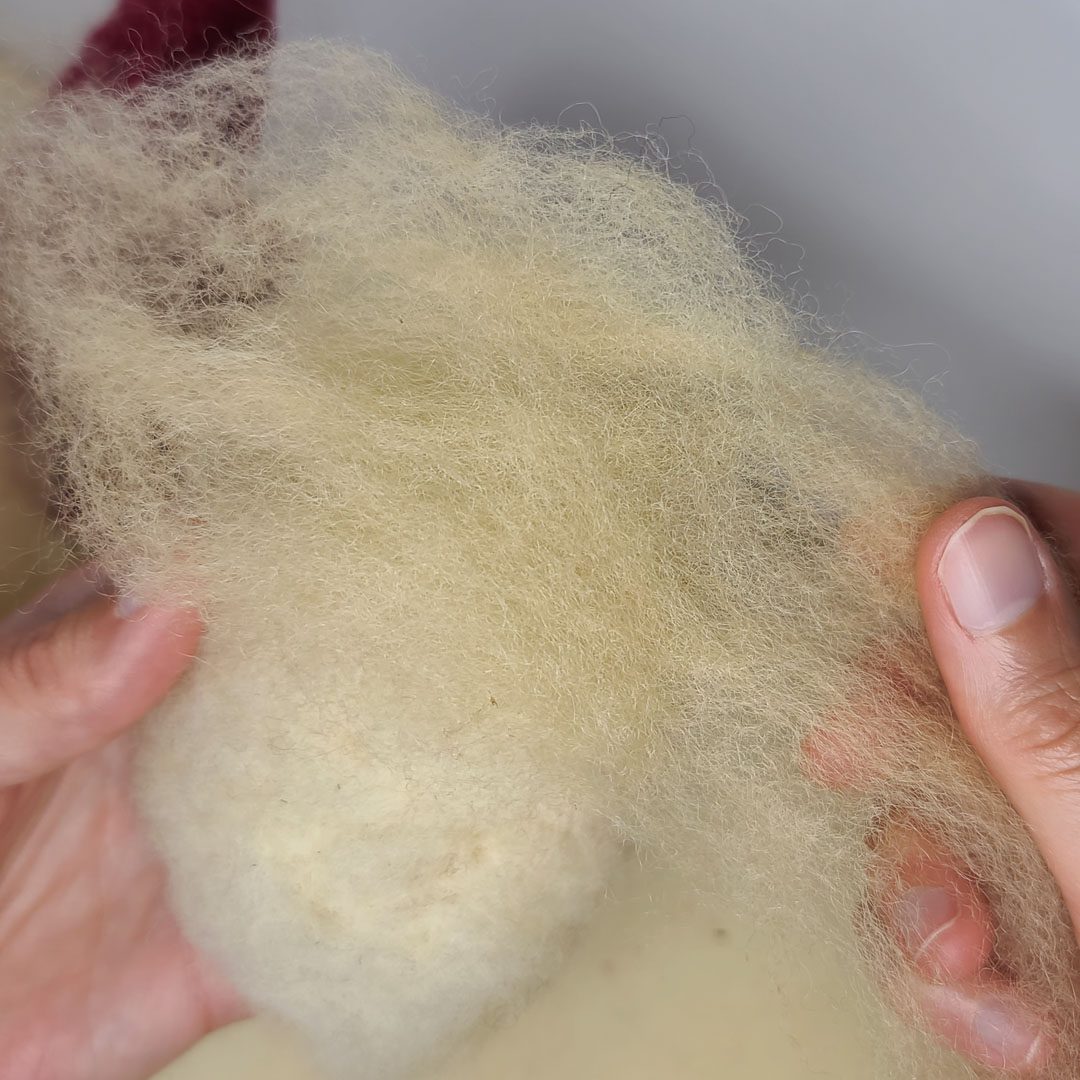
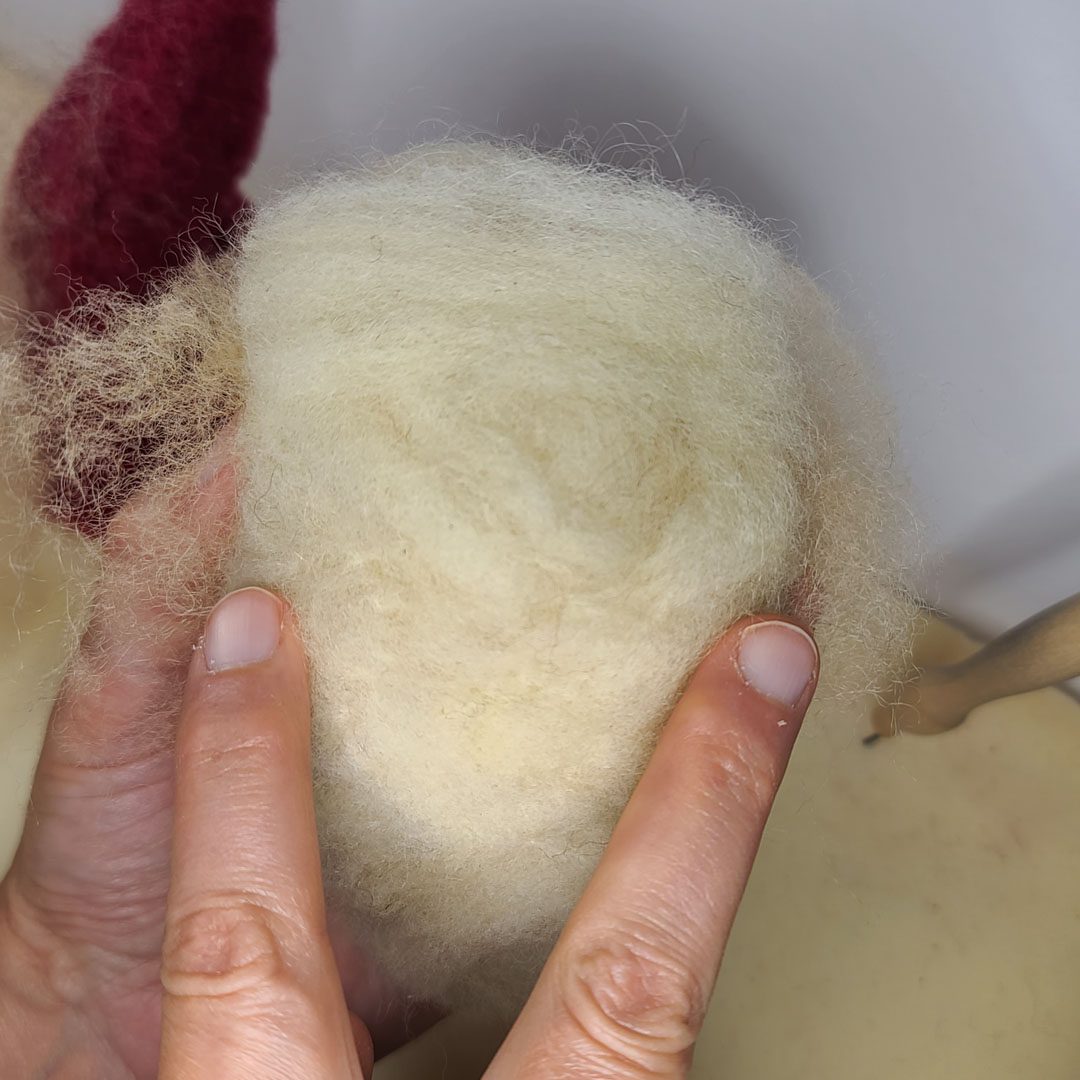
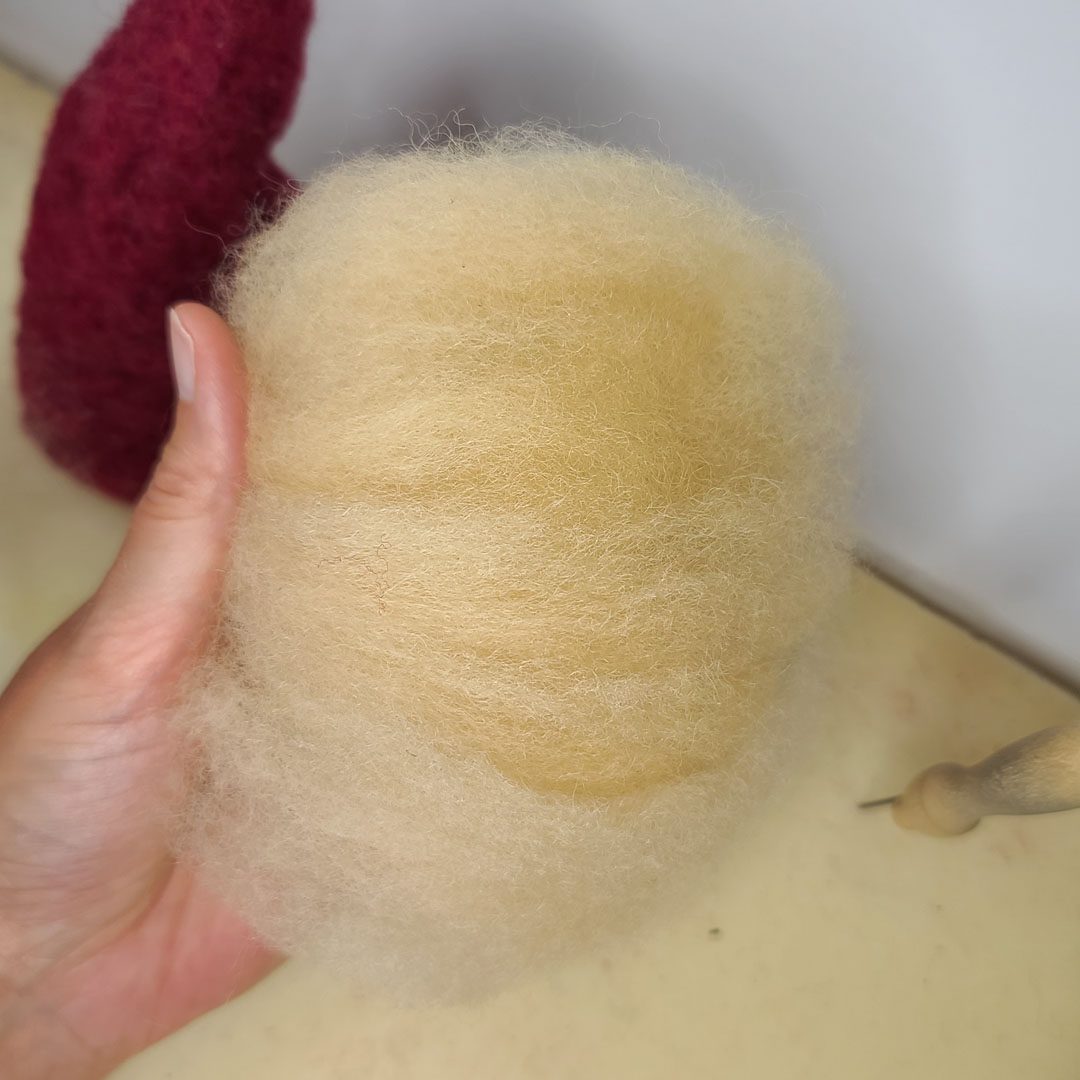
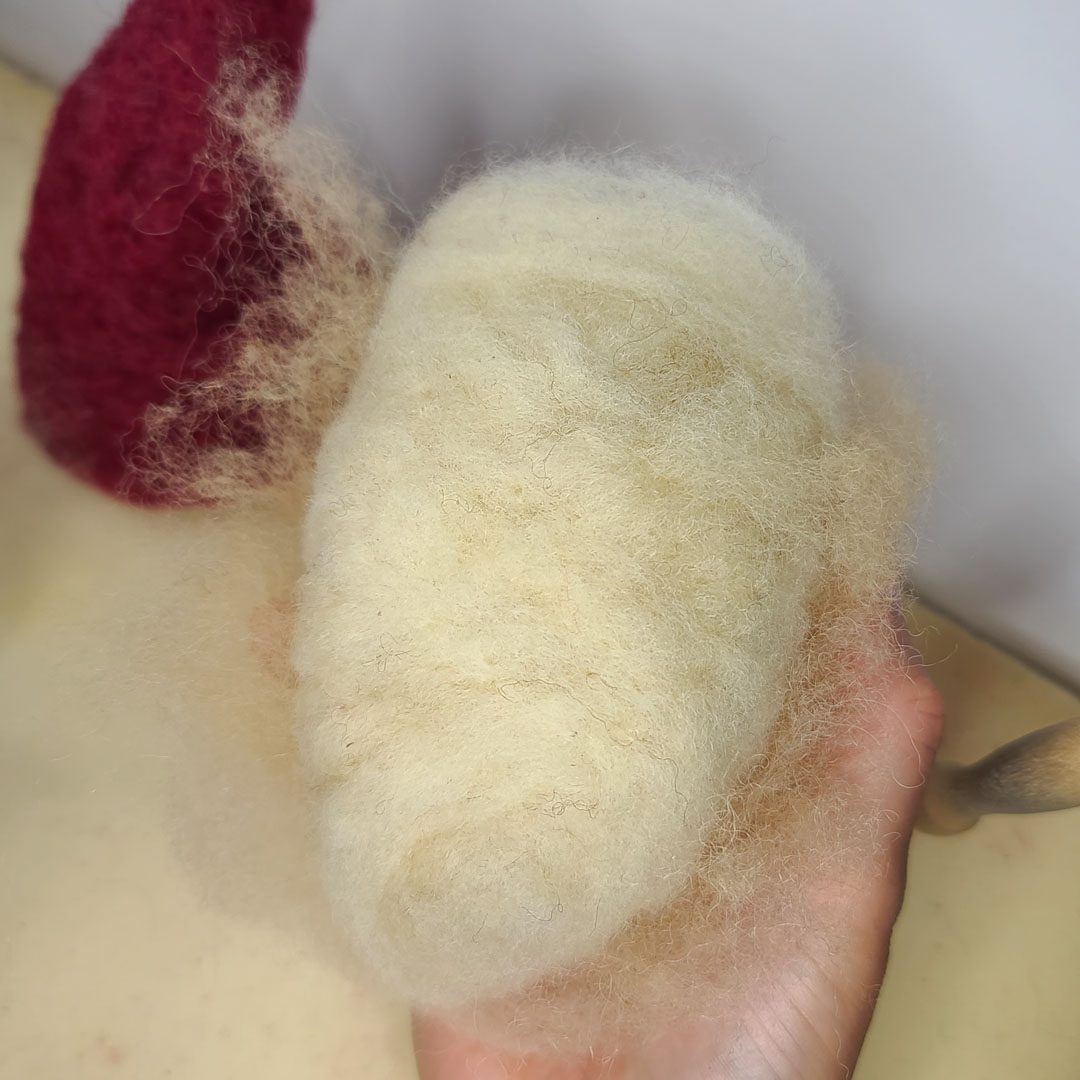
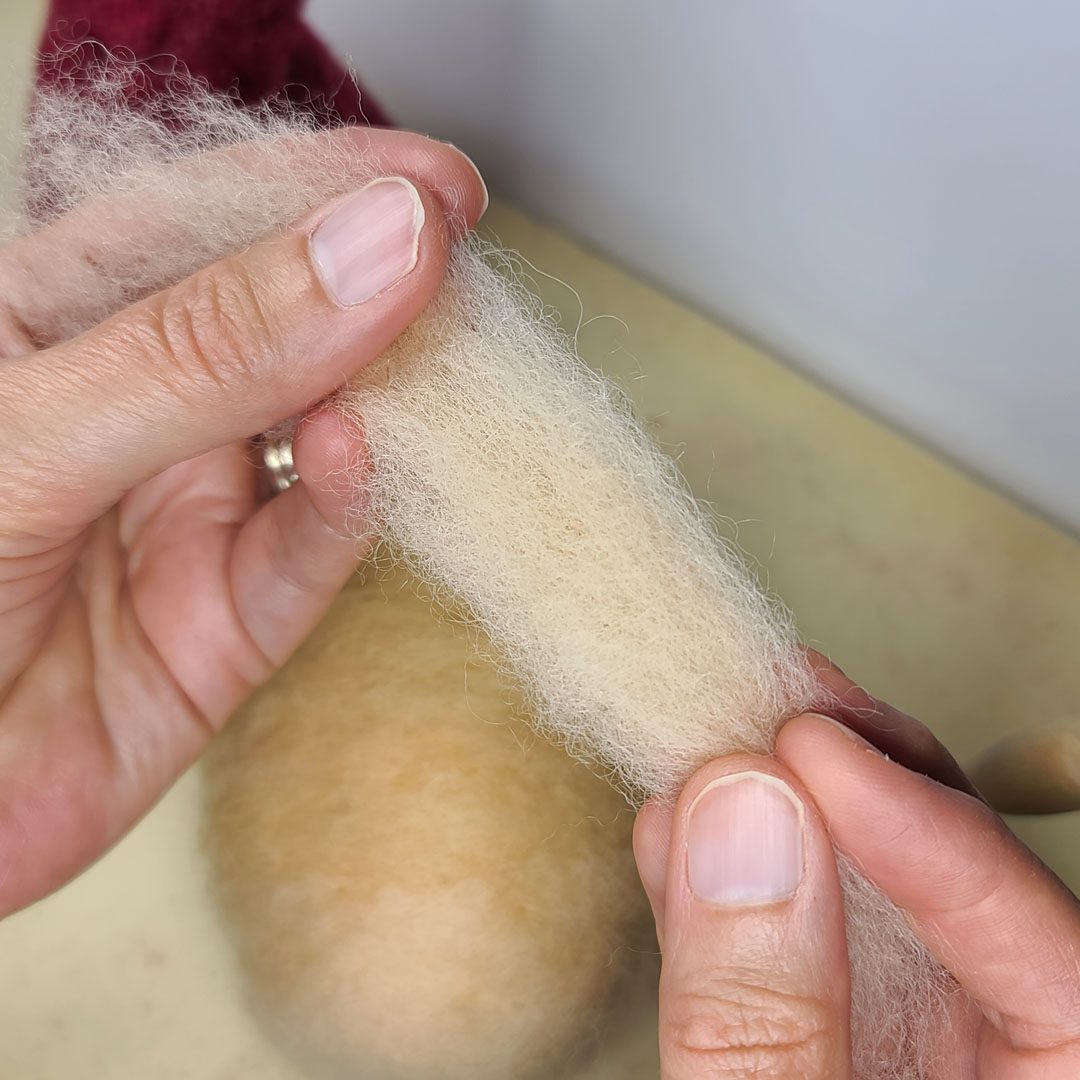
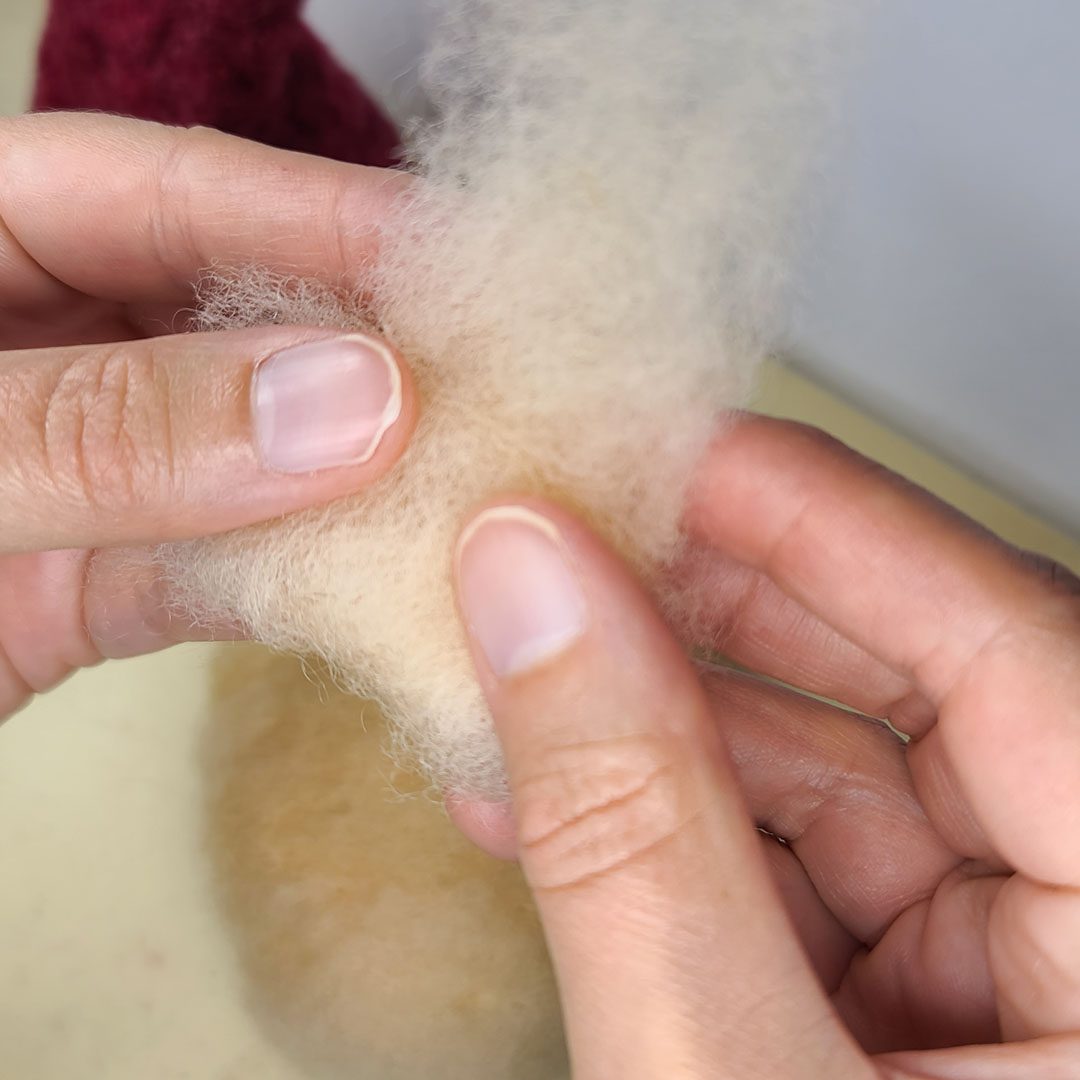
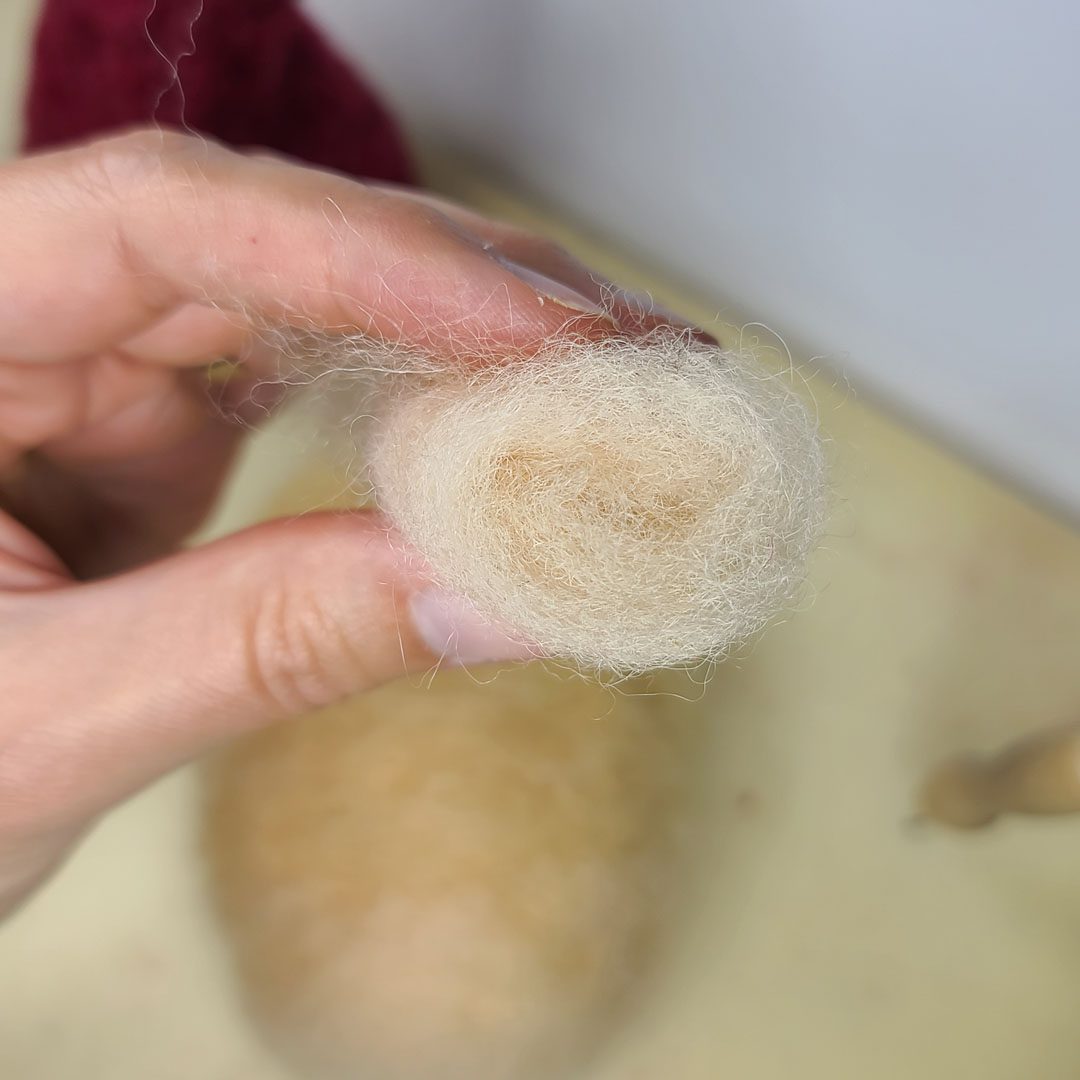
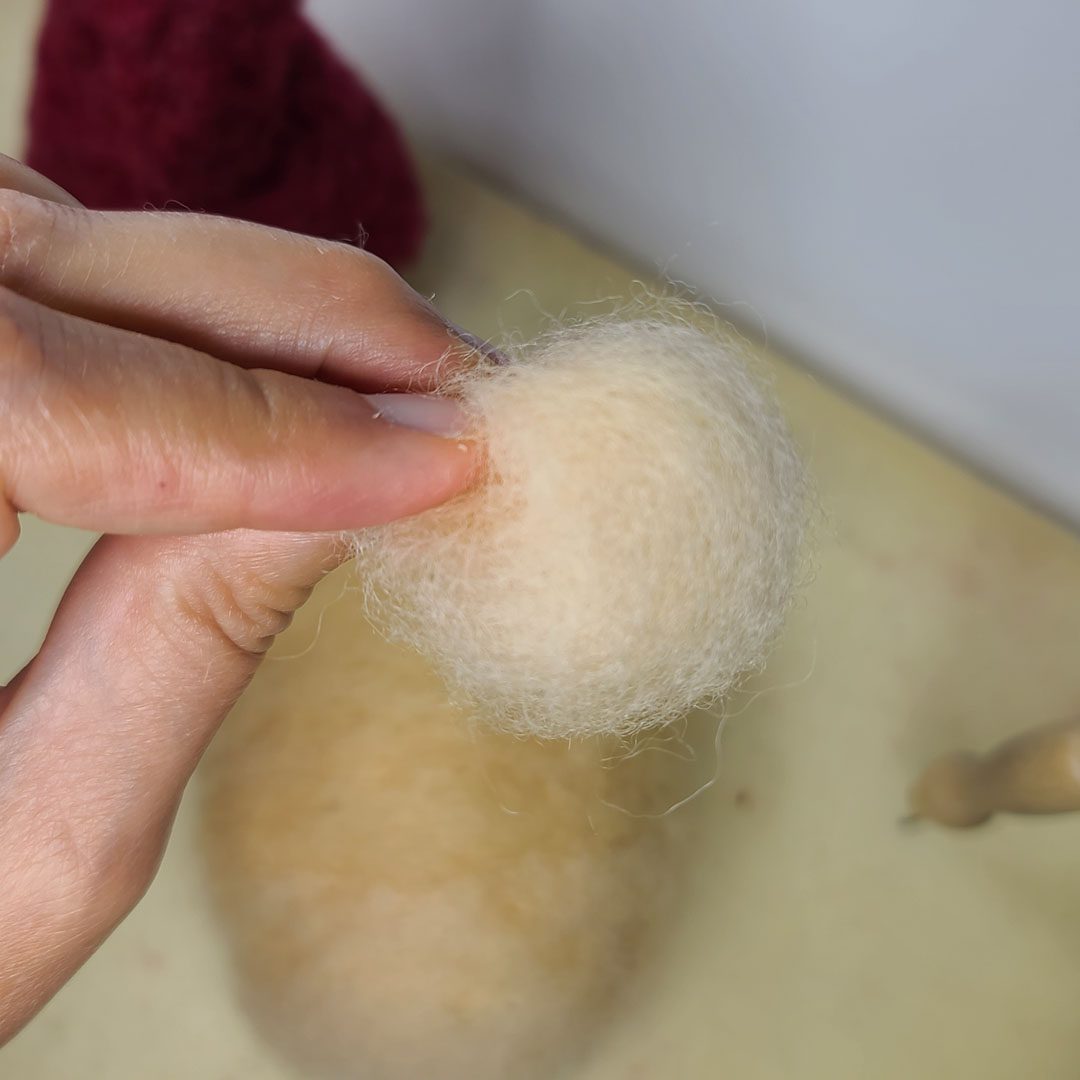
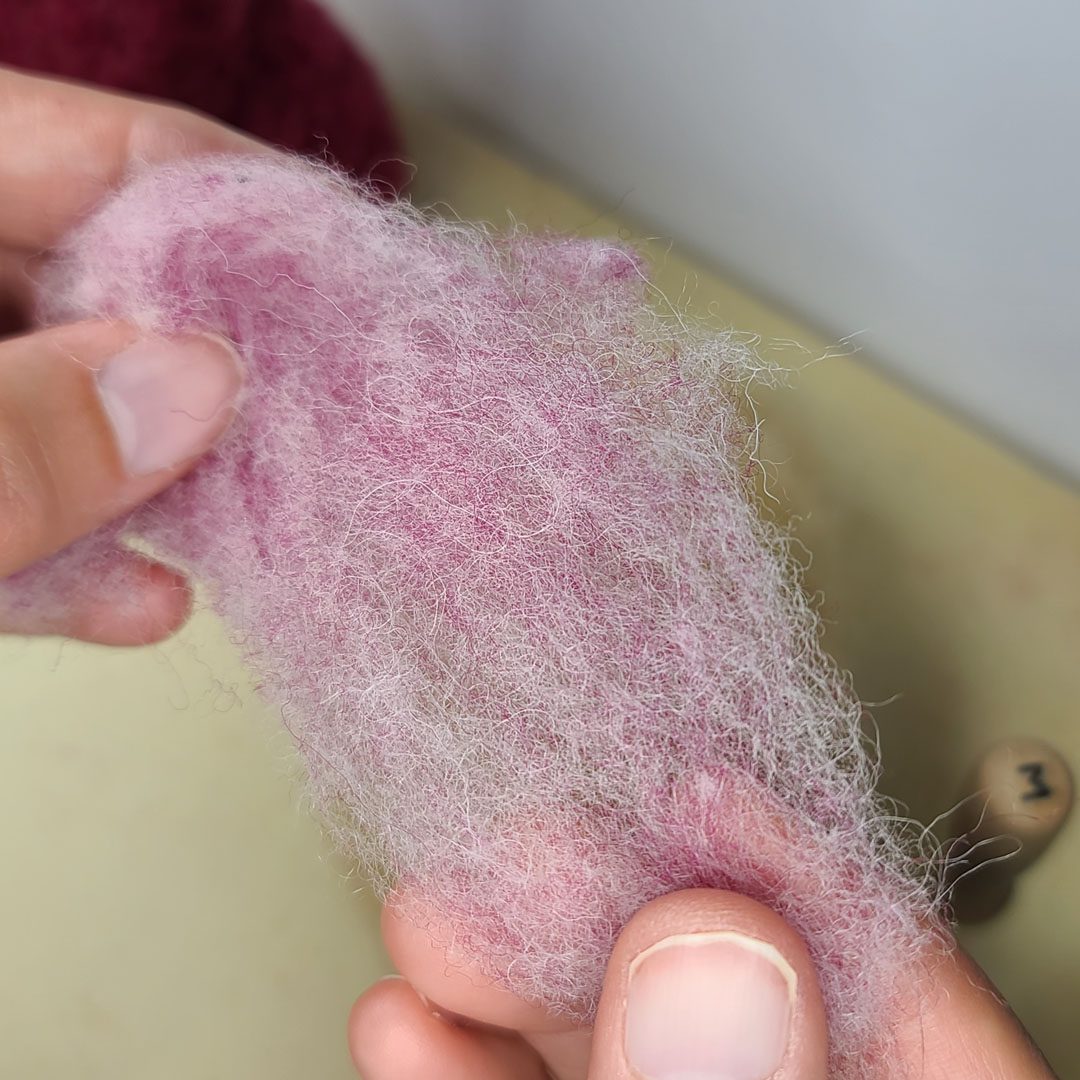
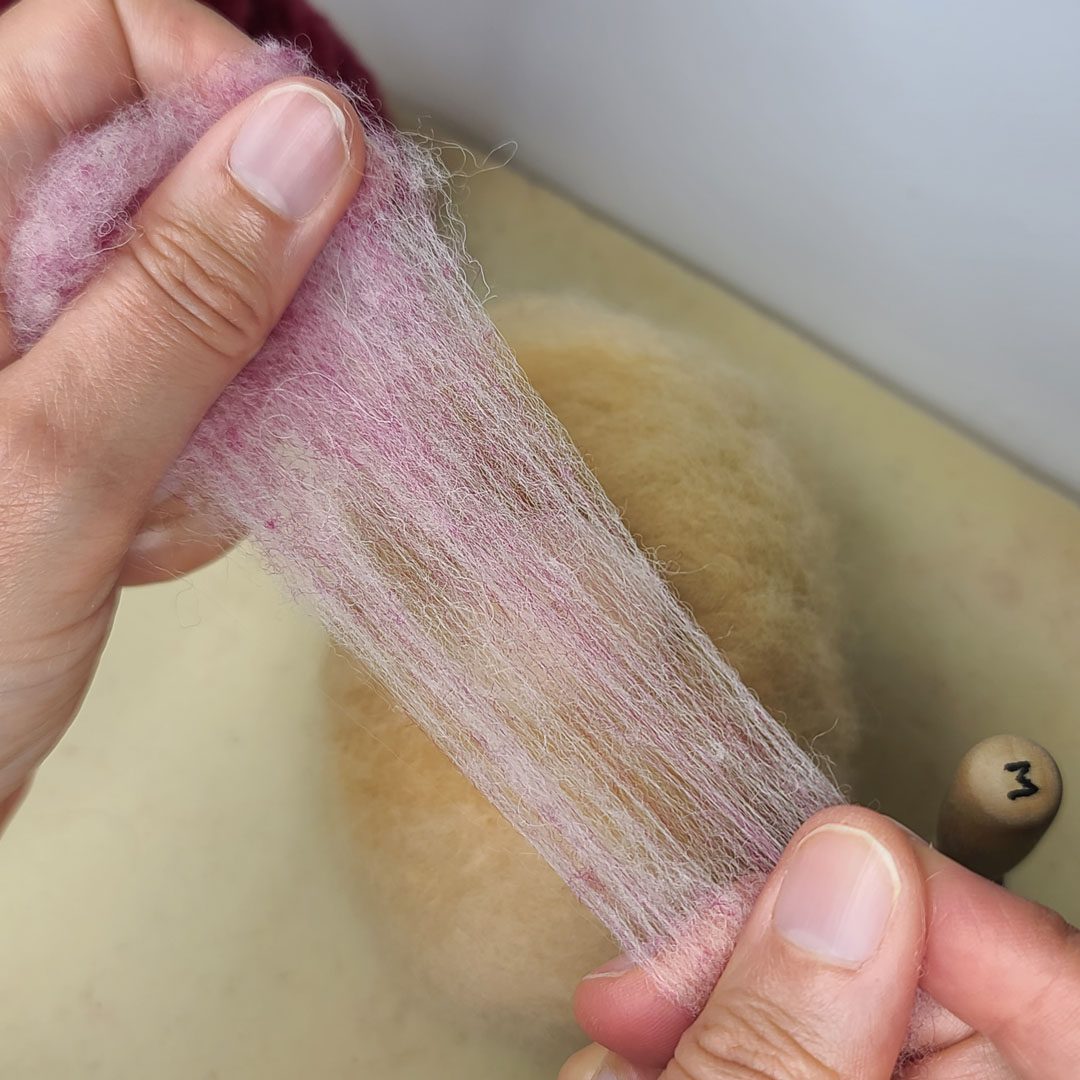
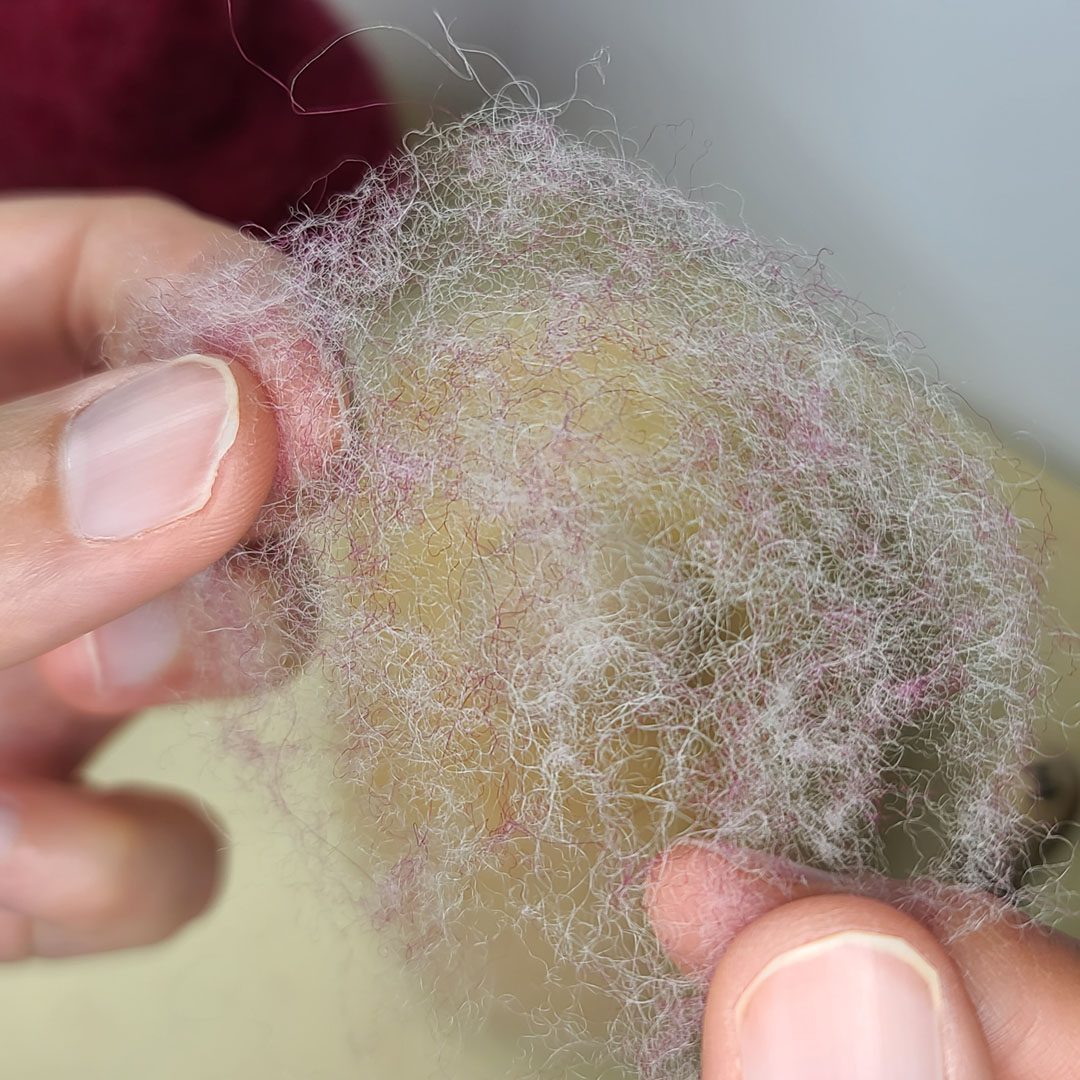
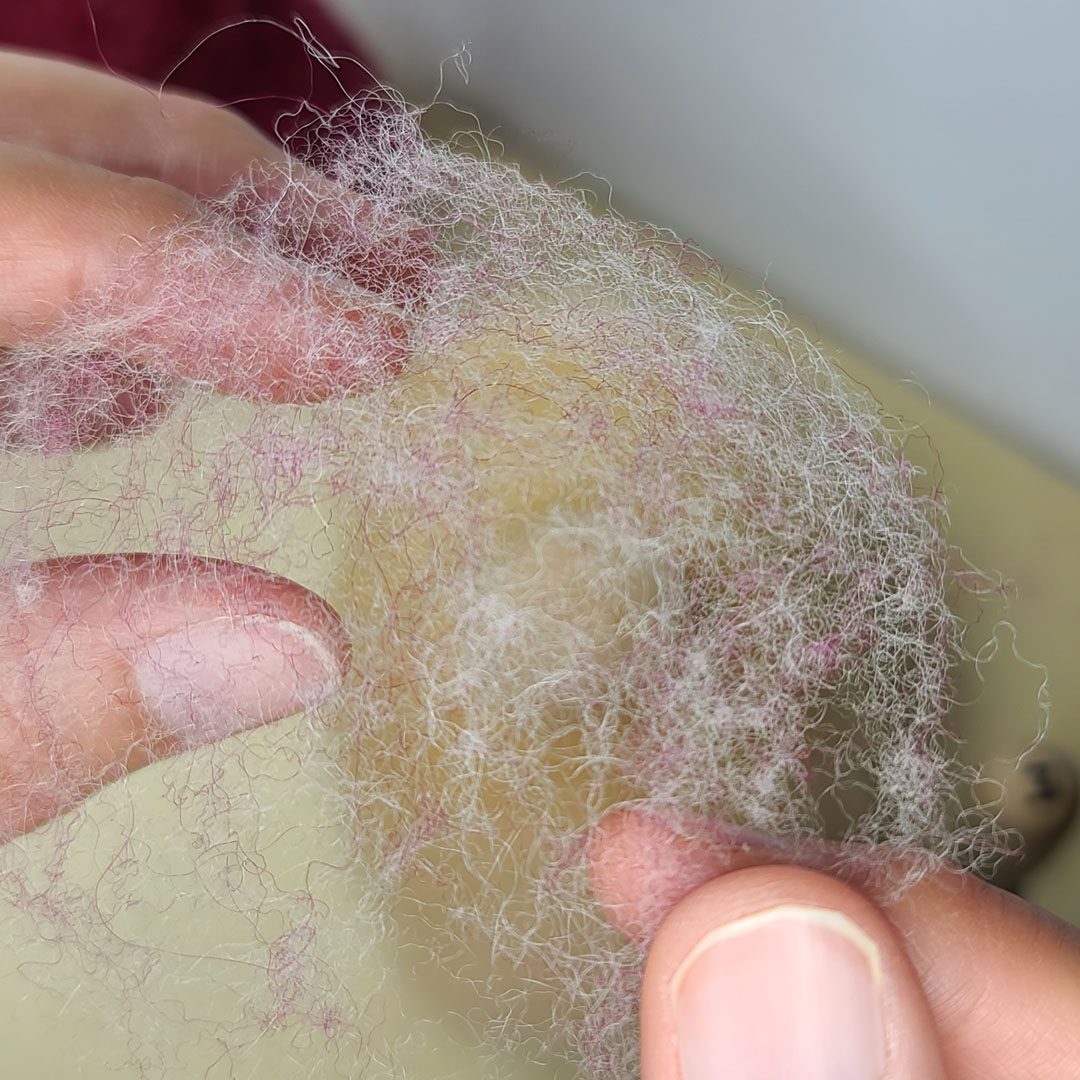
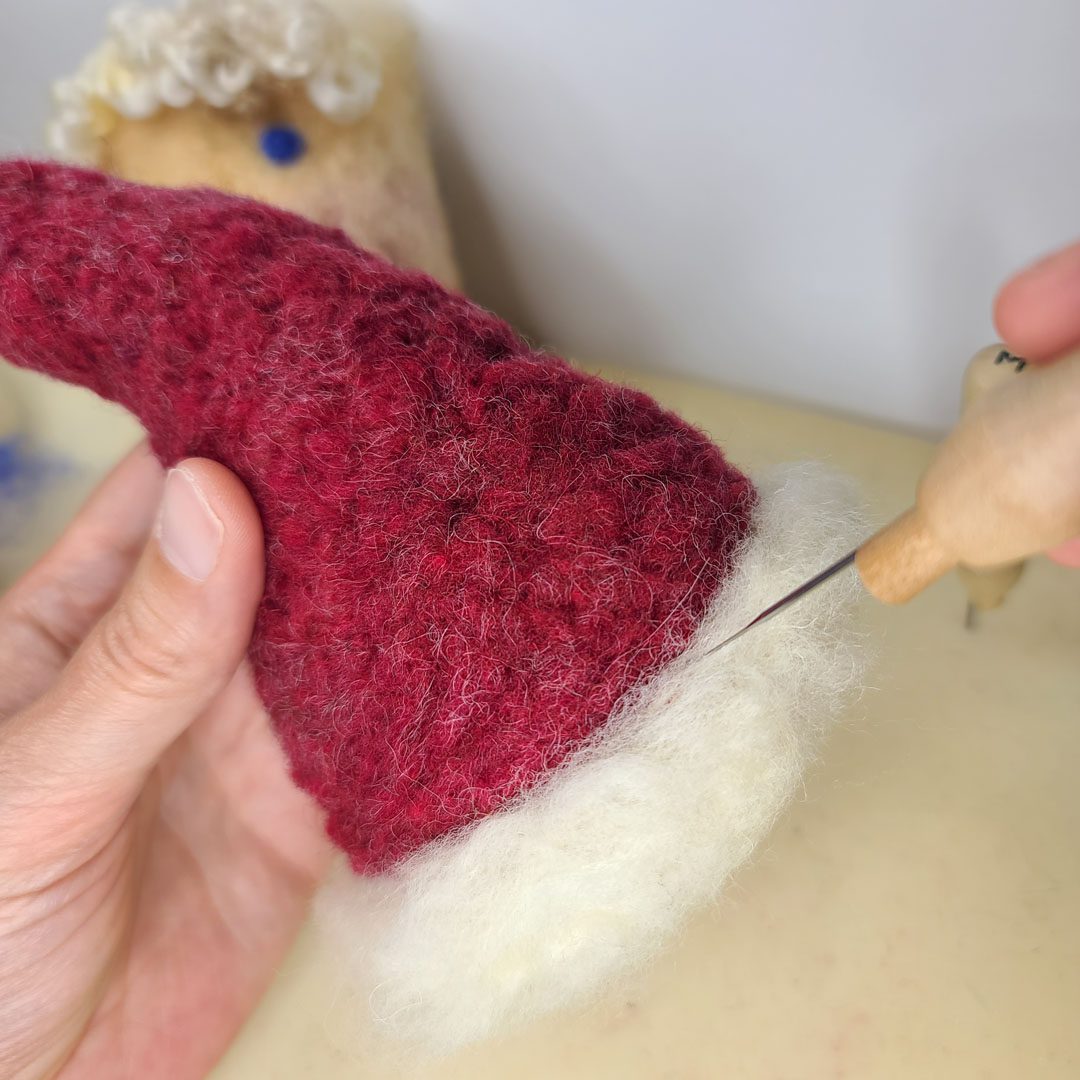
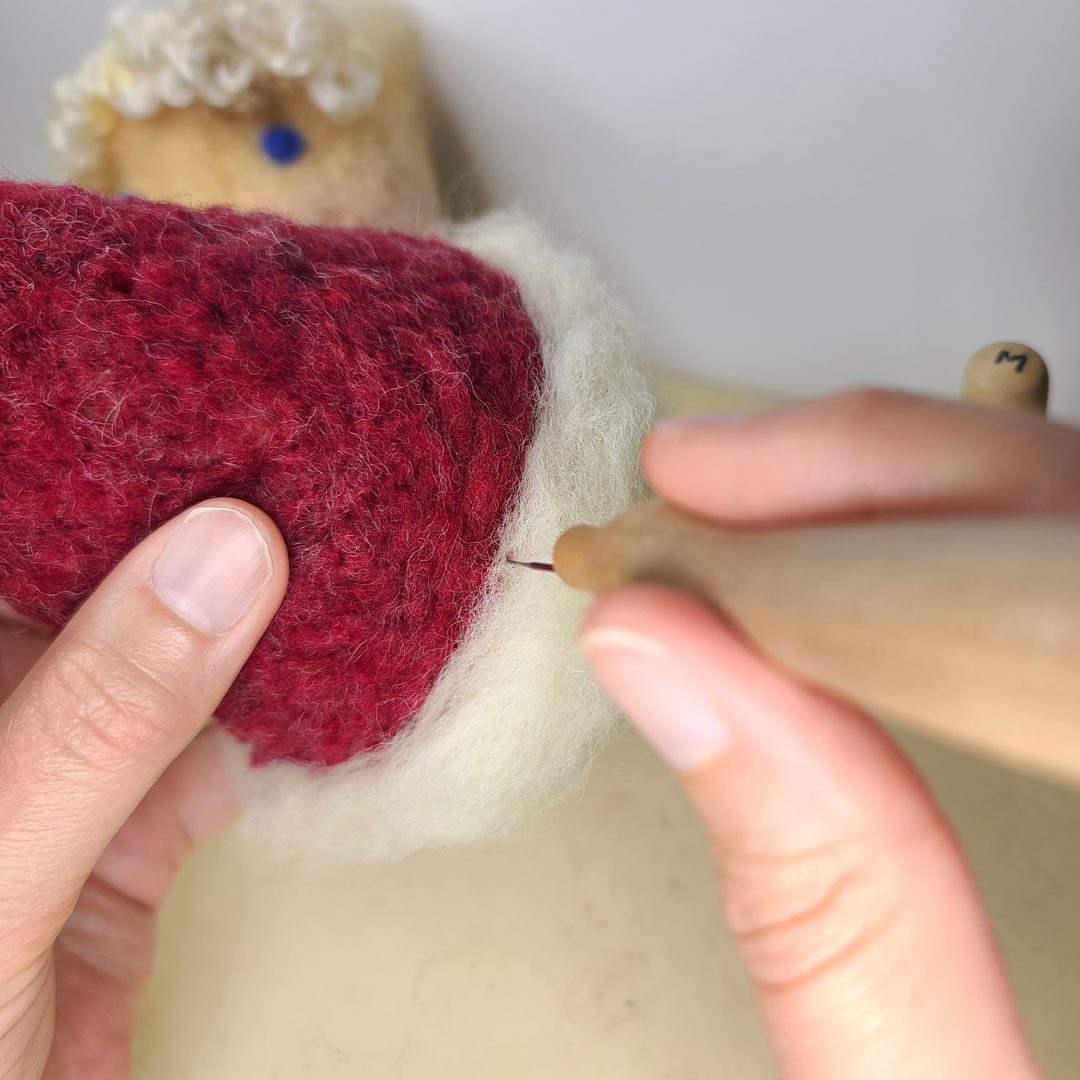
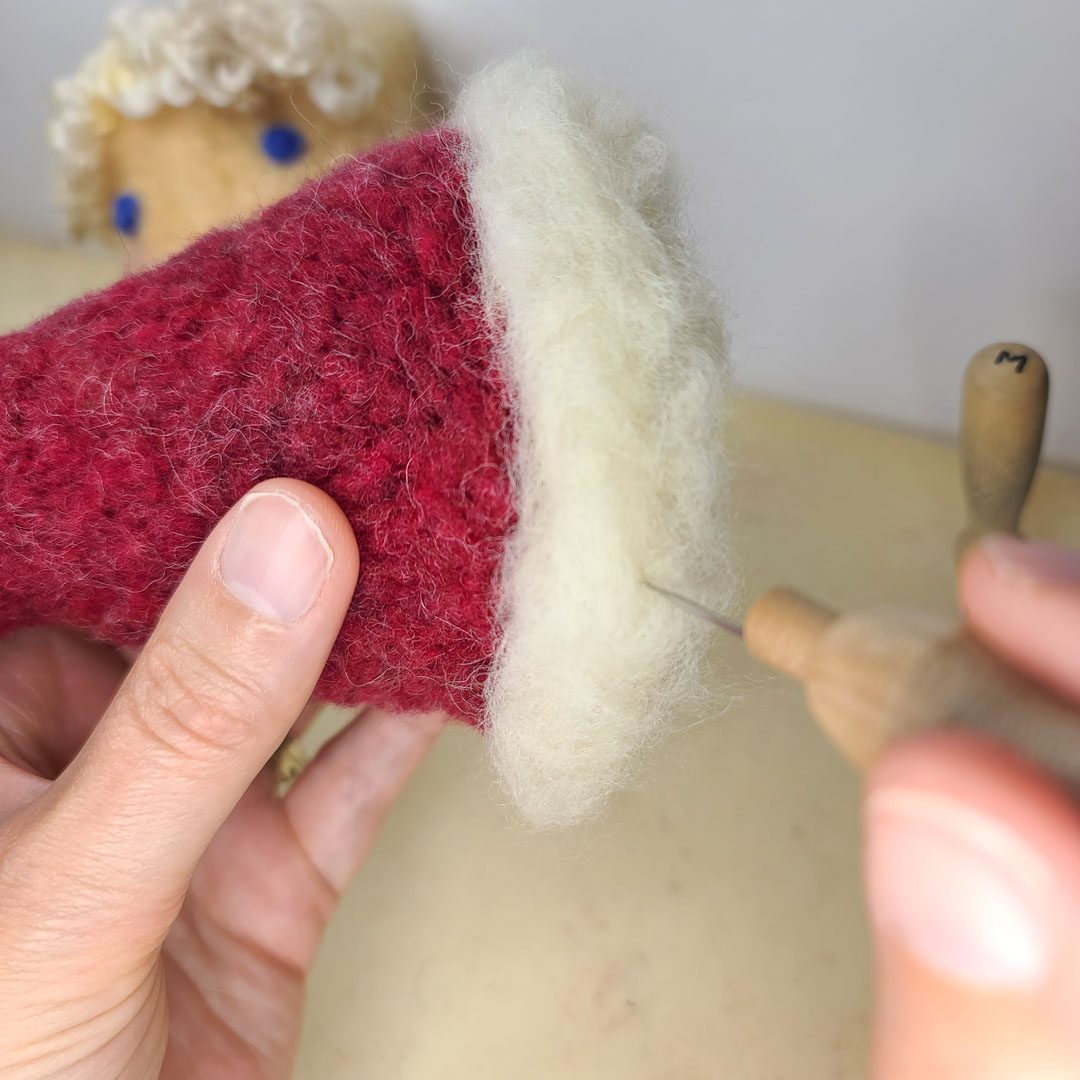
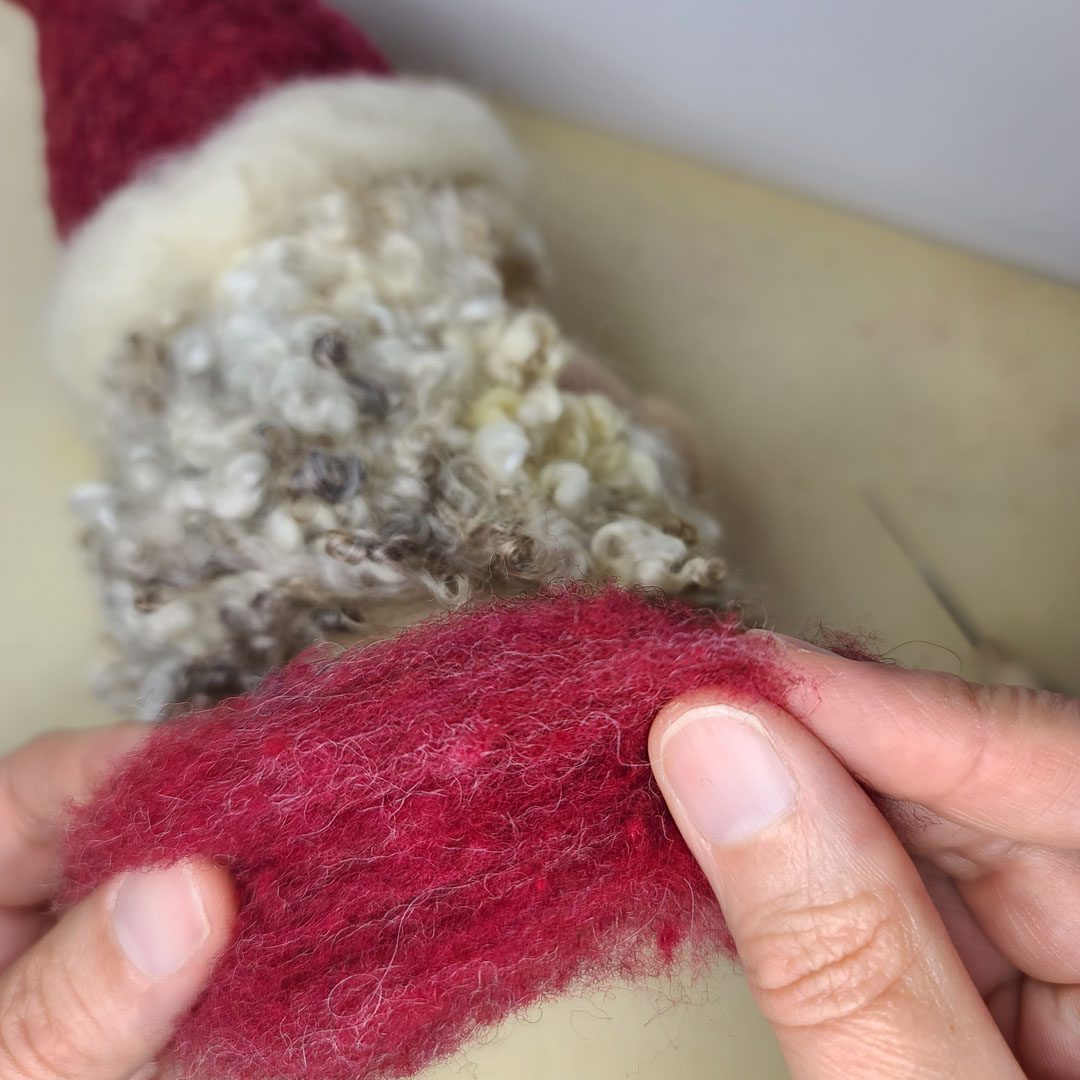
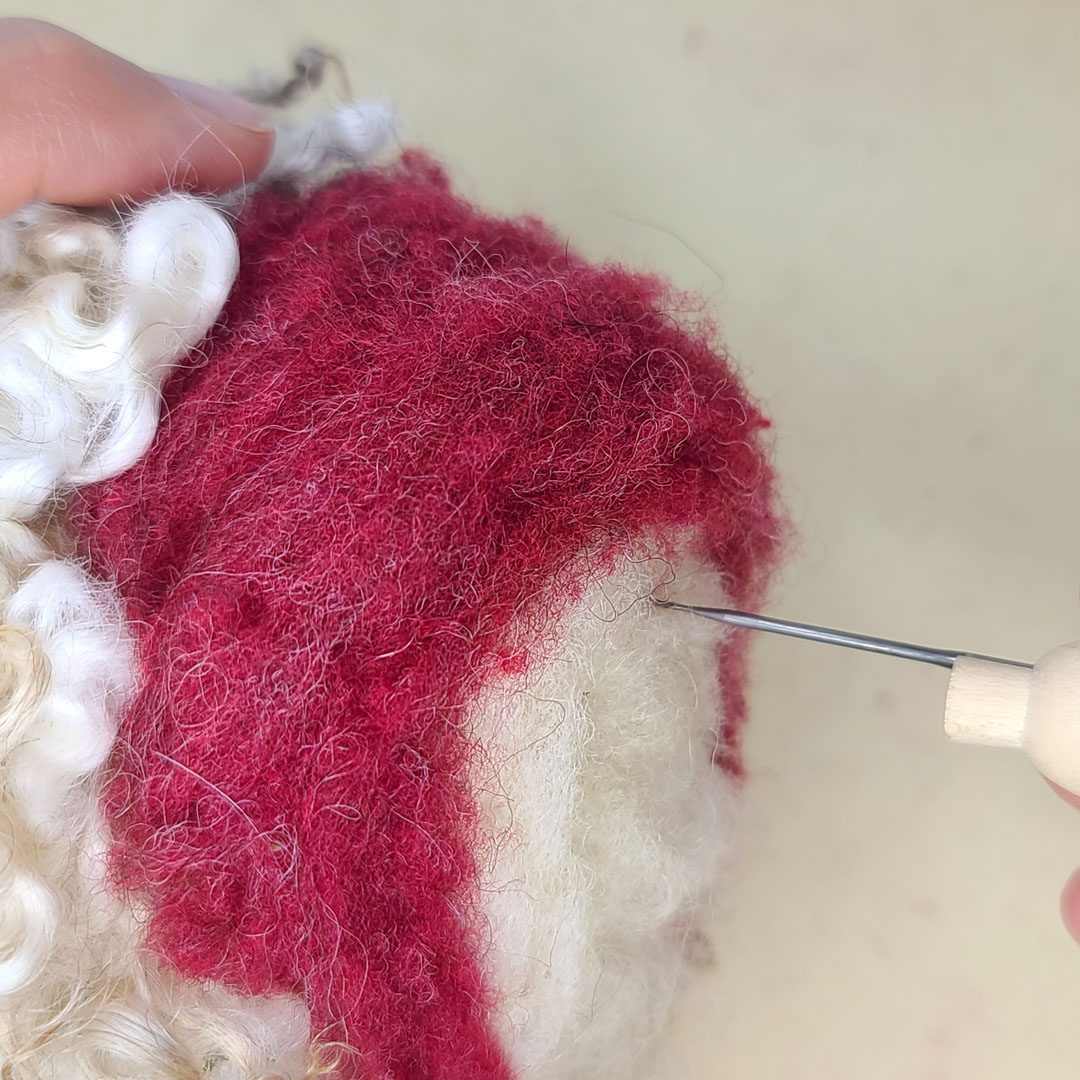
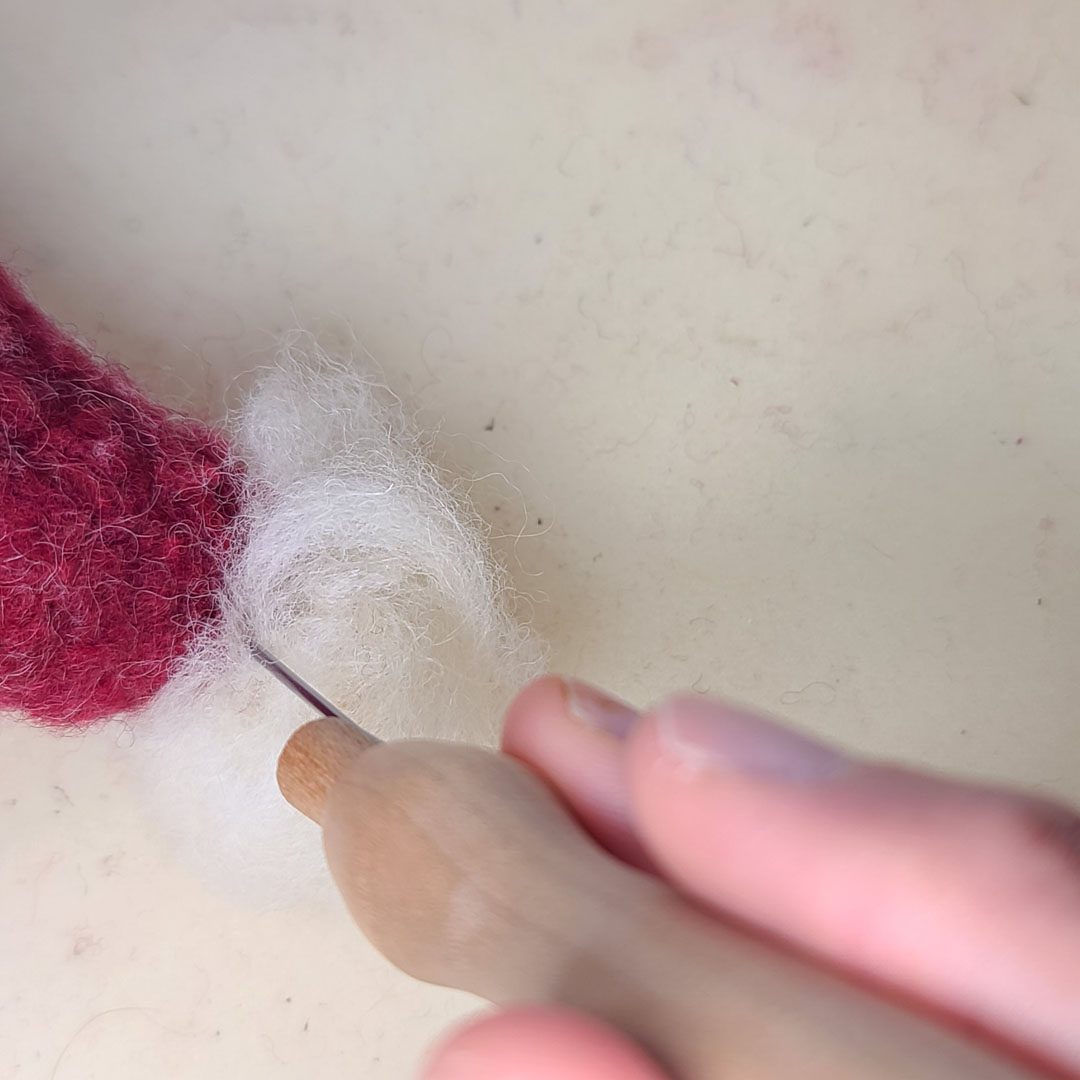
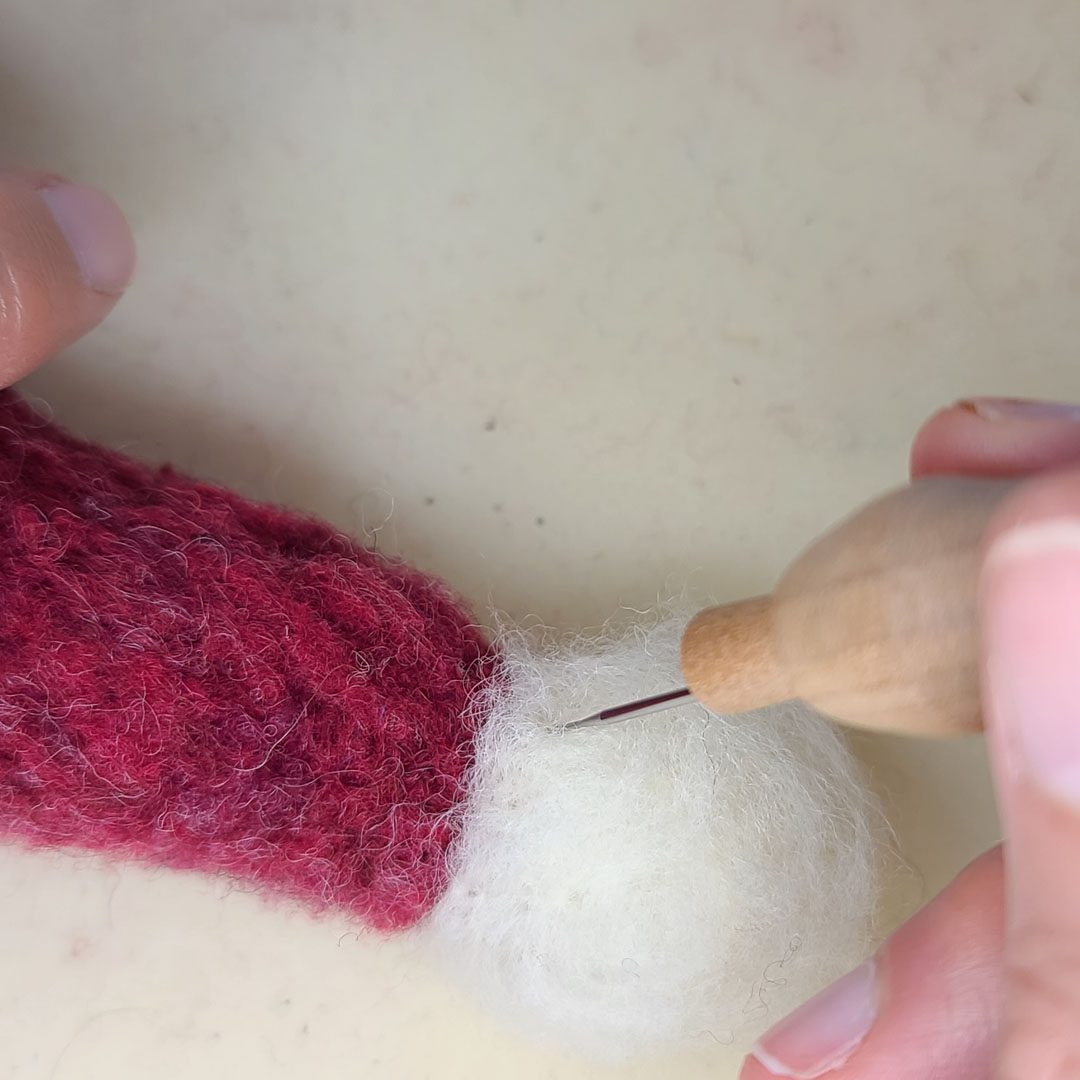
Image Gallery: Forming and Covering Santa’s Hat
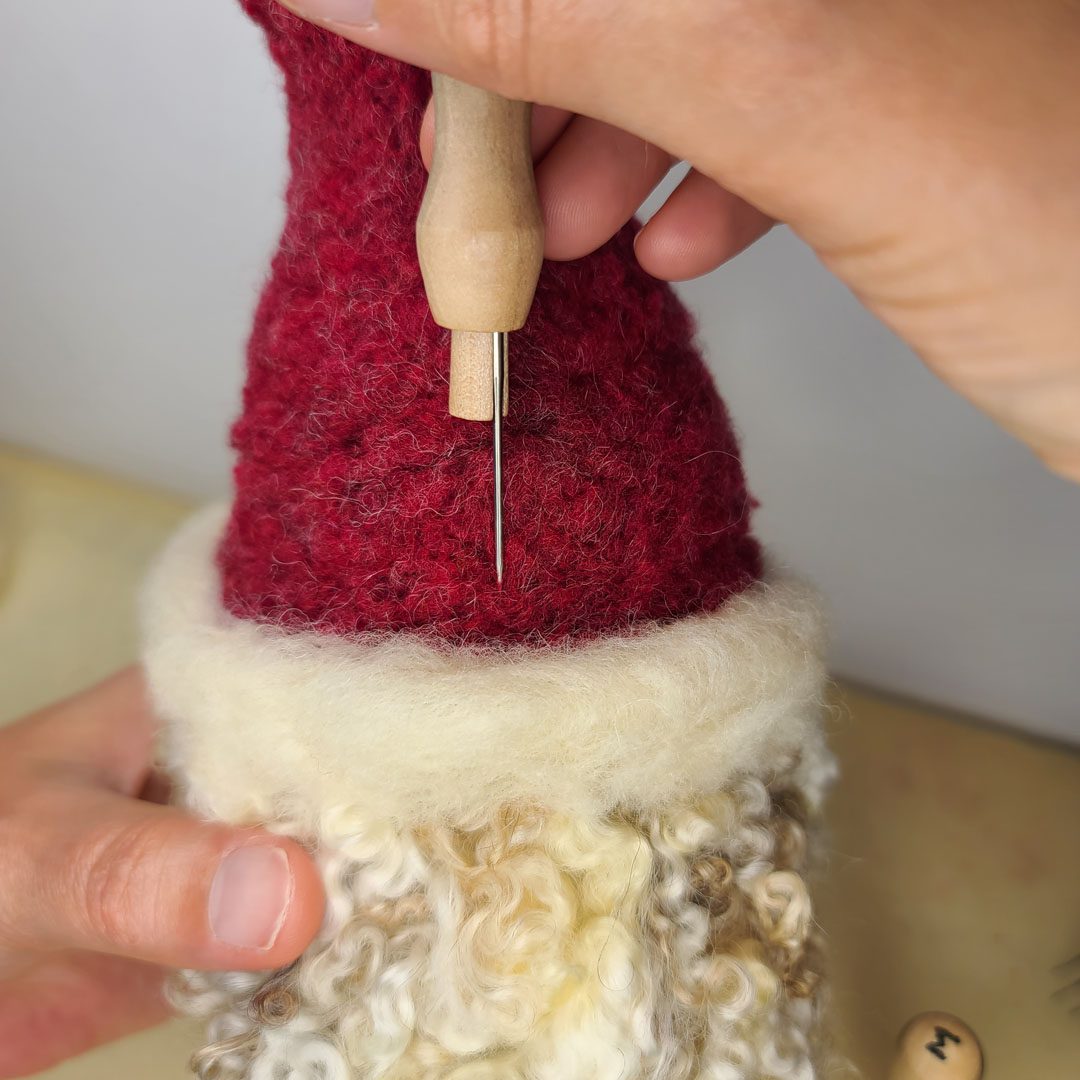
Using core wool we form the shape of Santa’s hat and then cover it with red wool. This approach preserves your colored wool and will save money!
Viewing Tip: Click on the first image and then scroll through the enlarged format, you’re able to see everything much better.


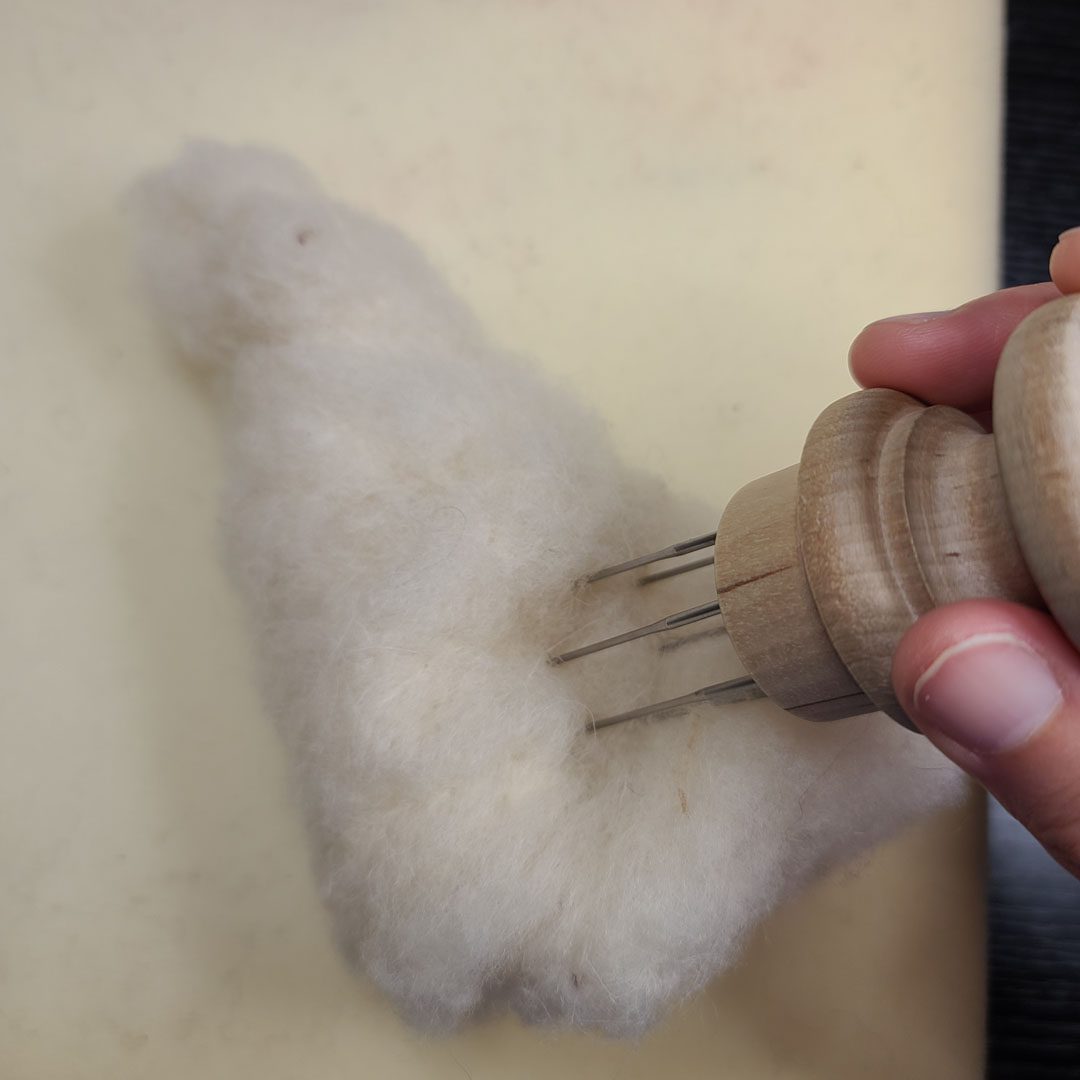
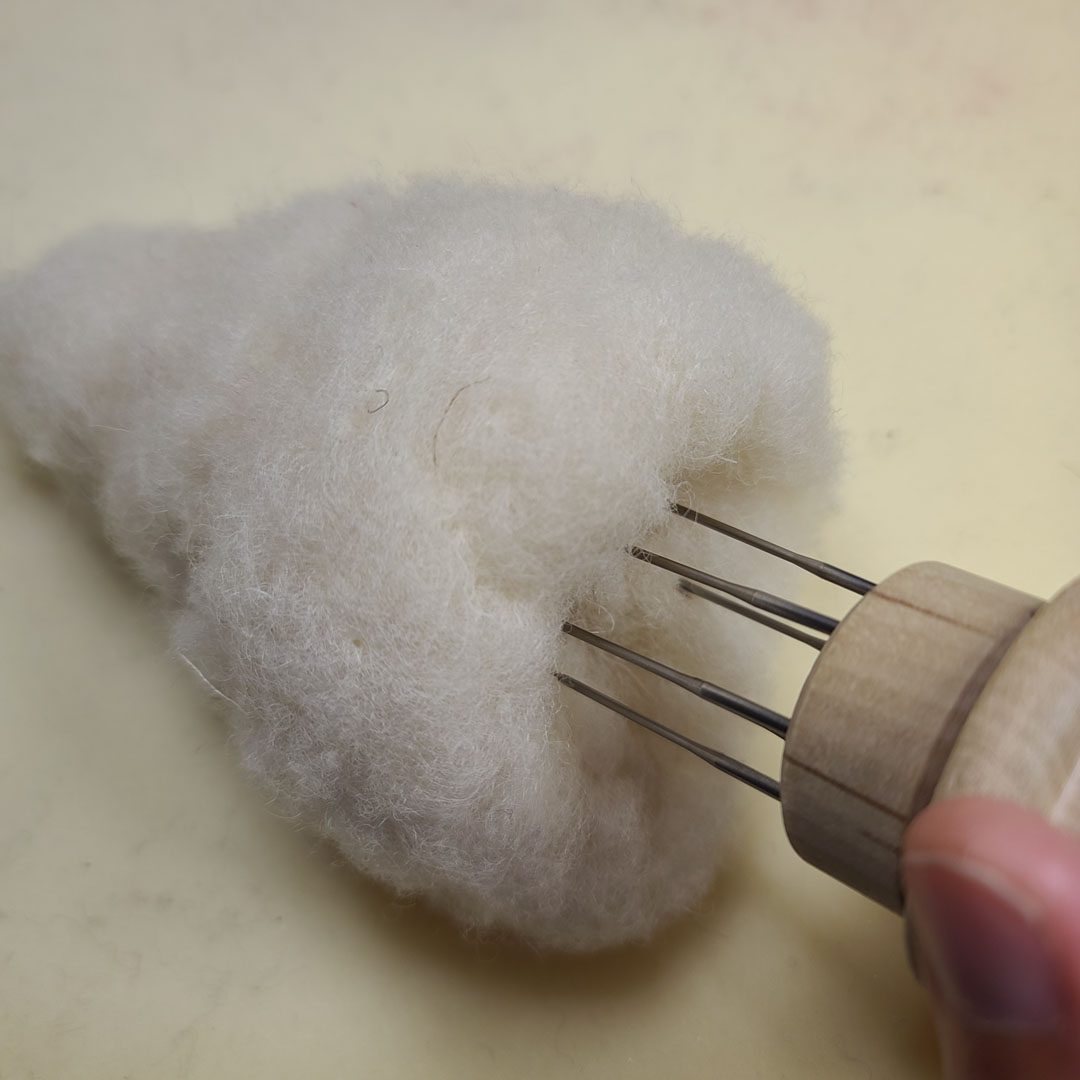

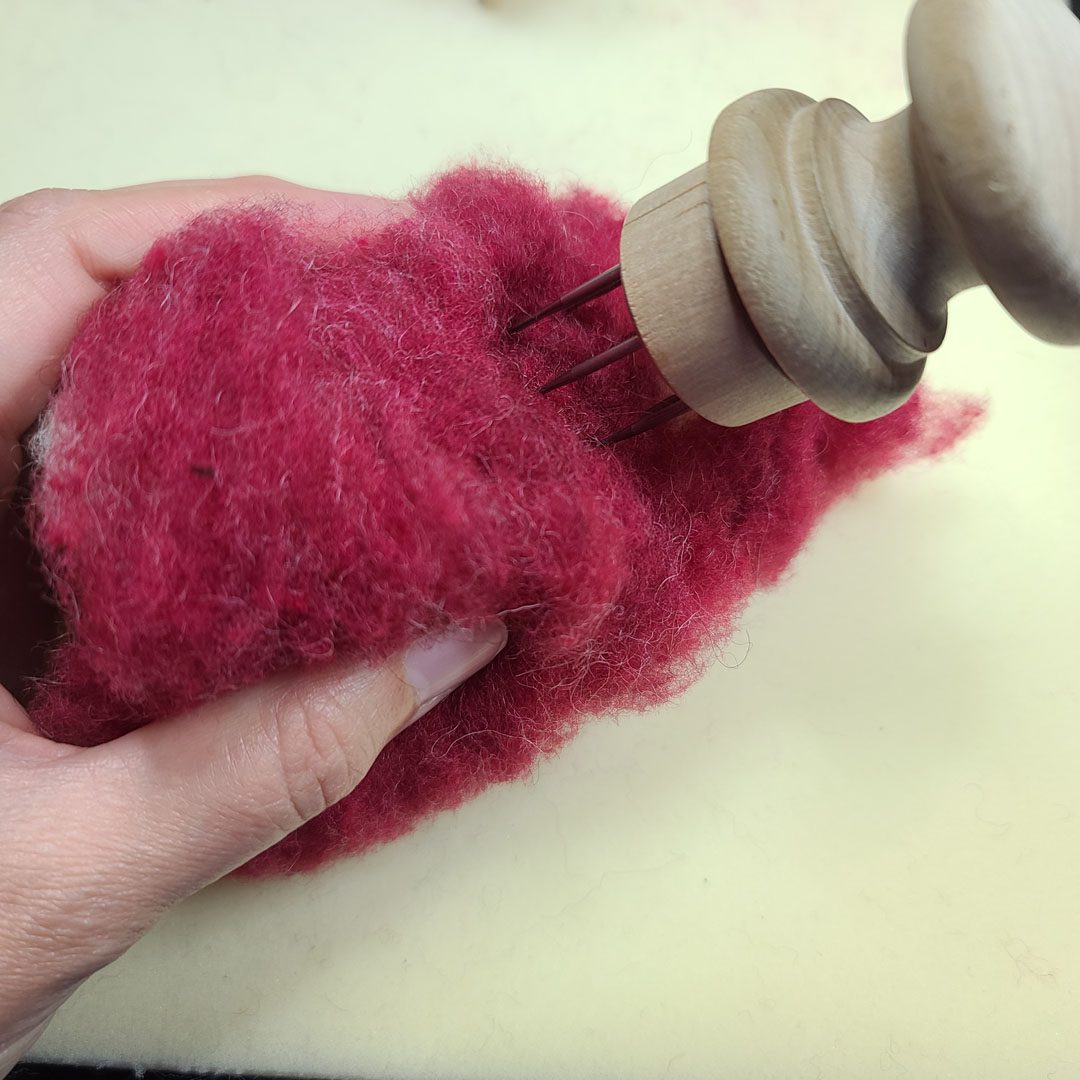
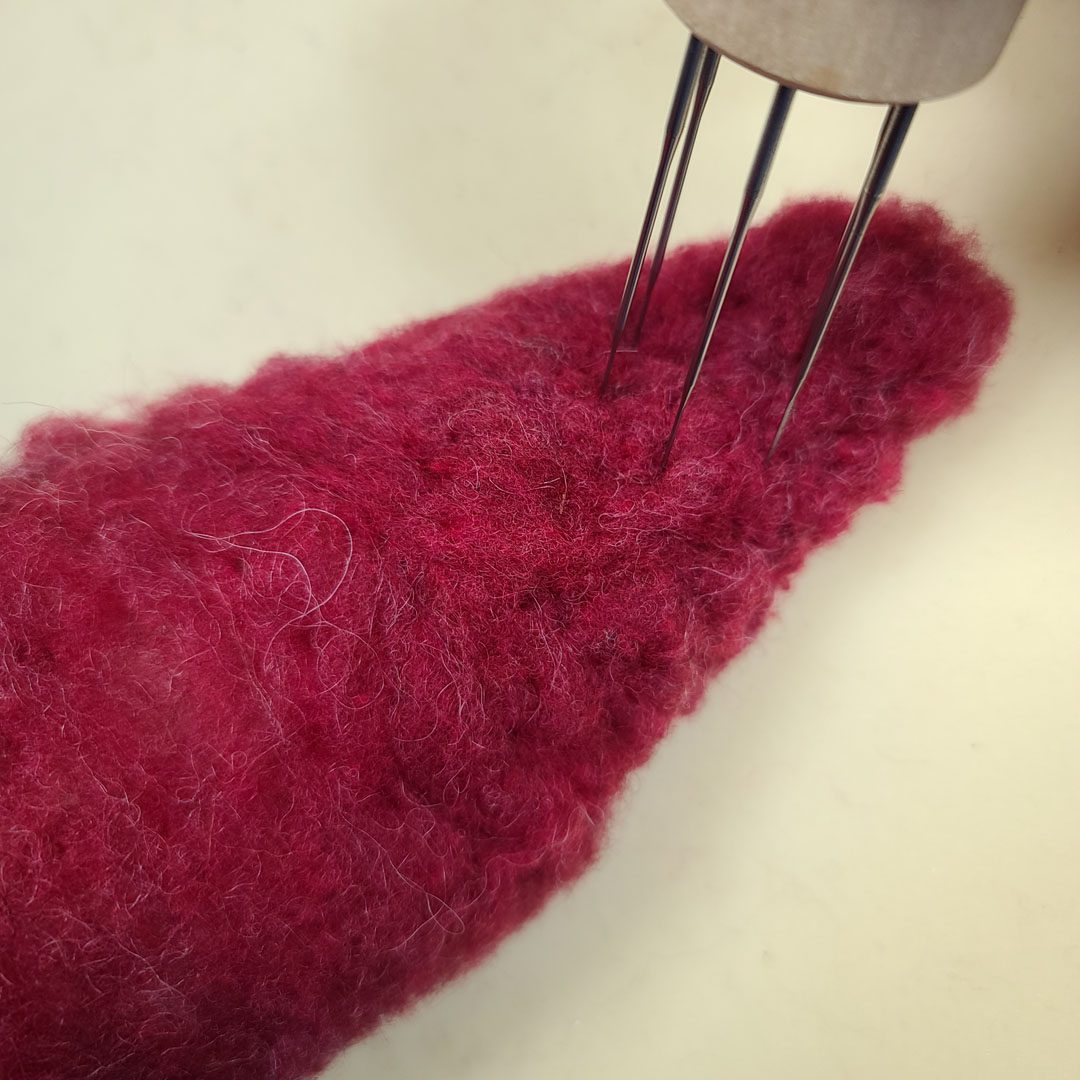
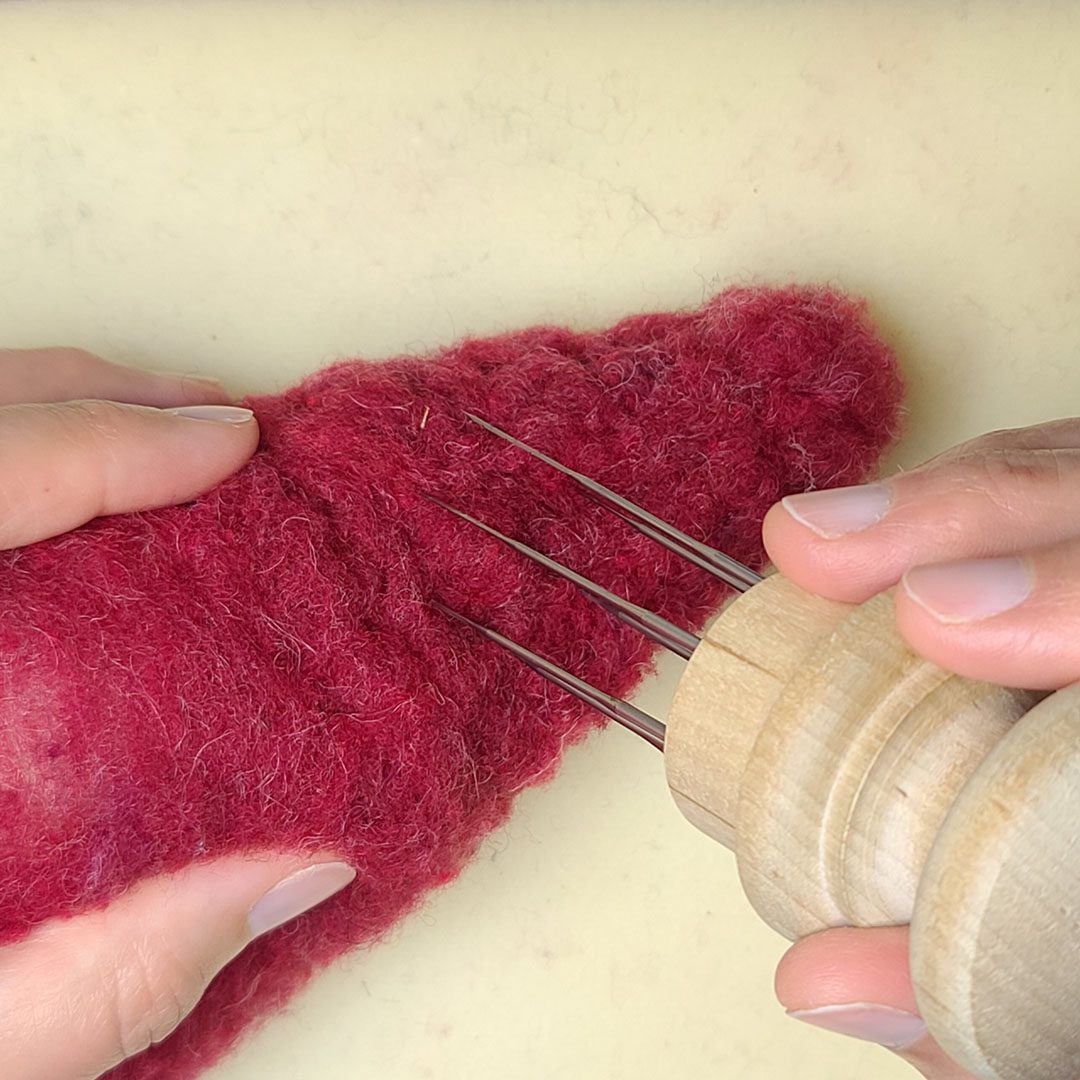
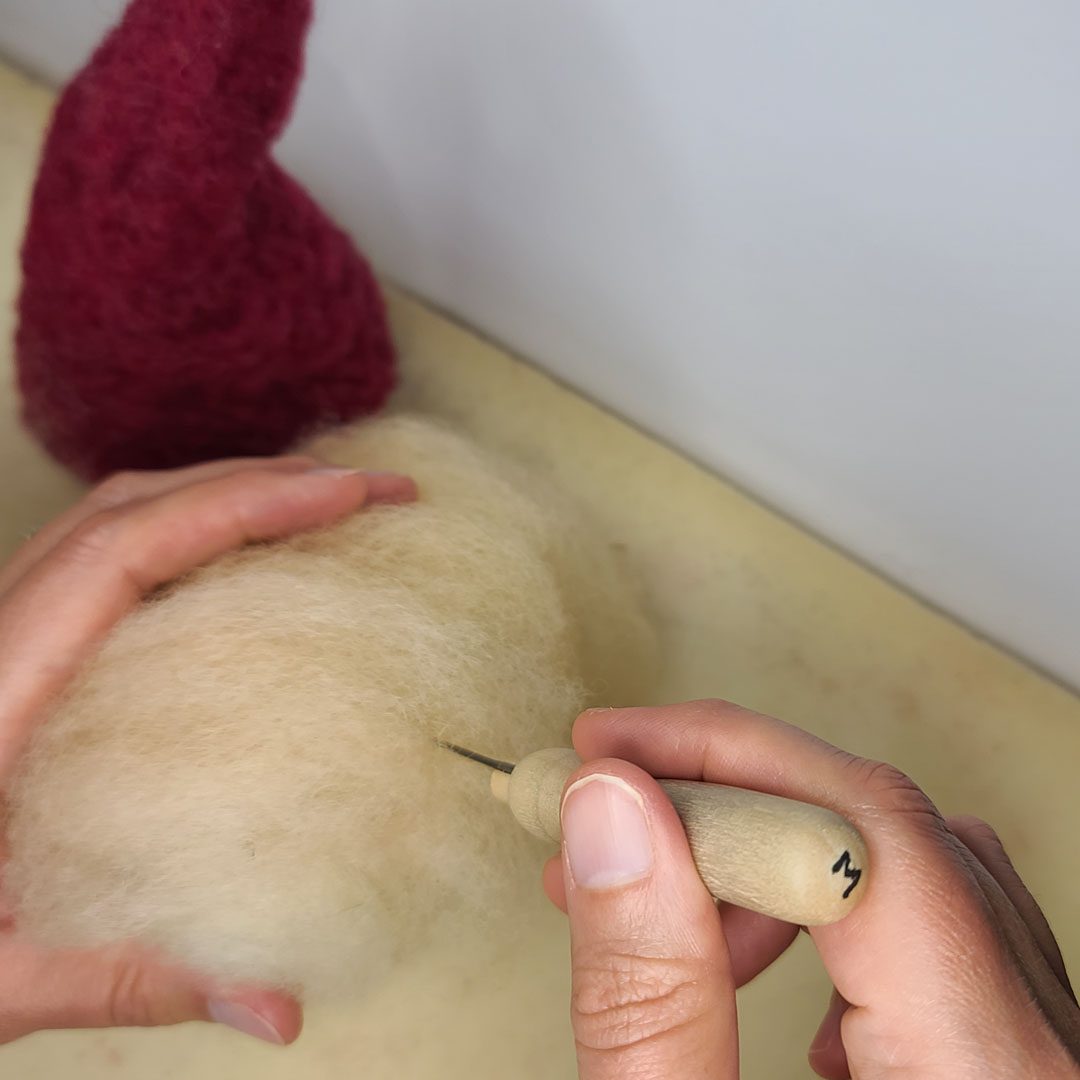
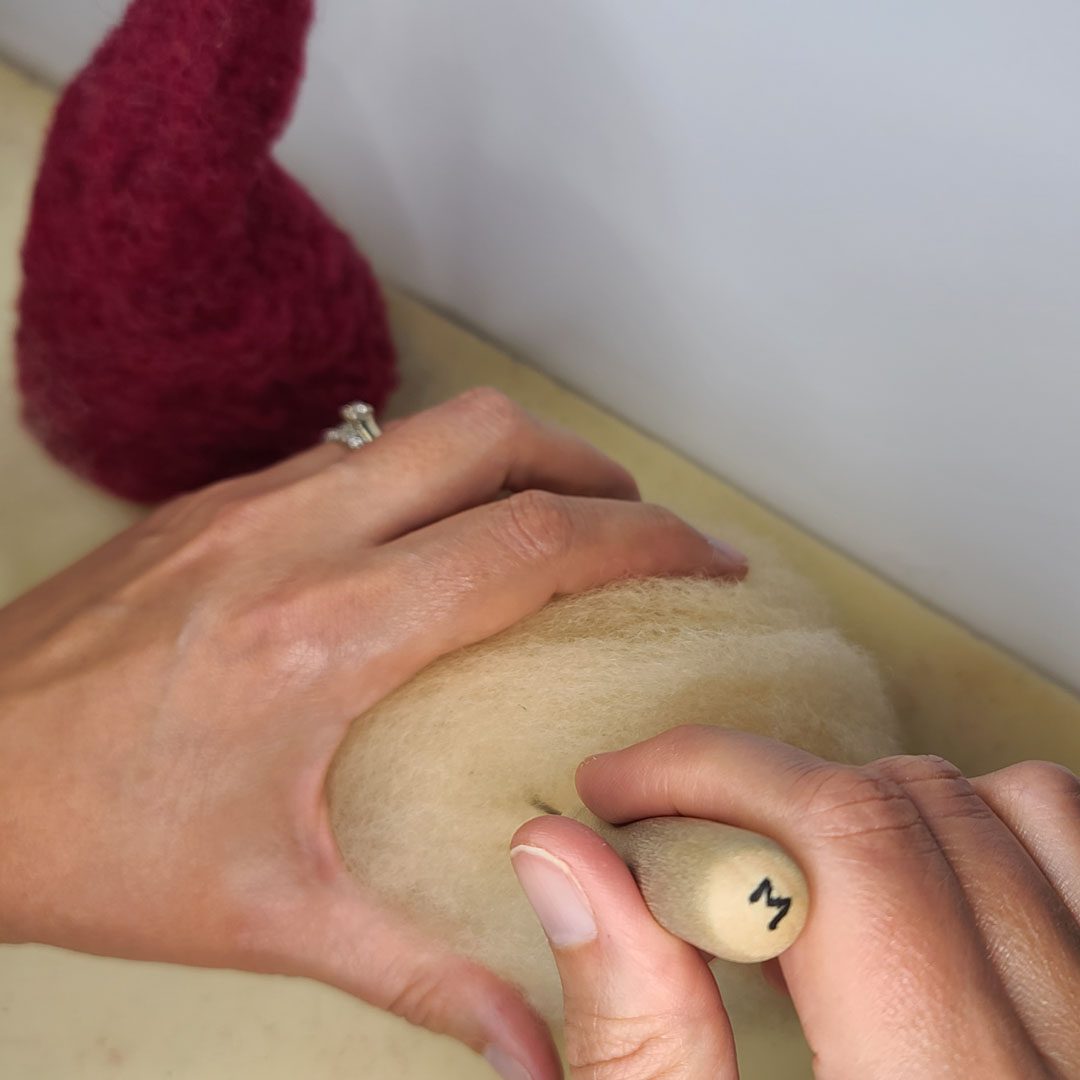
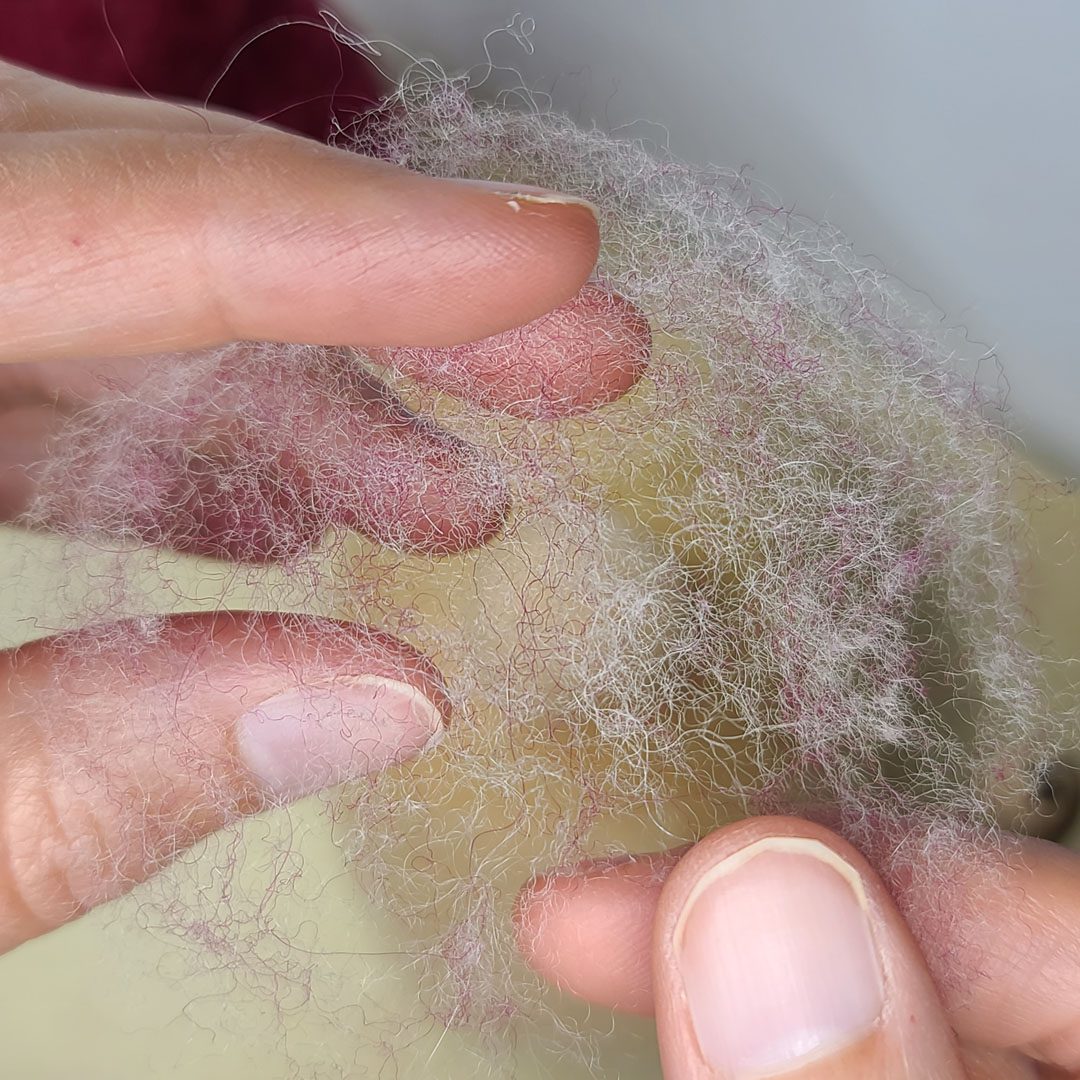
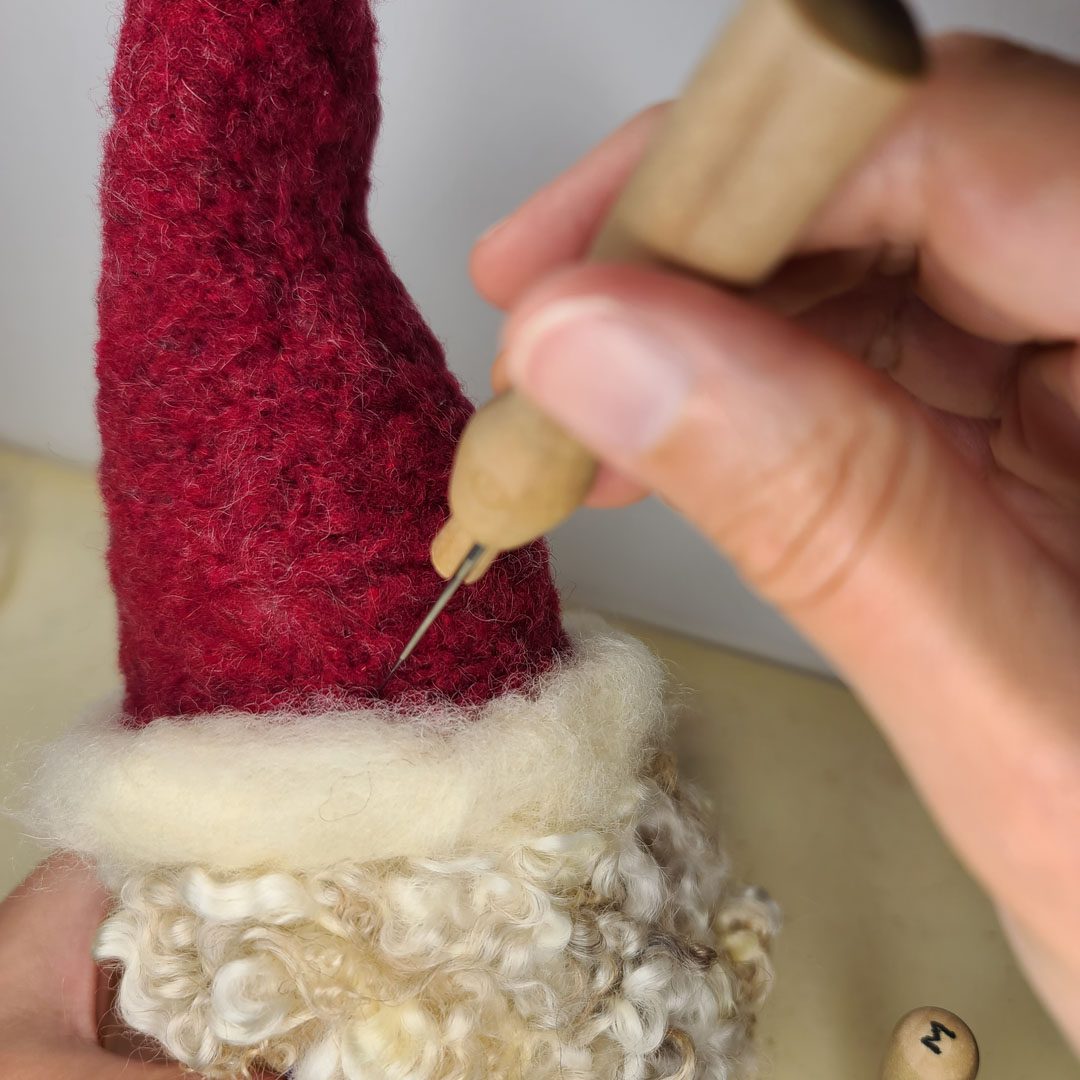
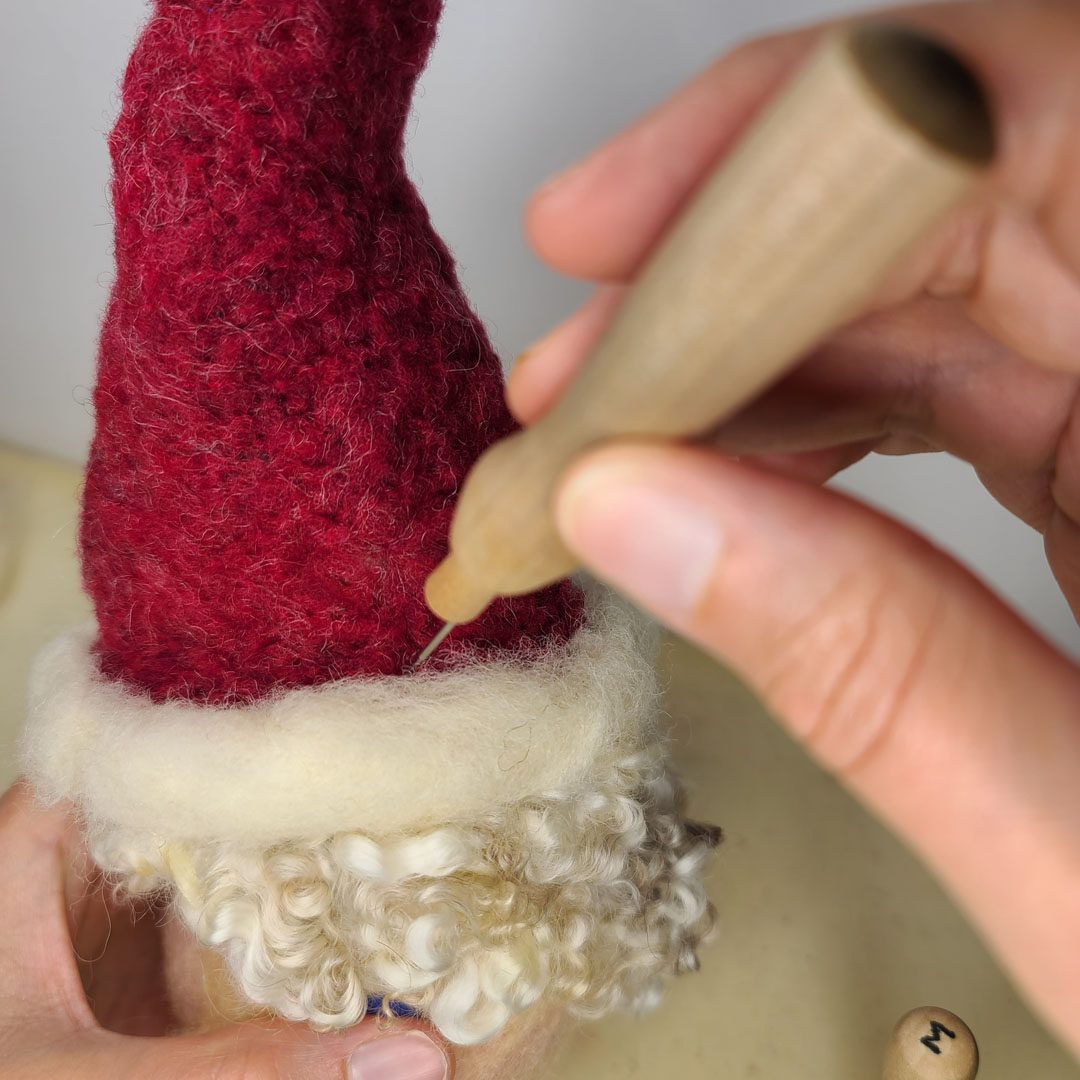
Felting Large Shapes & Tools
As you form the shape of the hat and then cover it with red wool be sure to swap out your needles for efficiency. If you only have single needles that is perfectly fine. If you do have multi-needle tools it is helpful to use both style tools during the steps of forming basic shapes and then covering the shape with colored wool. The more you felt, and the more frequently you felt, the more important tools become. The motion of needle felting and continuous grasping with your thumb and forefingers is made easier with proper felting needle tools.
")
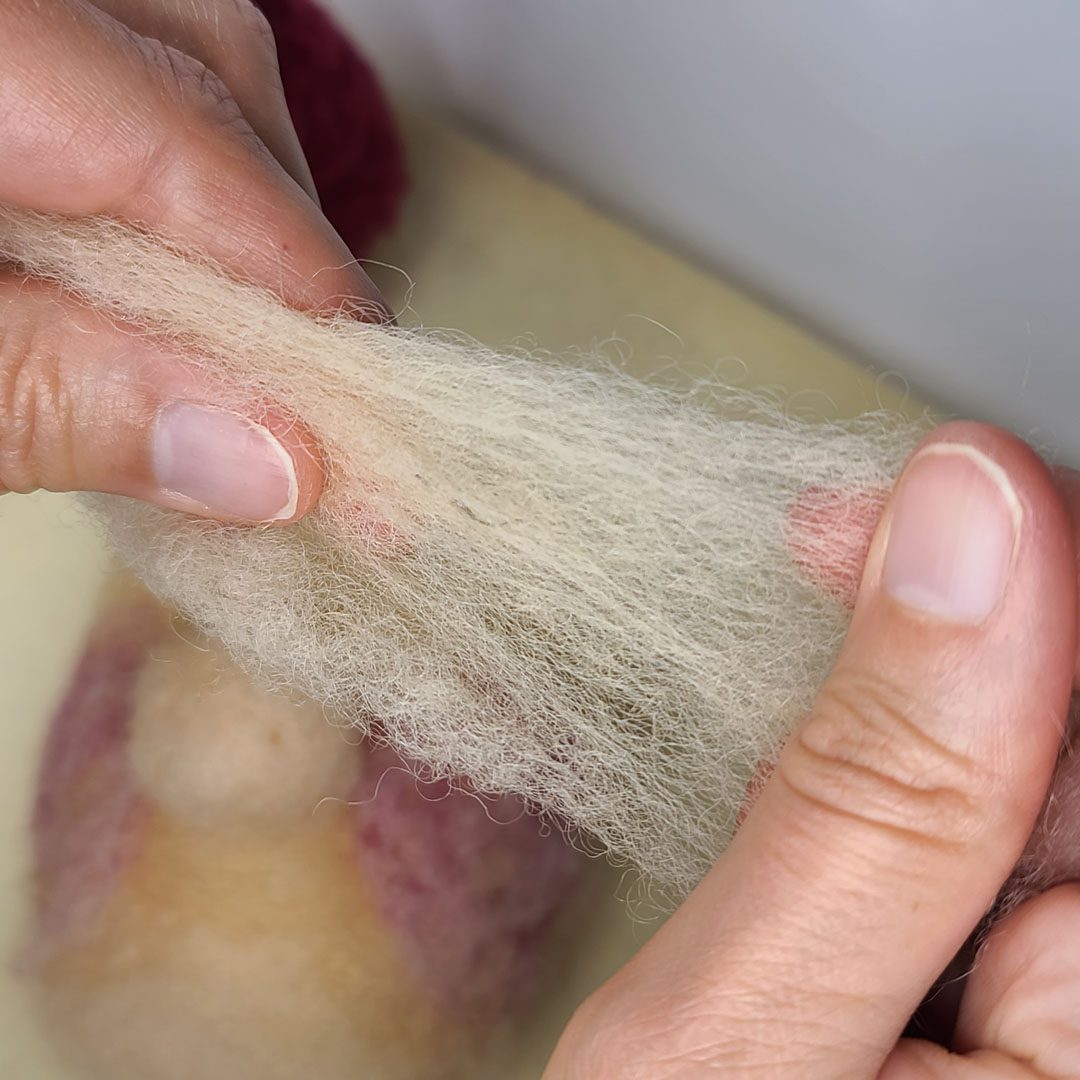
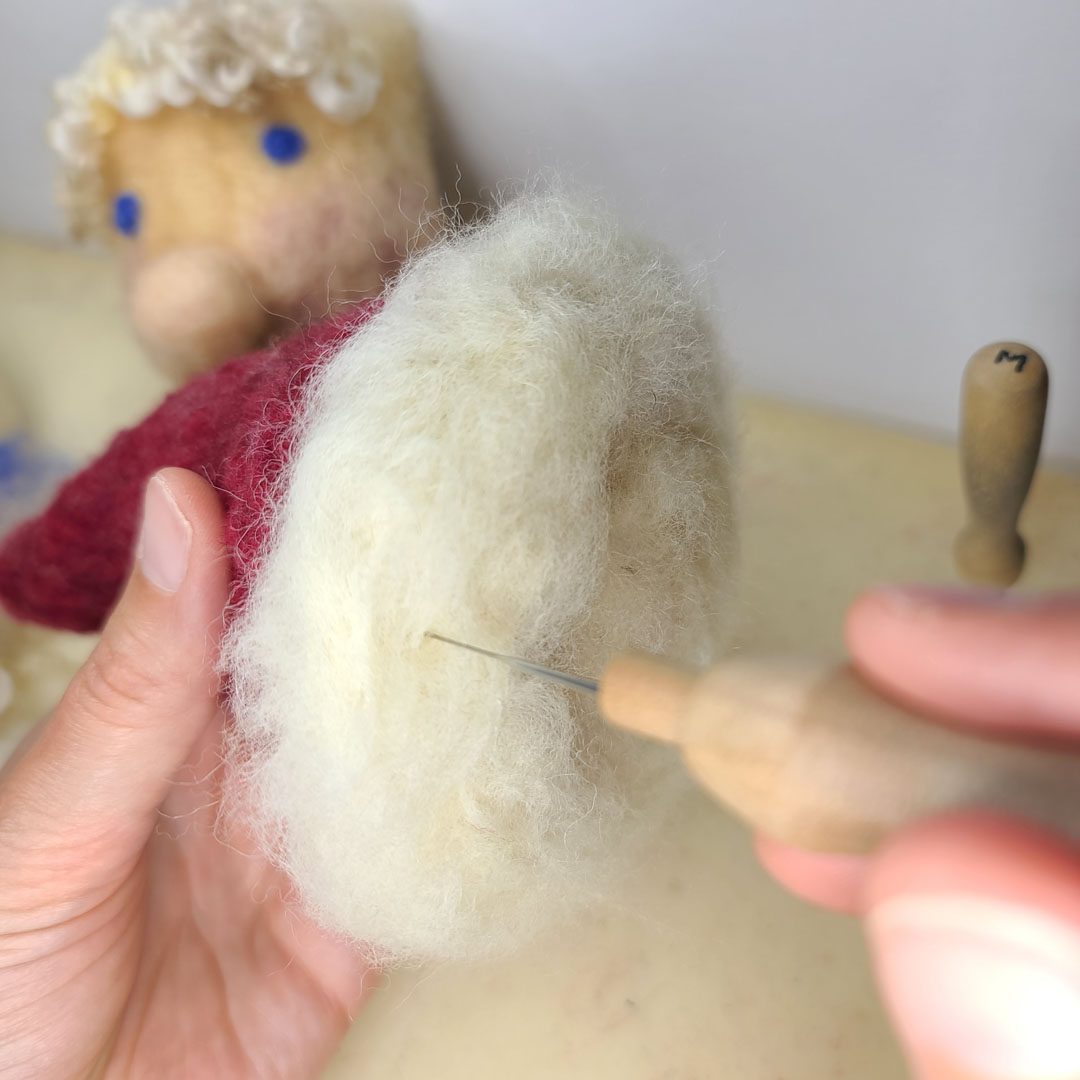
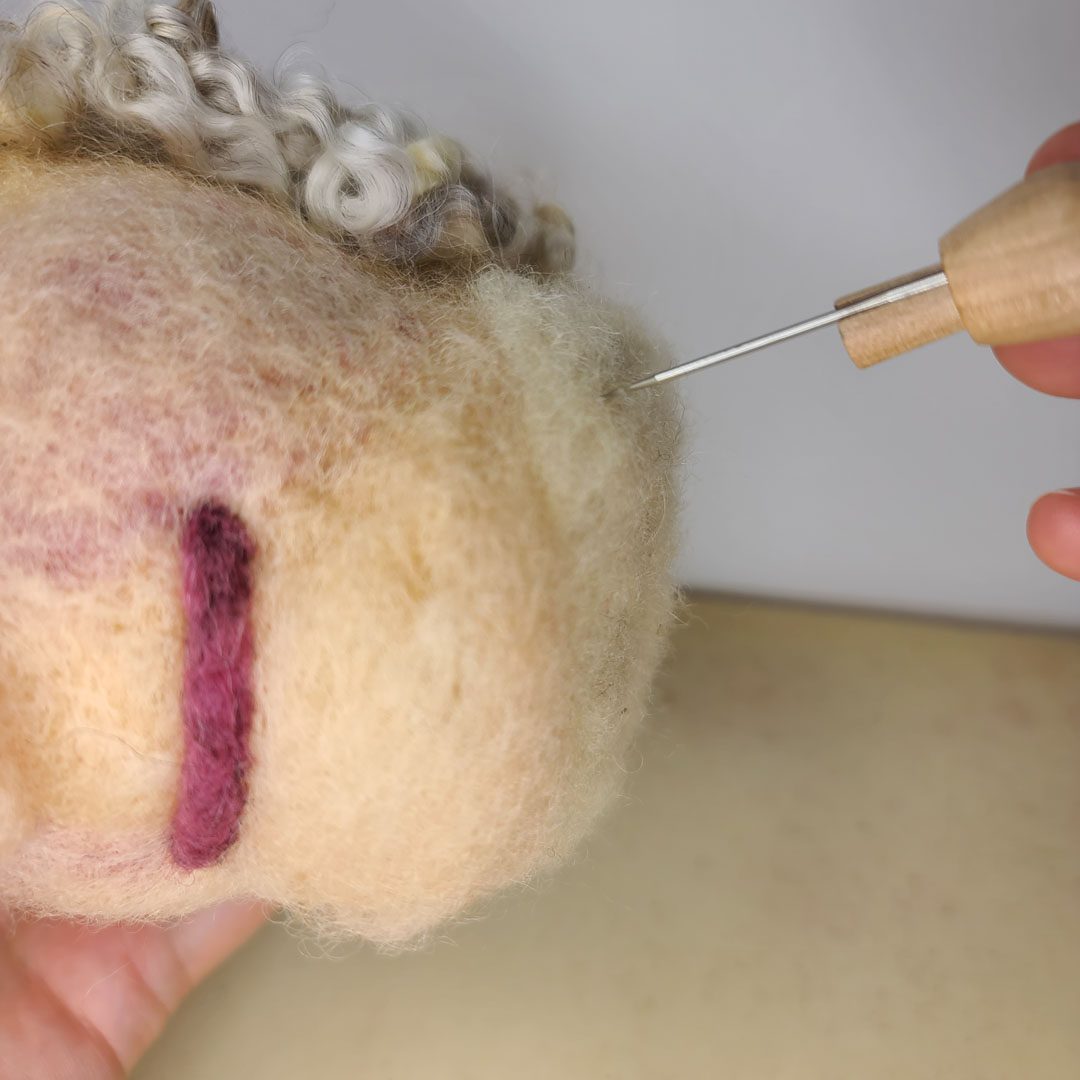
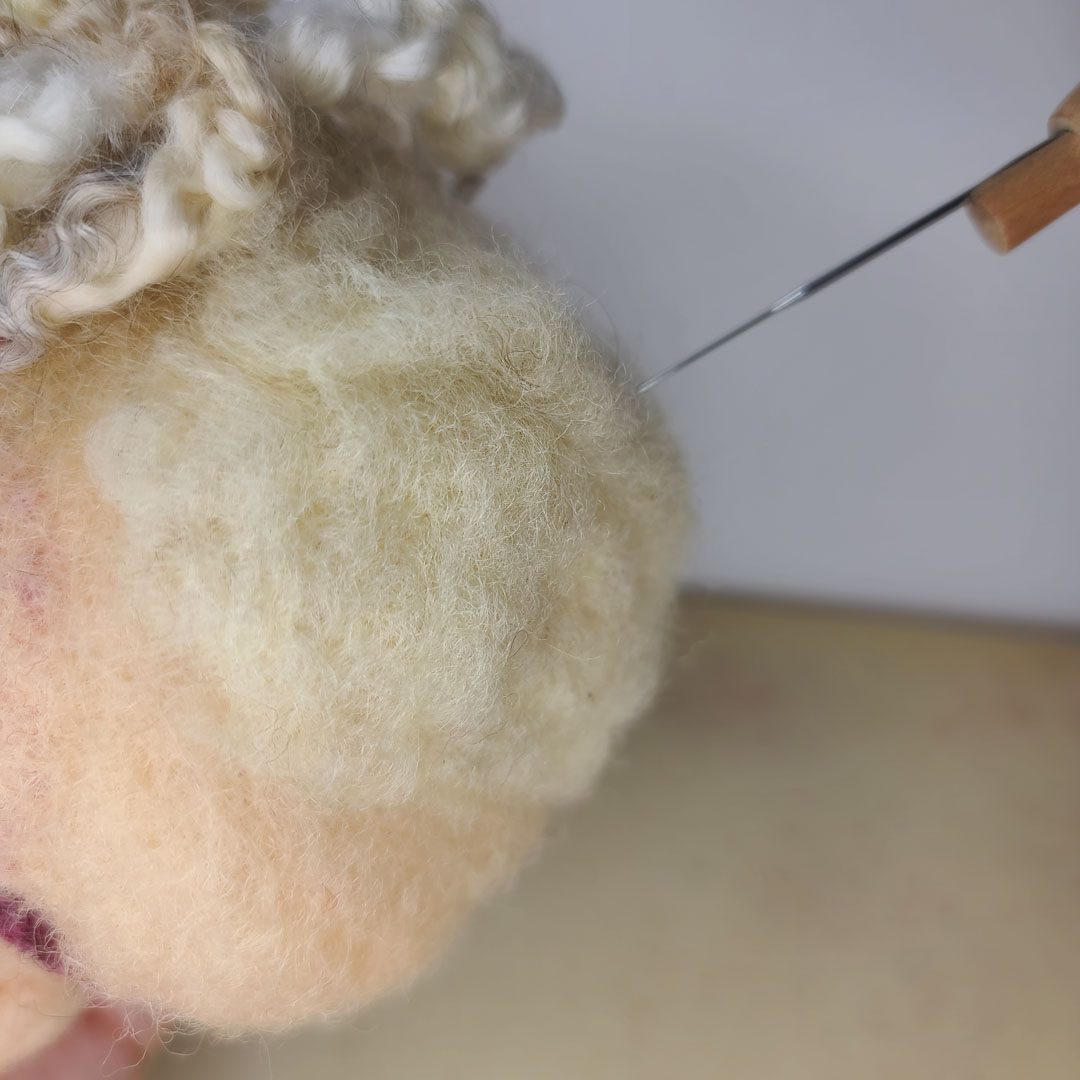
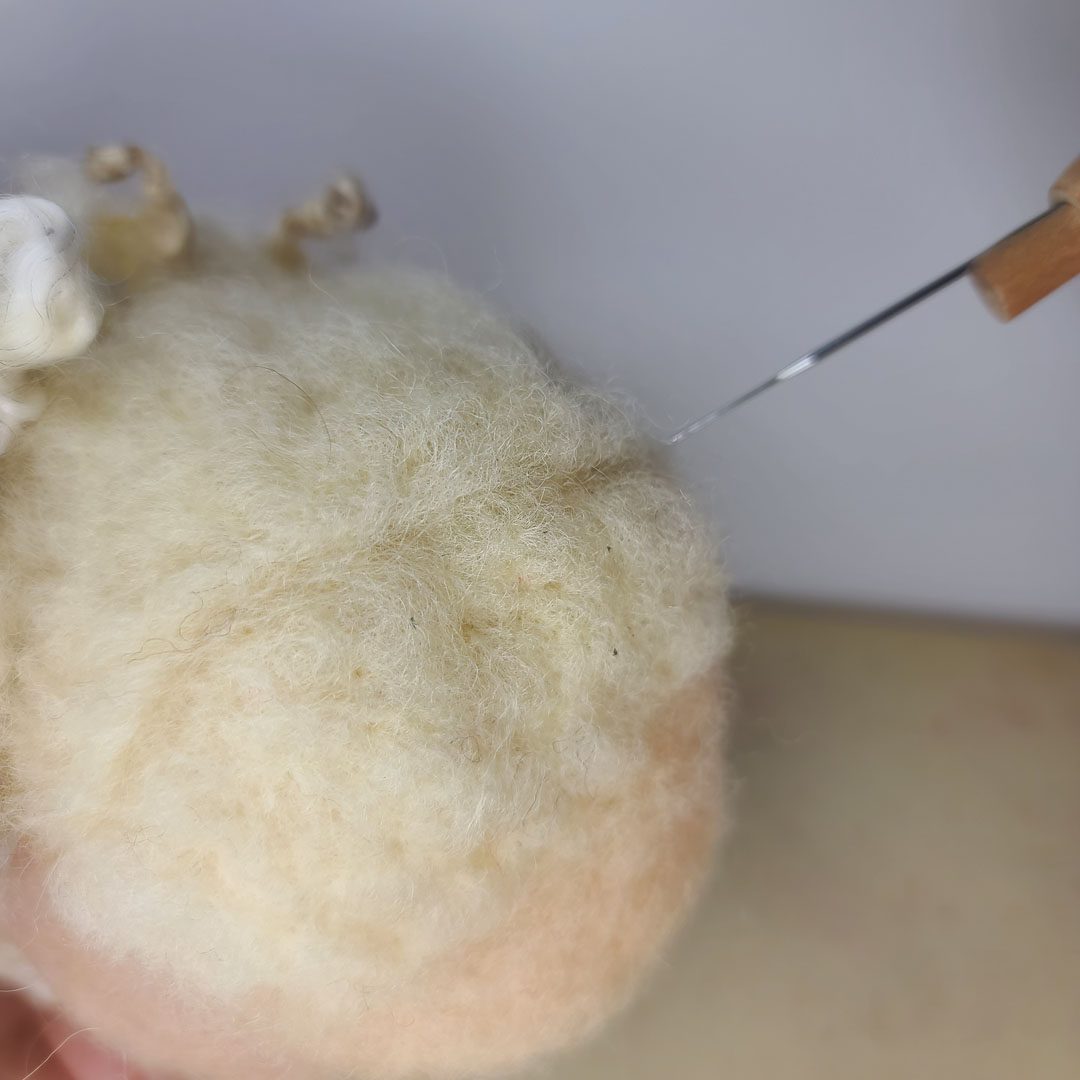
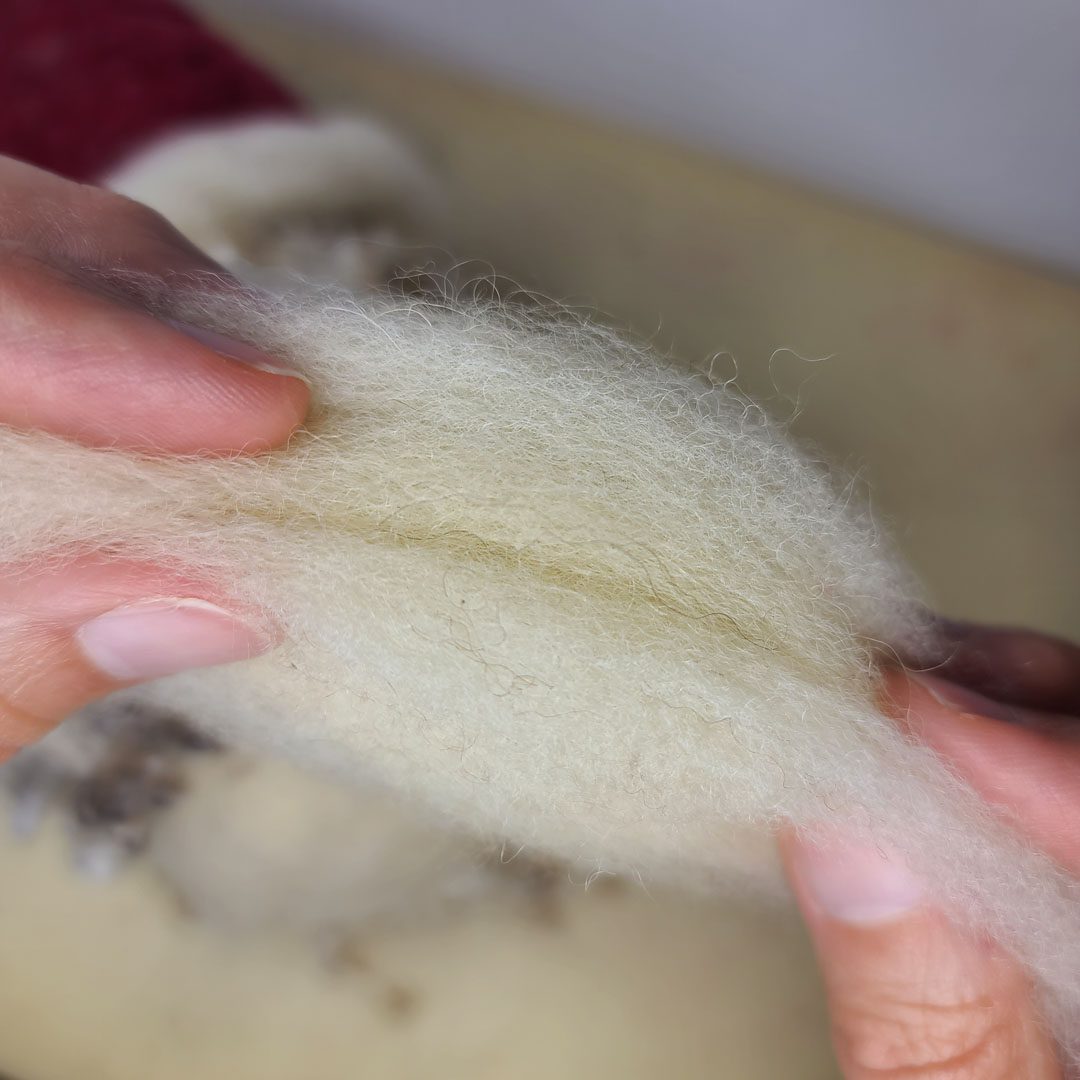
Adding Flesh Tone to the Face
With the core shape of your face complete the next step is to cover the face with your chosen flesh tone. If you are using roving, pull the fibers apart to flatten out the wool and wrap it around the front of the face. You do not need to cover the back of the head with the flesh tone wool since that will all be covered with curly locks.


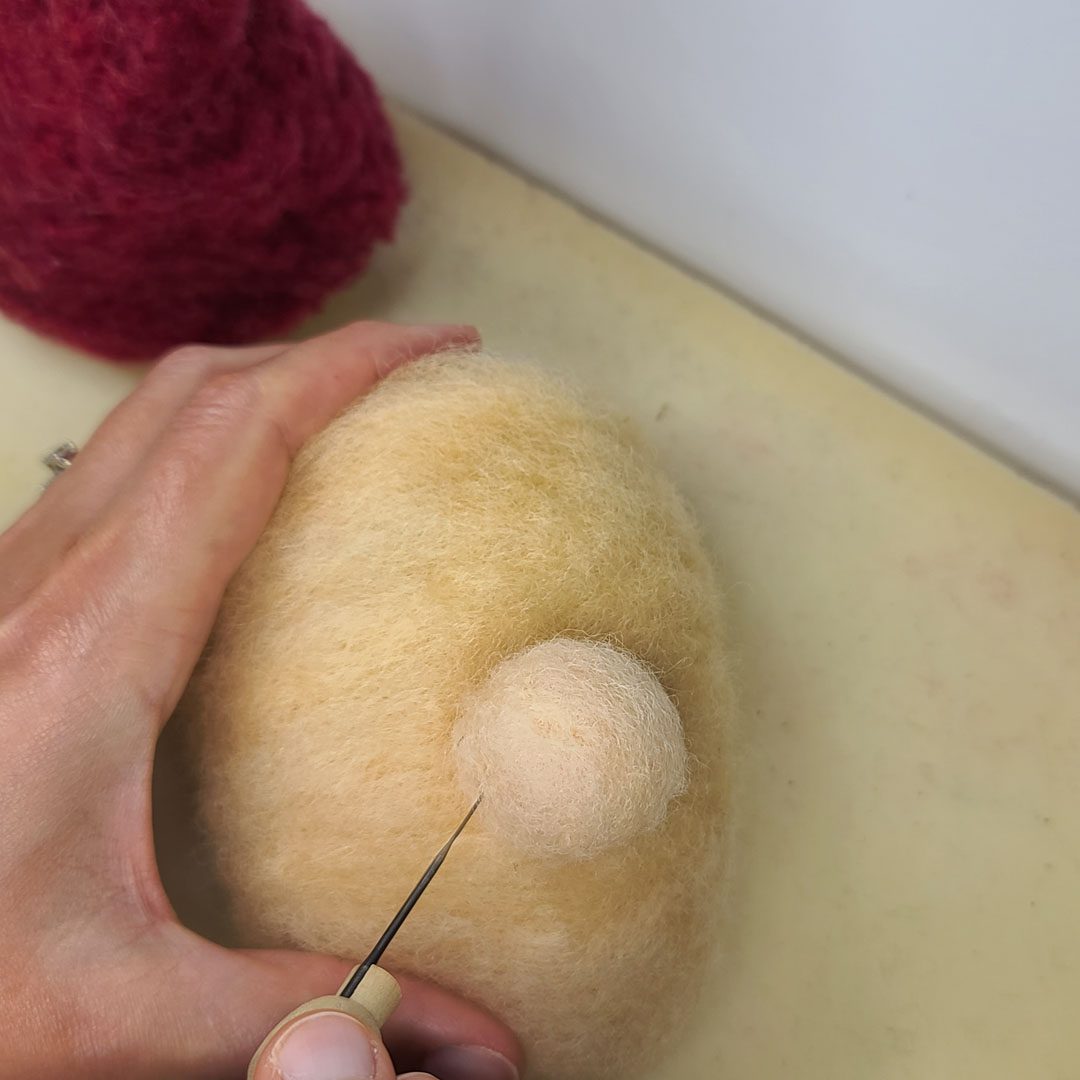
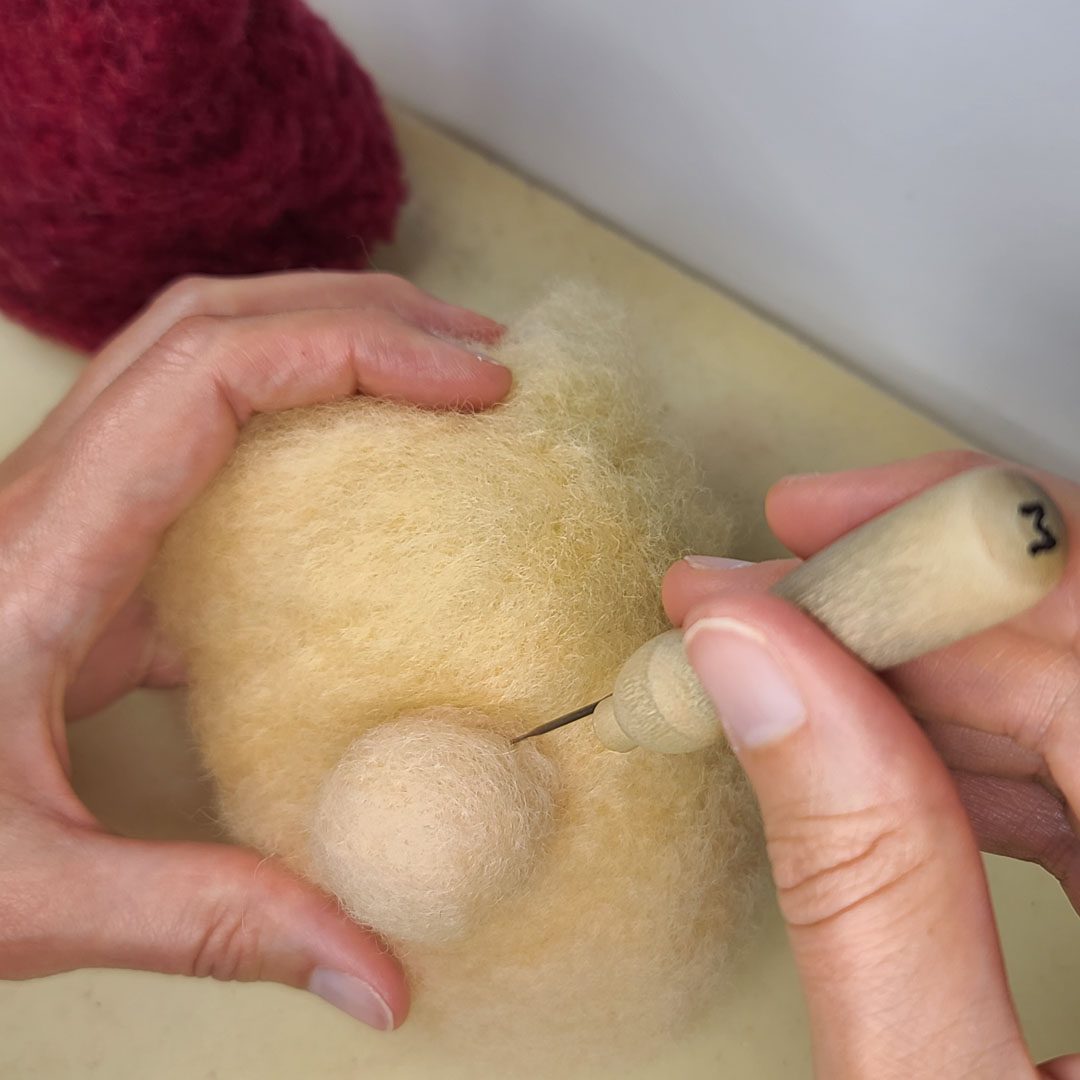
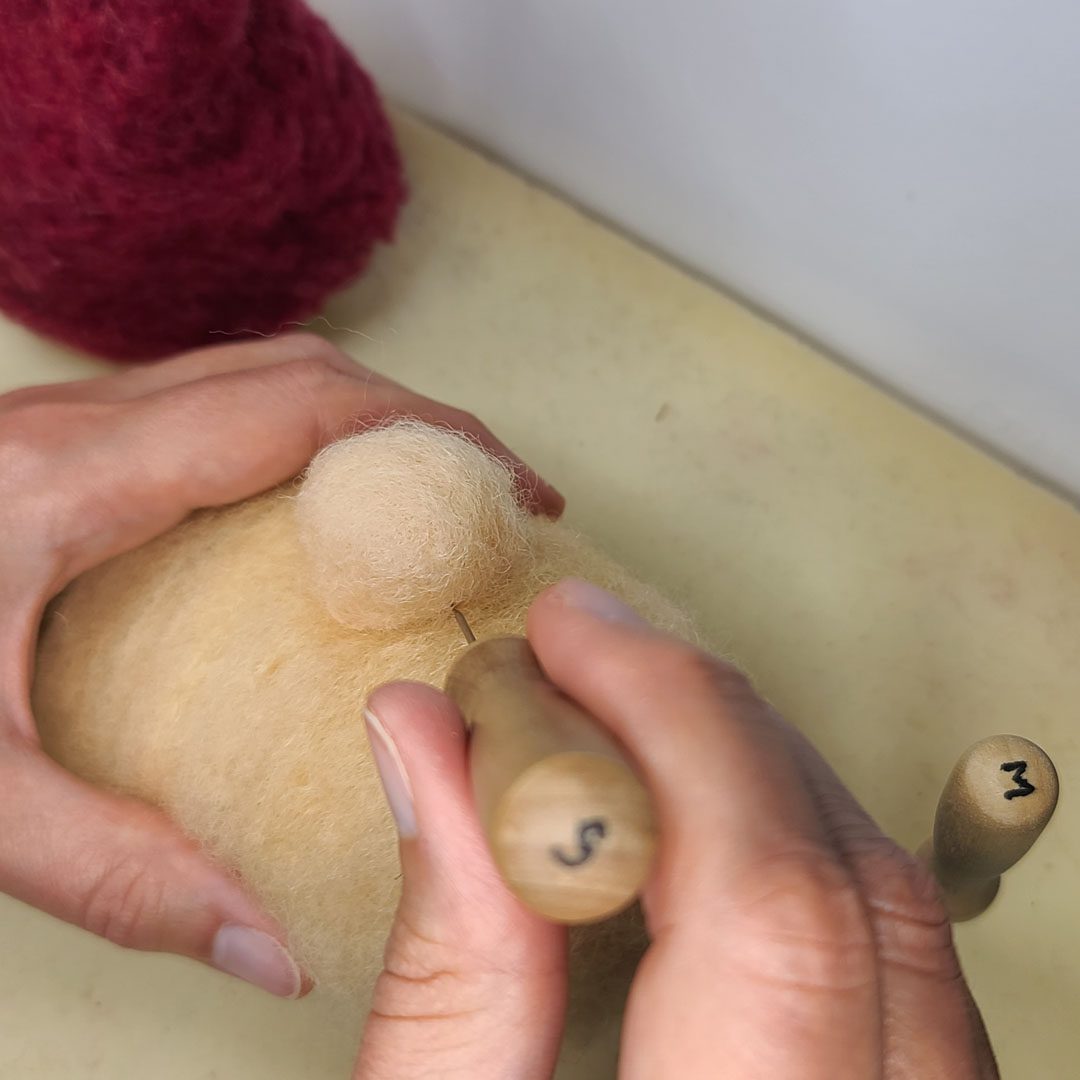
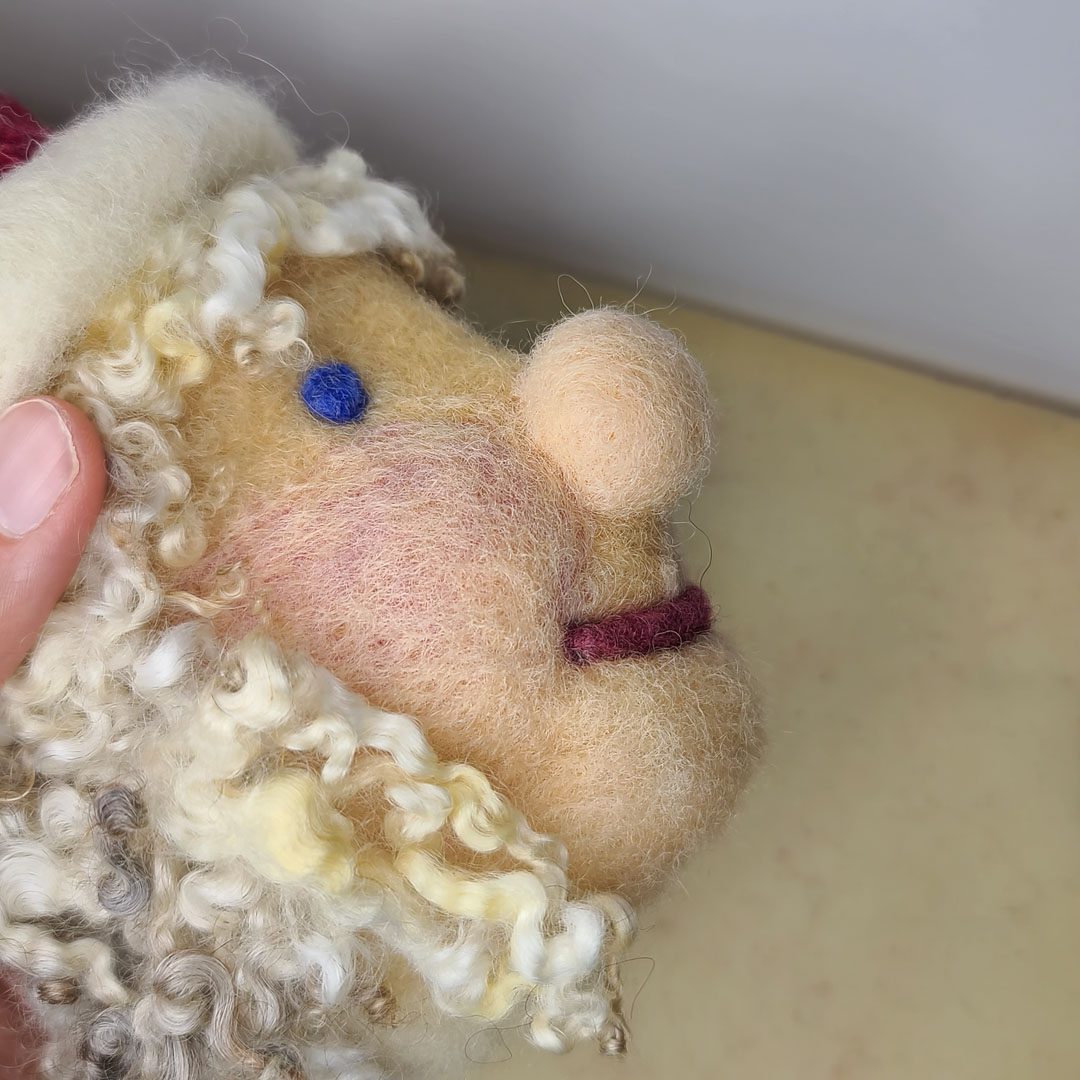
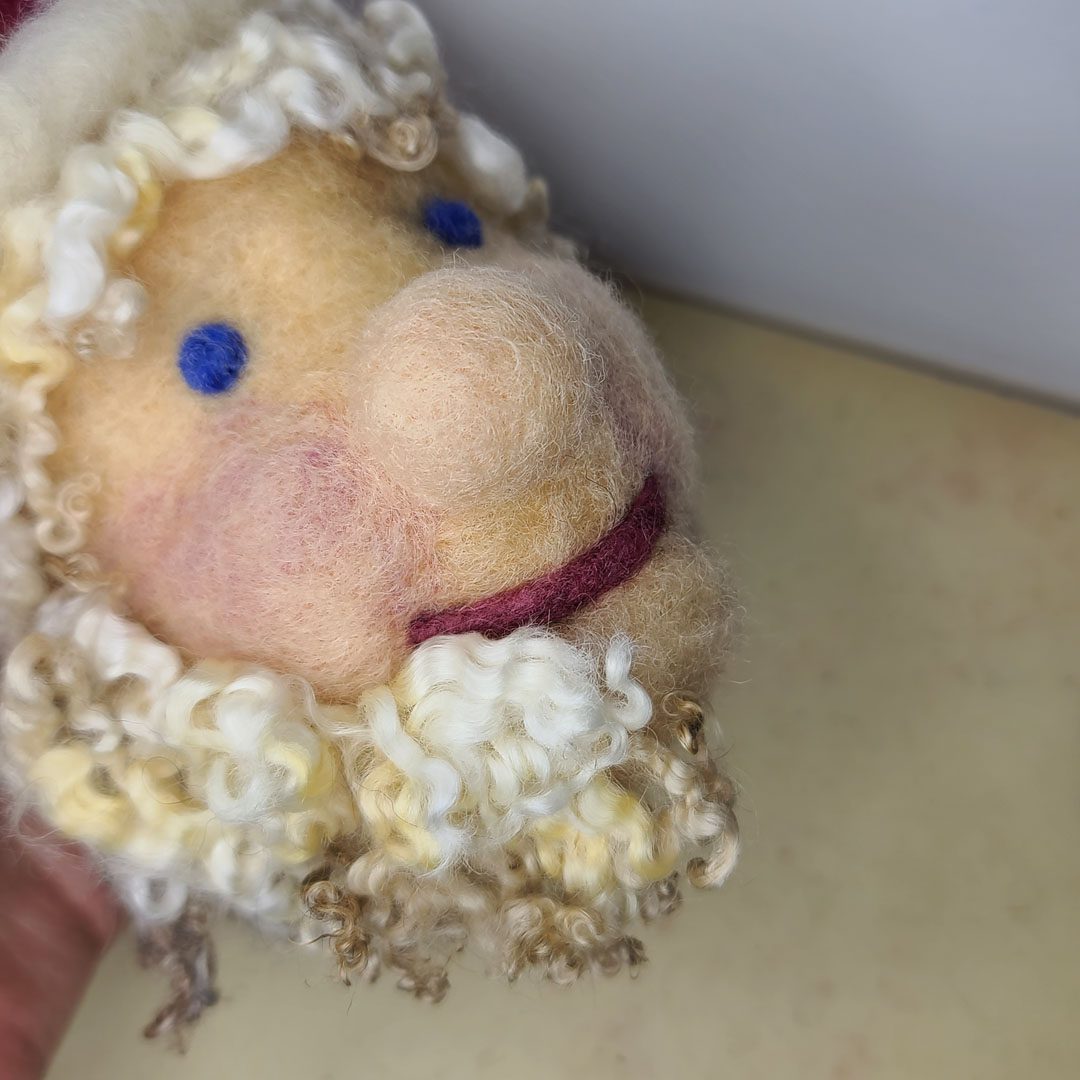
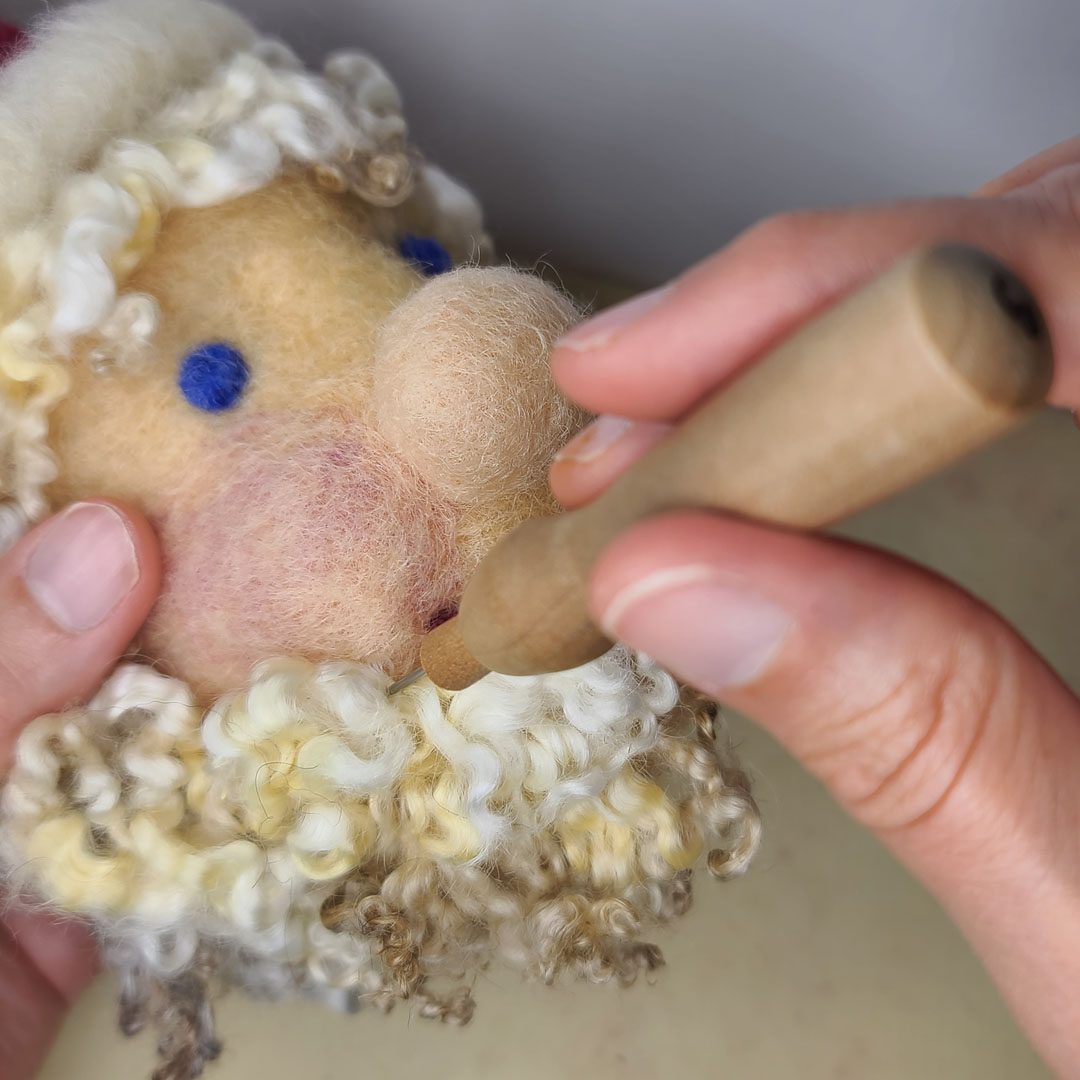
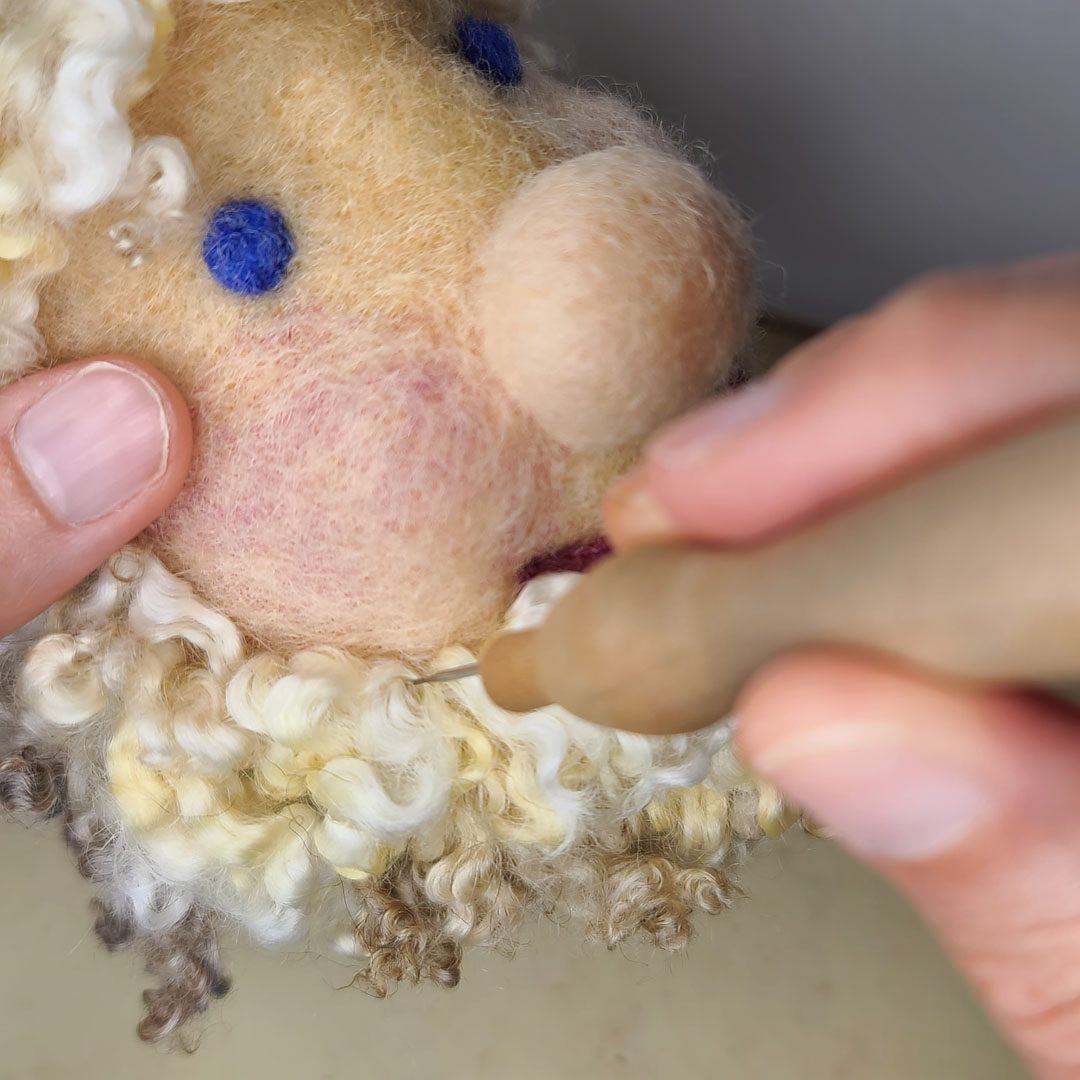
Adding Santa’s Nose & Rosy Cheeks
In my portrait lesson, I go over forming a nose with nostrils, but to simplify this design we’re going to give Santa a basic round nose. Be sure to do the bulk of your felting around the edges of the nose to attach it to the face. If you felt too much across the top it will flatten out the nose.
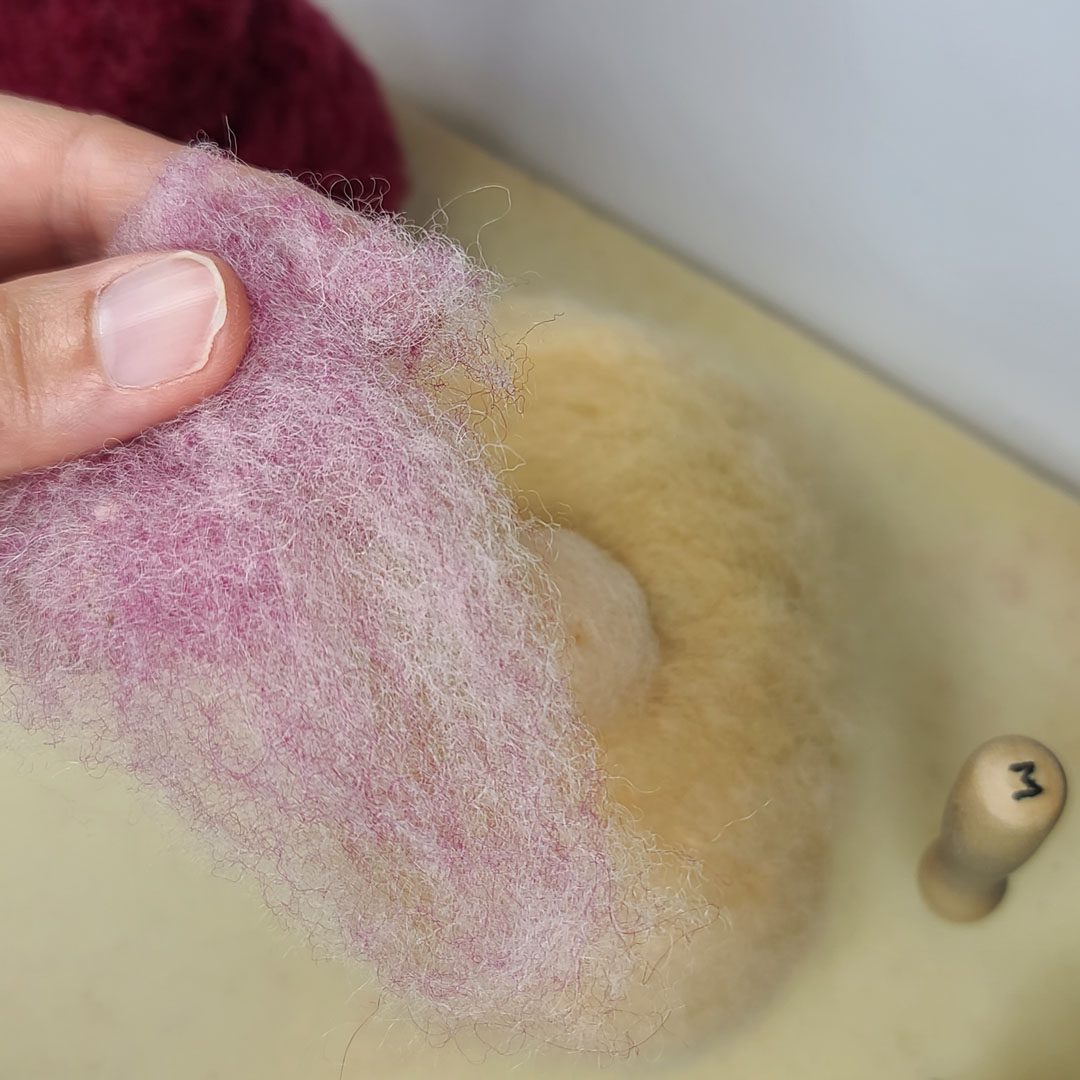
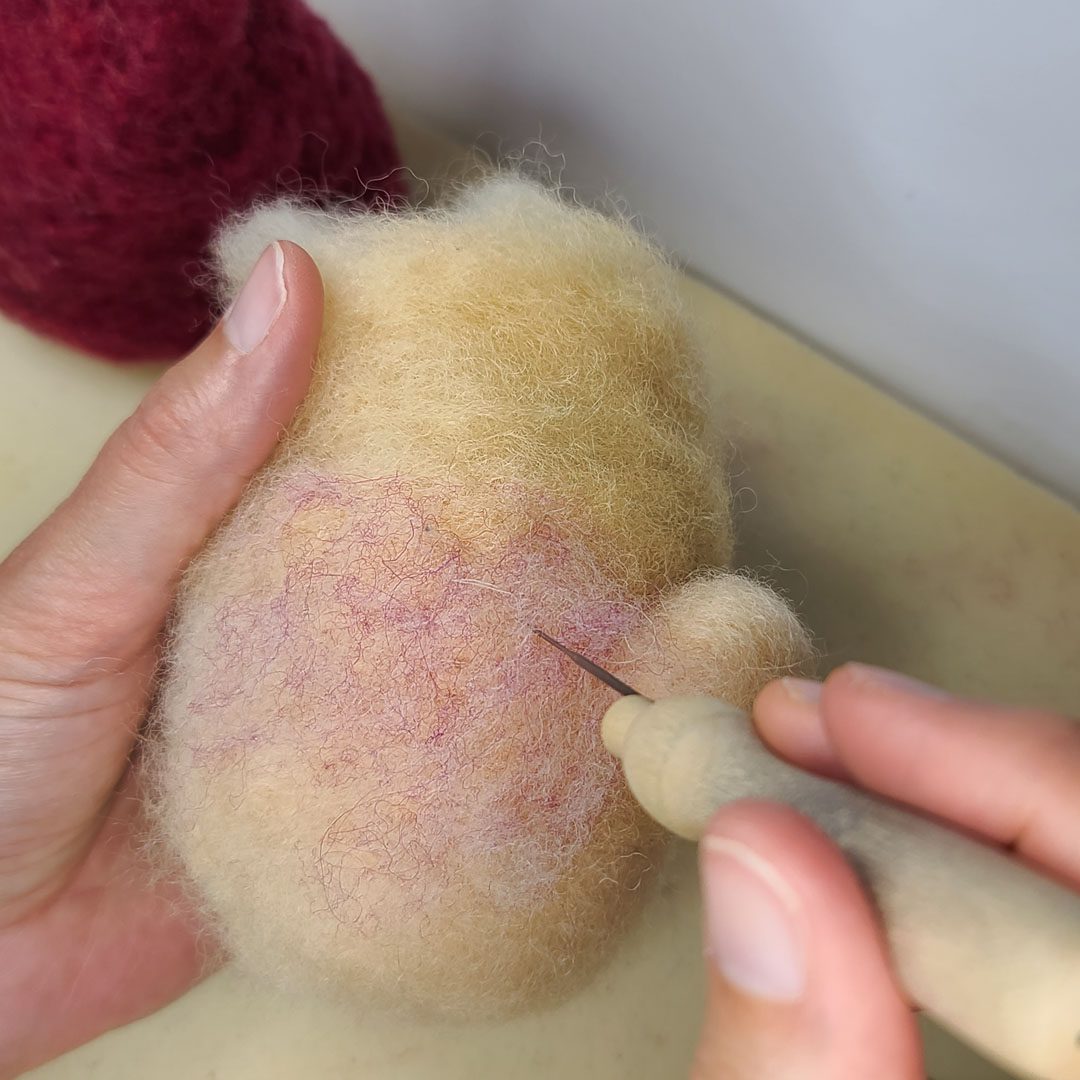
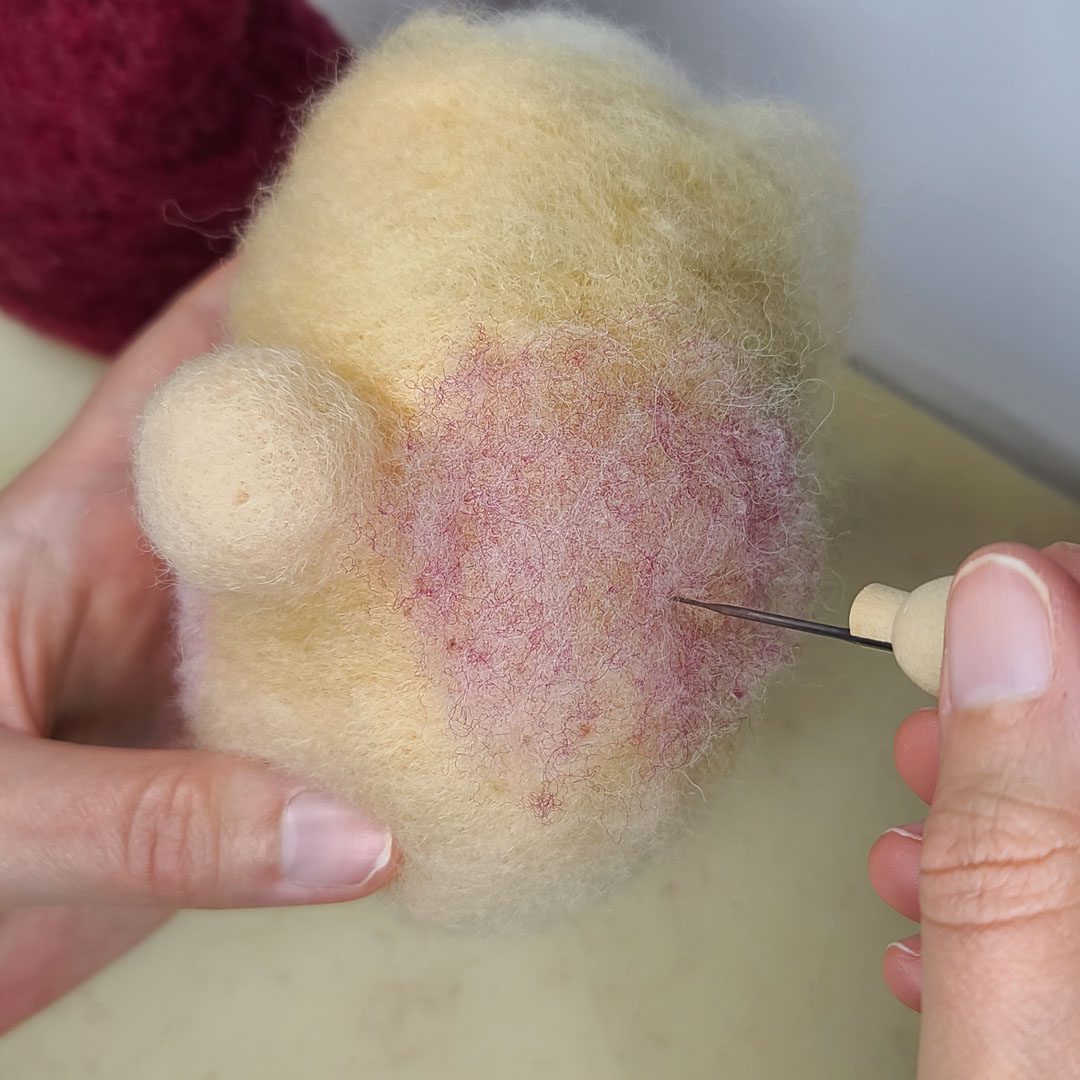
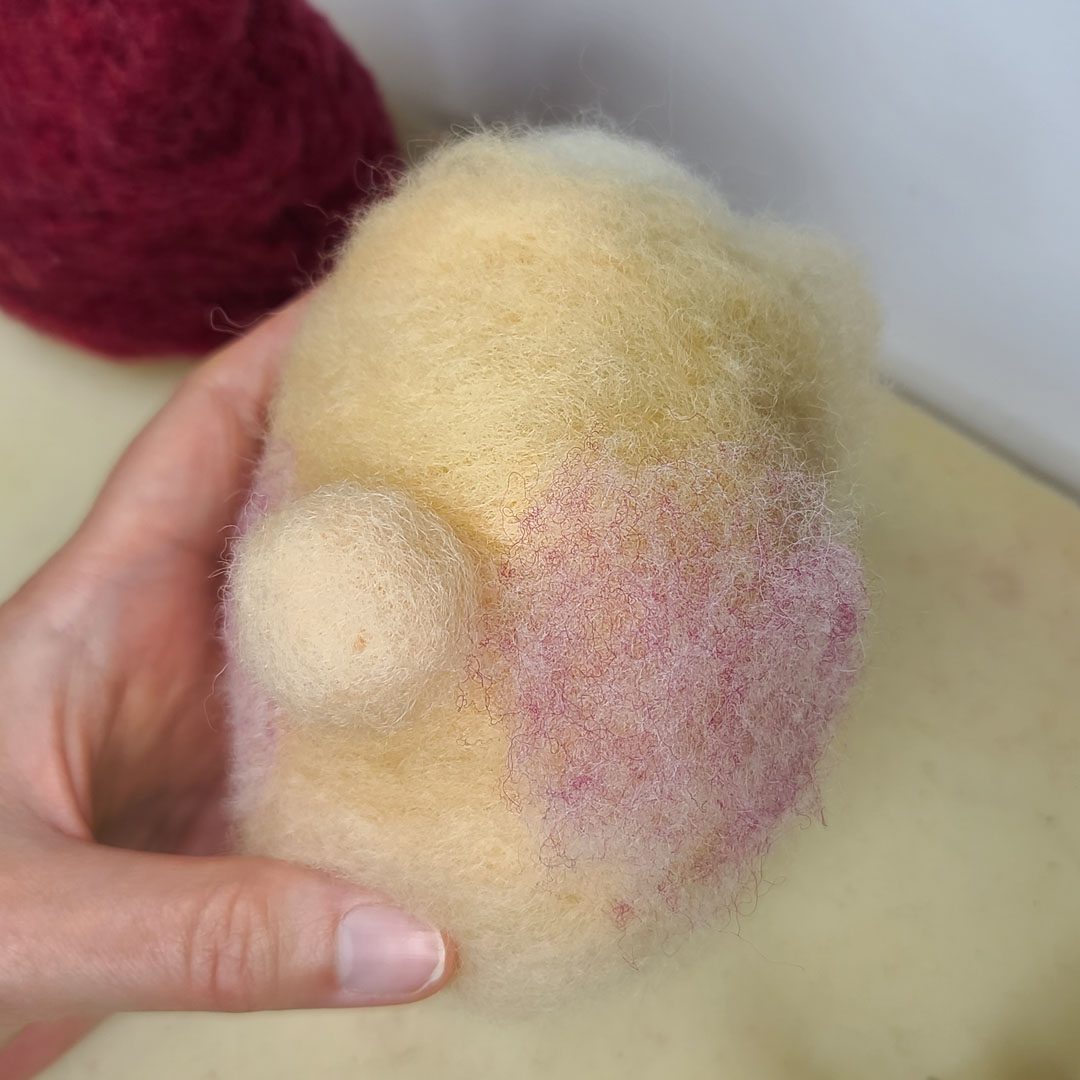
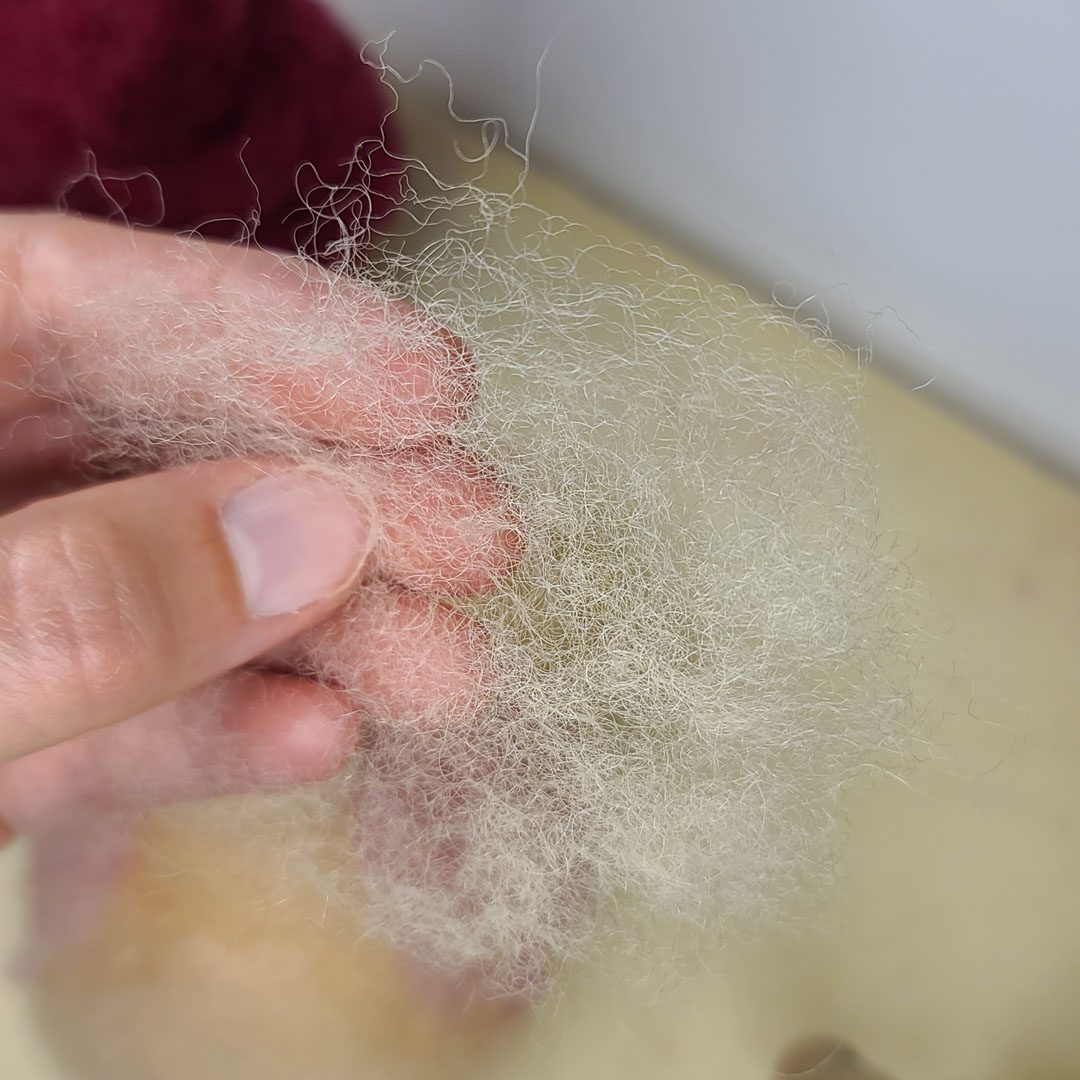
Nose & Cheeks
Santa’s face is simplified with a button nose and a blush of rosy red on his cheeks. The rosy red wool I am using is not an even color so to even out the blush on his cheeks I first add the rosy wool and then cover it with a thin layer of flesh tone. Covering it with flesh tone isn’t necessary, but you can decide just how rosy you want your Santa’s cheeks to be. If you want to even out the color, or tone down the red, adding a thin layer of flesh tone will achieve both.
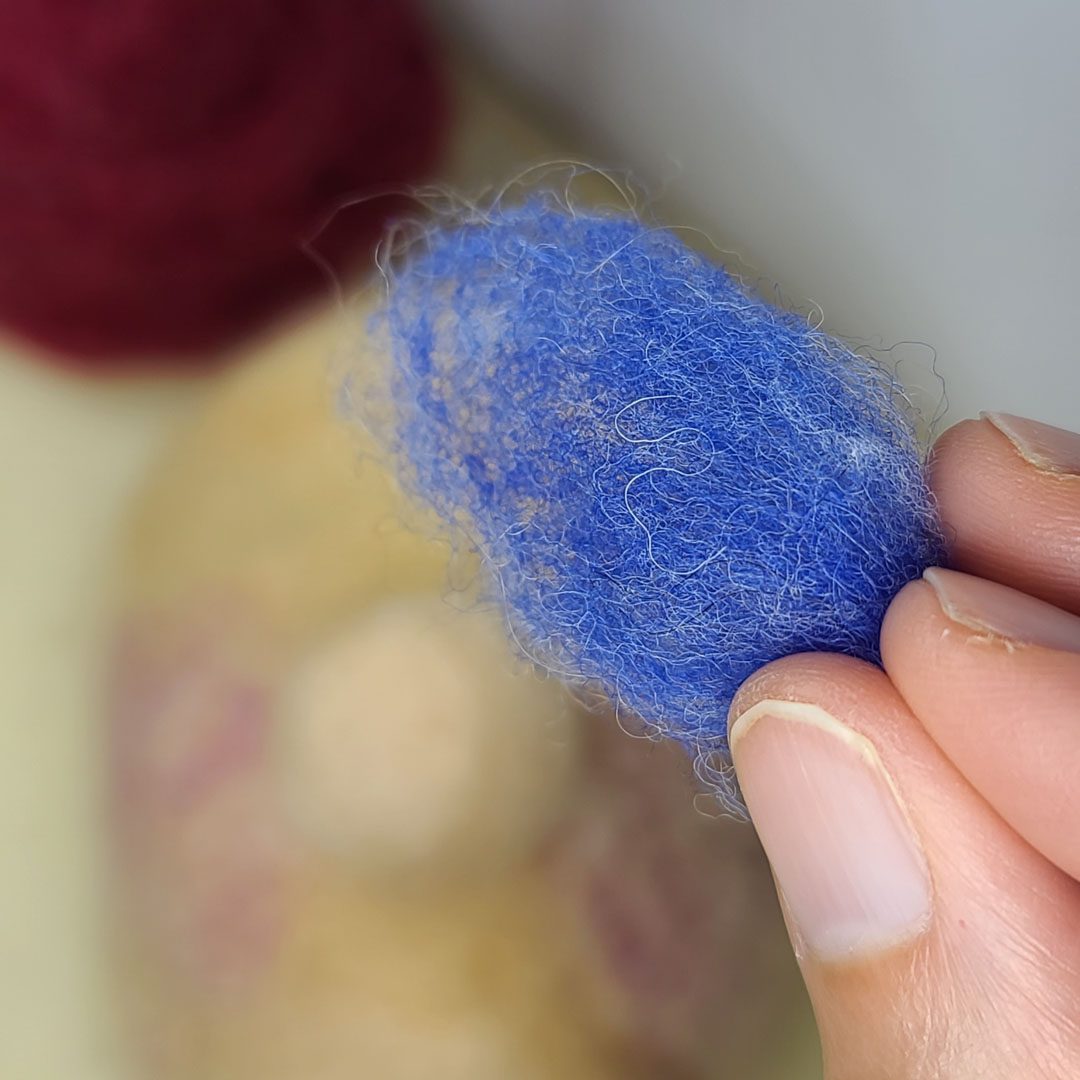
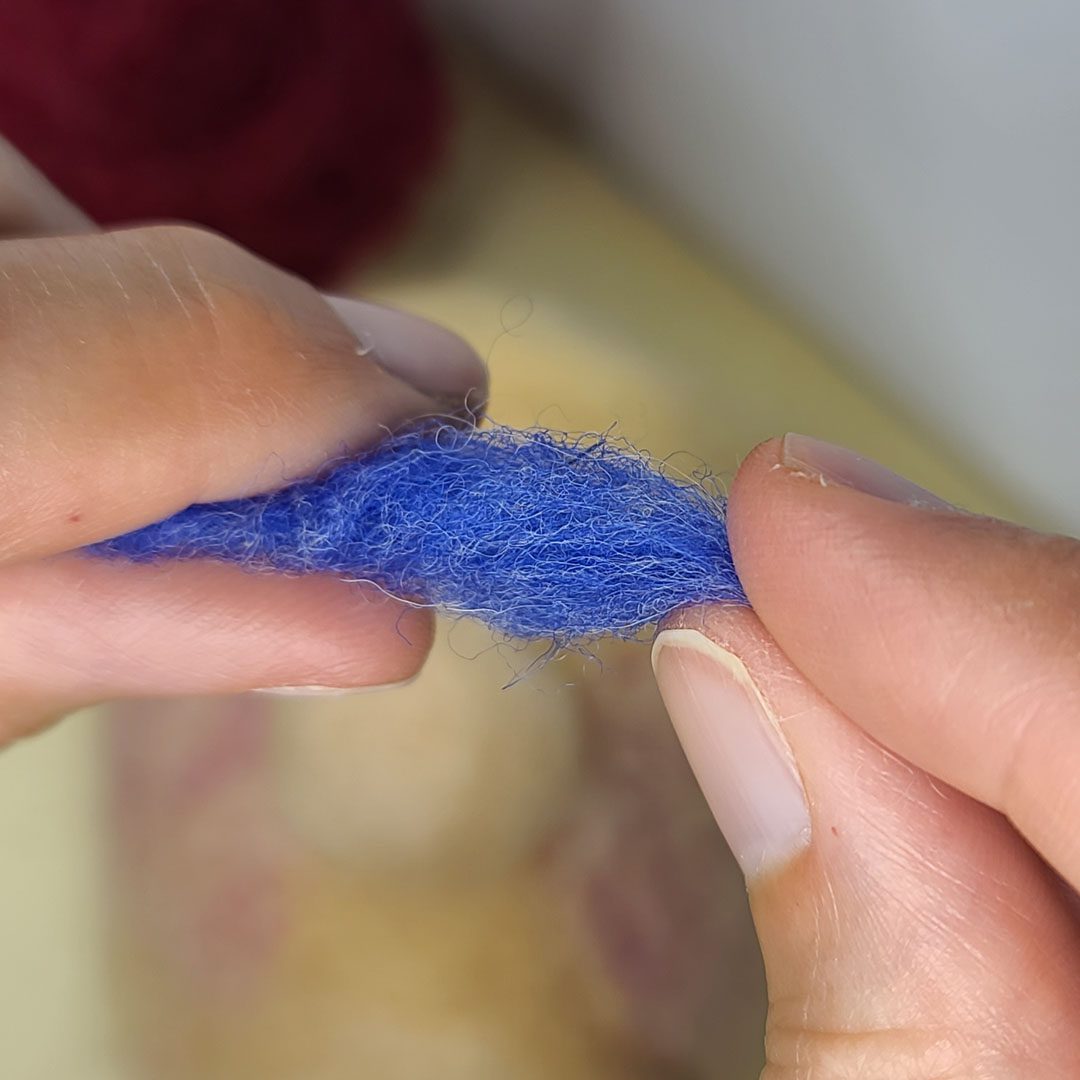
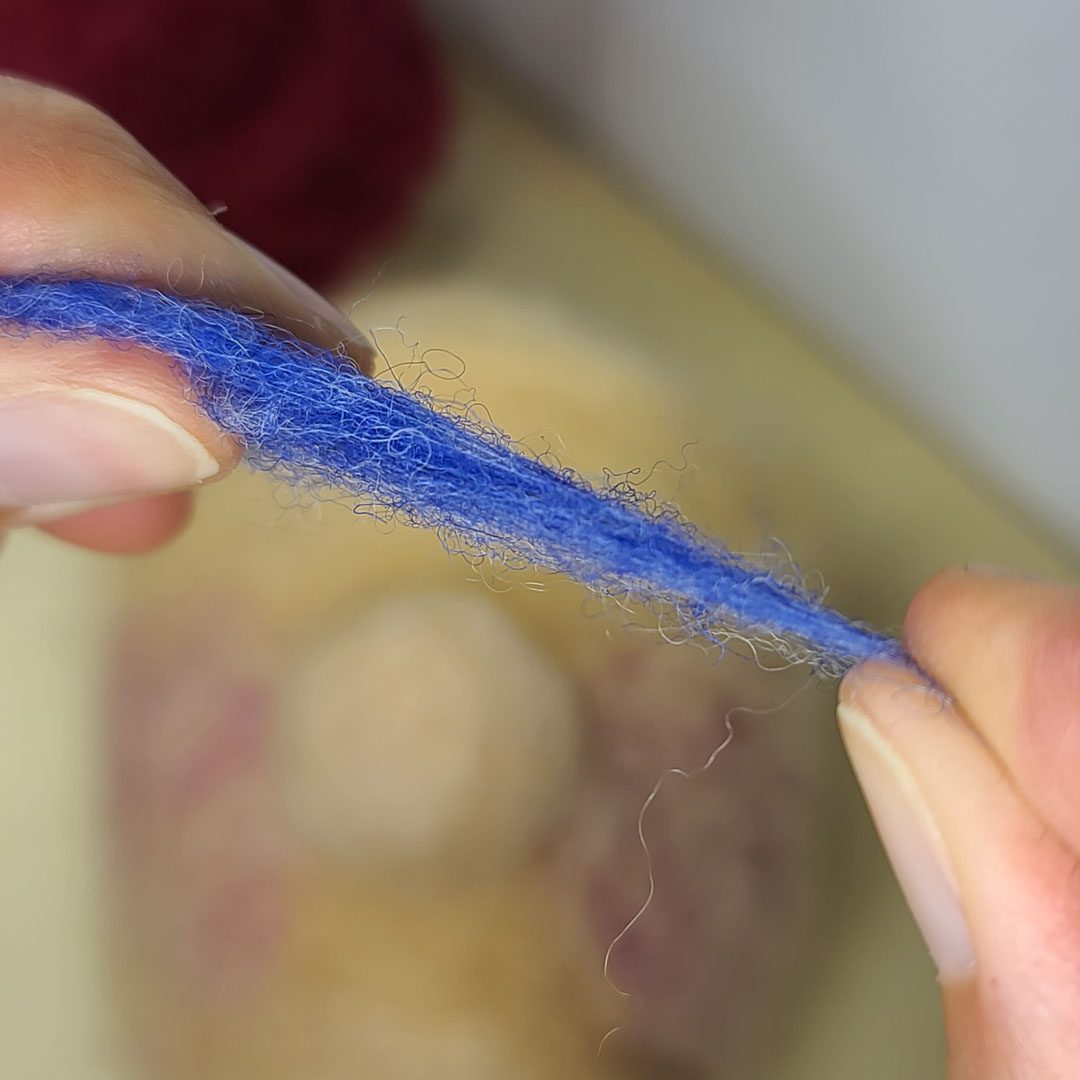
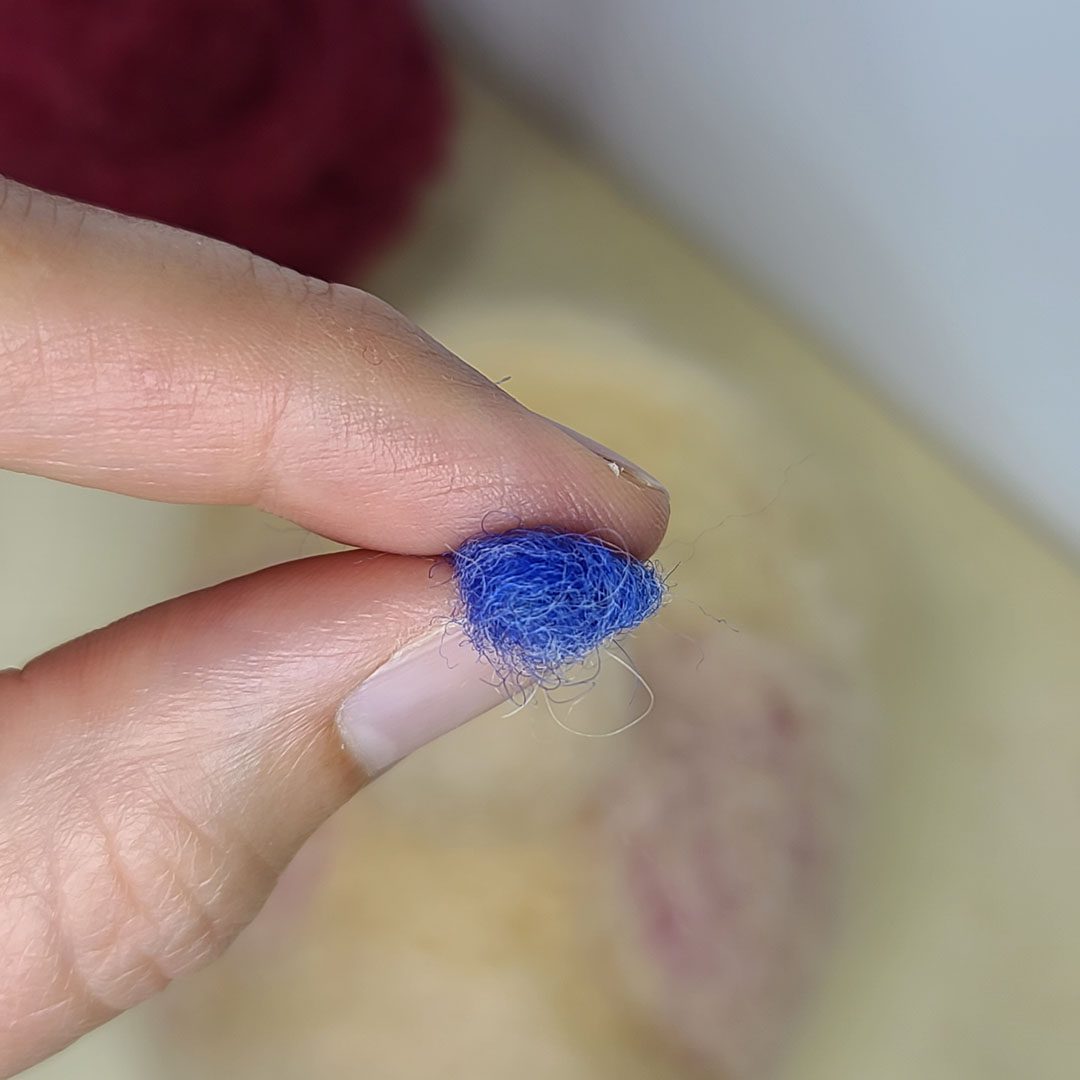
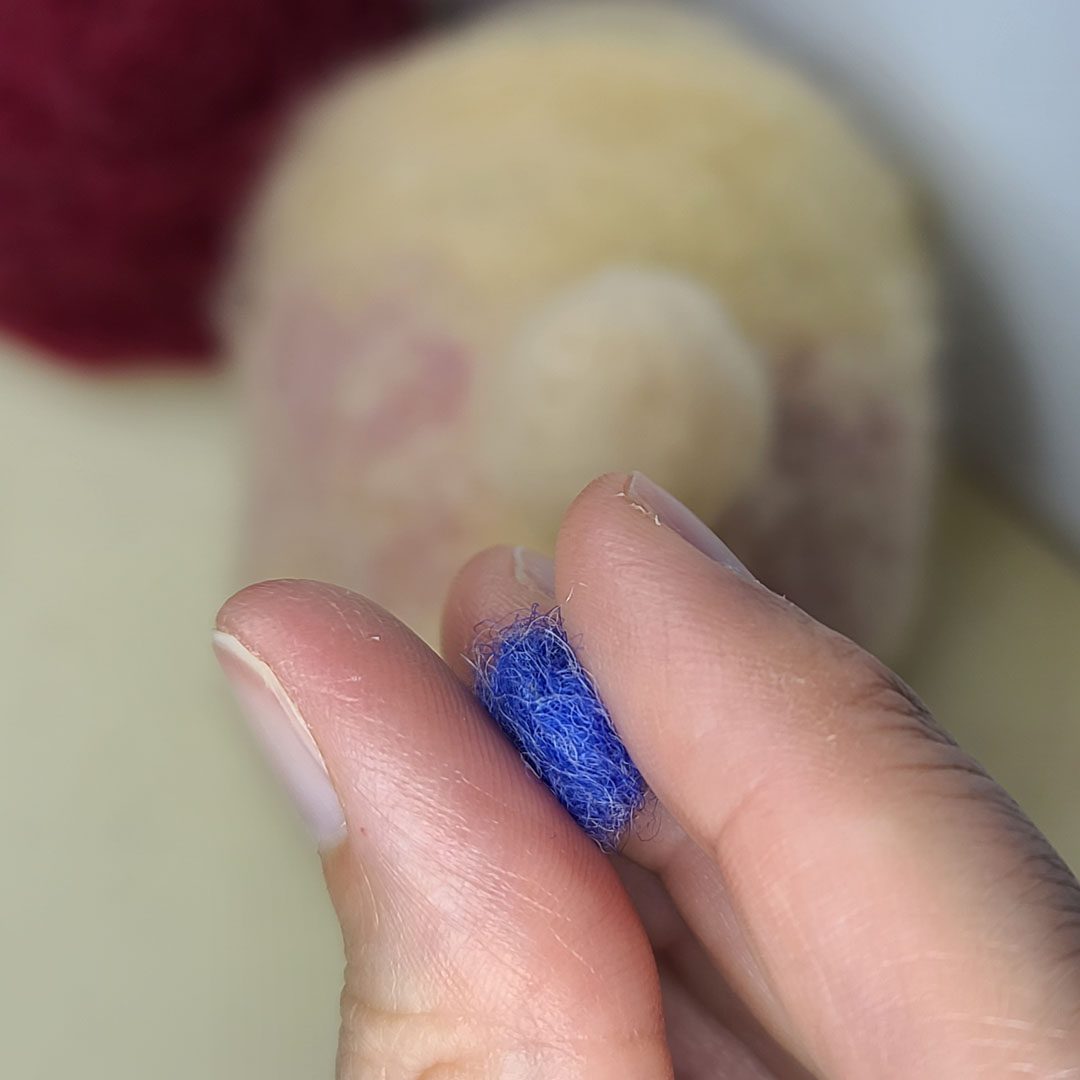
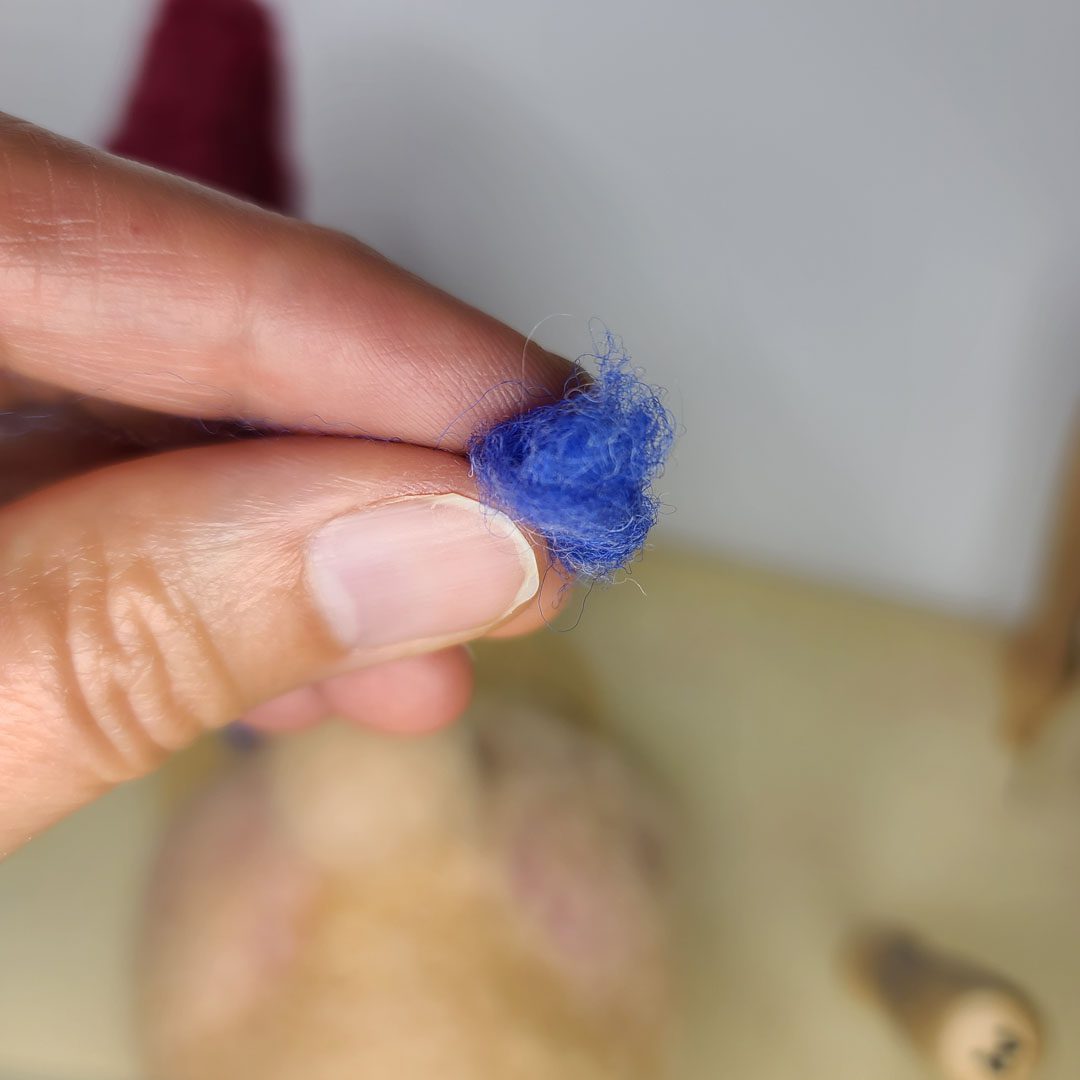
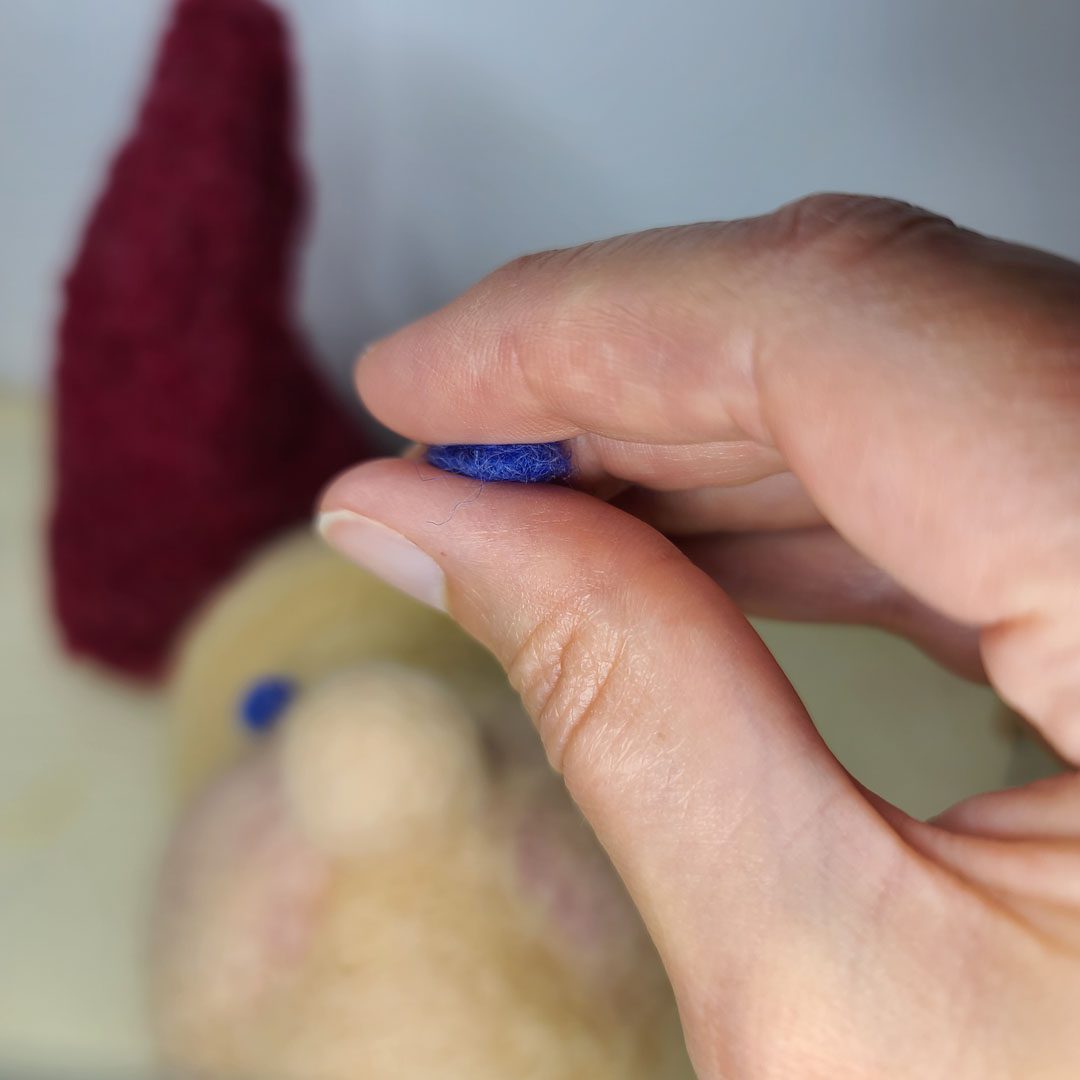
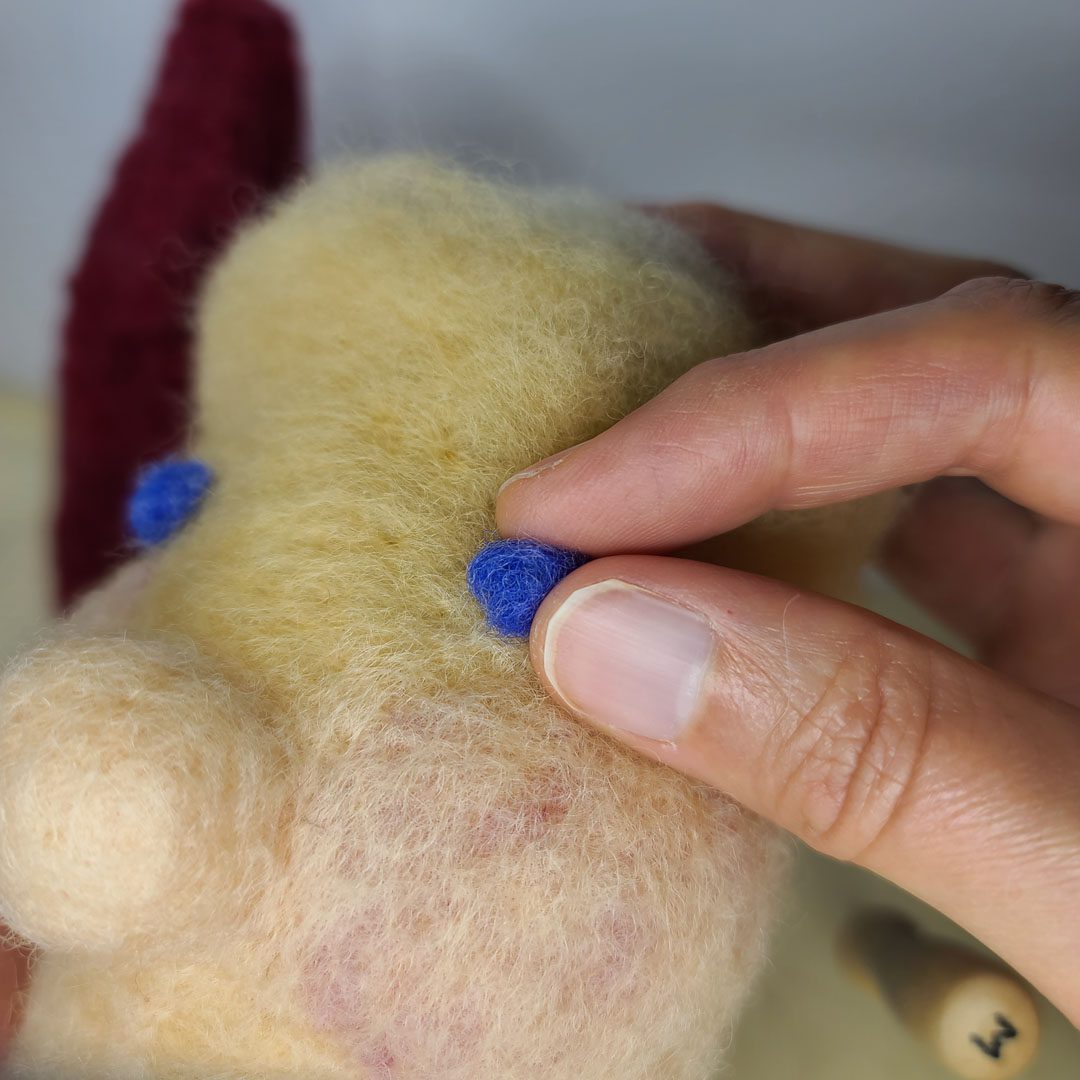
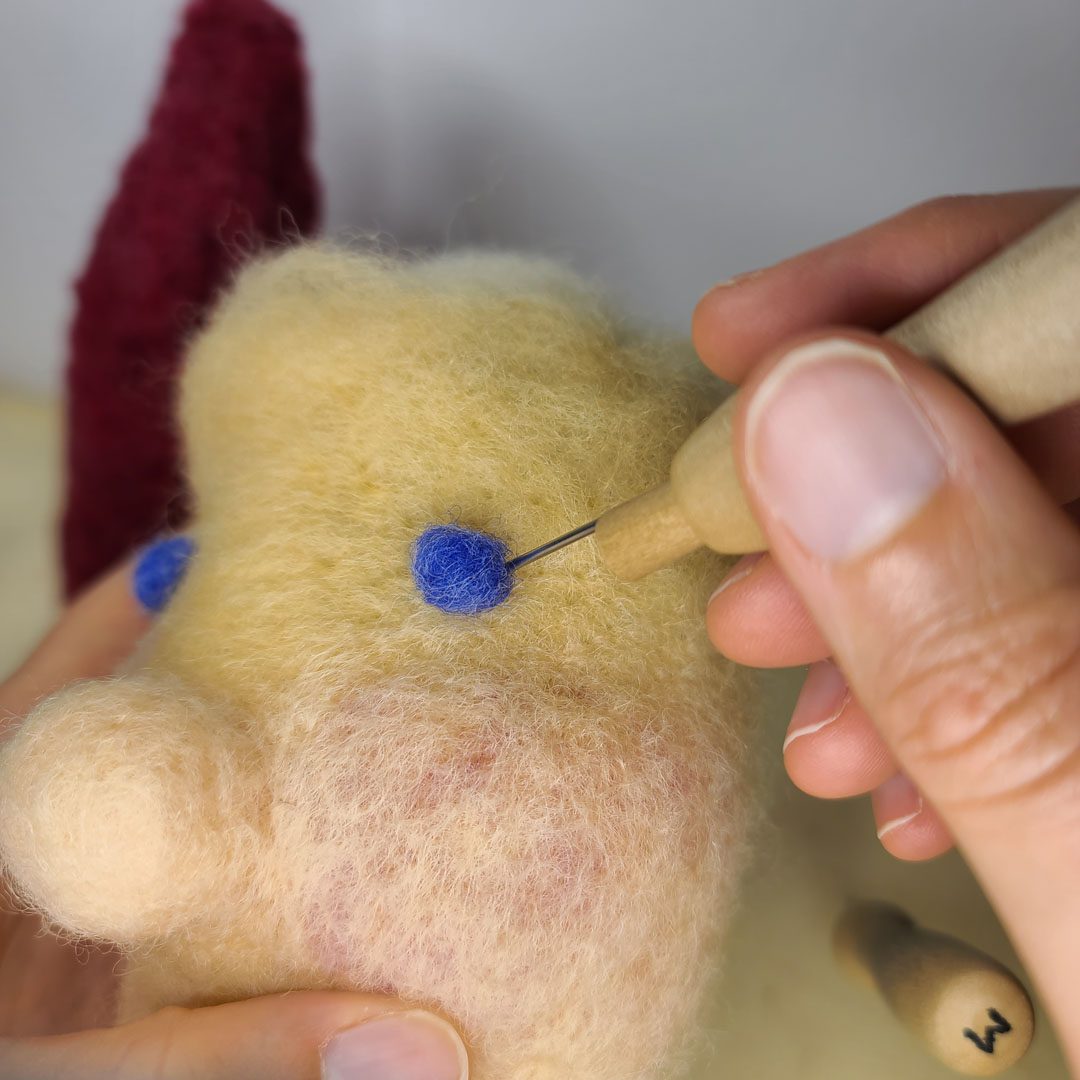
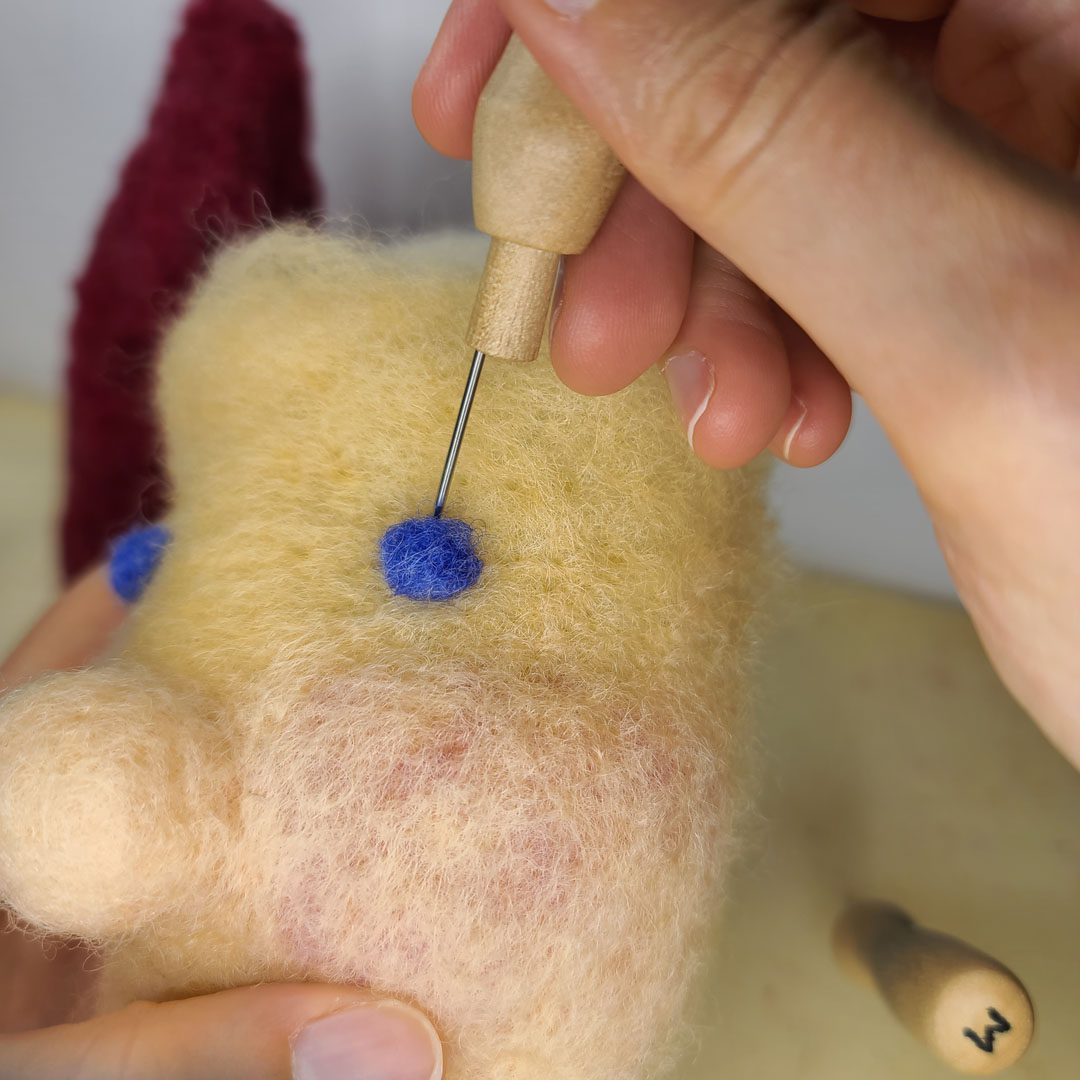
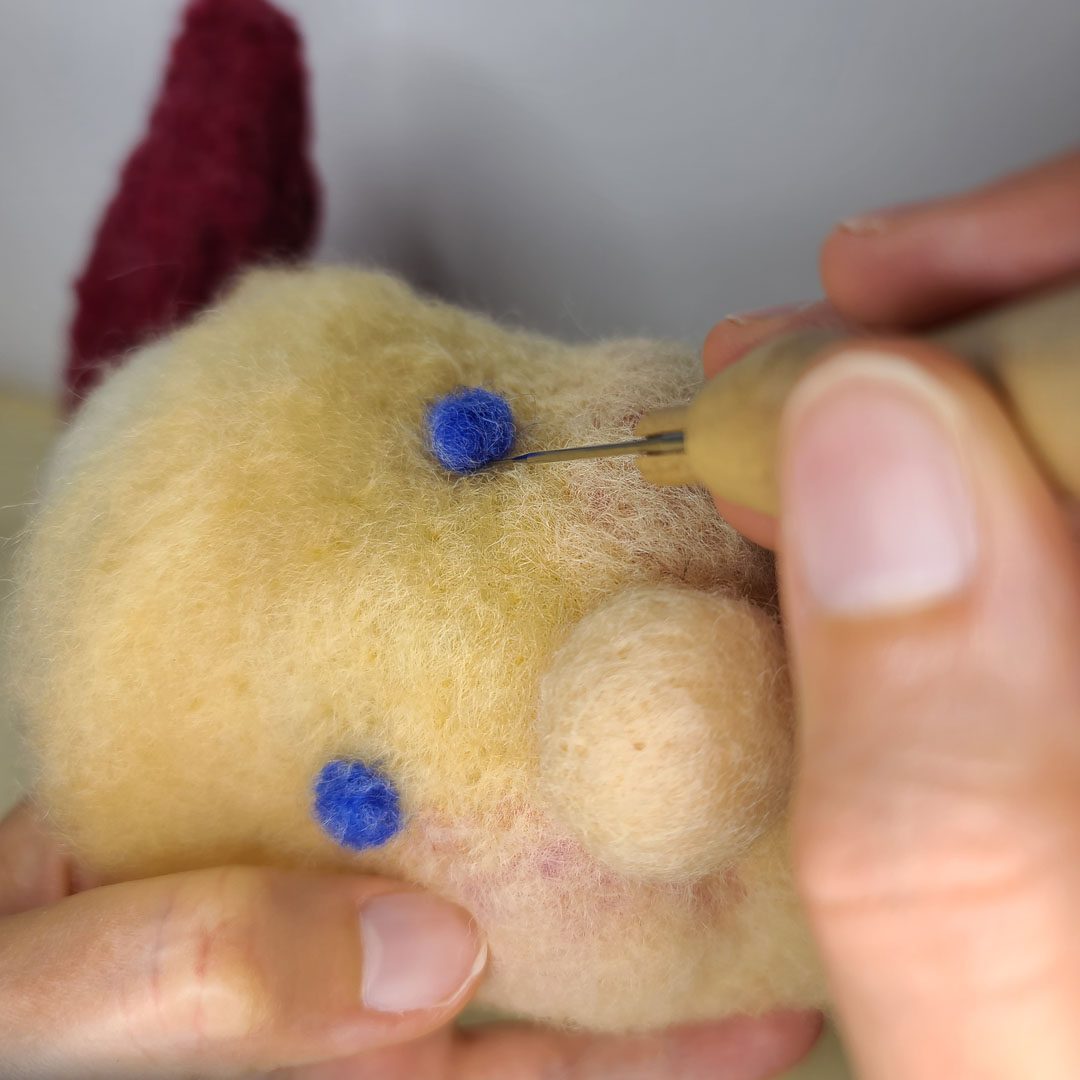
Felting Simple Blue Eyes
Like the button nose, Santa’s eyes are simplified in this design. All you’ll need to do is roll a small amount of blue (or black or brown) wool in your fingers to create a small ball. The key to adding your eyes to the face is to slowly felt around the outside edges of the small ball, just like the nose. If you do felt the eyes from the center you’ll push the wool into the face and the eyes will flatten out and get much smaller.


Eyes and Lips
Just like the simplified eyes, we’ll also add a simplified mouth. Section out a small pinch of rosy red (the same used for the cheeks) or a pink wool you prefer for the tone of Santa’s lips. After gently rolling the wool into a strip place it on the face centered under the nose. Gently needle it in place and then pull the loose edges back over the lips to clean up the corners of the mouth.
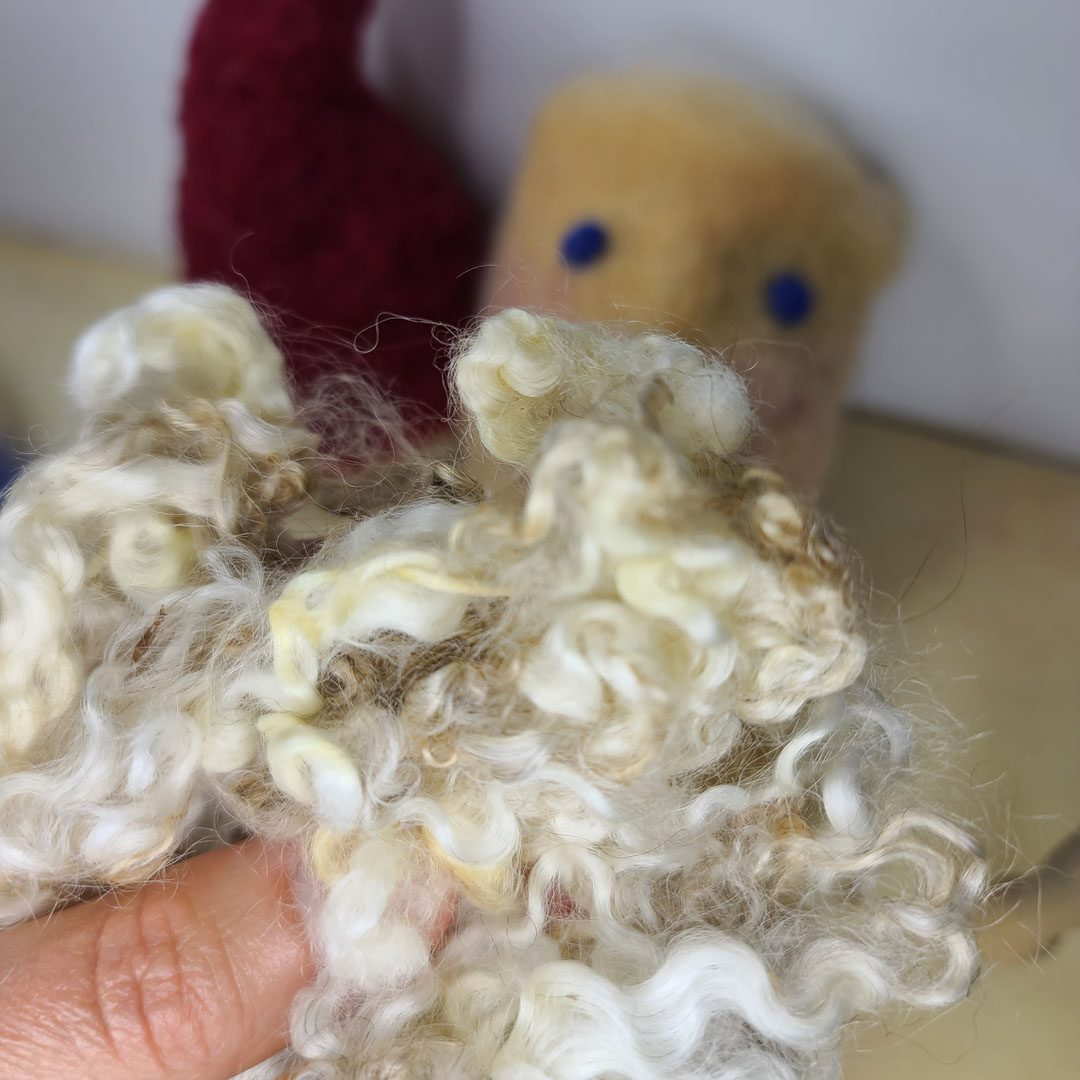
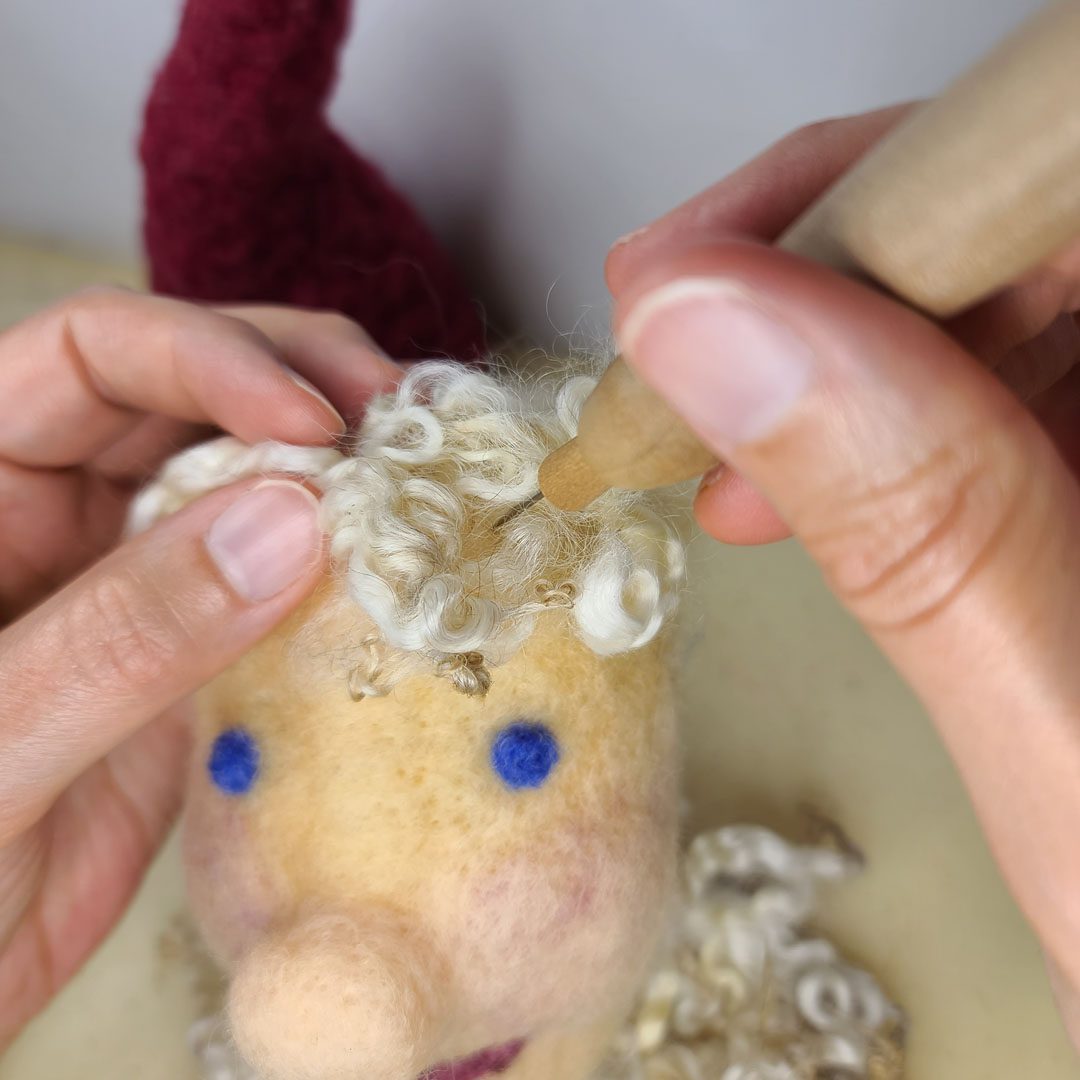
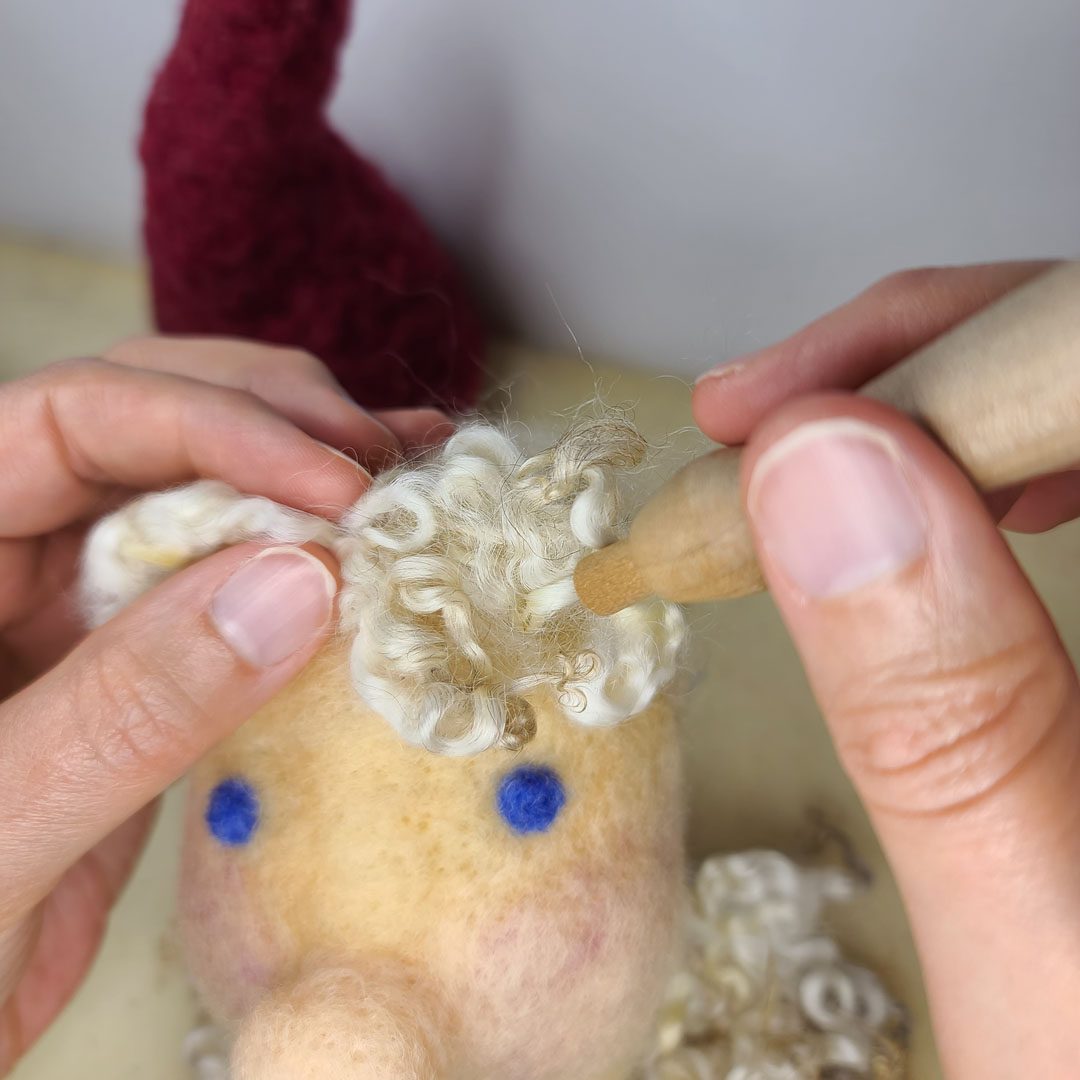
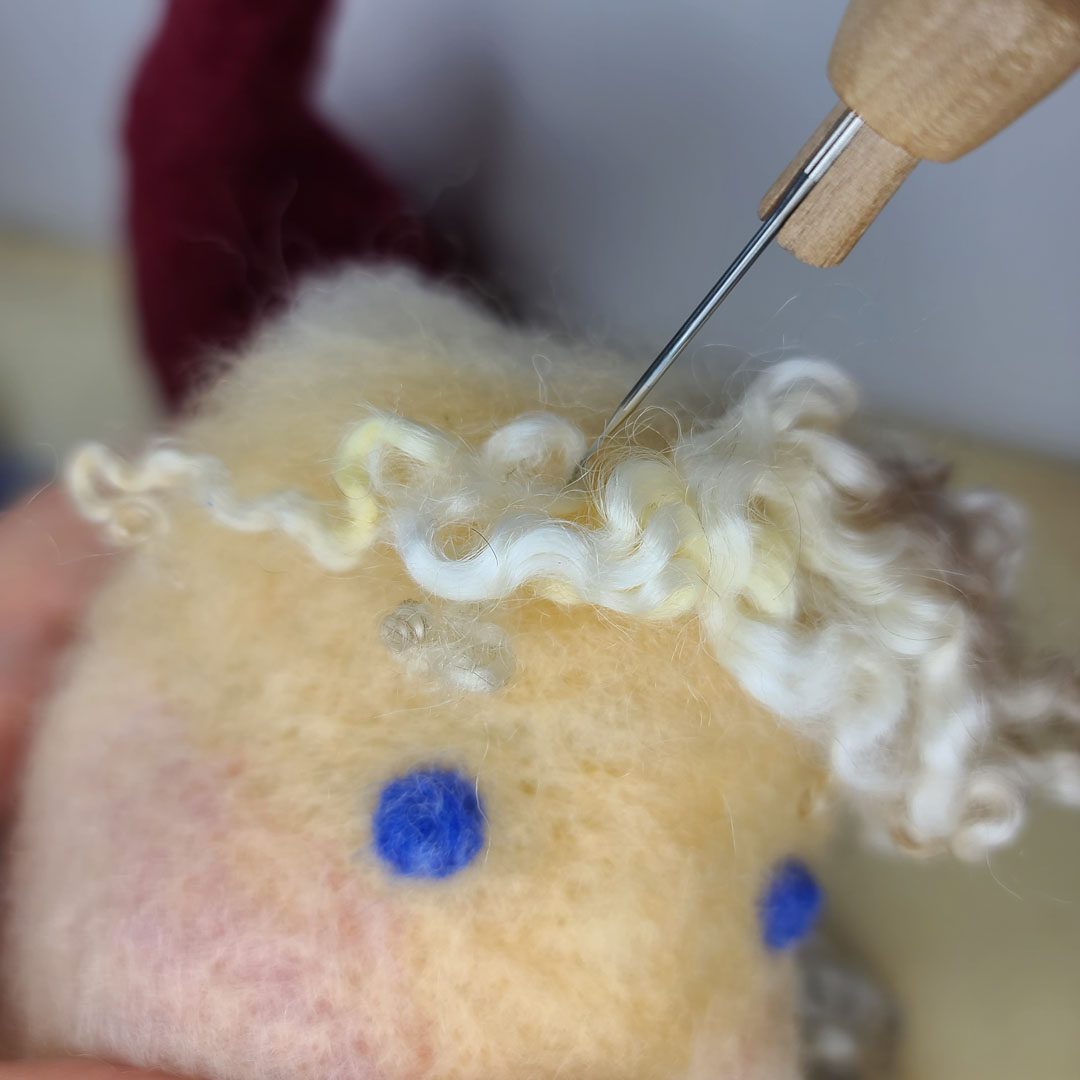
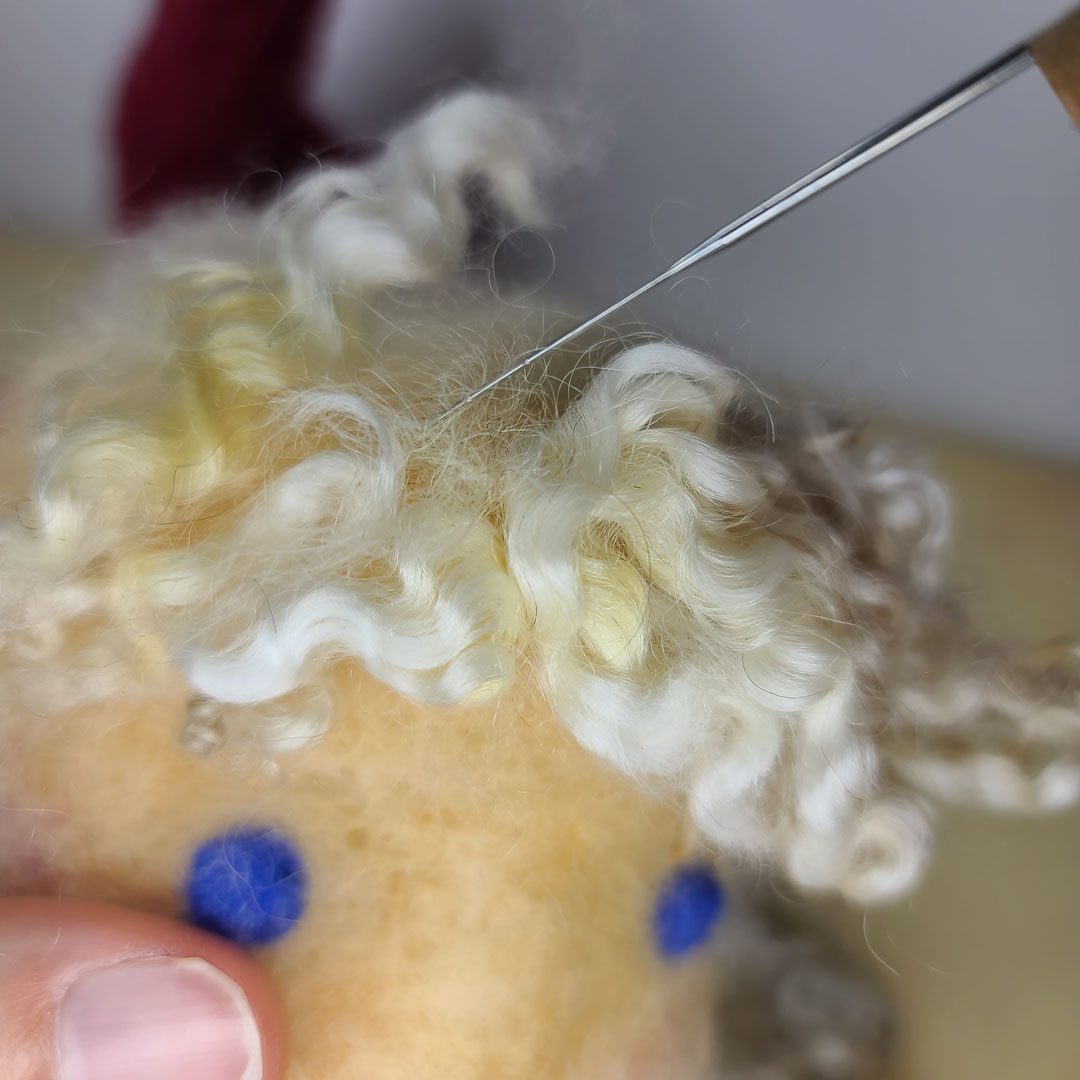
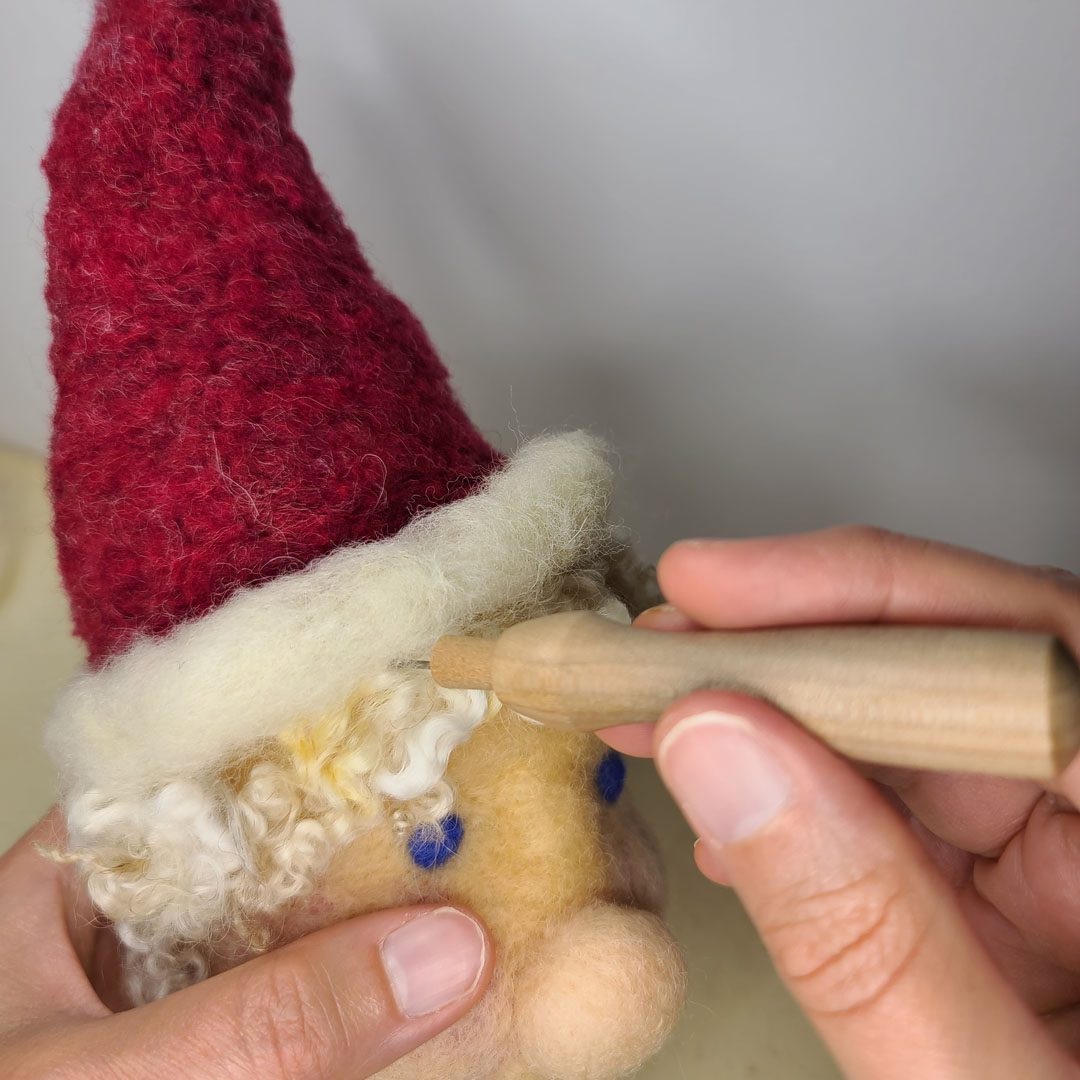
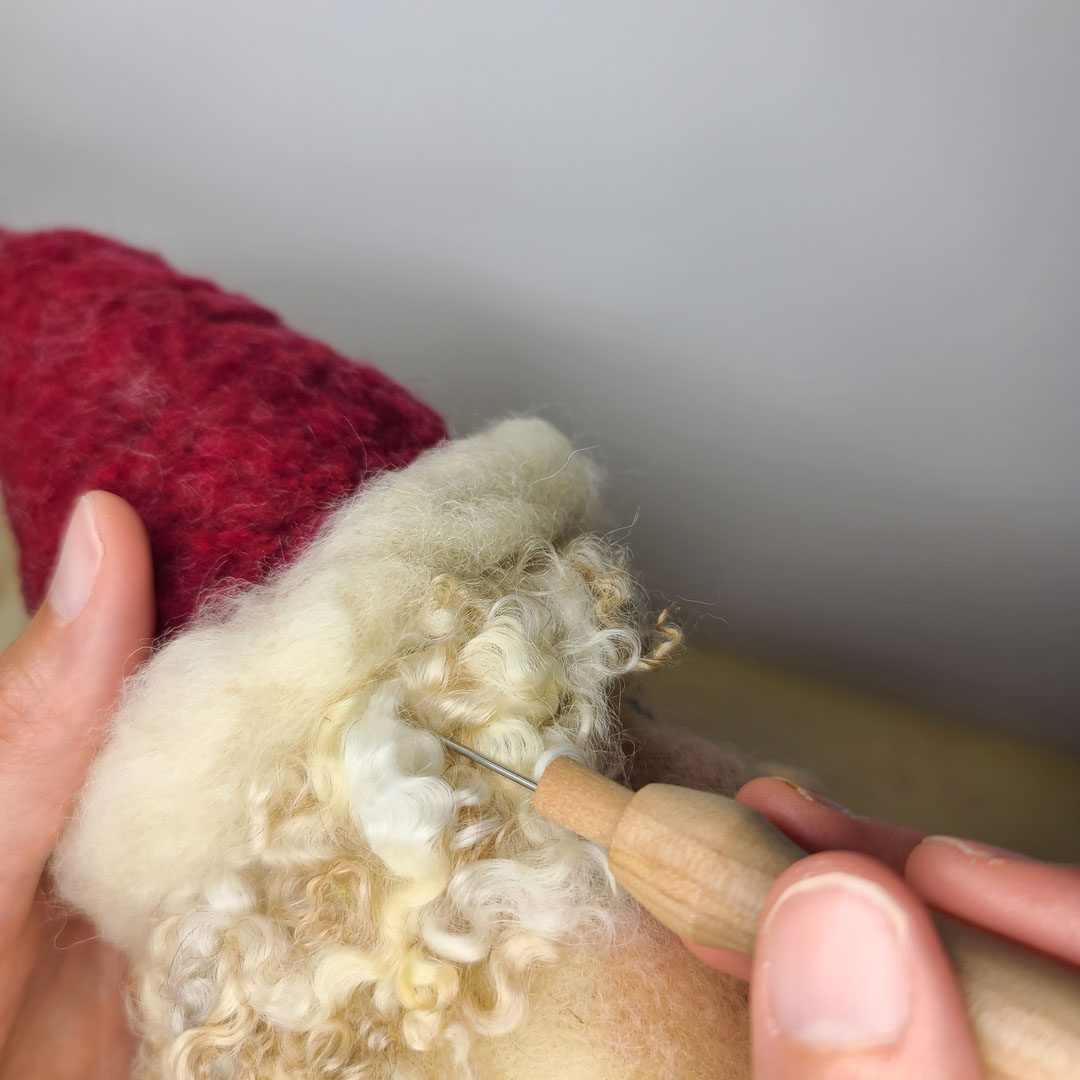
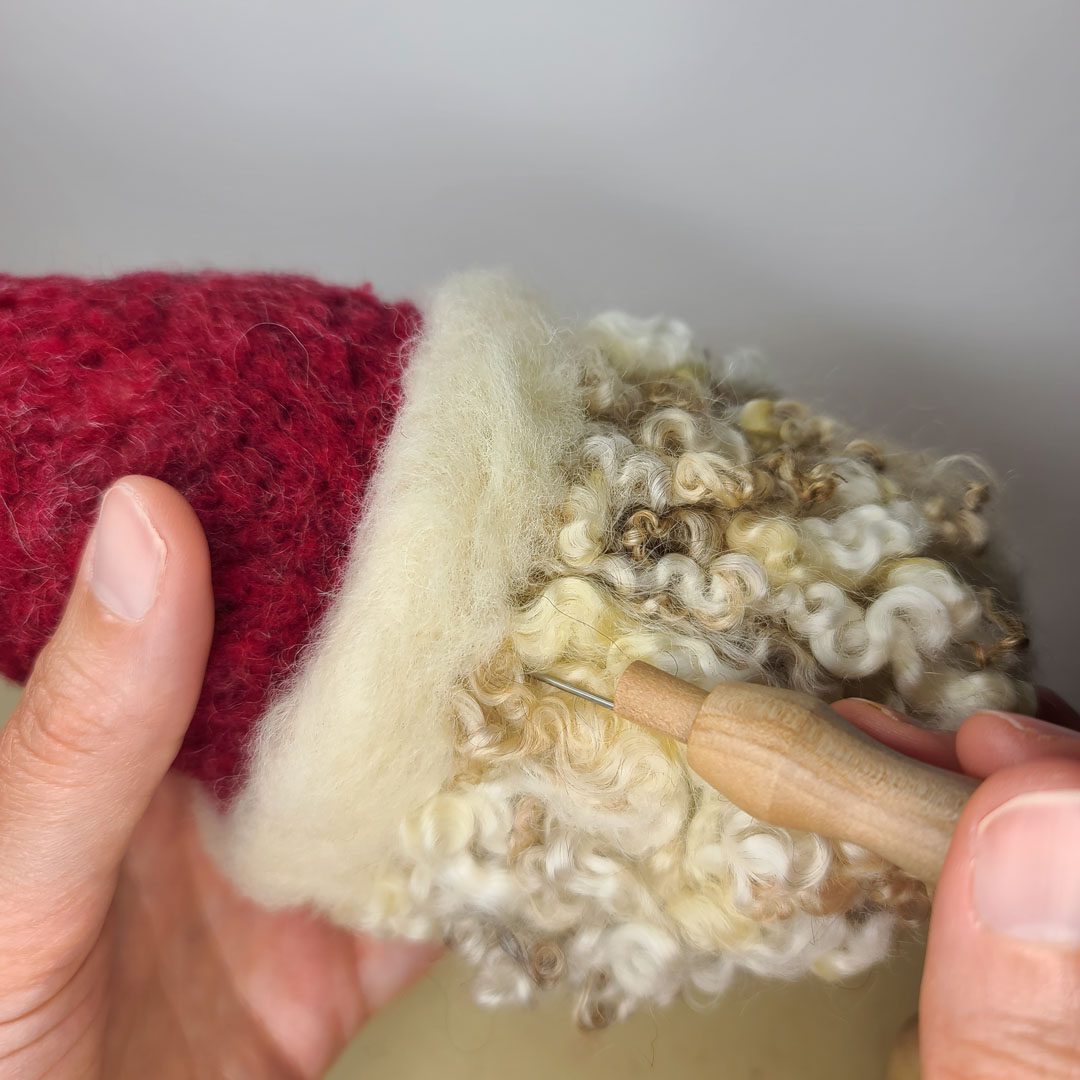
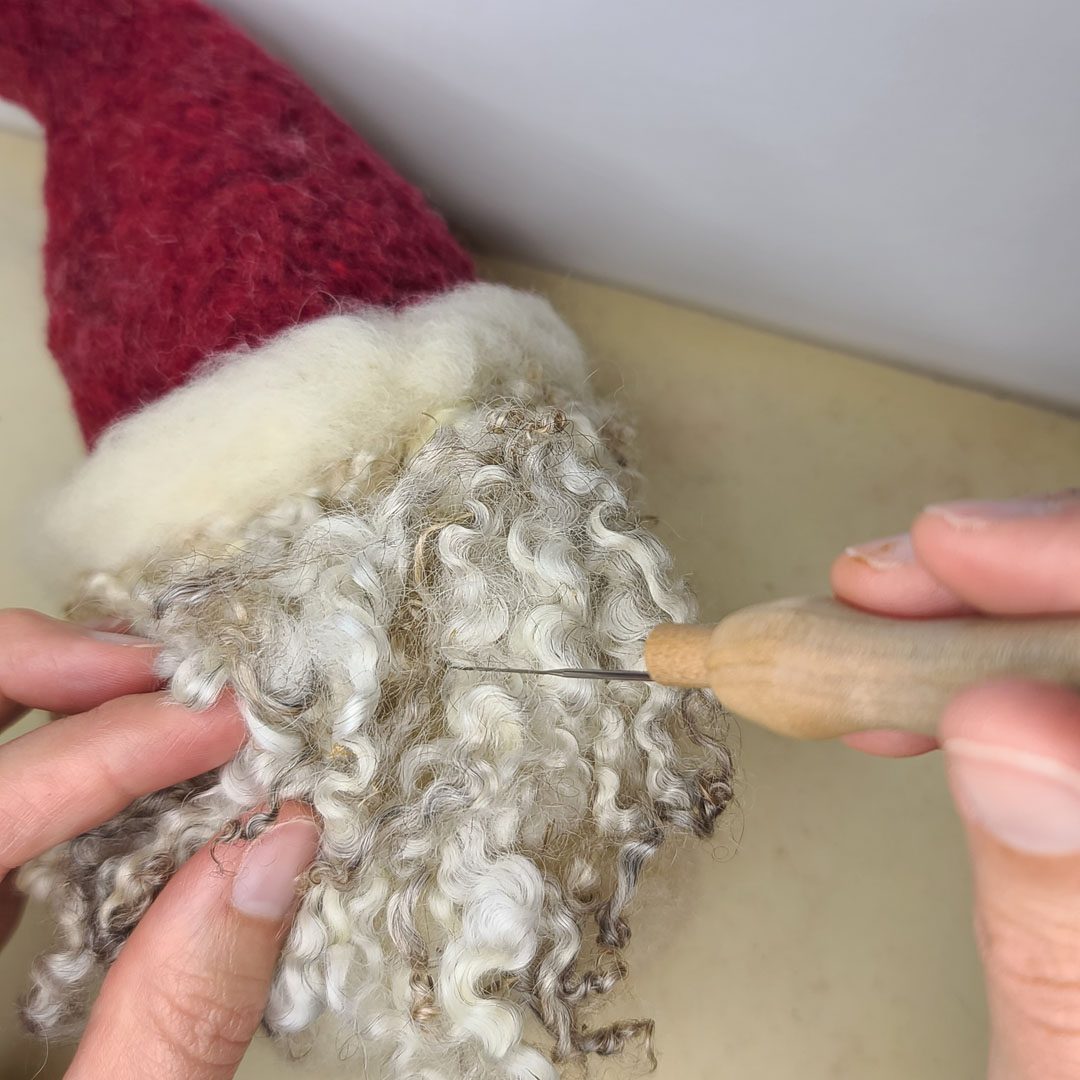
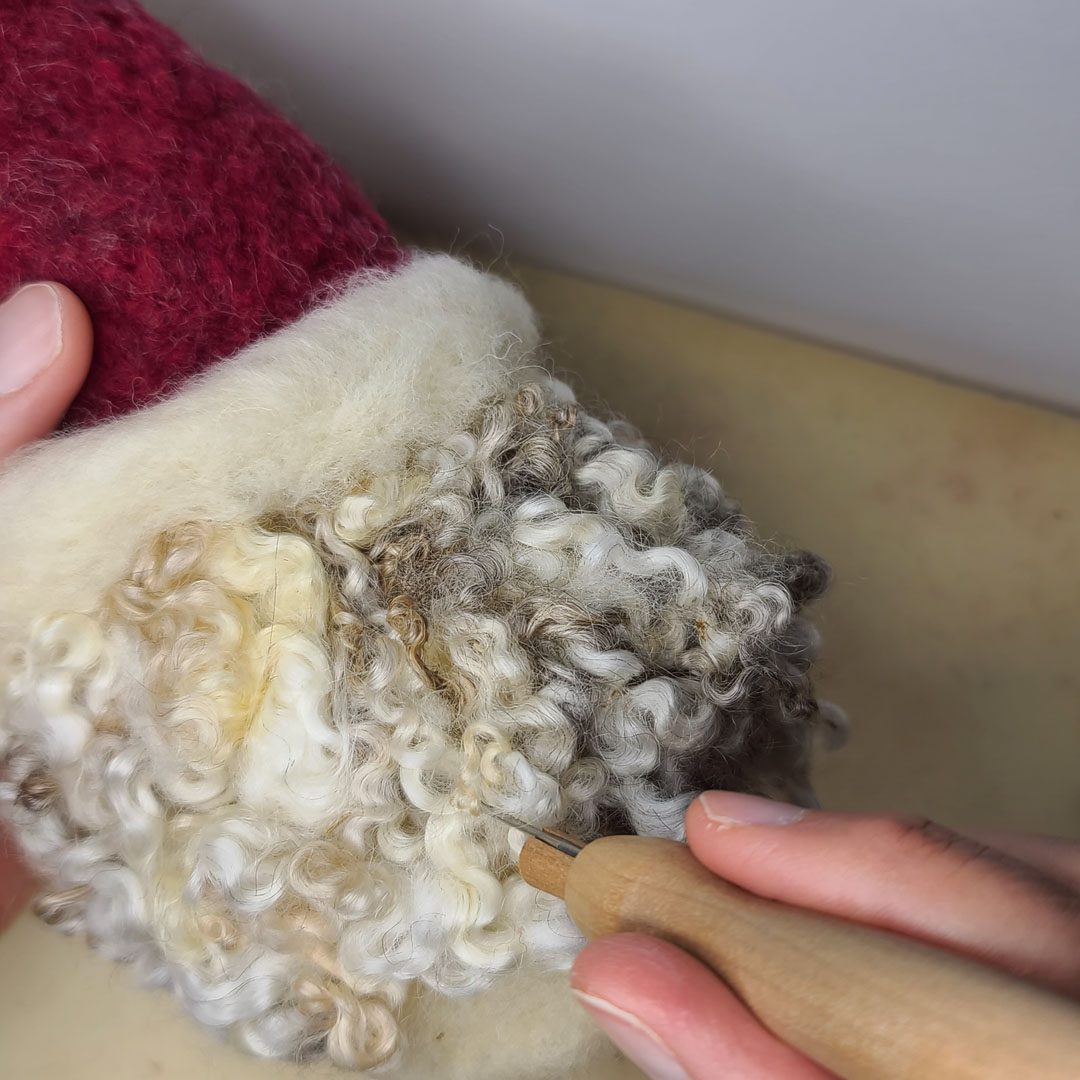
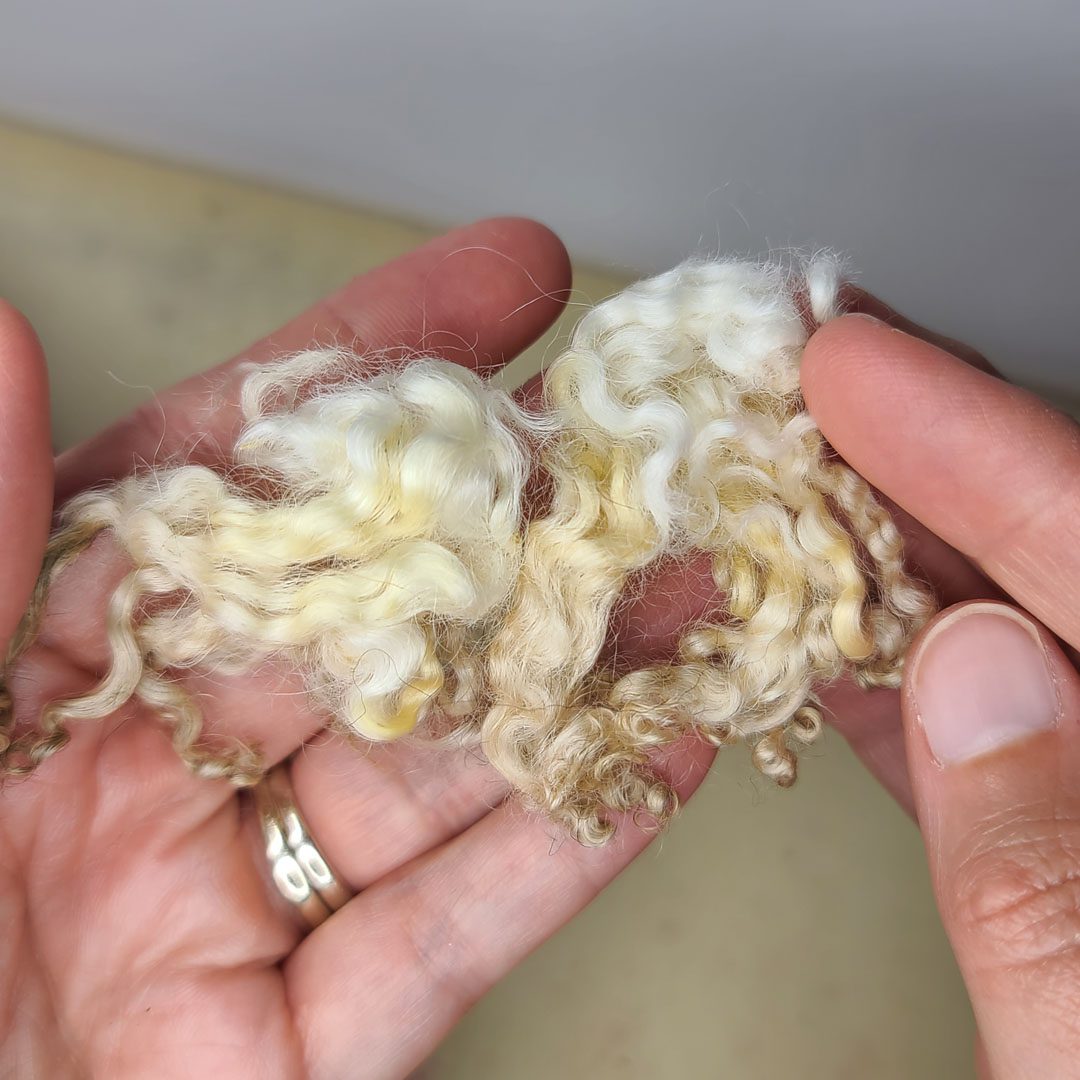
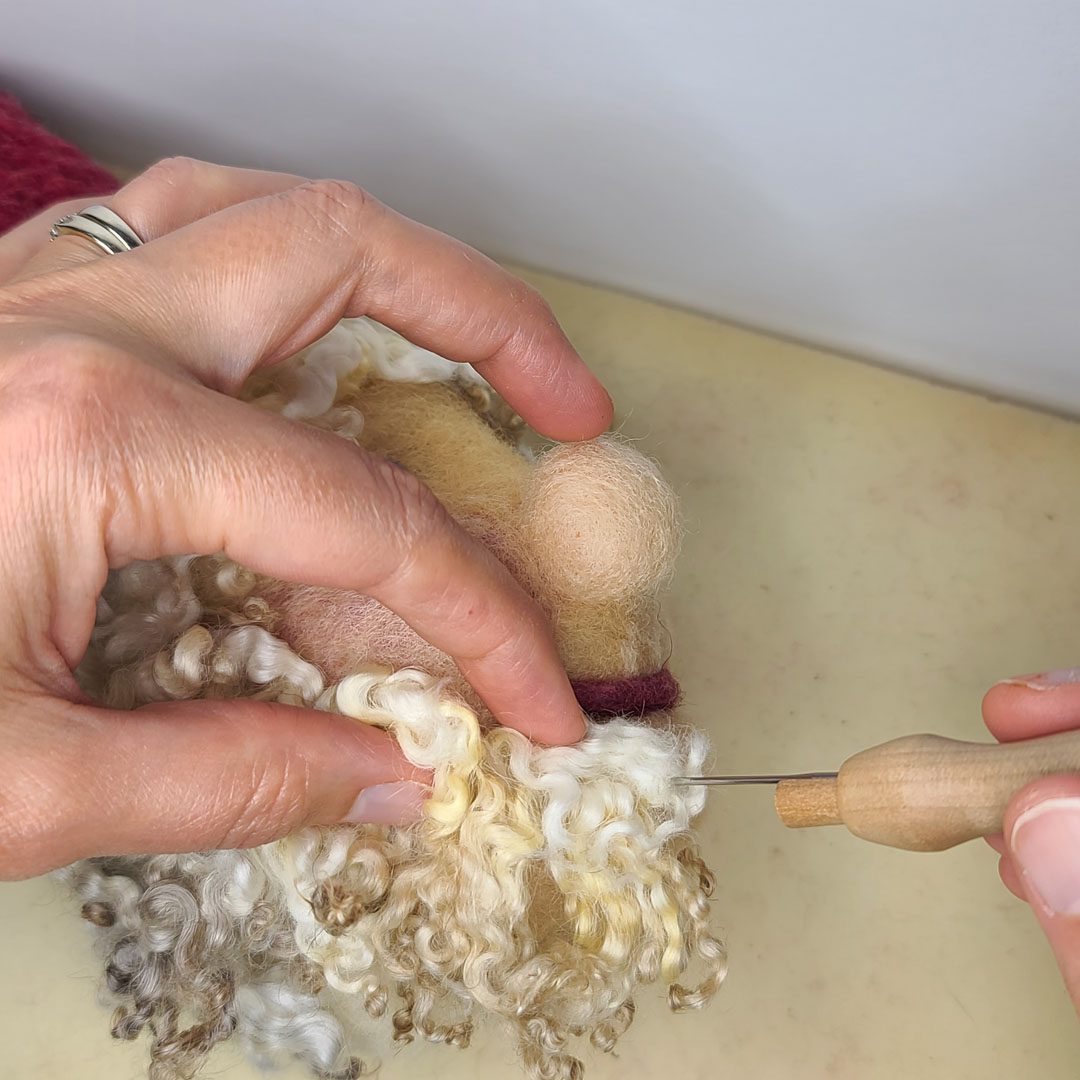
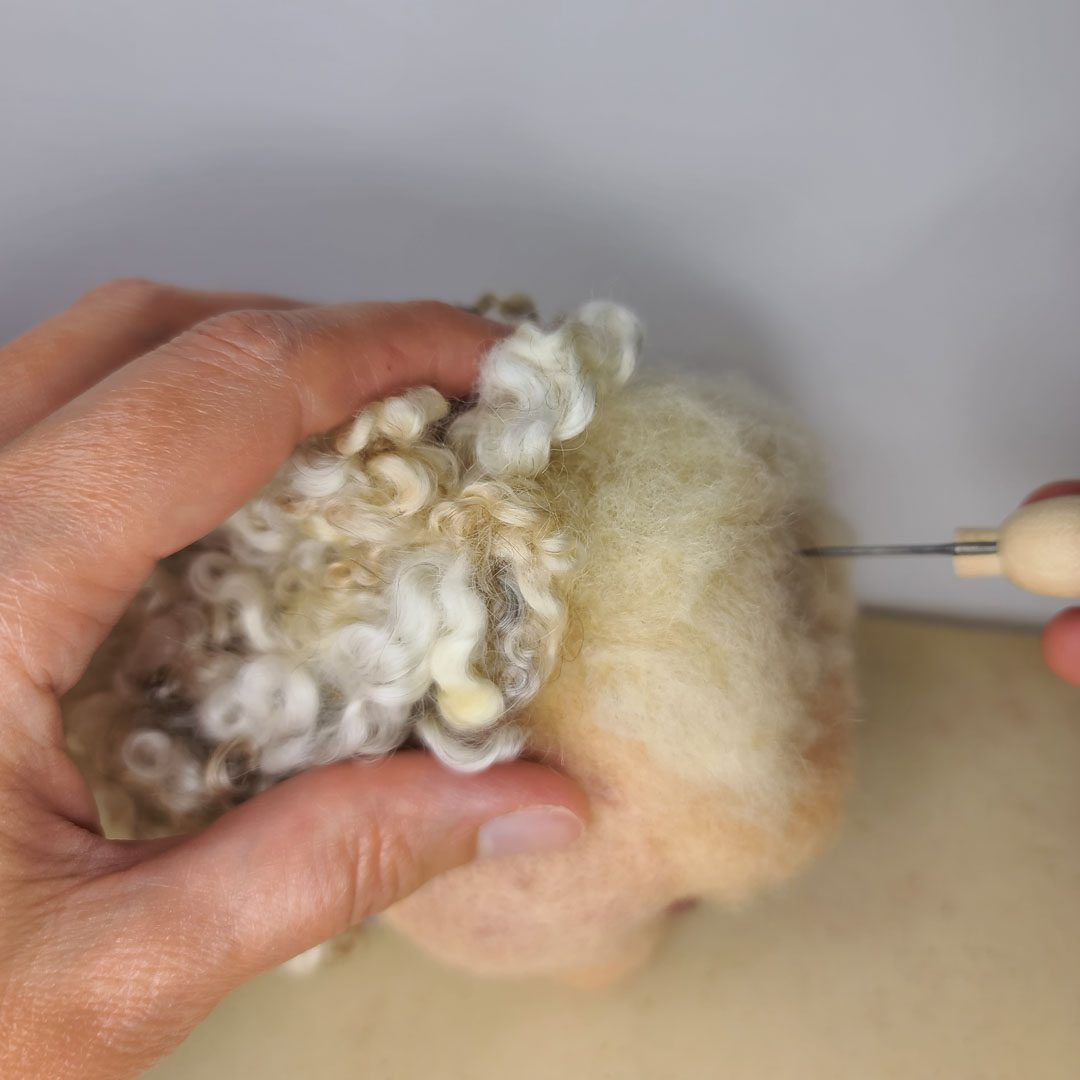
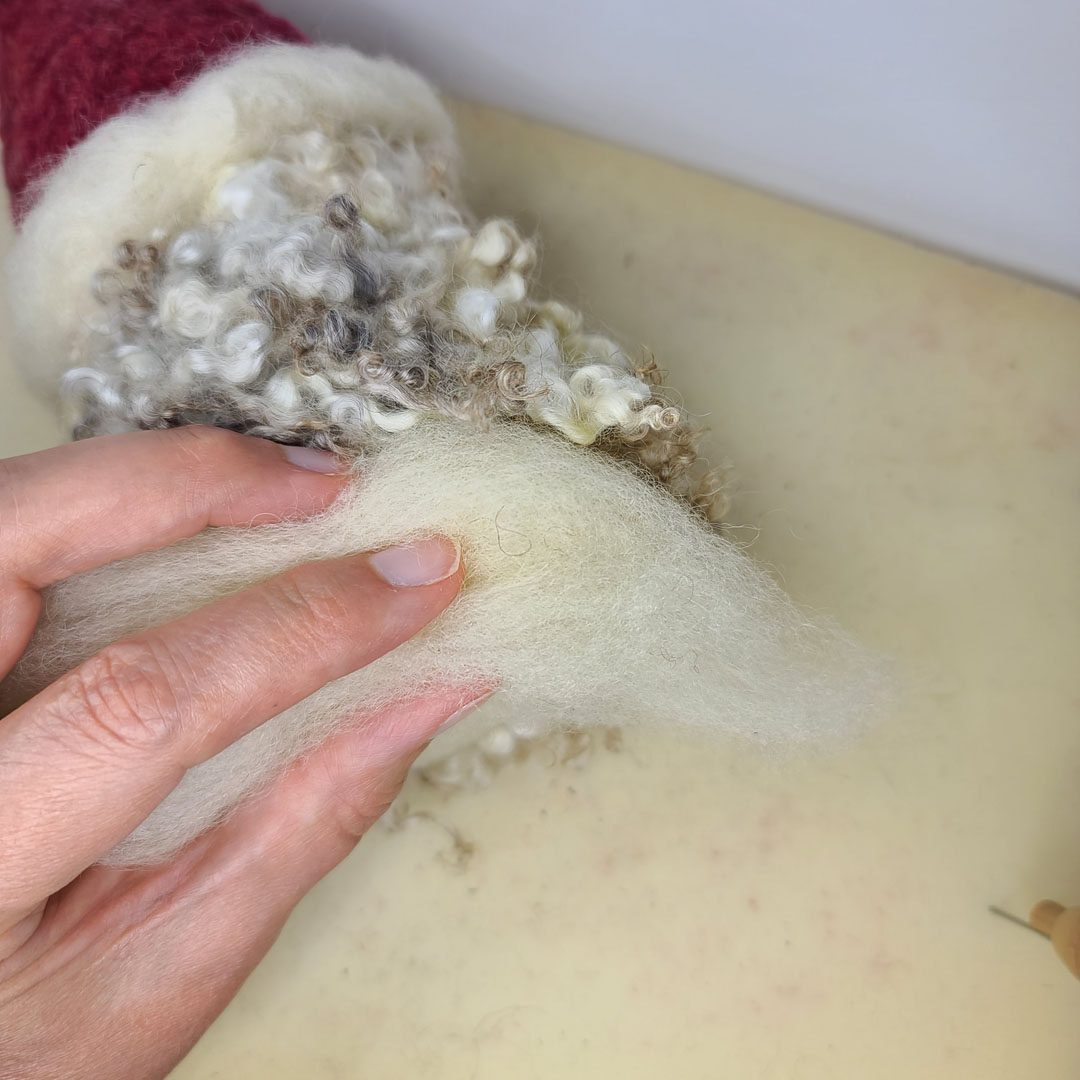
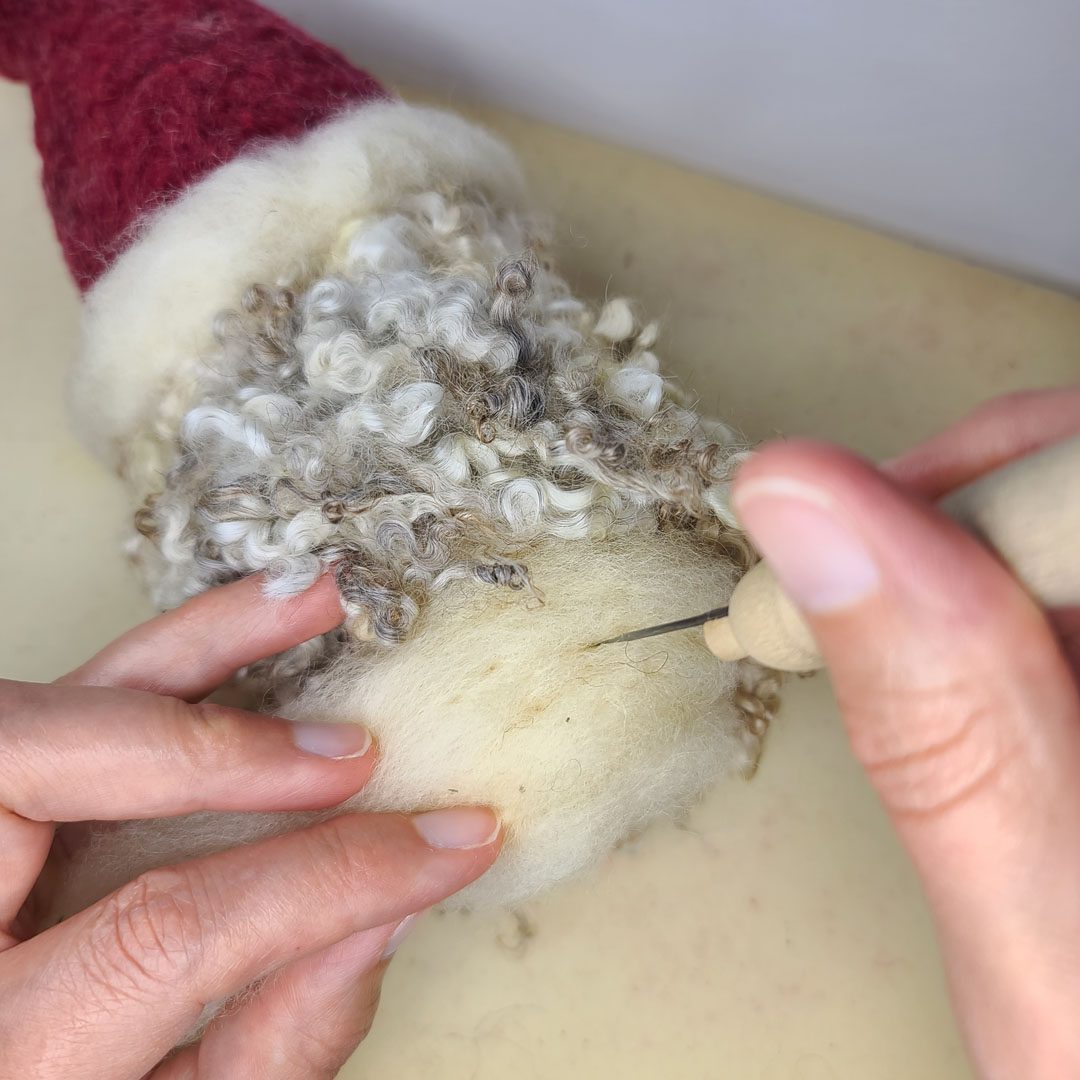
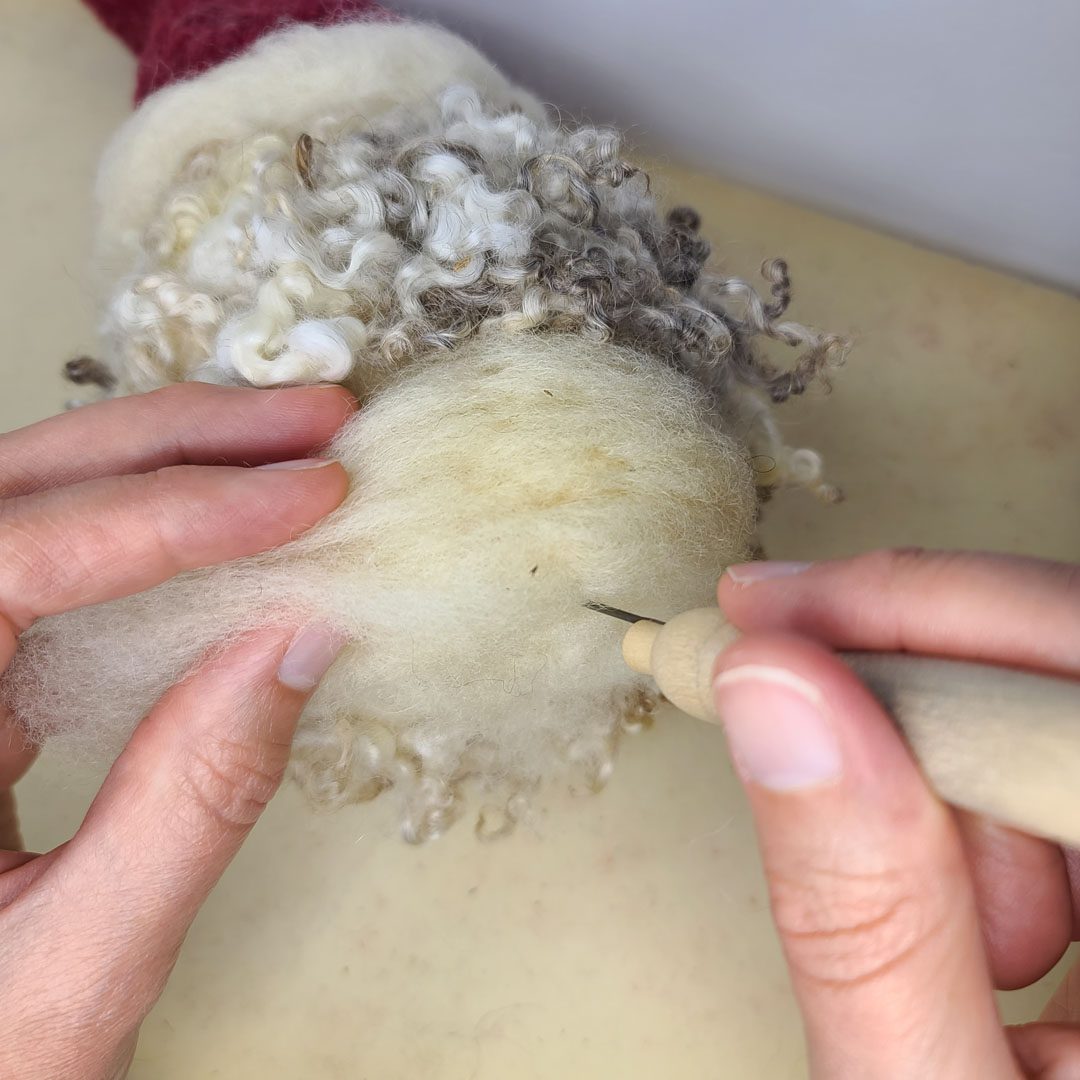
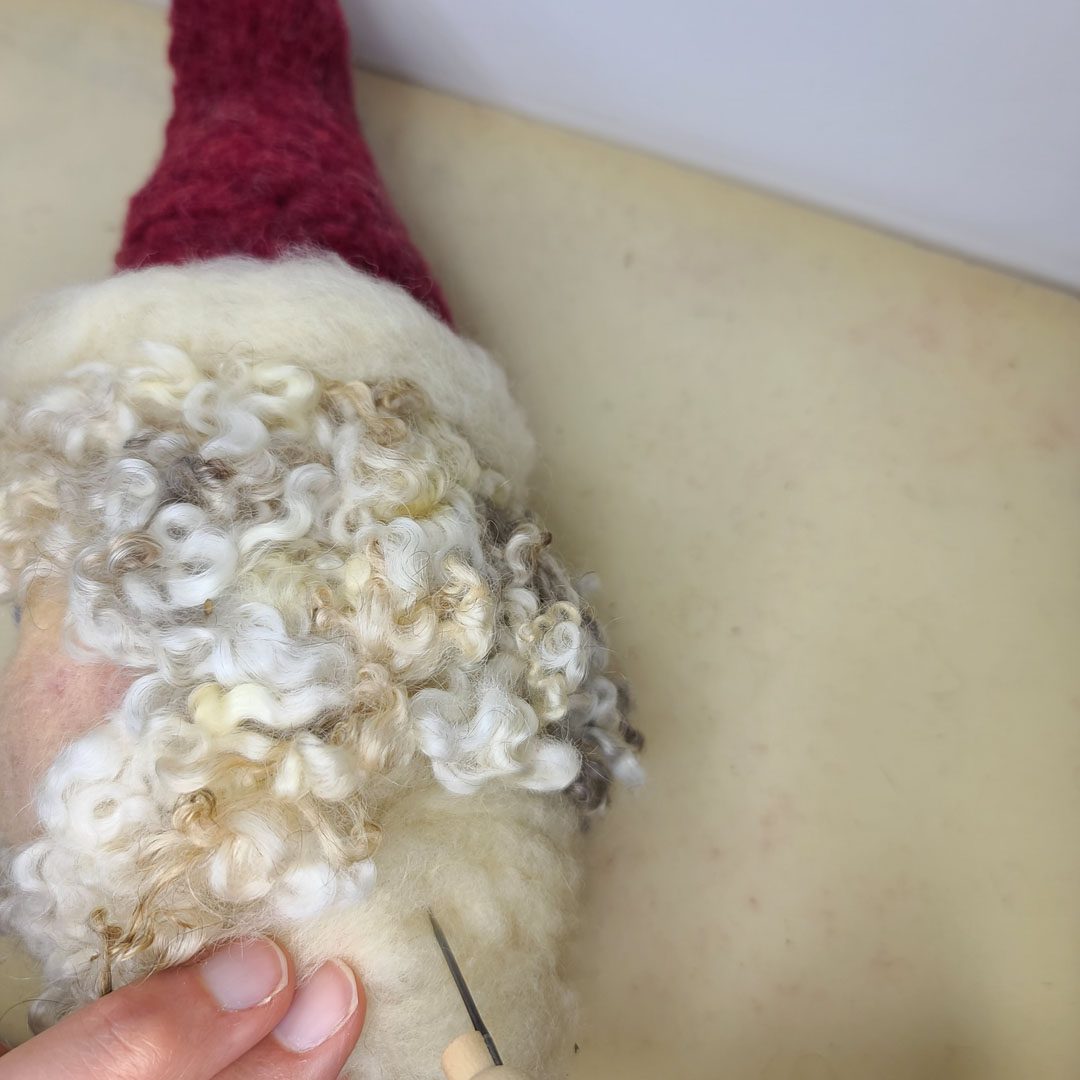
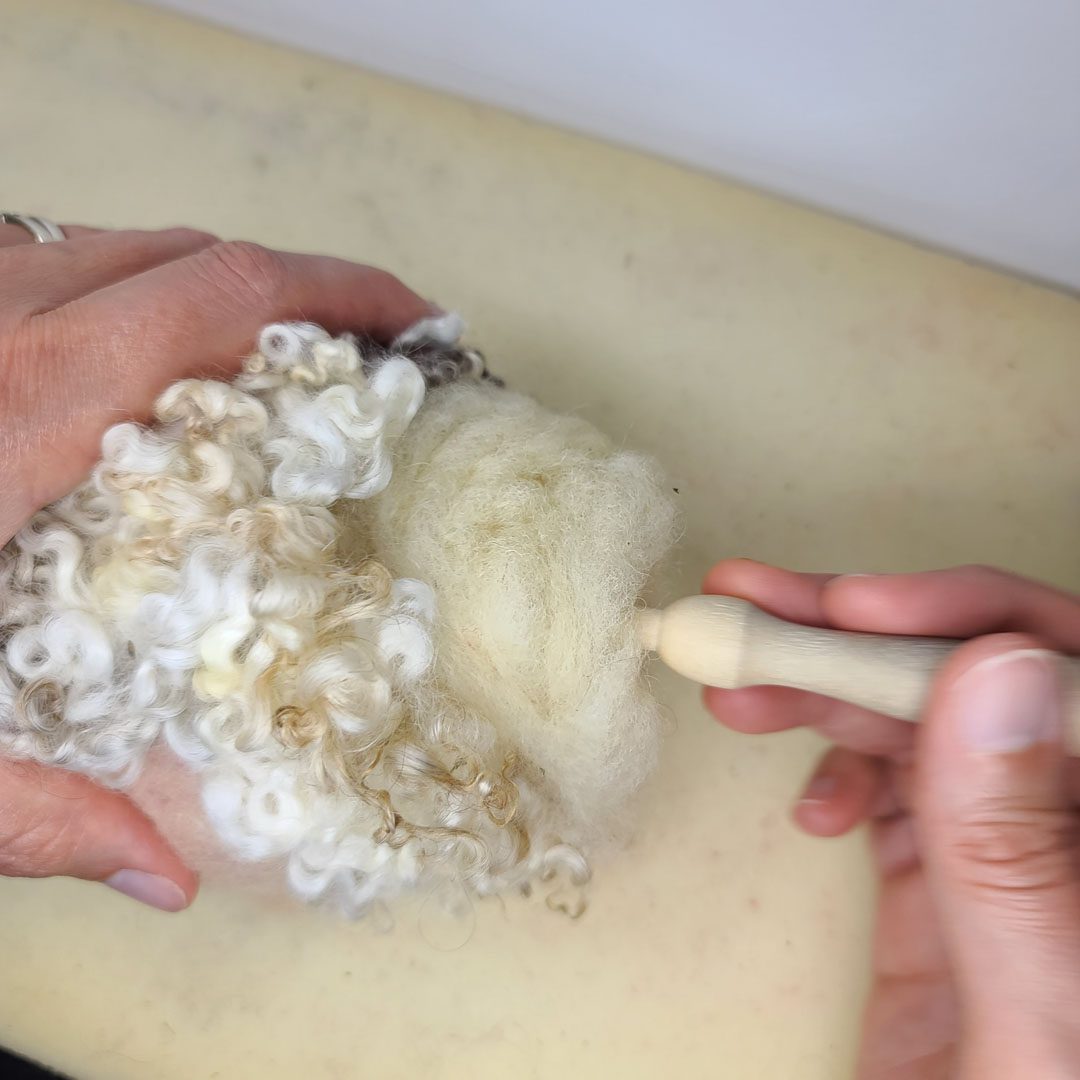
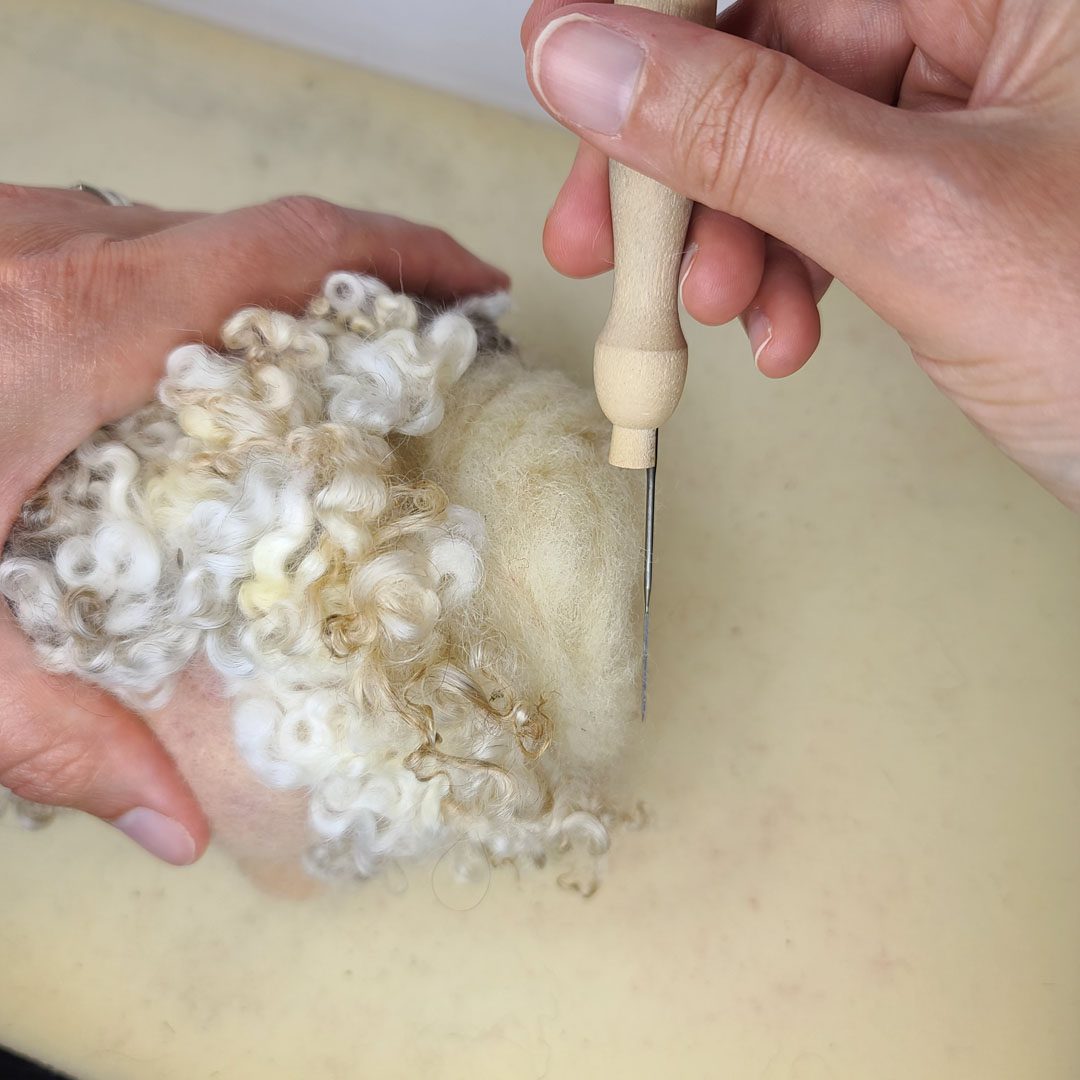
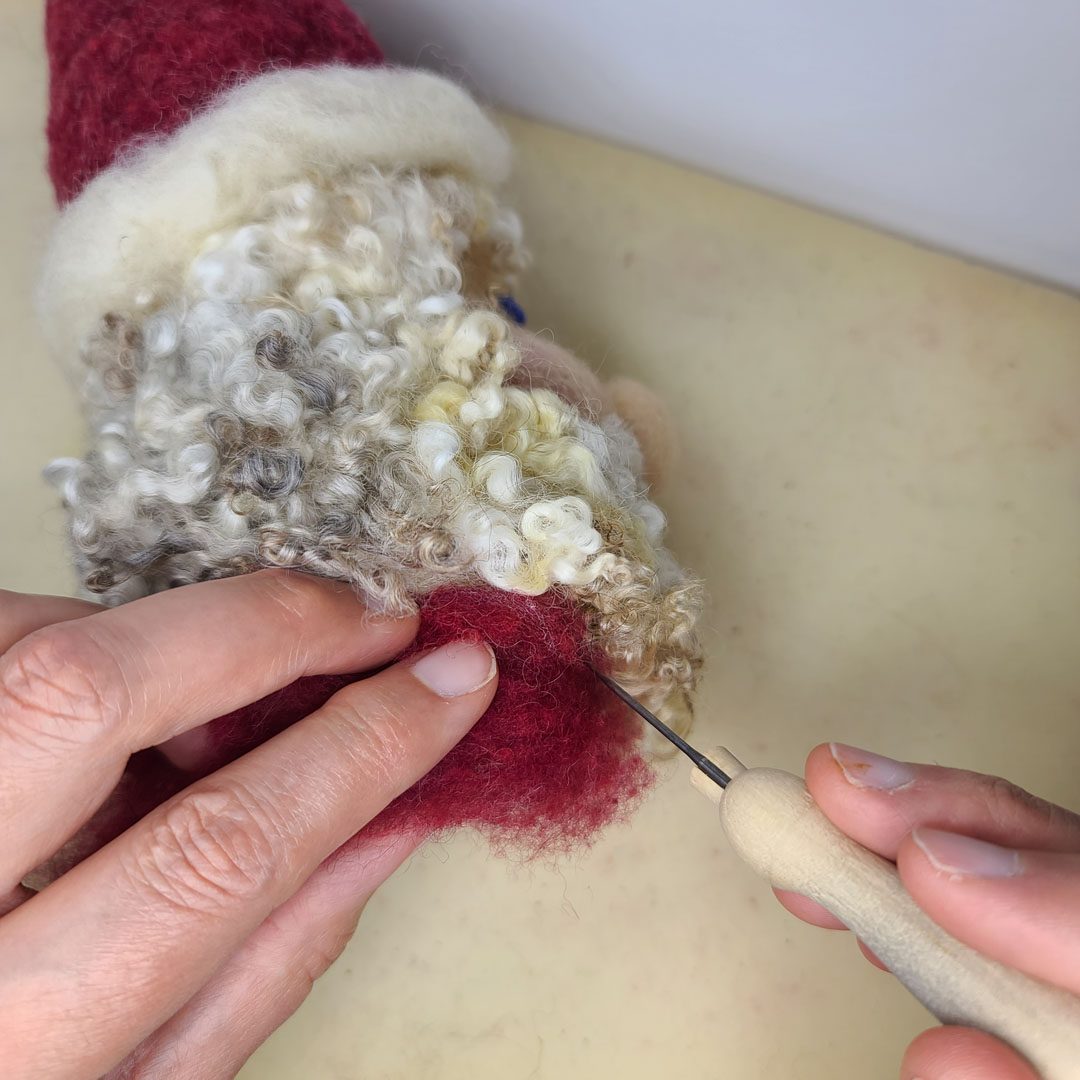
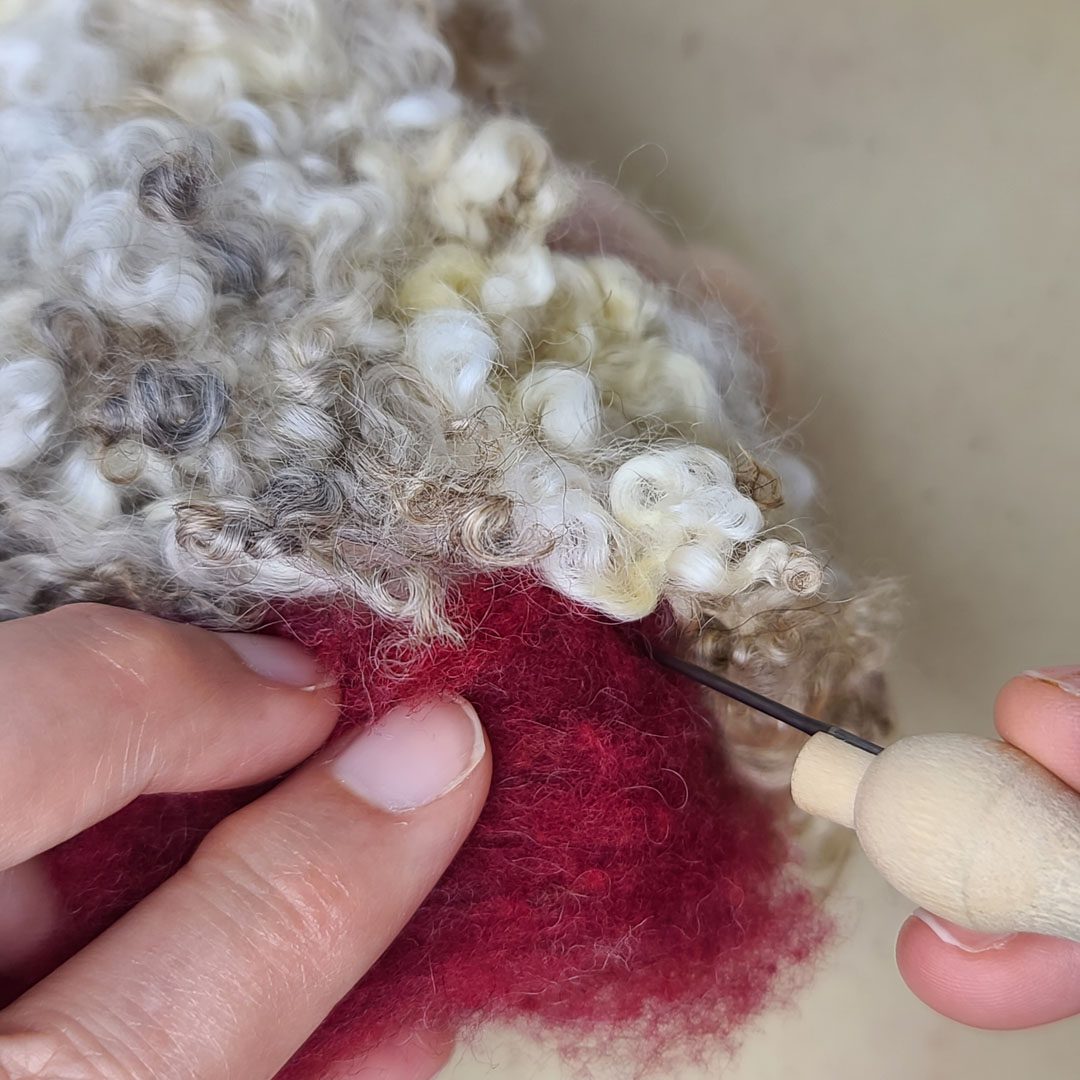
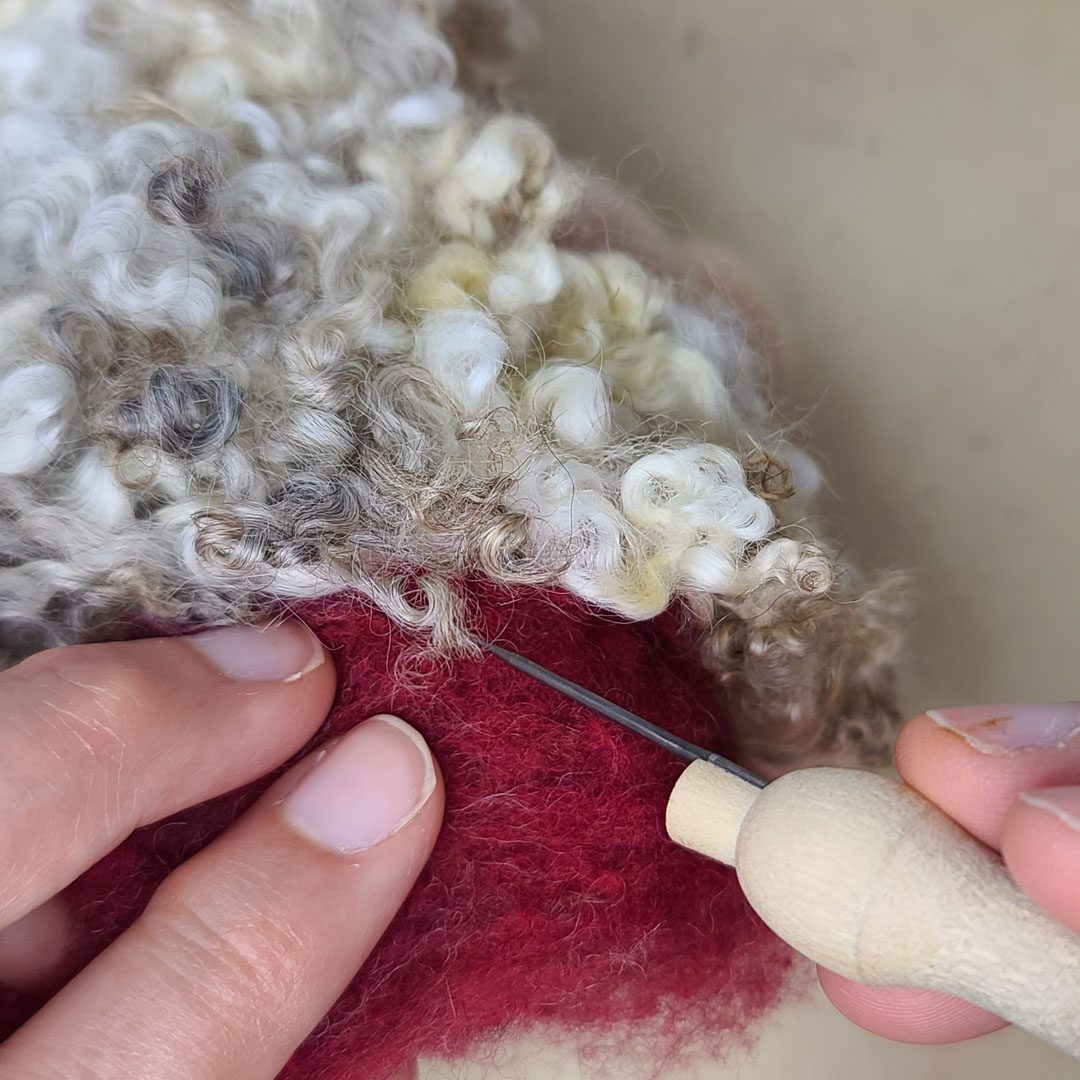
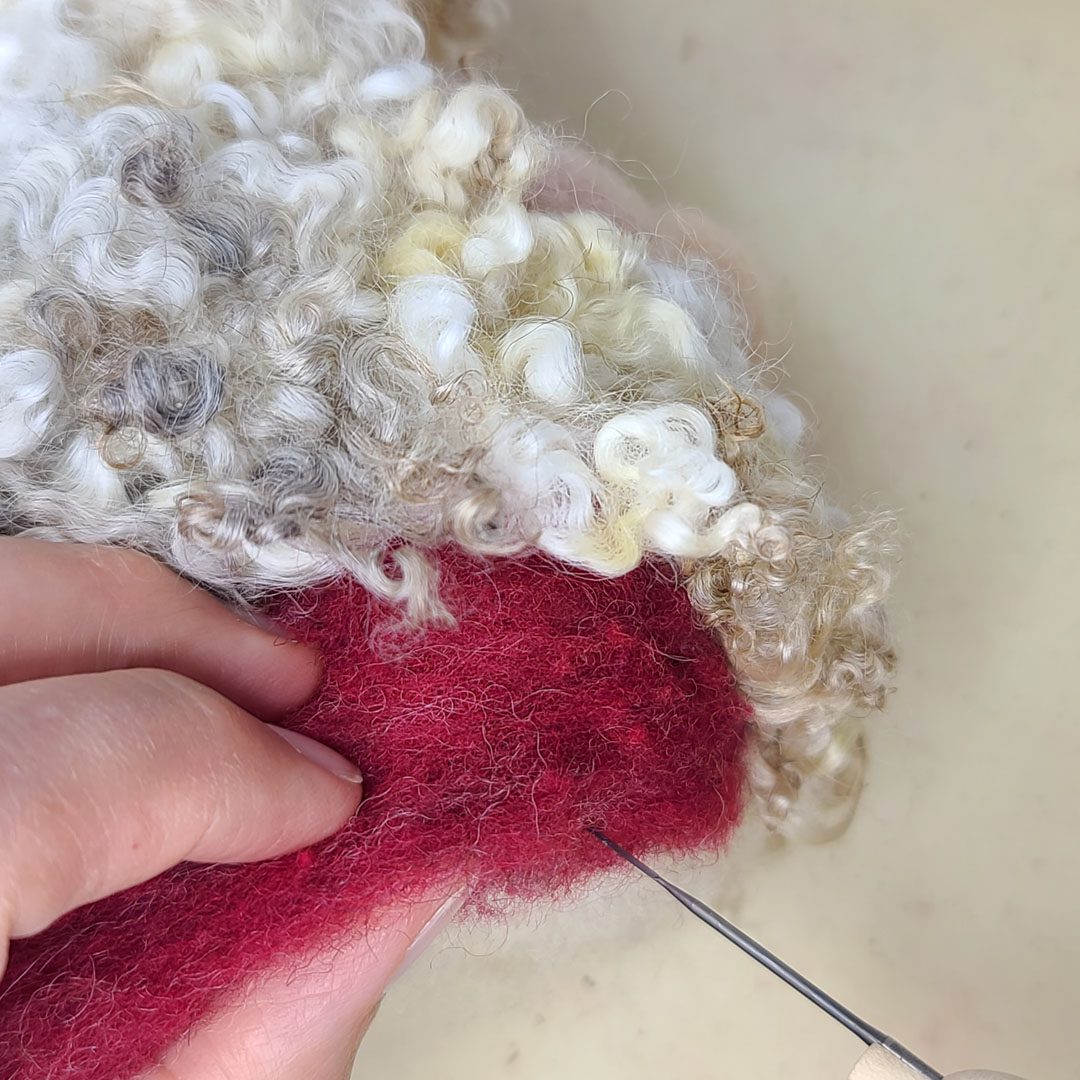
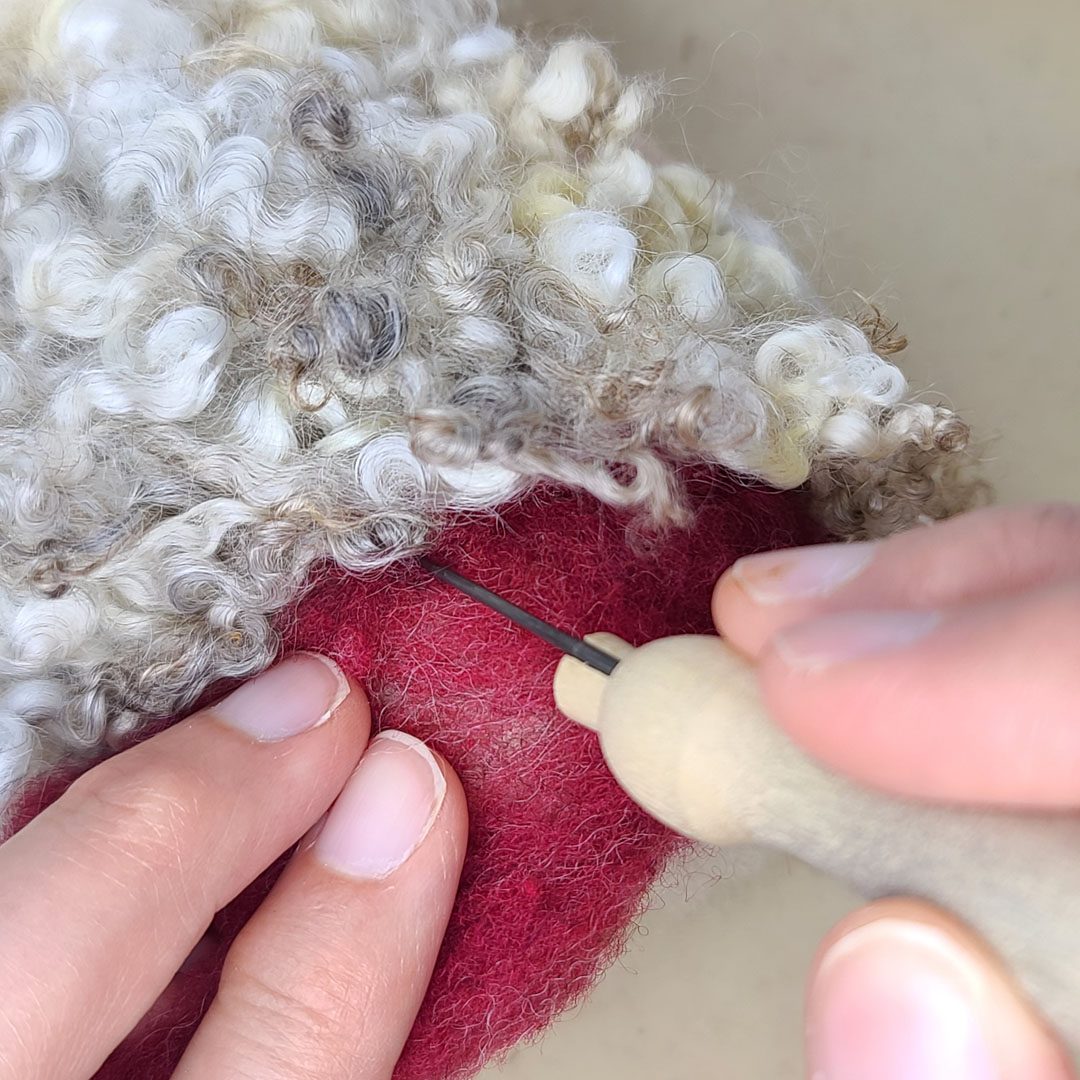
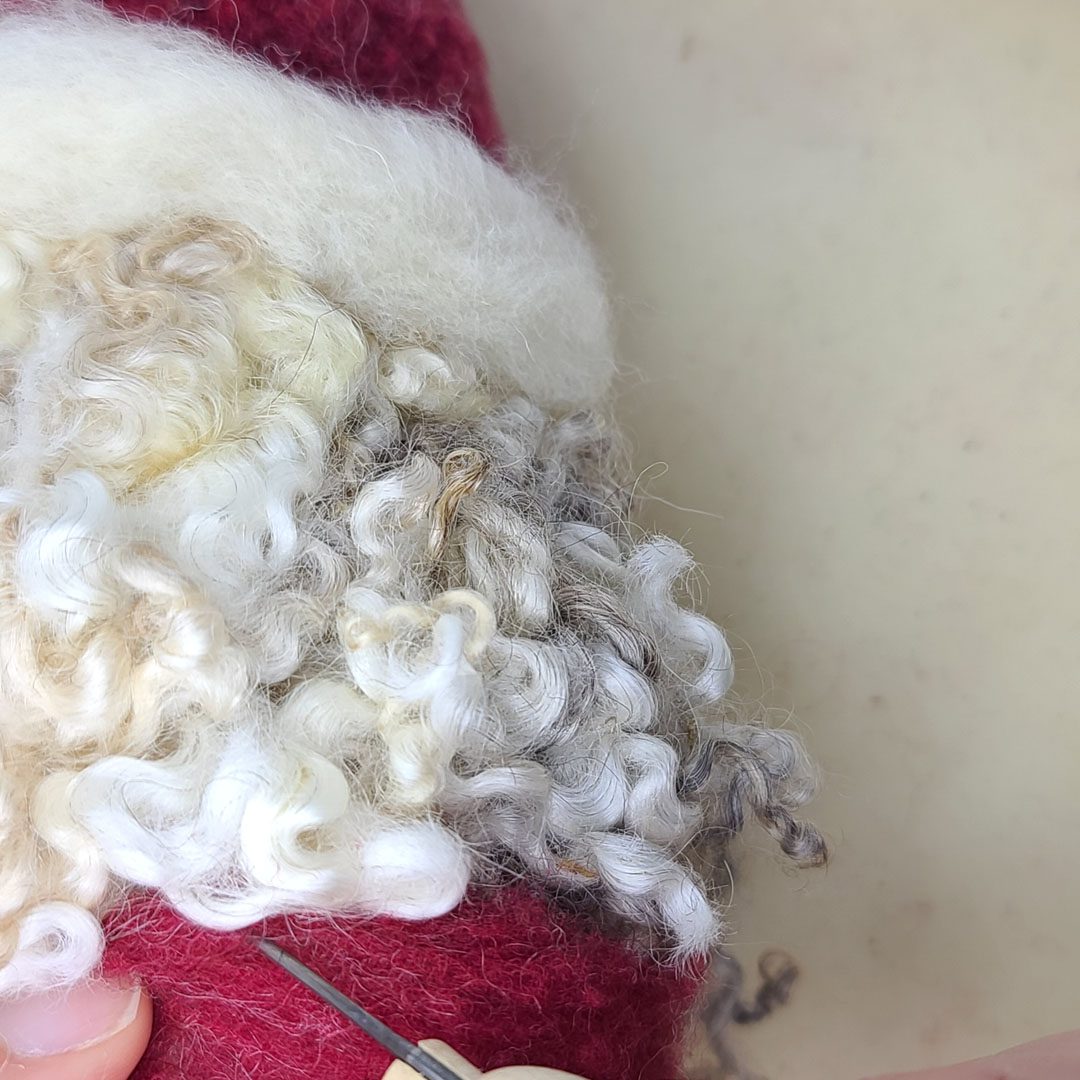
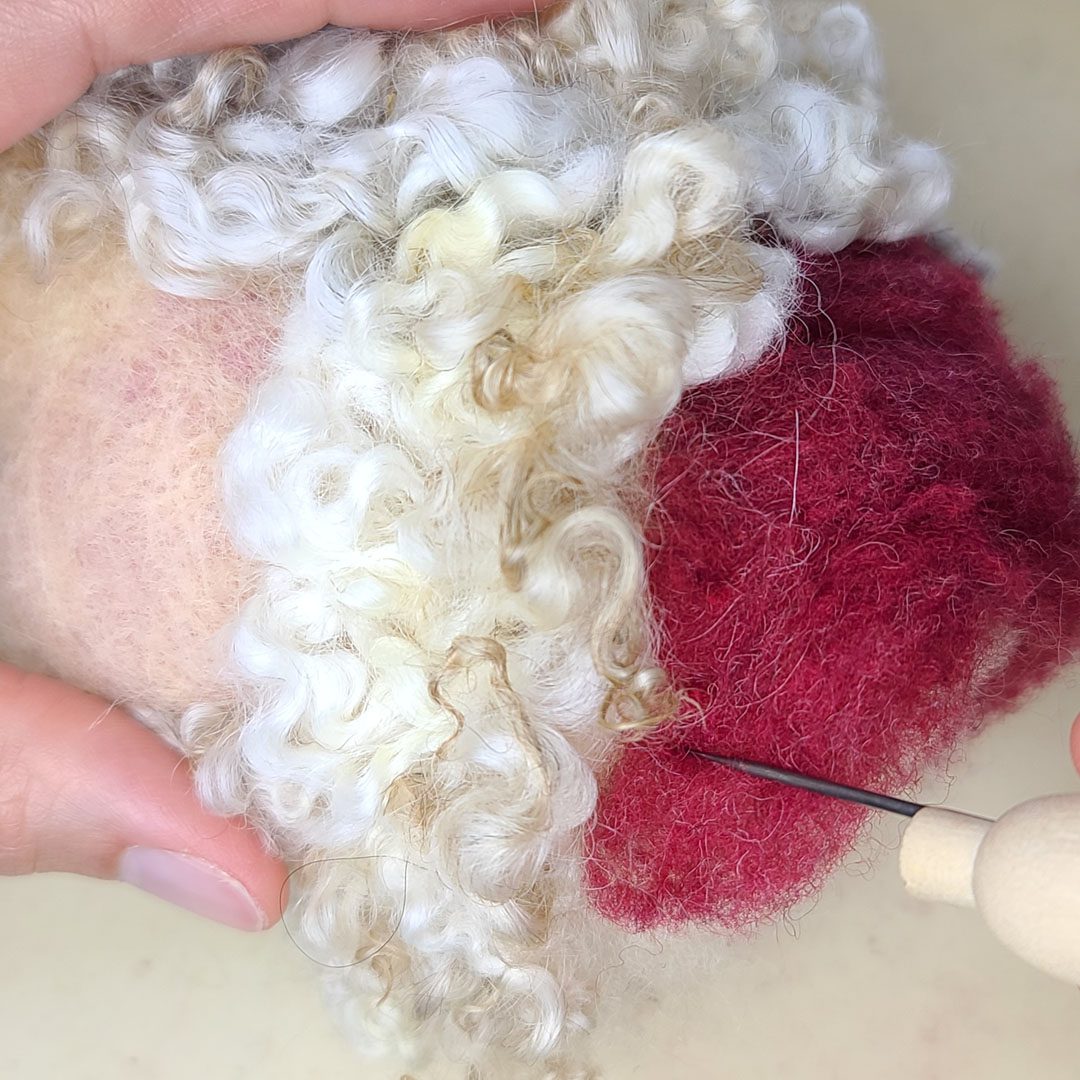
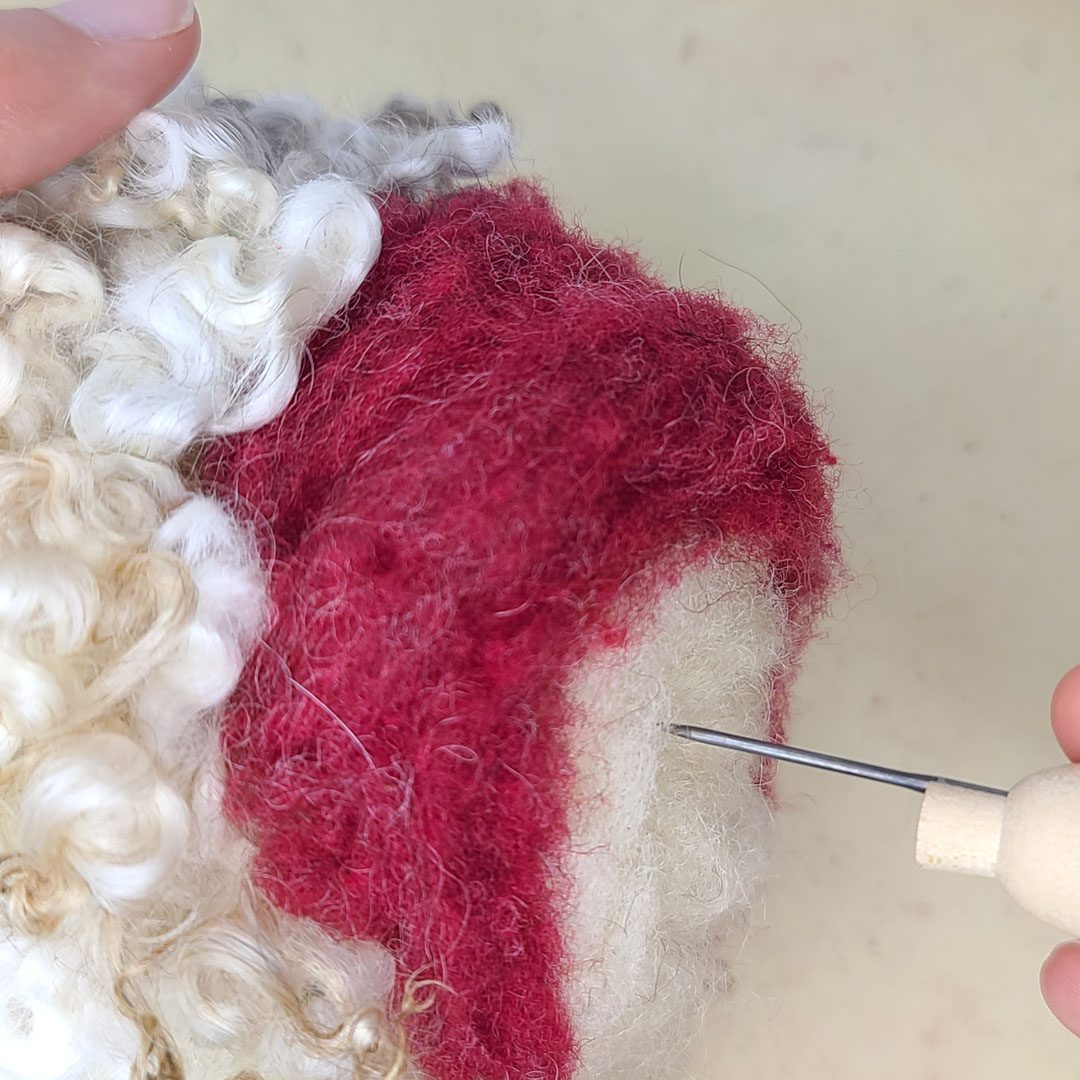
Curly Locks for Hair and Adding Trim to Santa’s Hat
I absolutely love working with curly locks! Whenever I attend a fiber fair or festival I always add new curly locks to my stash. For Santa’s head and beard, I am using beautiful white locks along with snowy white wool for the trim of his hat.

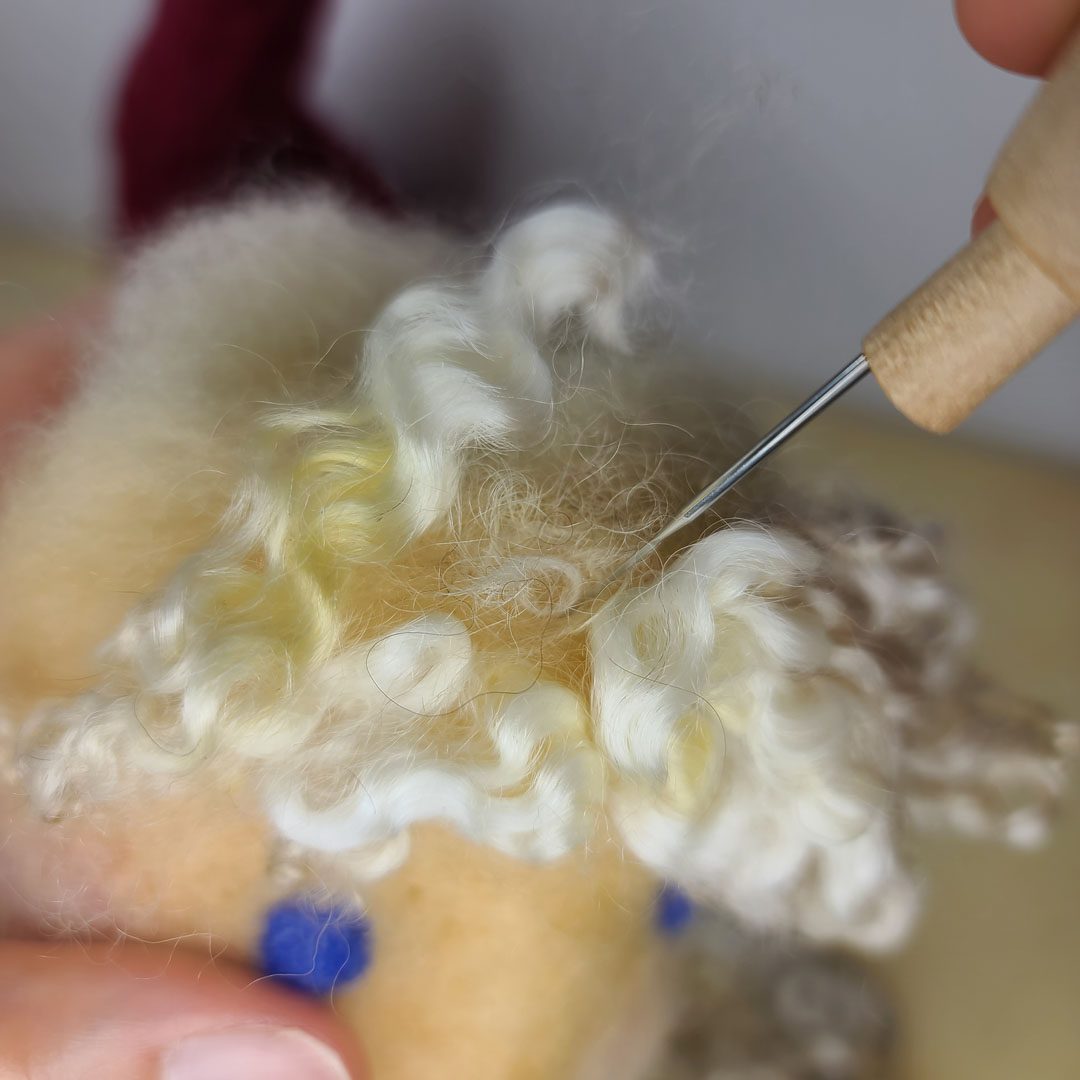


Santa’s Beard
In the 3D Santa design, I don’t worry about adding ears since his head and cheeks are covered with curly locks. Adding the beard and mustache is best done slowly to keep the locks very curly and the lips visible. When a pinch of curly locks has a bulkier, fluffier section of wool I attach that portion to the shape first and then gently pin the delicate curly locks in place over the fluffier wool fibers.
")
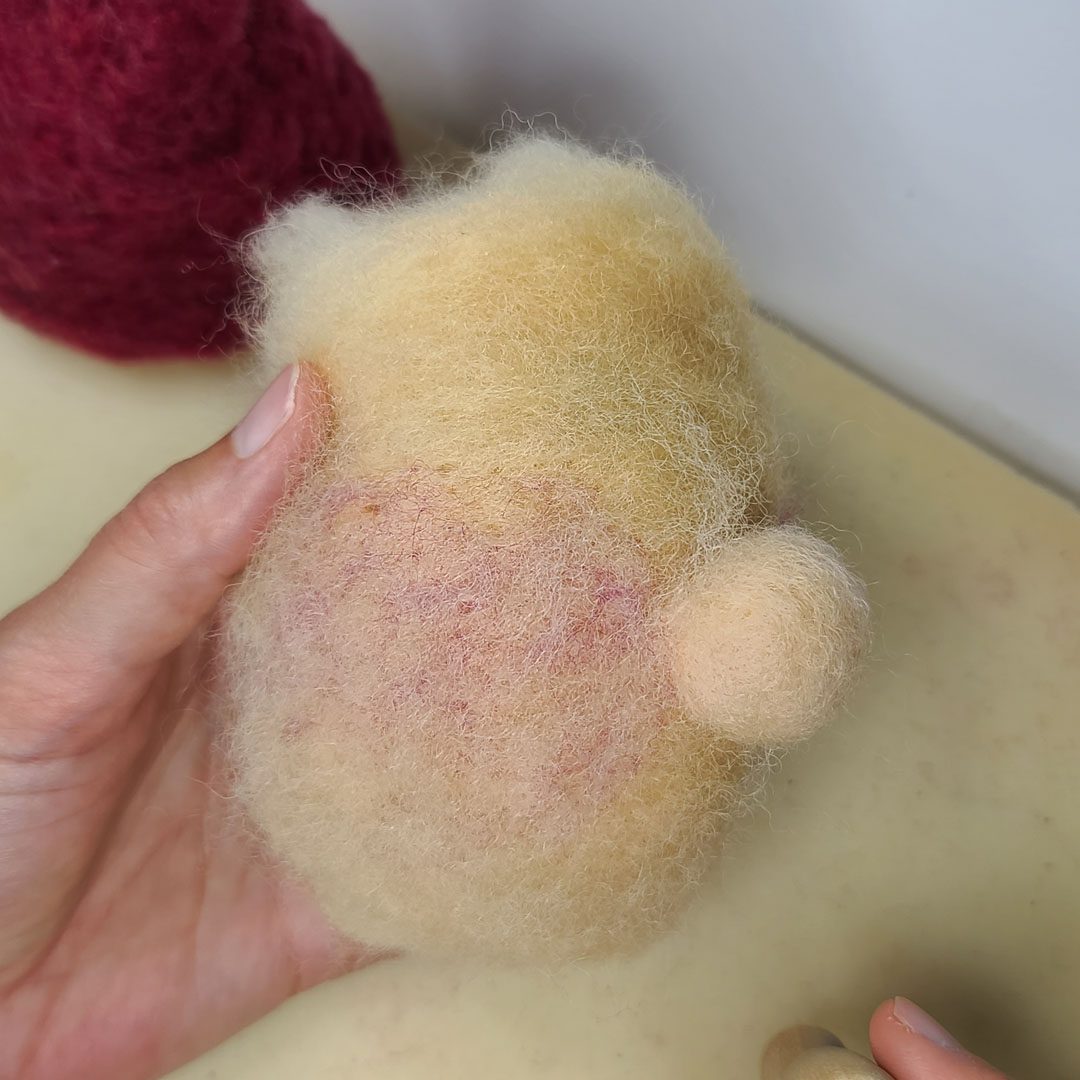
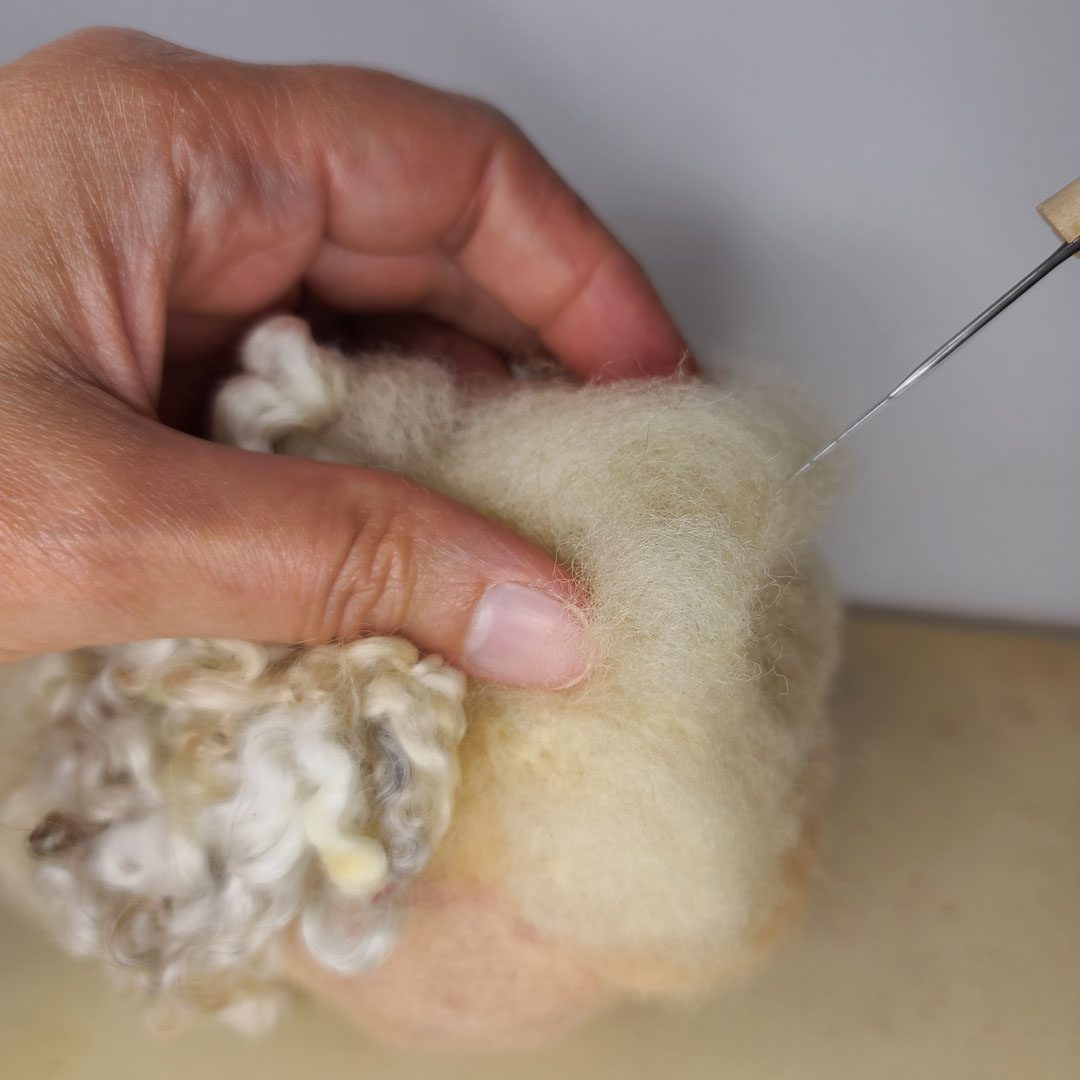
Leveling the Base
To ensure Santa will sit balanced on a flat surface we need to make sure the bottom is flat, dense, and level. Working back and forth between placing Santa on the table and adding small pinches of core wool you will felt the base into a flat surface that is dense enough to act as a pedestal. The front of the base will be covered by curly locks of the beard and we’ll cover the back with red wool of Santa’s coat that will peek out under the curly locks of this hair.

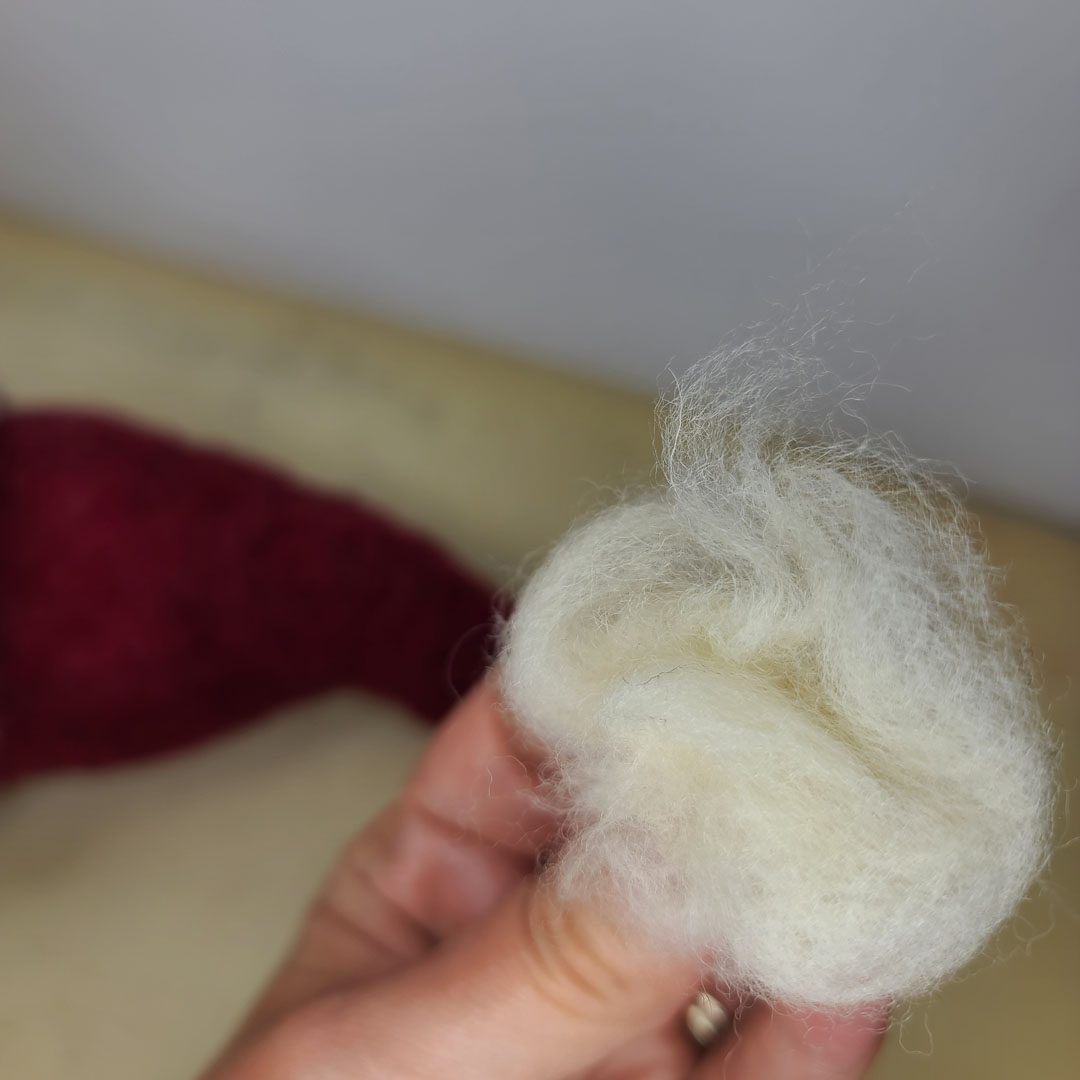
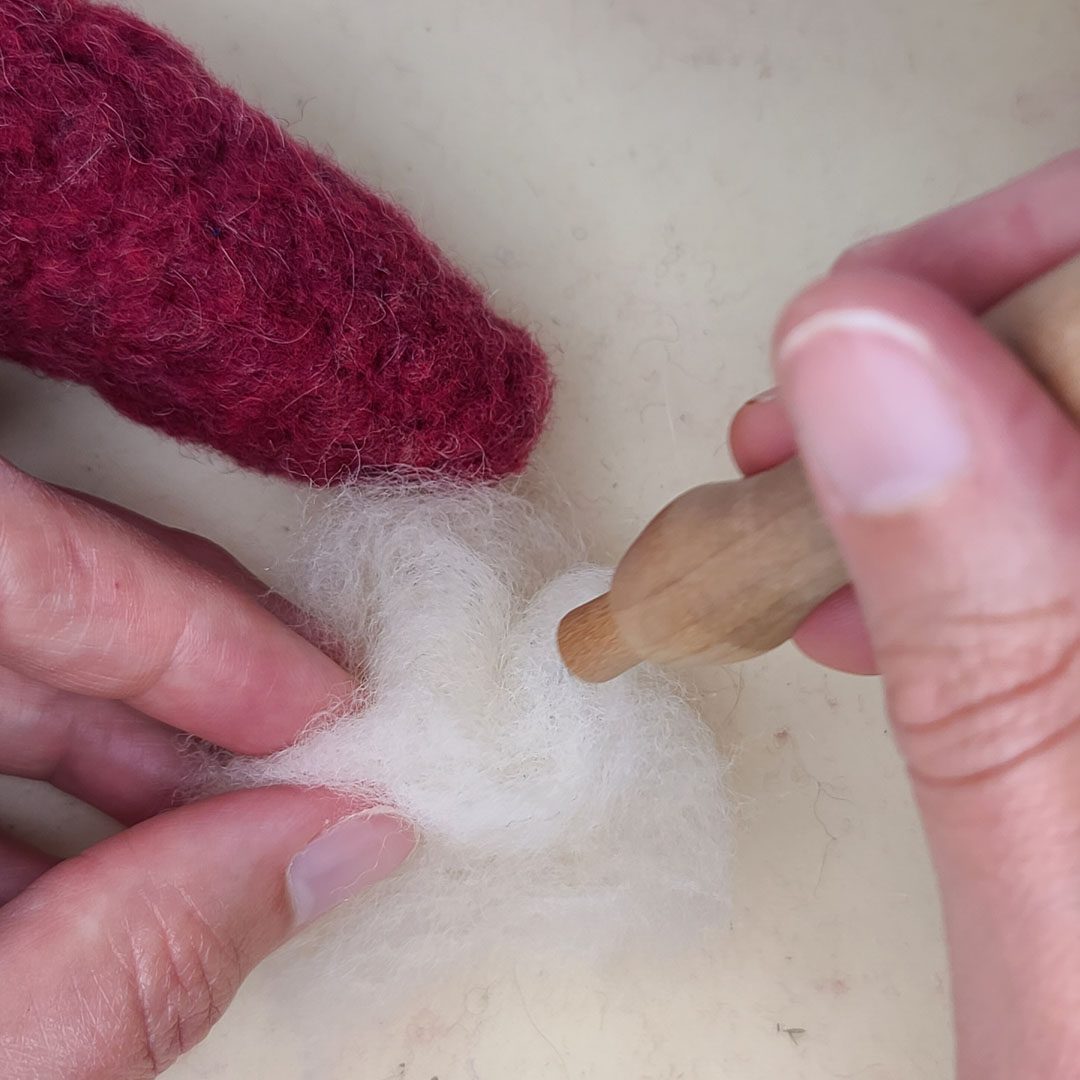
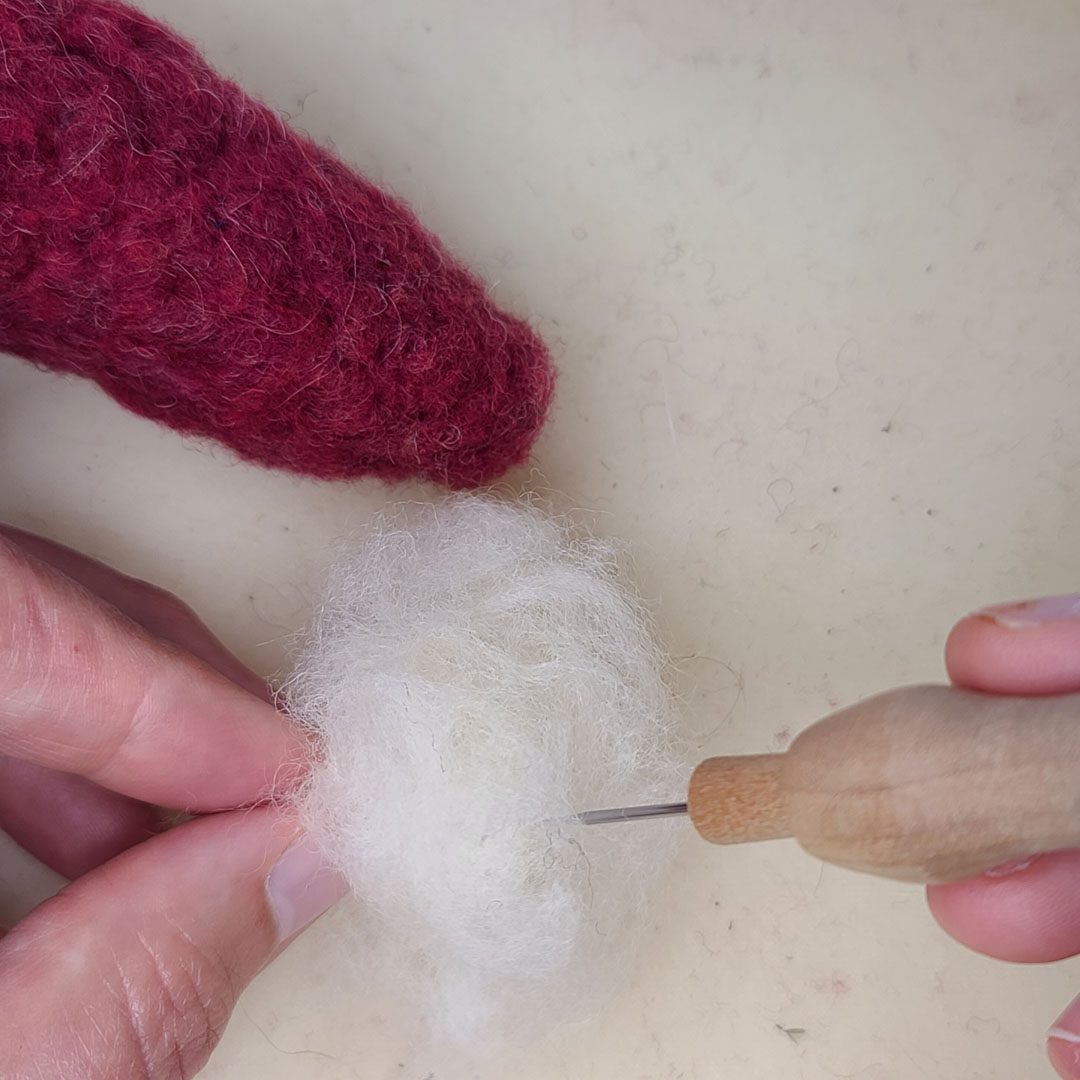
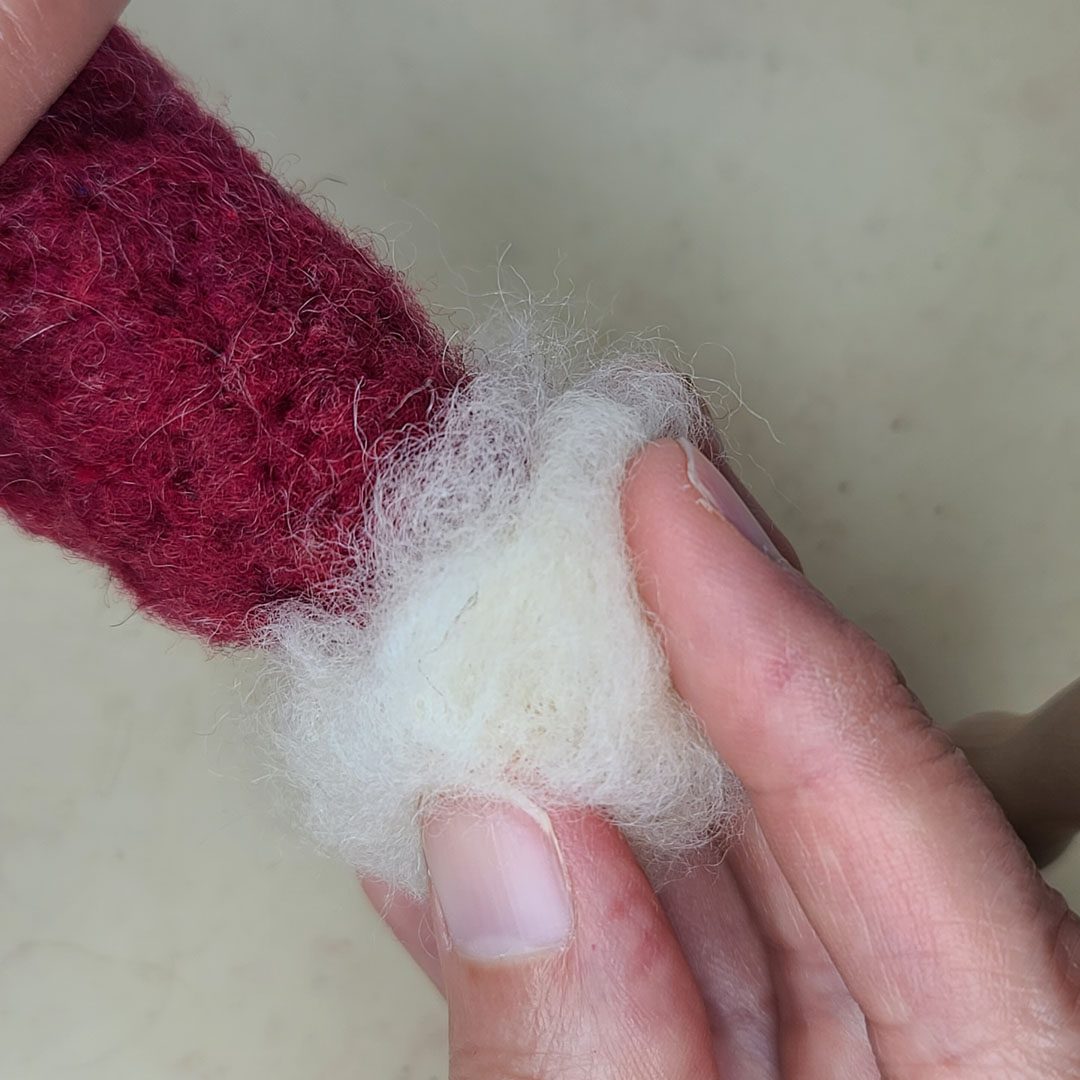
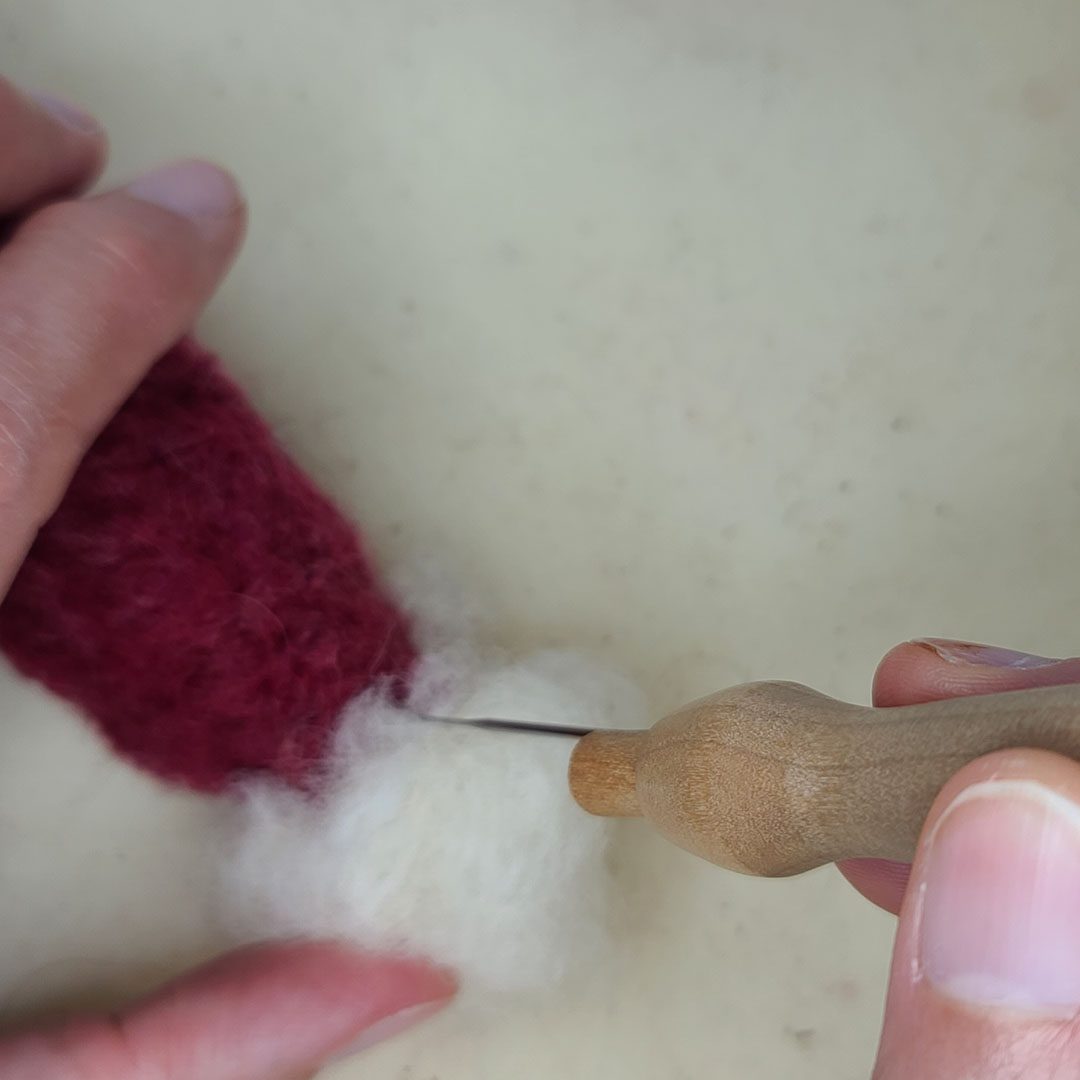
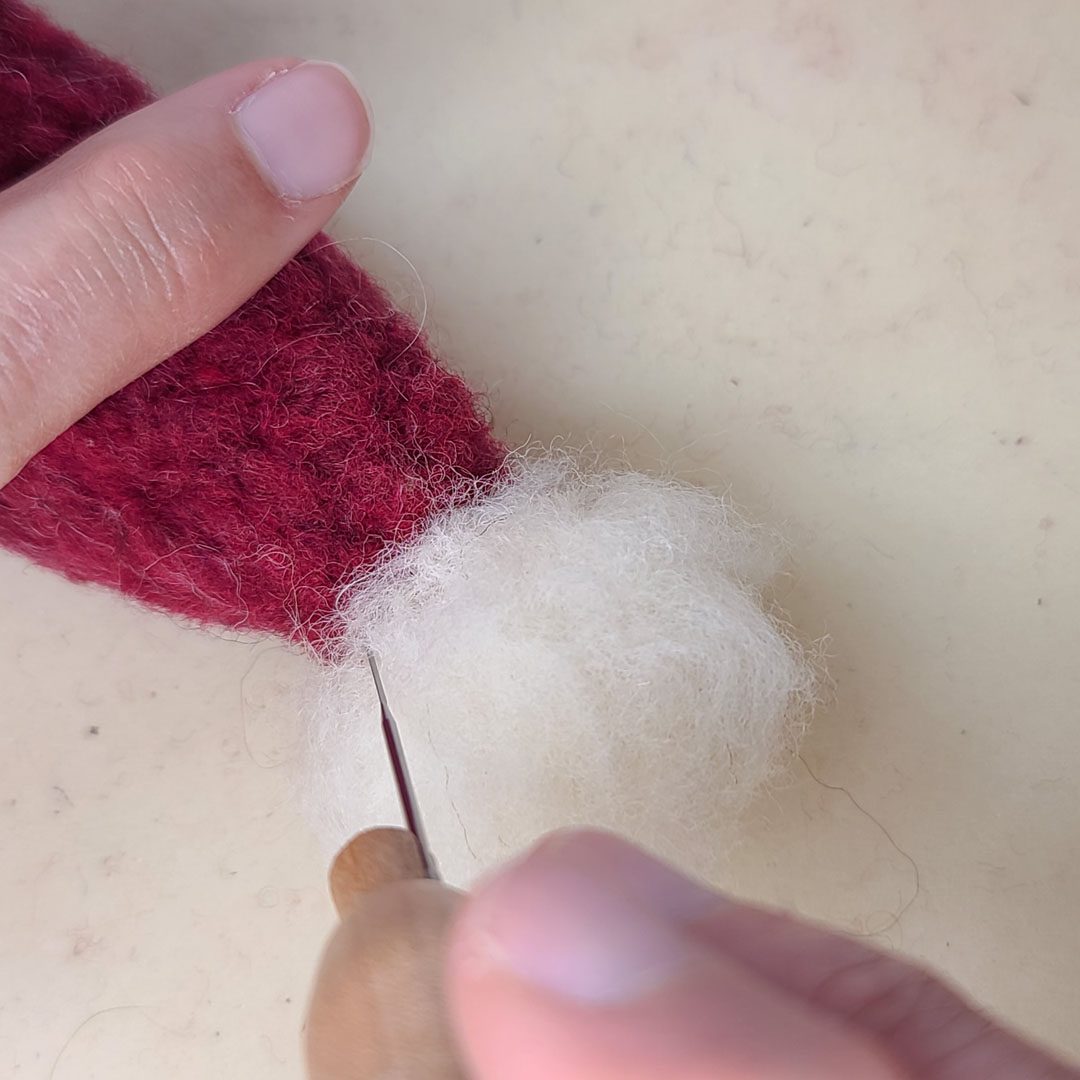
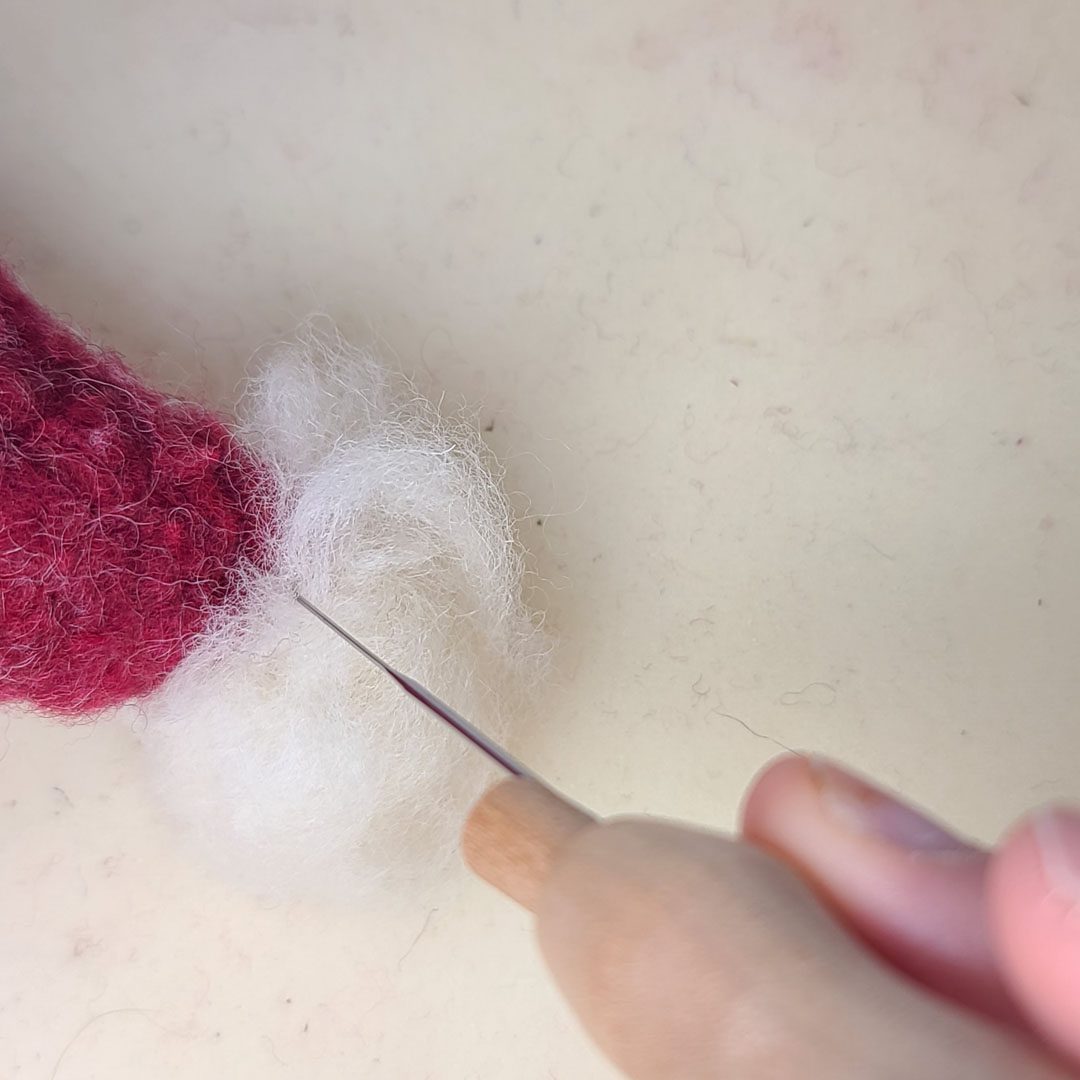
Pompom of Santa’s Hat
The final missing detail is the pompom of Santa’s hat. For the pompom, we use the same snowy white wool of the hat trim.


Meet Your Instructor
Hi, my name is Hillary Dow. A few of my many hats include mother, wife, traveler, outdoor adventurer, author, family chef, marketing professional, felting artist in Maine, and oh so many more. I write children’s books illustrated with my wool creations. I picked up my first felting needle about five years ago and it wasn’t long before I realized I had finally found MY medium! Like any labor of love, I simply keep going to learn more while honing my skills. It is such a thrill to be a part of helping someone develop their skills and CREATE artwork. Thank you for joining me!

Want even more? Take your felting to a whole new level! Join the Felting Master Class today for a one time payment of $200.
