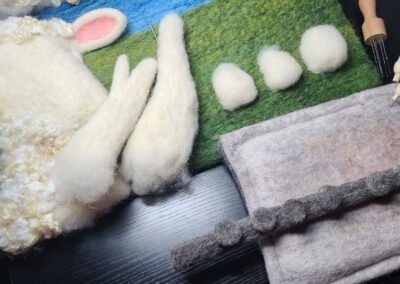
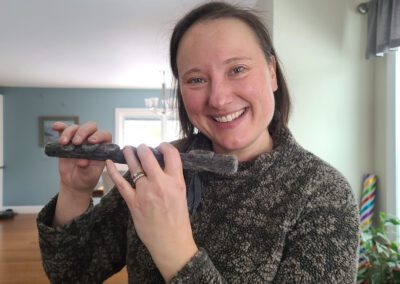
Needle Felting Lesson: Leona's Flute
step by step tutorialMaterials List
Felting needles
Sturdy foam or wool pad
Prepared base panel of felted wool
Reference photos of a sheep and flute
Core wool for the sheep’s head and arms
Curly locks for the sheep
Black and pink for facial features
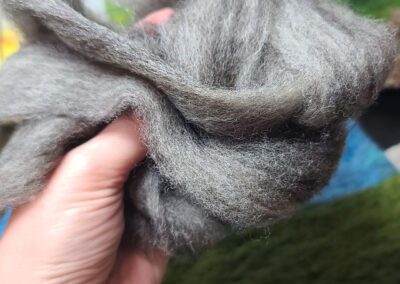
Grey wool to use for the flute
Welcome to the needle felting lesson: Leona’s Flute. Together we’ll work throughout the process of developing the second illustration of my picture book, Flock of Rock! Thank you for sharing this journey with me. This lesson was originally recorded in February 2024.
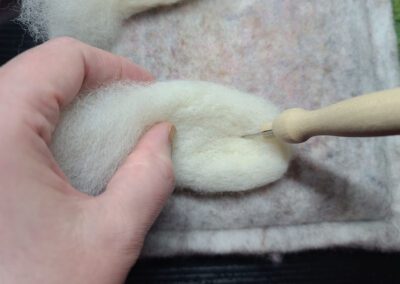
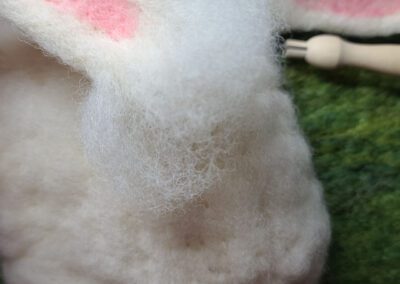
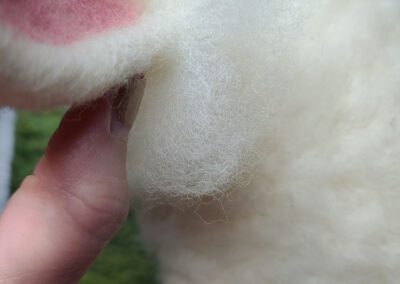
Felting Master Tip: Leave a tuft of loose fibers at the end of the piece you plan to attach to the primary subject. For example, when you felt a set of ears you’ll want to leave a tuft of fluffy wool at the base of each ear so that you have an easier time felting those loose fibers to the head. This helps secure the ear in place and makes for a smoother transition line between the ear and head. The same is true for arms, legs, and hands.
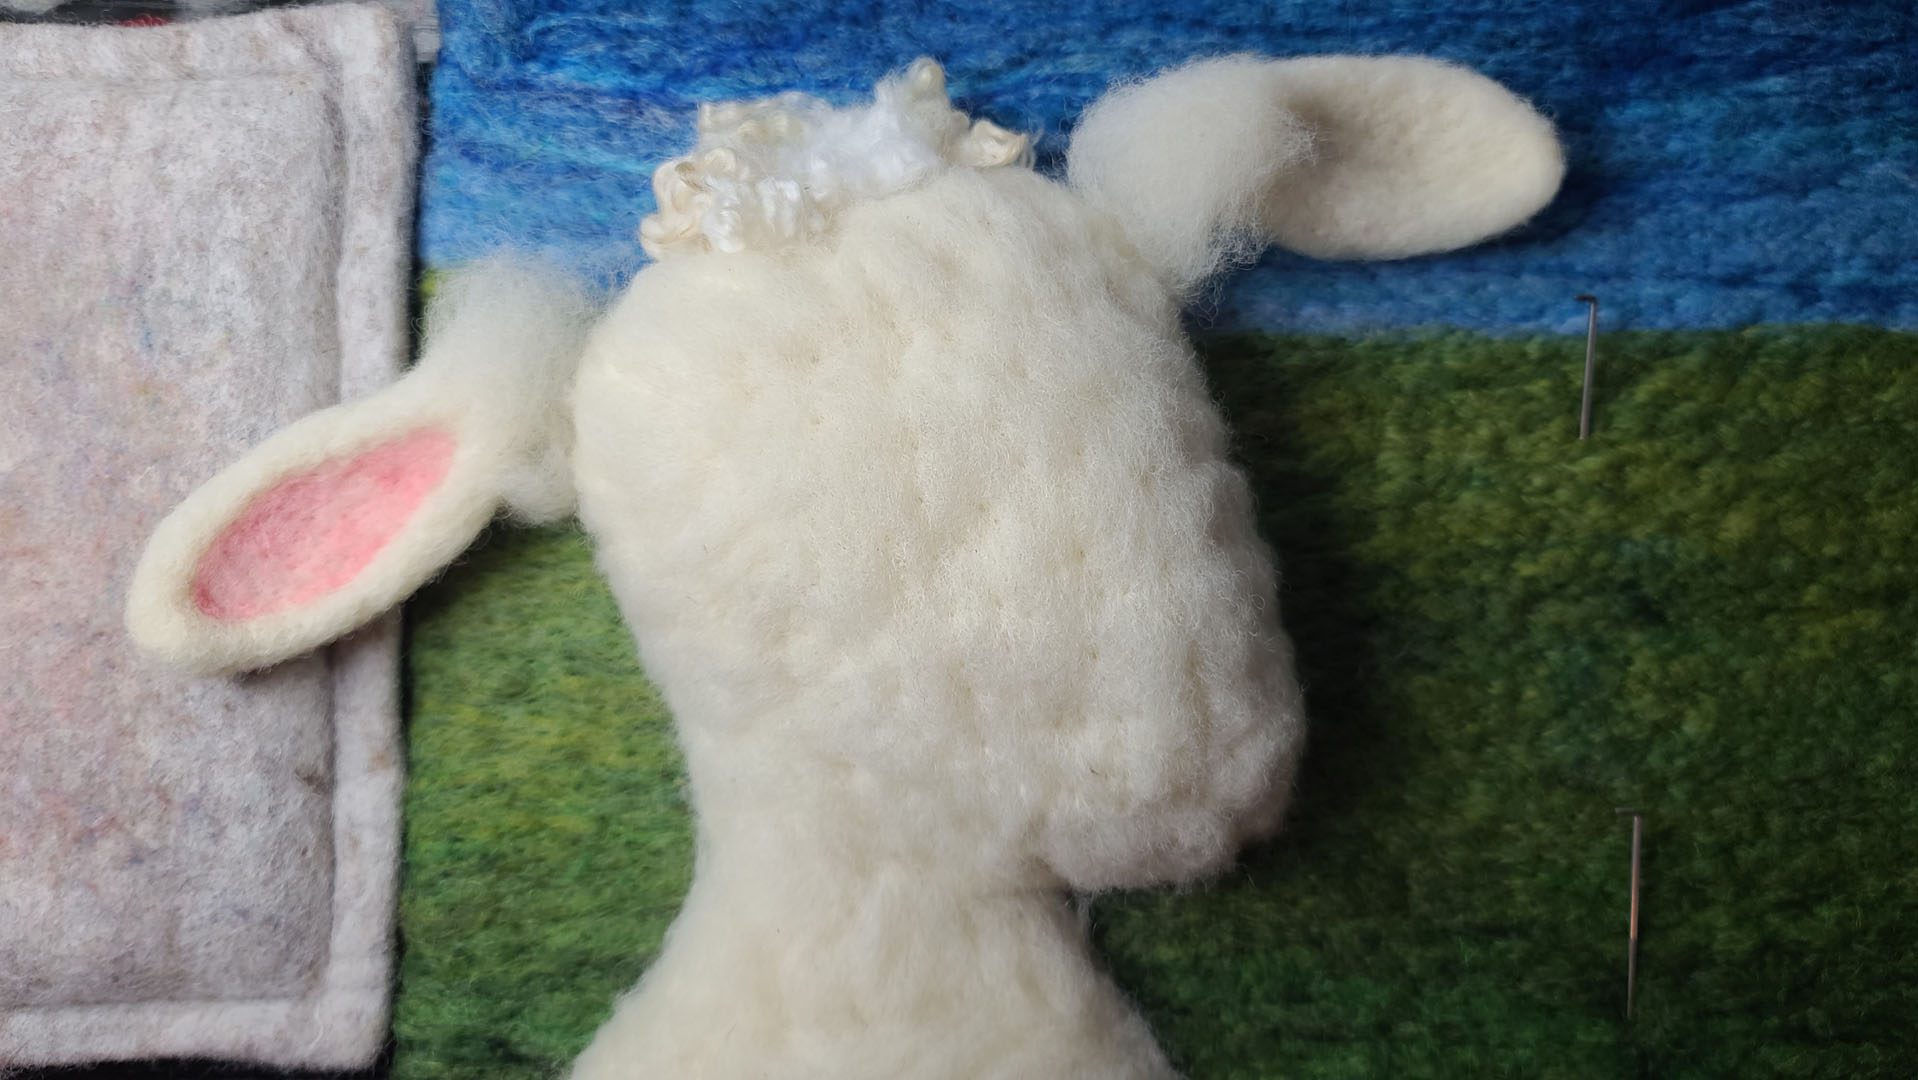
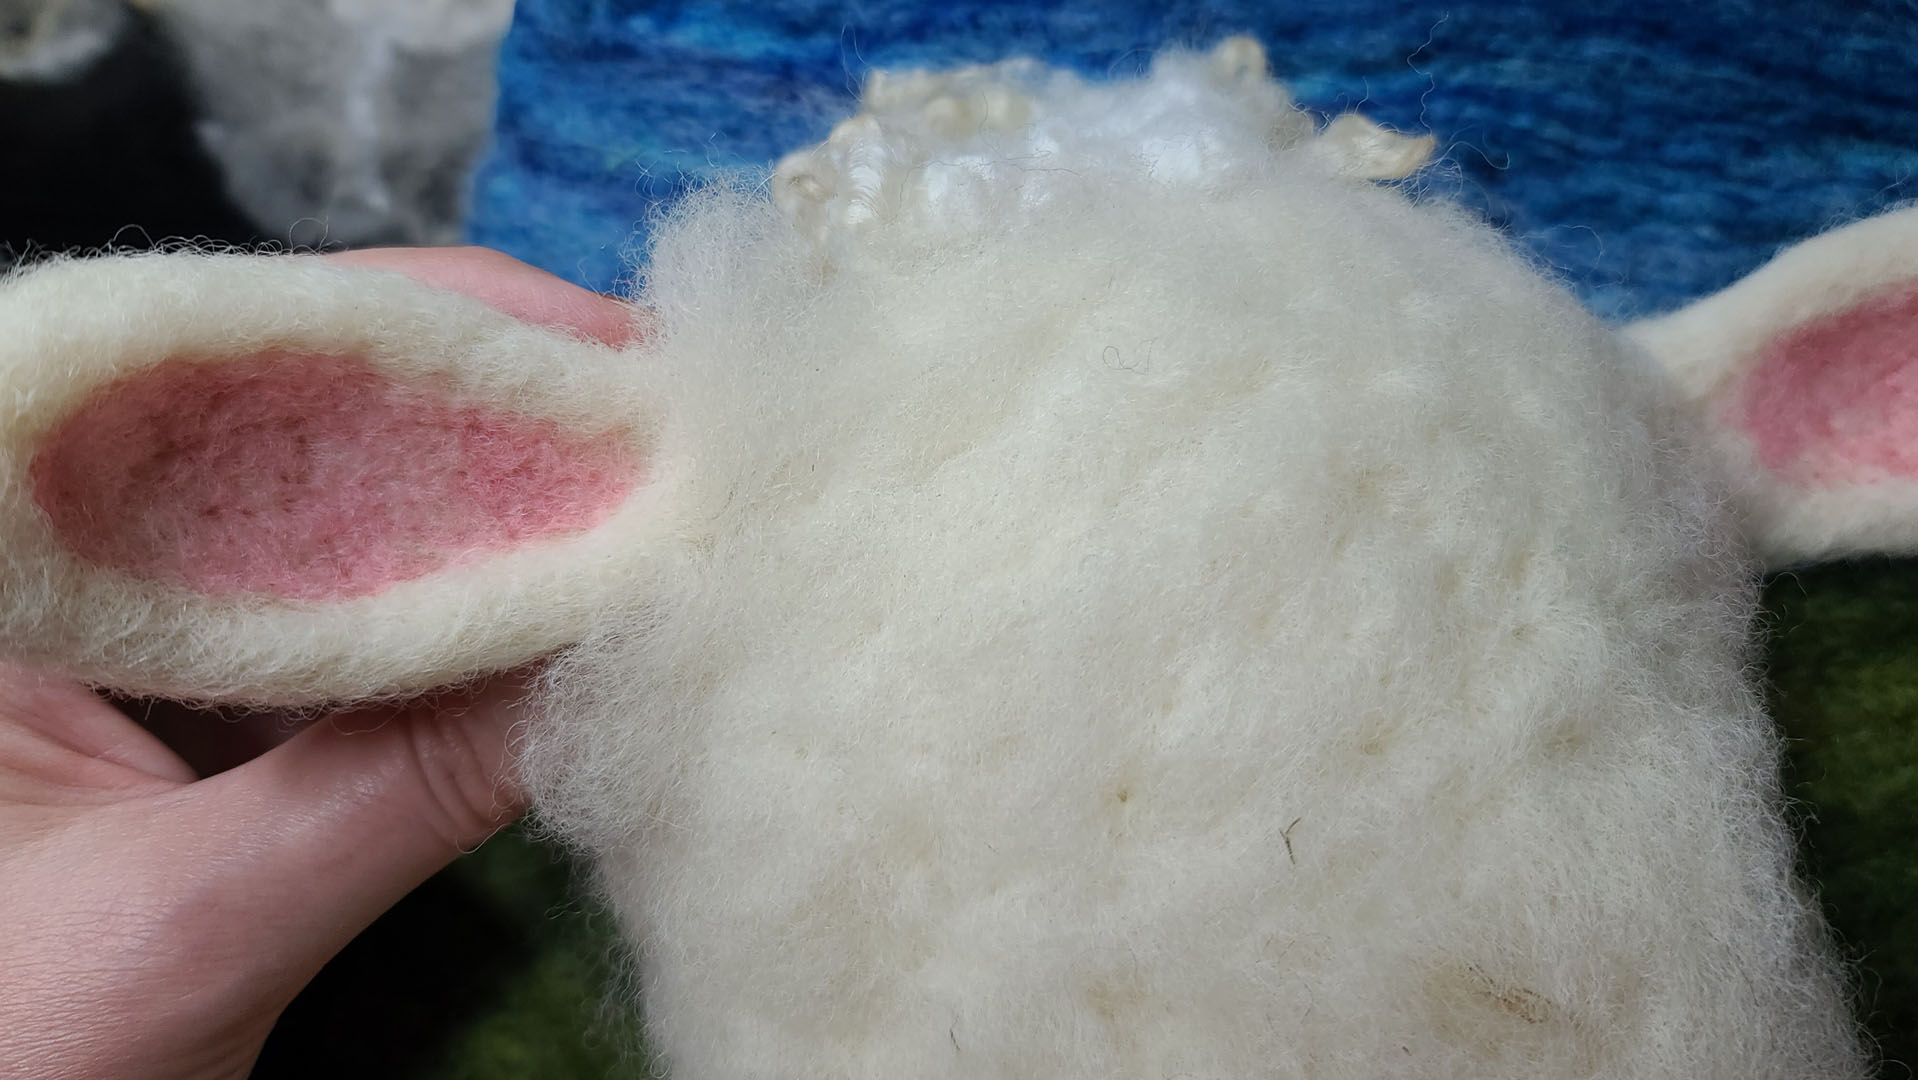
Still Image Gallery
Tip: Click on the first image and then scroll through the enlarged format, you’re able to see everything much better.
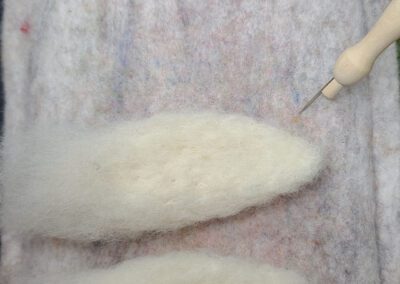
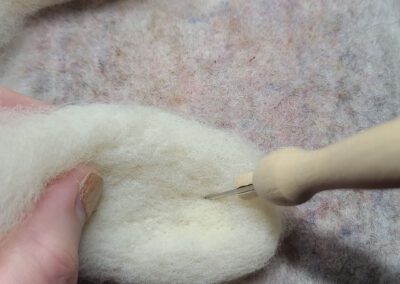
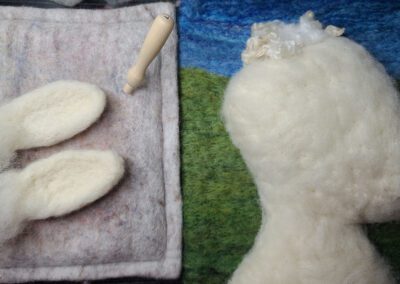
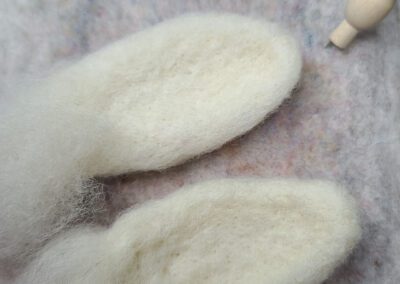
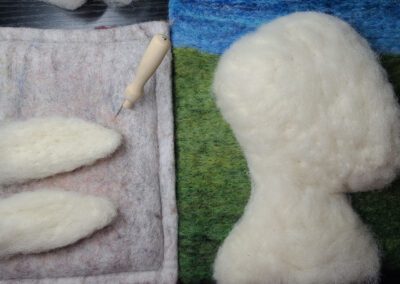
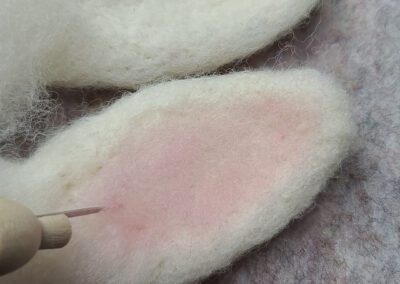
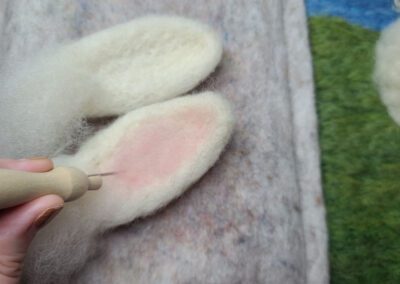
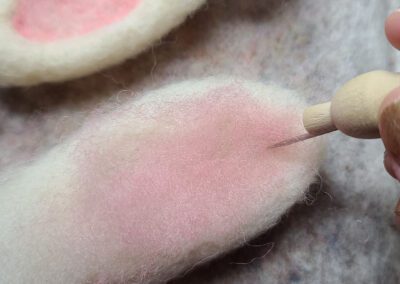
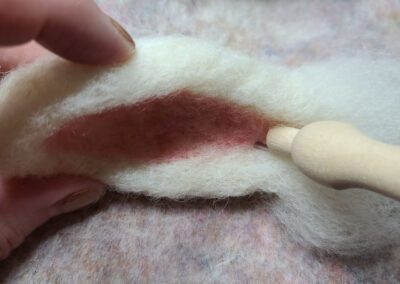
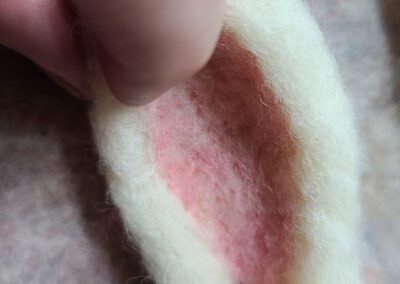
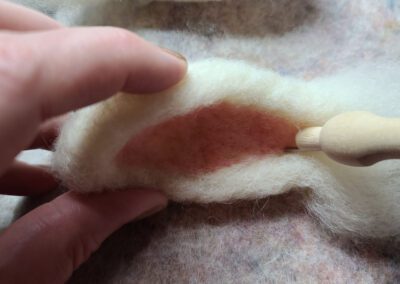
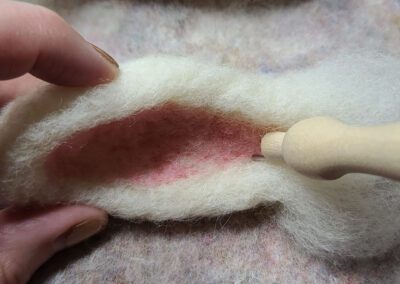
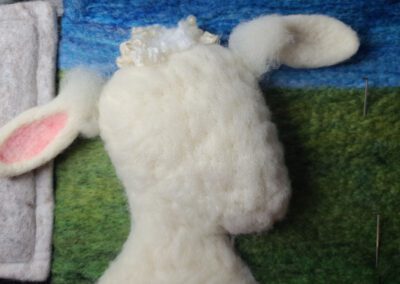
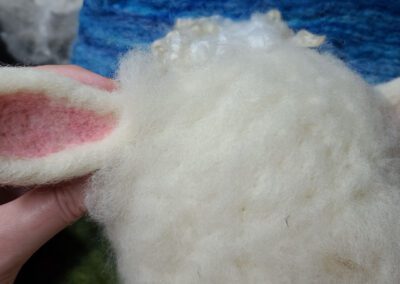
Felting Ears
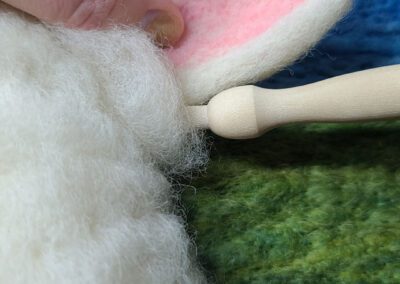
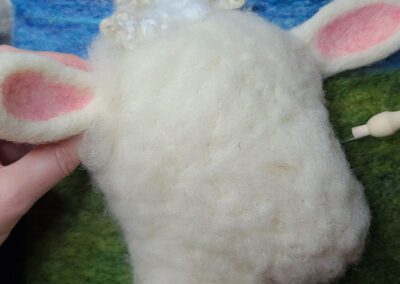
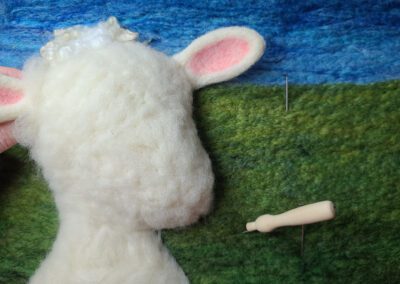
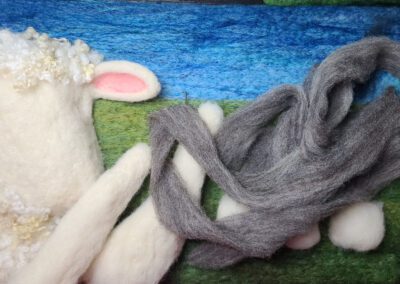
This gallery includes pictures of developing Leona’s ears and attaching them to her head. This illustration features a close up of her head, flute, and arms, so I am paying close attention to every little detail.
Transforming a Fleece
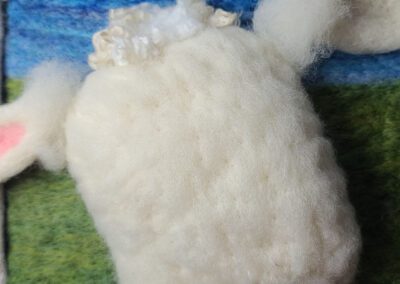
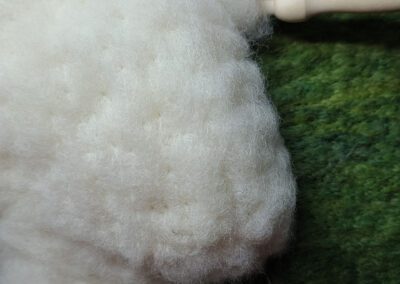
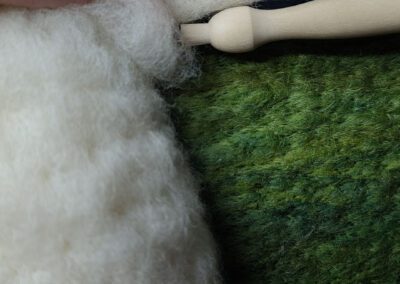
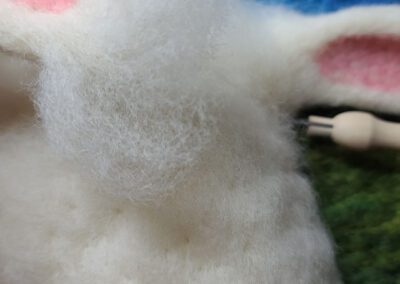
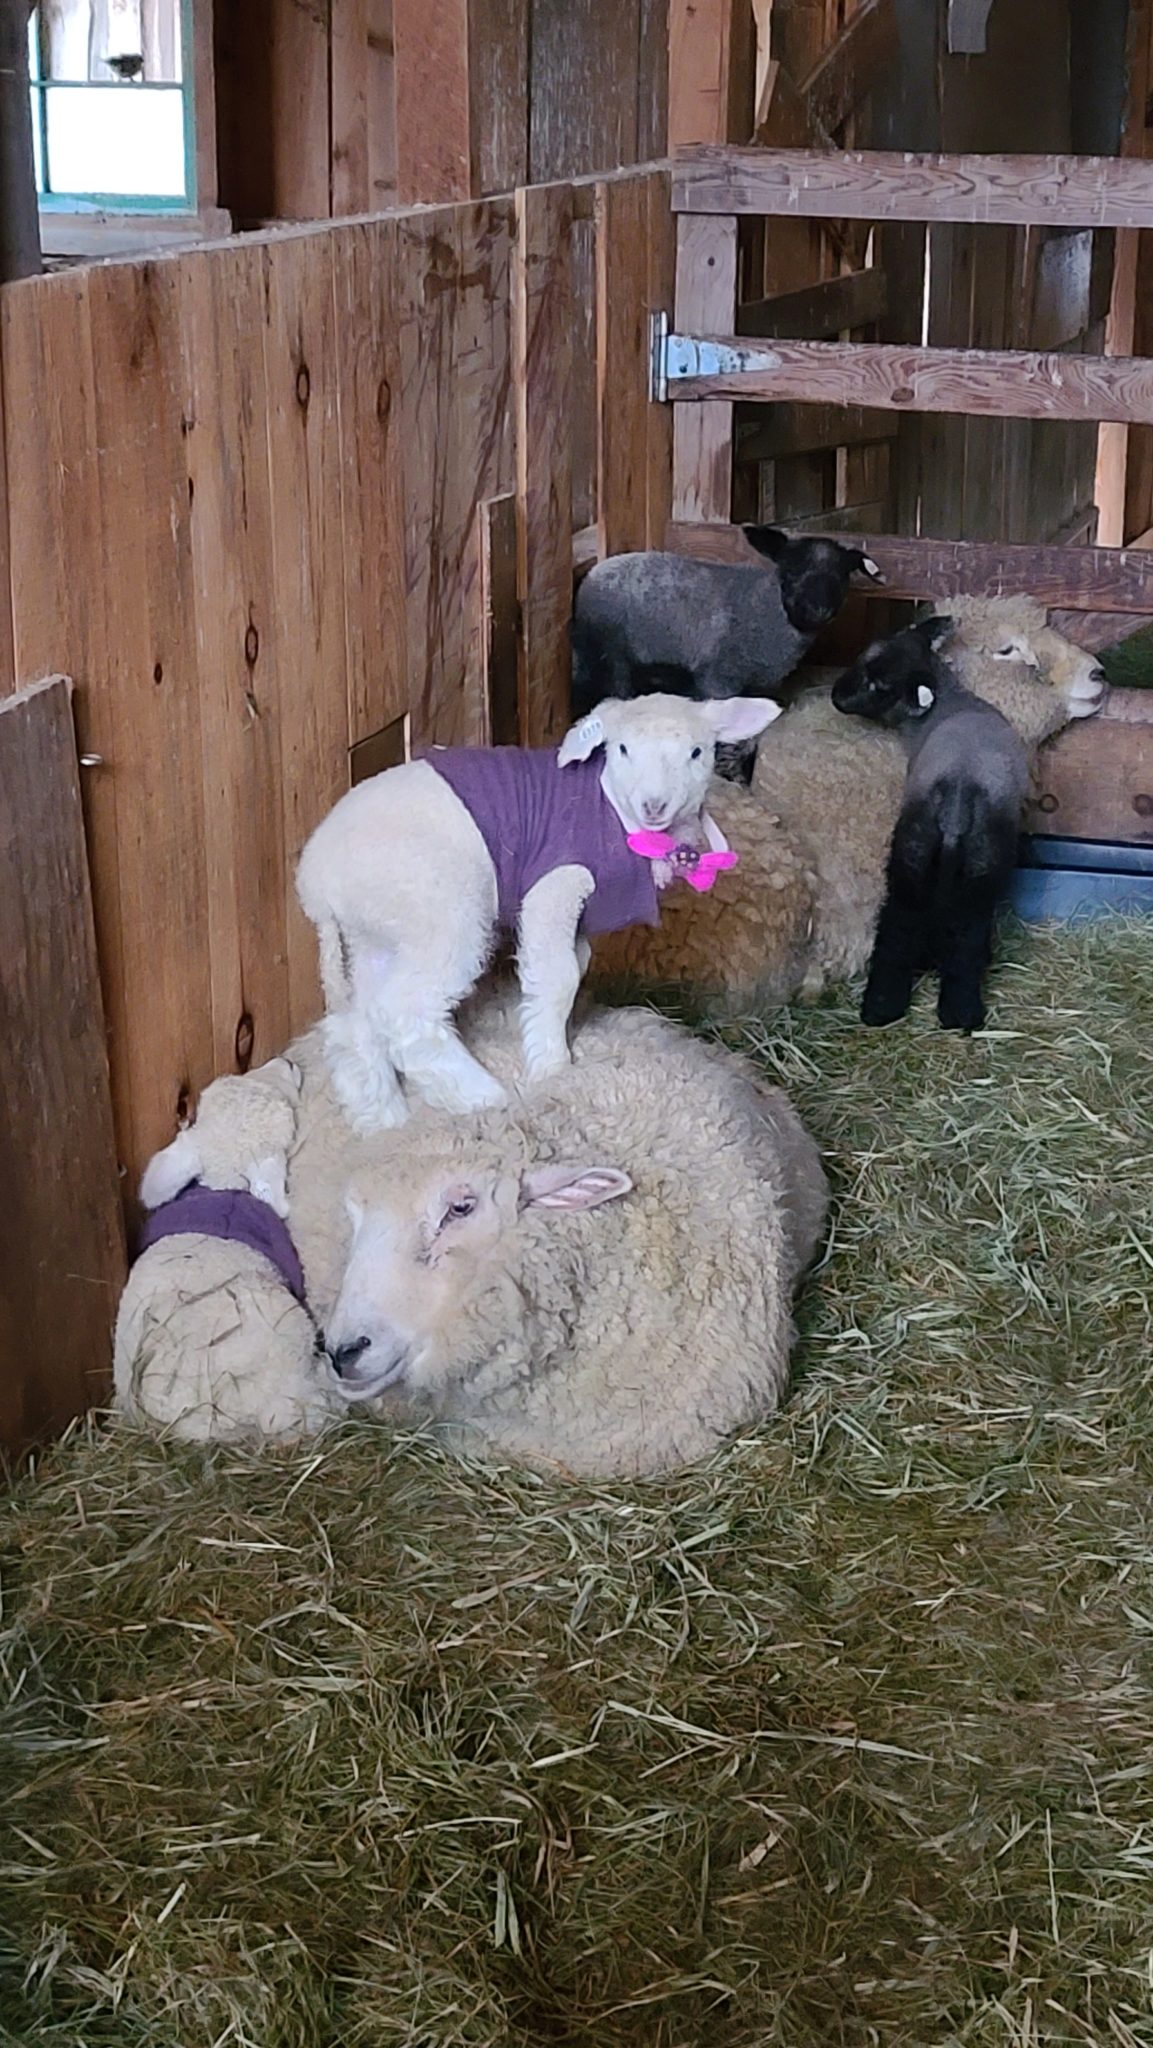
With her ears in place, it’s time to add curly locks! Here is a time lapse video capturing the addition of curly locks from our adopt a lamb from A Wrinkle in Thyme Farm in Sumner, Maine. Be sure to follow me on Instagram and Facebook to see this sort of content as I am creating it!
My Supply of wool is very plentiful, for which I am grateful. I love having a couple of complete fleeces to pull from which allows me to keep the look and feel of a character consistent across several illustrations.
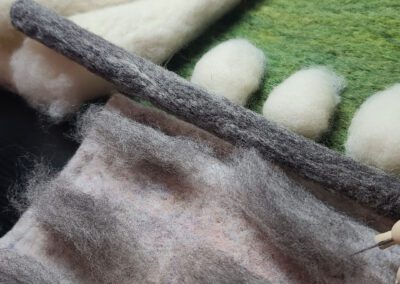
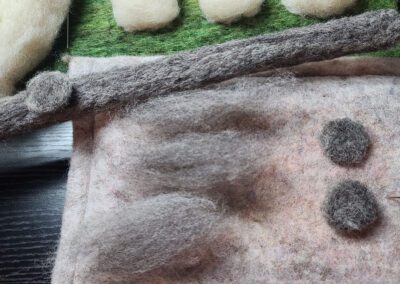
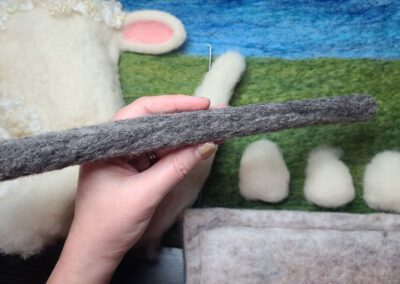
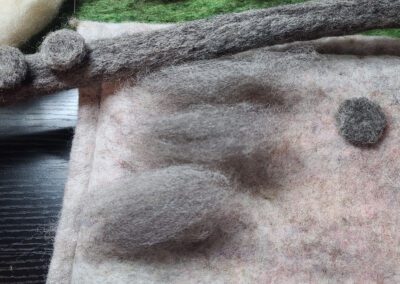
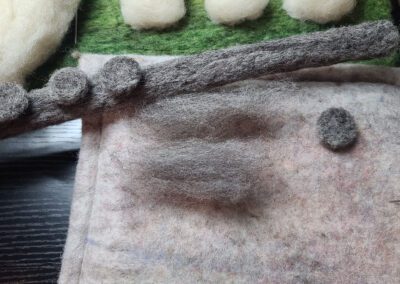
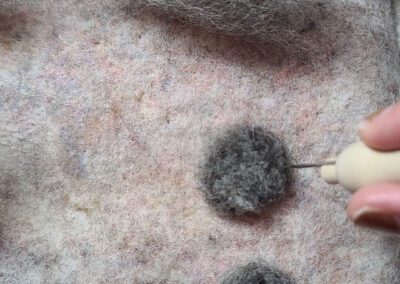
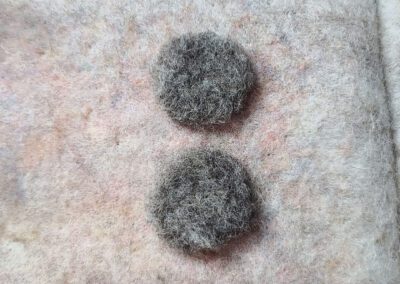
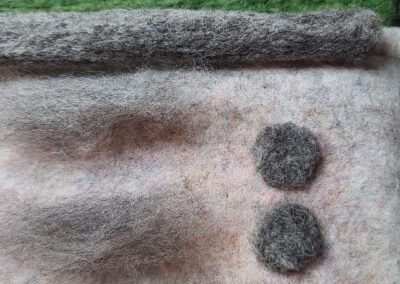
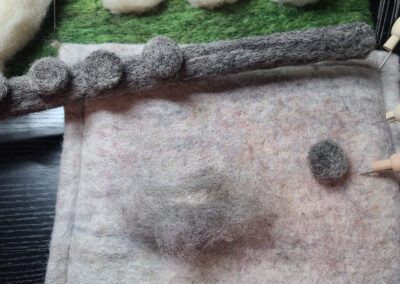
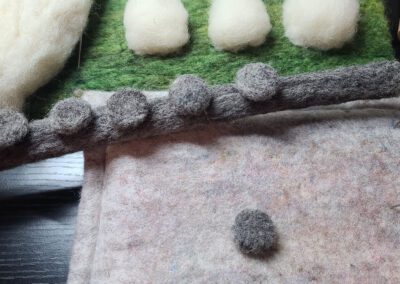
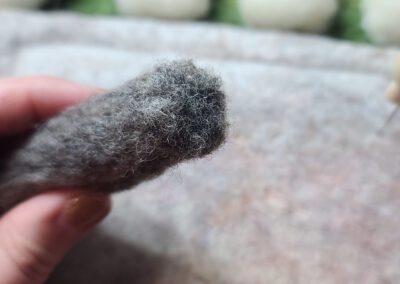
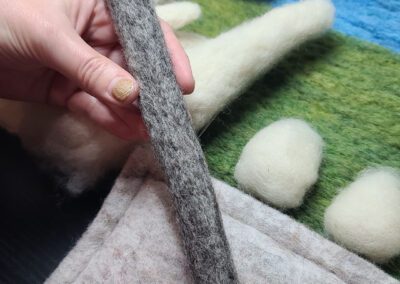
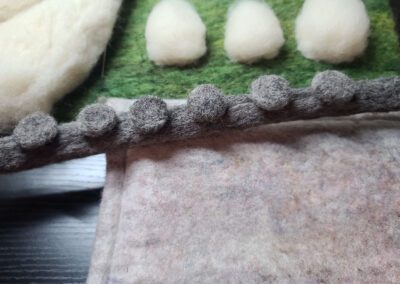
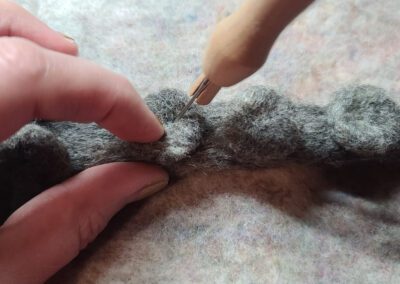
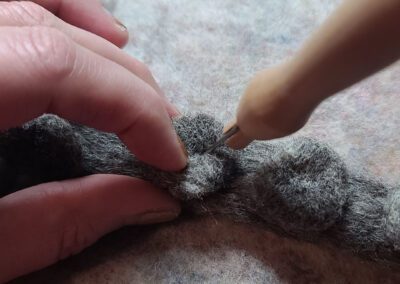
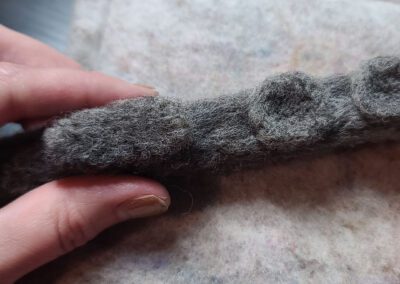
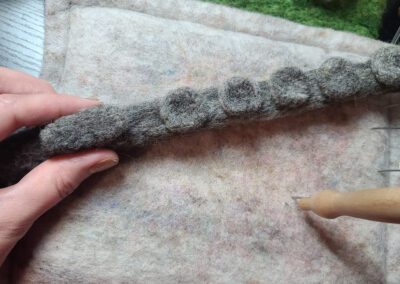
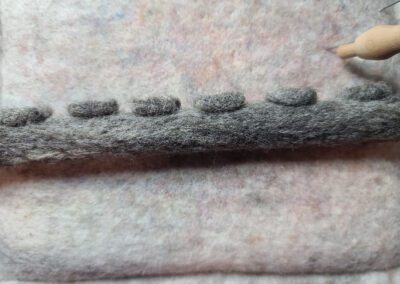
Felting Small Objects
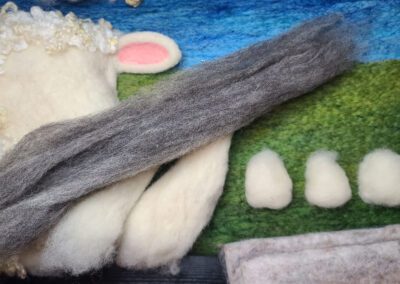
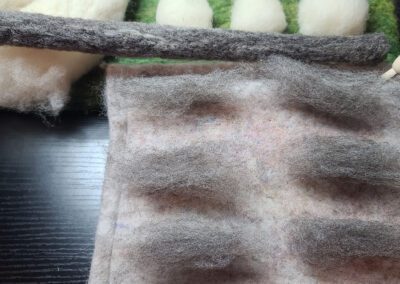
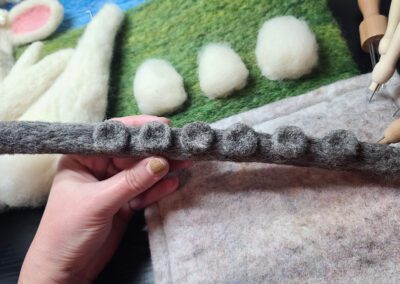
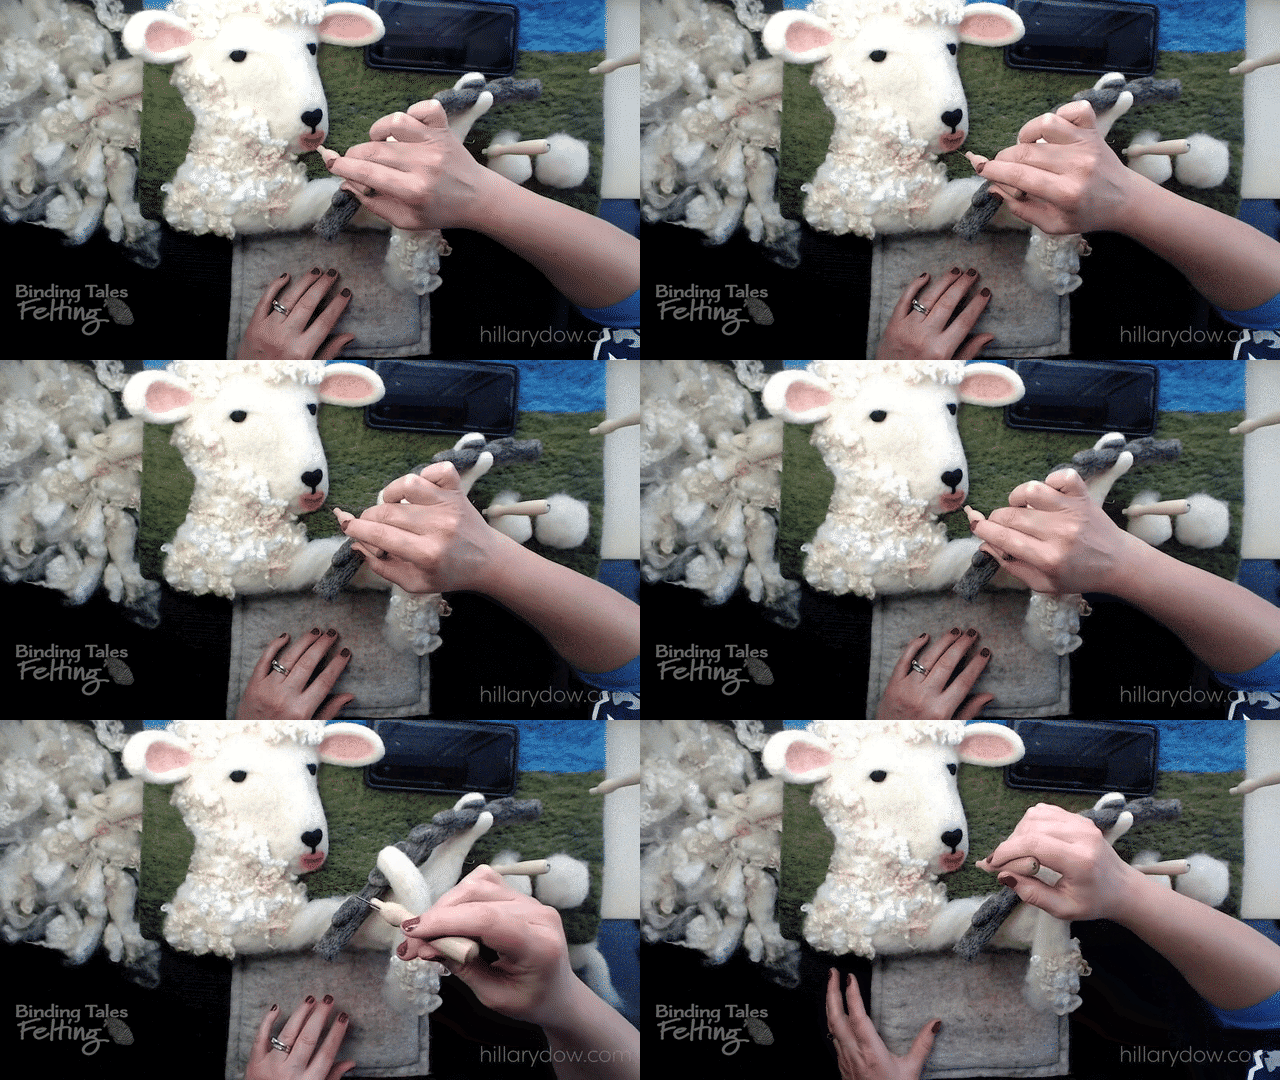
Something that is both a challenge and totally worth the effort is the addition of small details in the form of little objects to your needle felted works of art. Just as I did with the details of the felt violin in the first illustration, this one includes a flute. Here is a series of clips of the process I worked through crafting the flute for the second illustration. Developing your artwork from a landscape or a single figure to a picture that includes the setting (perhaps it’s a landscape), subject (your figure or character), and your action (what they are doing), brings your artwork into a whole new realm. Welcome to the wonderful world of illustration!
Placing the Flute
Before I add her facial features I want to know exactly where the flute will be in front of her face. In this video lesson I am securing her arms in place and determining the position of the flute.
Felting Details of a Sheep’s Face
In this video lesson, we add Leona’s eyes and eyelids, nose, and lips. Remember, she’s playing a flute, so her lips need to be just right!
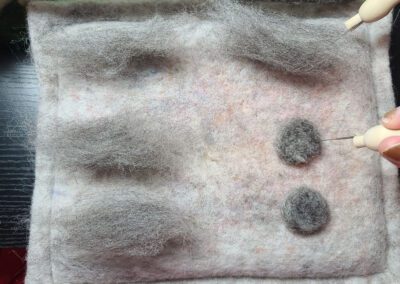
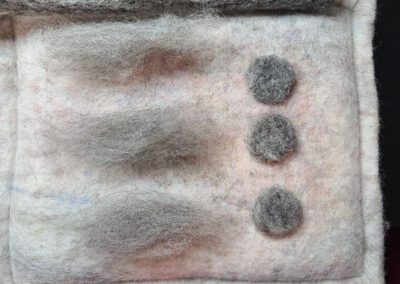
Placement of Three Sheep and Adding Locks
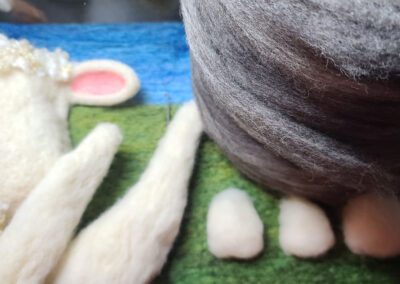
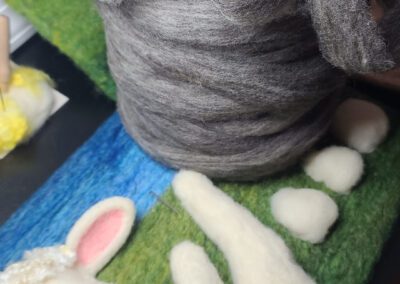
In this video lesson, we settle on the placement of the three sheep from Leona’s flock for whom she is playing the flute, adding three different shades of wool, one for each sheep.

Meet Your Instructor
Hi, my name is Hillary Dow. A few of my many hats include mother, wife, traveler, outdoor adventurer, author, family chef, marketing professional, felting artist in Maine, and oh so many more. I write children’s books illustrated with my wool creations. It is such a thrill to be a part of helping someone develop their skills and CREATE artwork. Thank you for joining me!
Want even more? Take your felting to a whole new level! Join the Felting Master Class today for a one time payment of $200.
