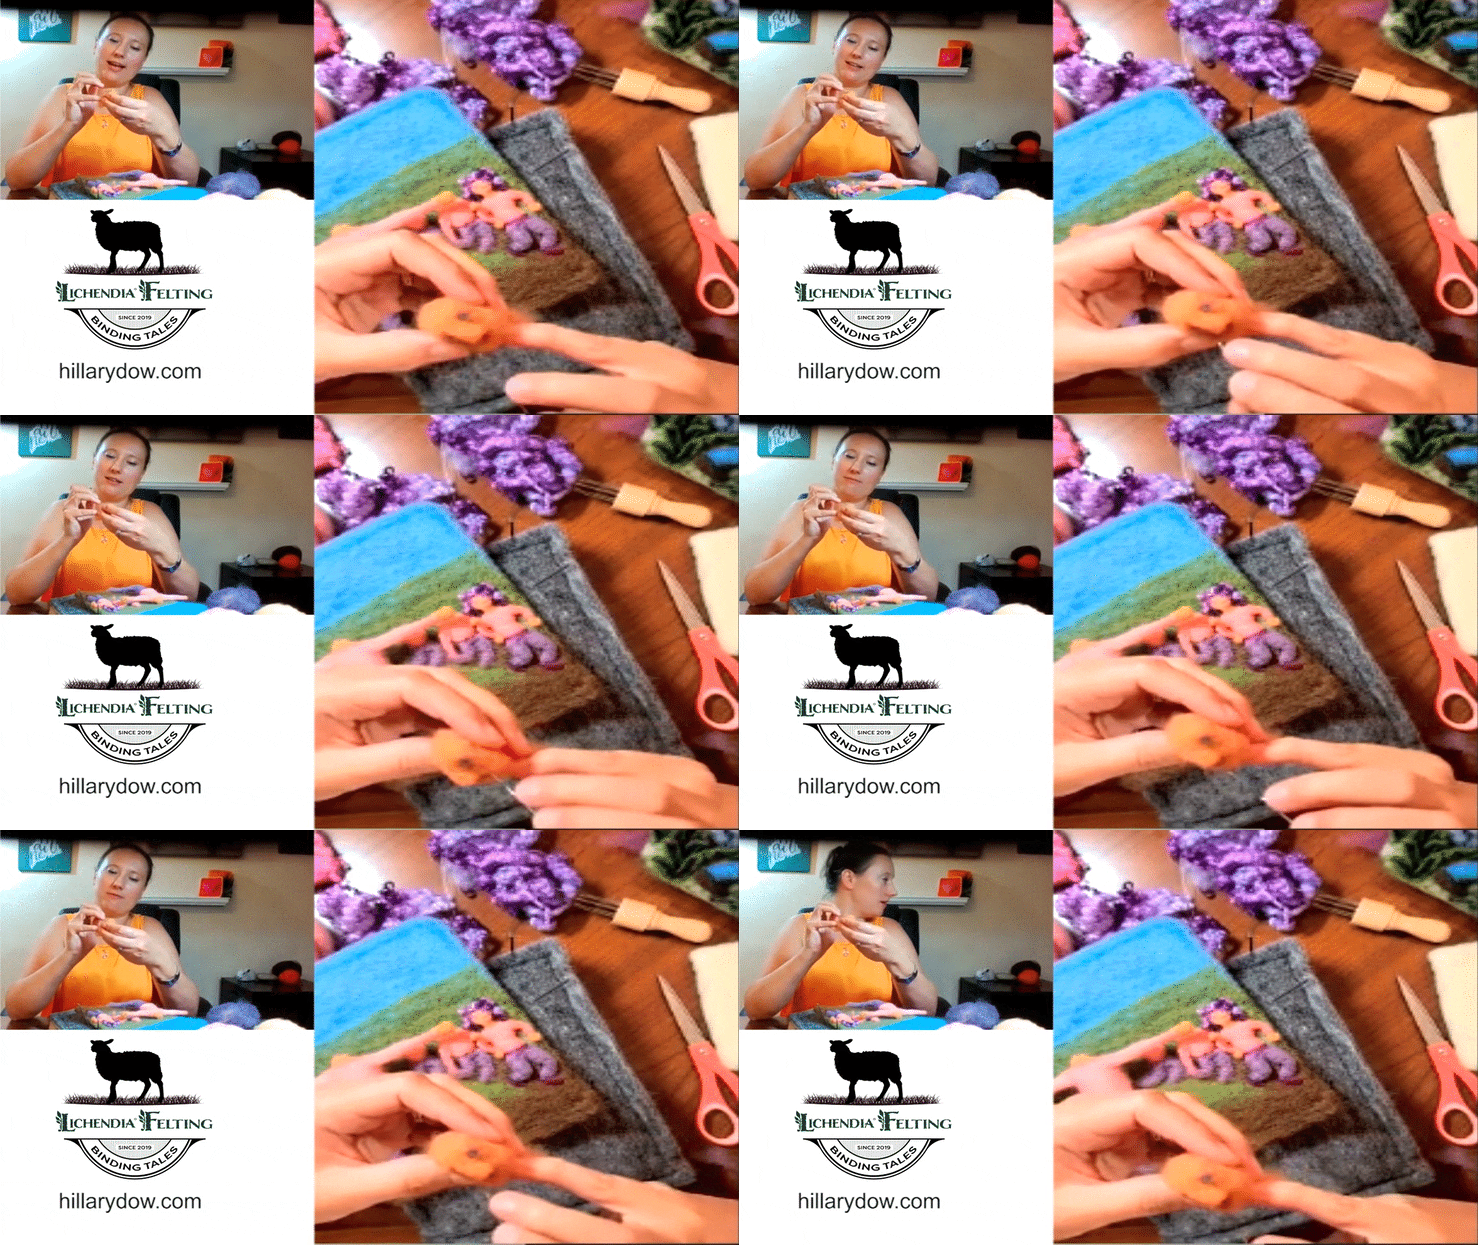
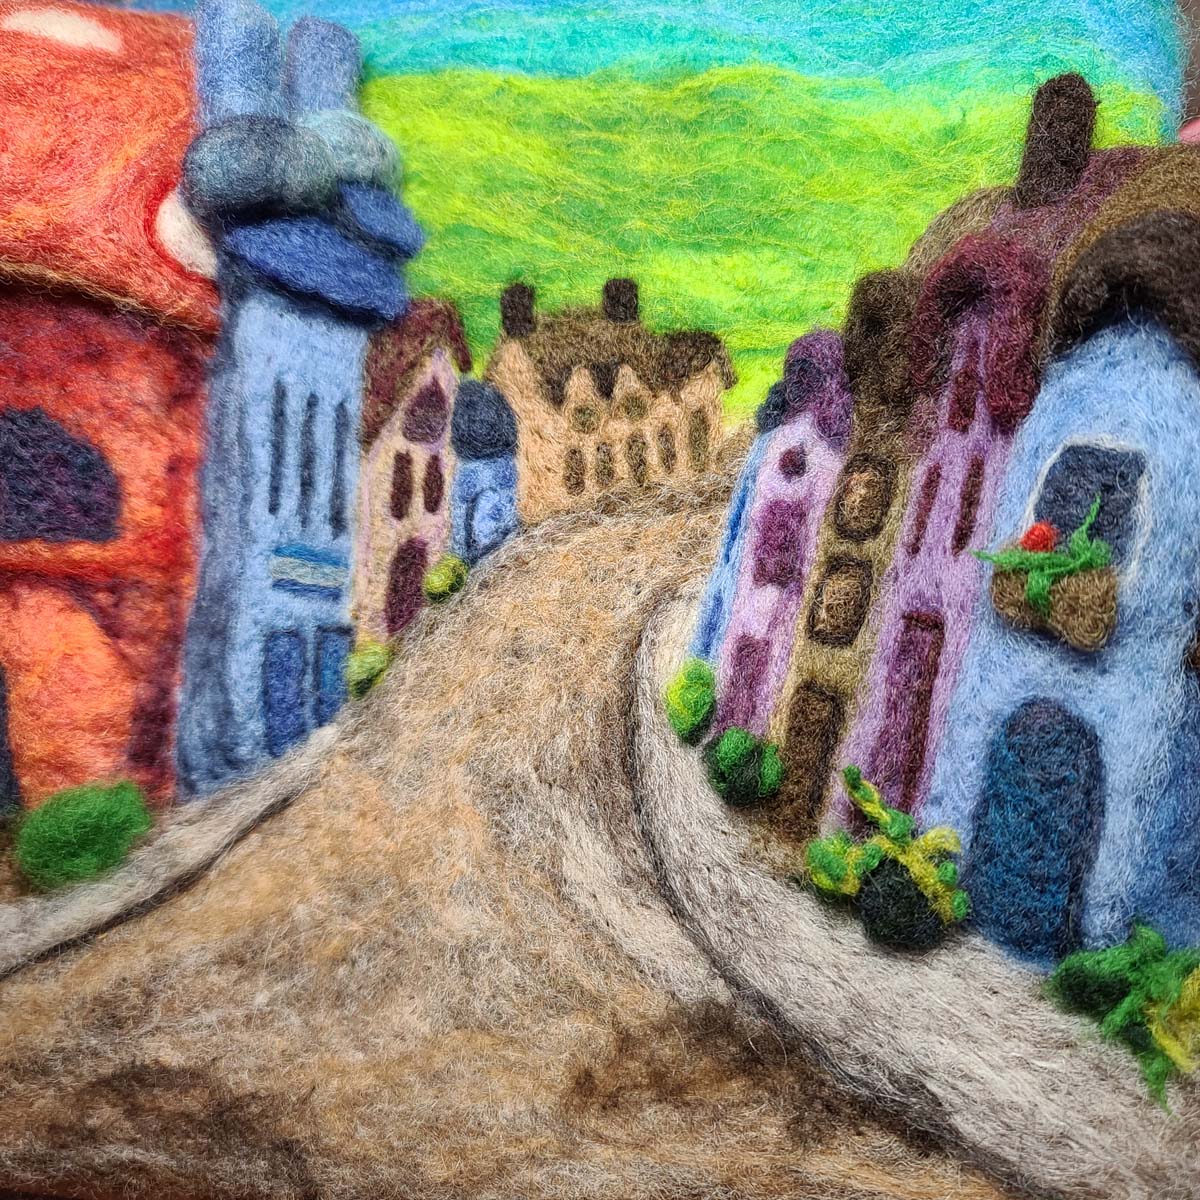
Dotted mushroom caps and fairy houses, curved doors, window boxes, planters, a winding street to the distant mountains. This needle felted illustration has been so much fun to create! Like many of my illustrations for my children’s books, this picture began during a live needle felting Zoom lesson. I then documented my steps as I continued my work to add to the finished Felting Lesson: Fairy Village.
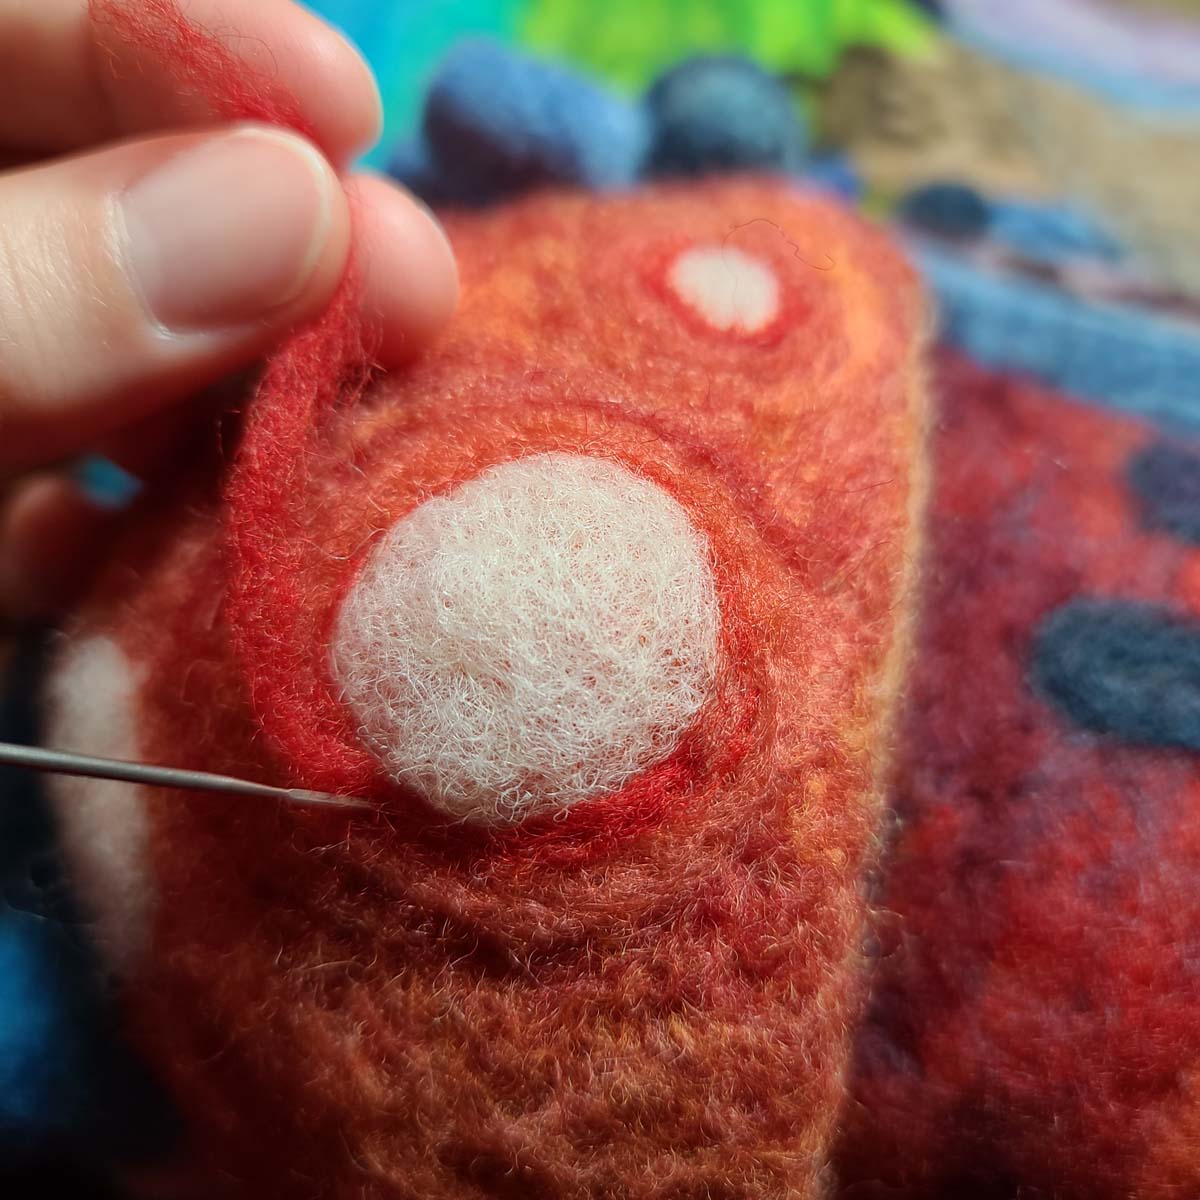
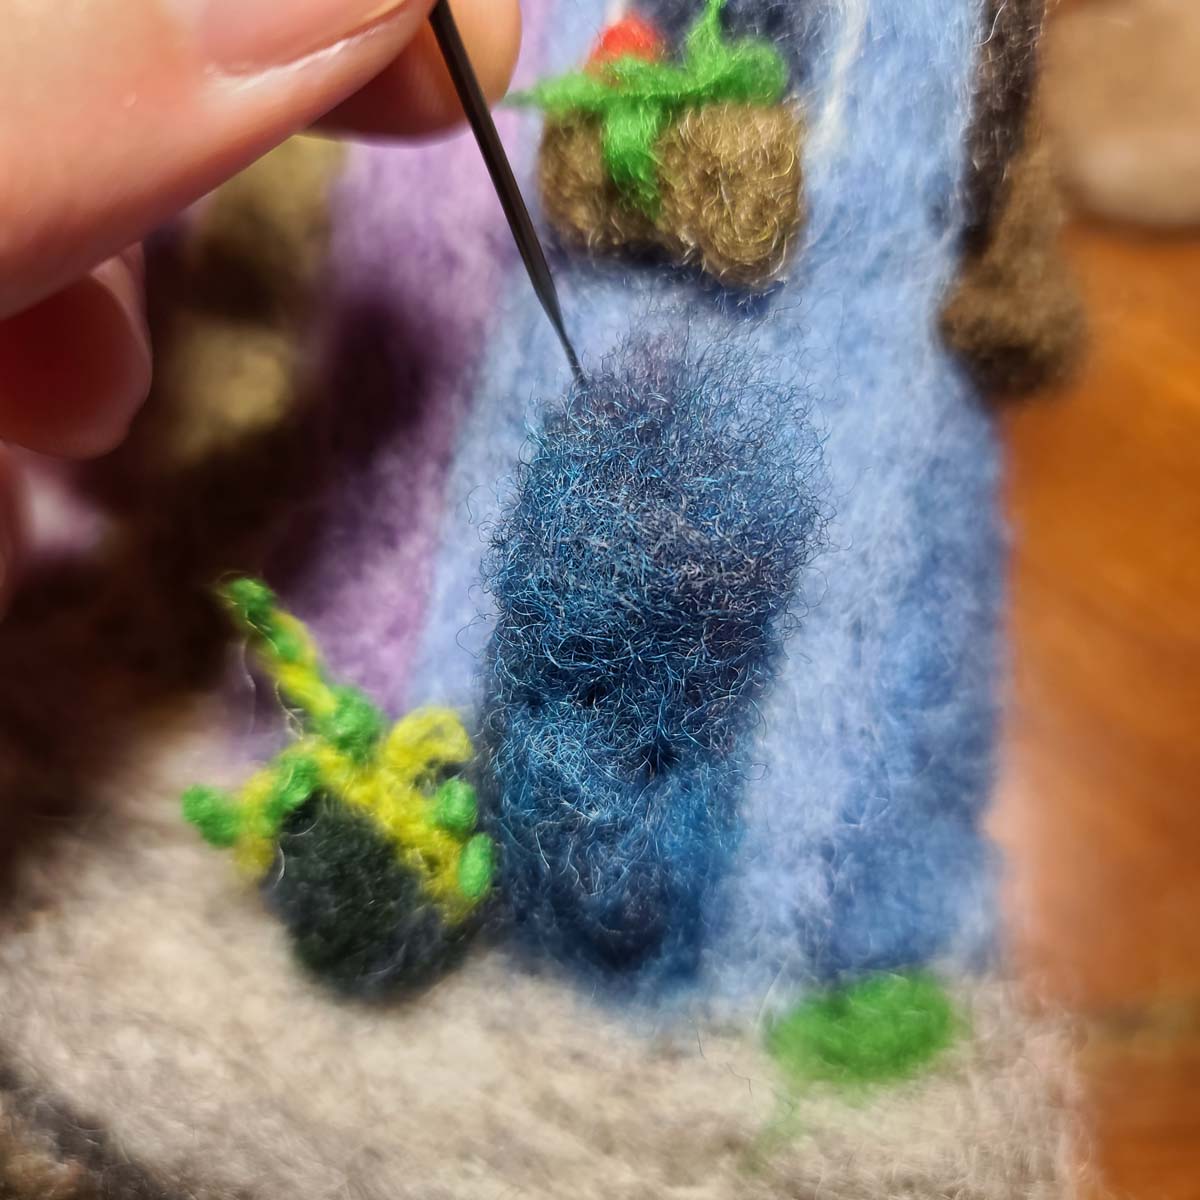
Illustration Thumbnail Composition and Color Studies
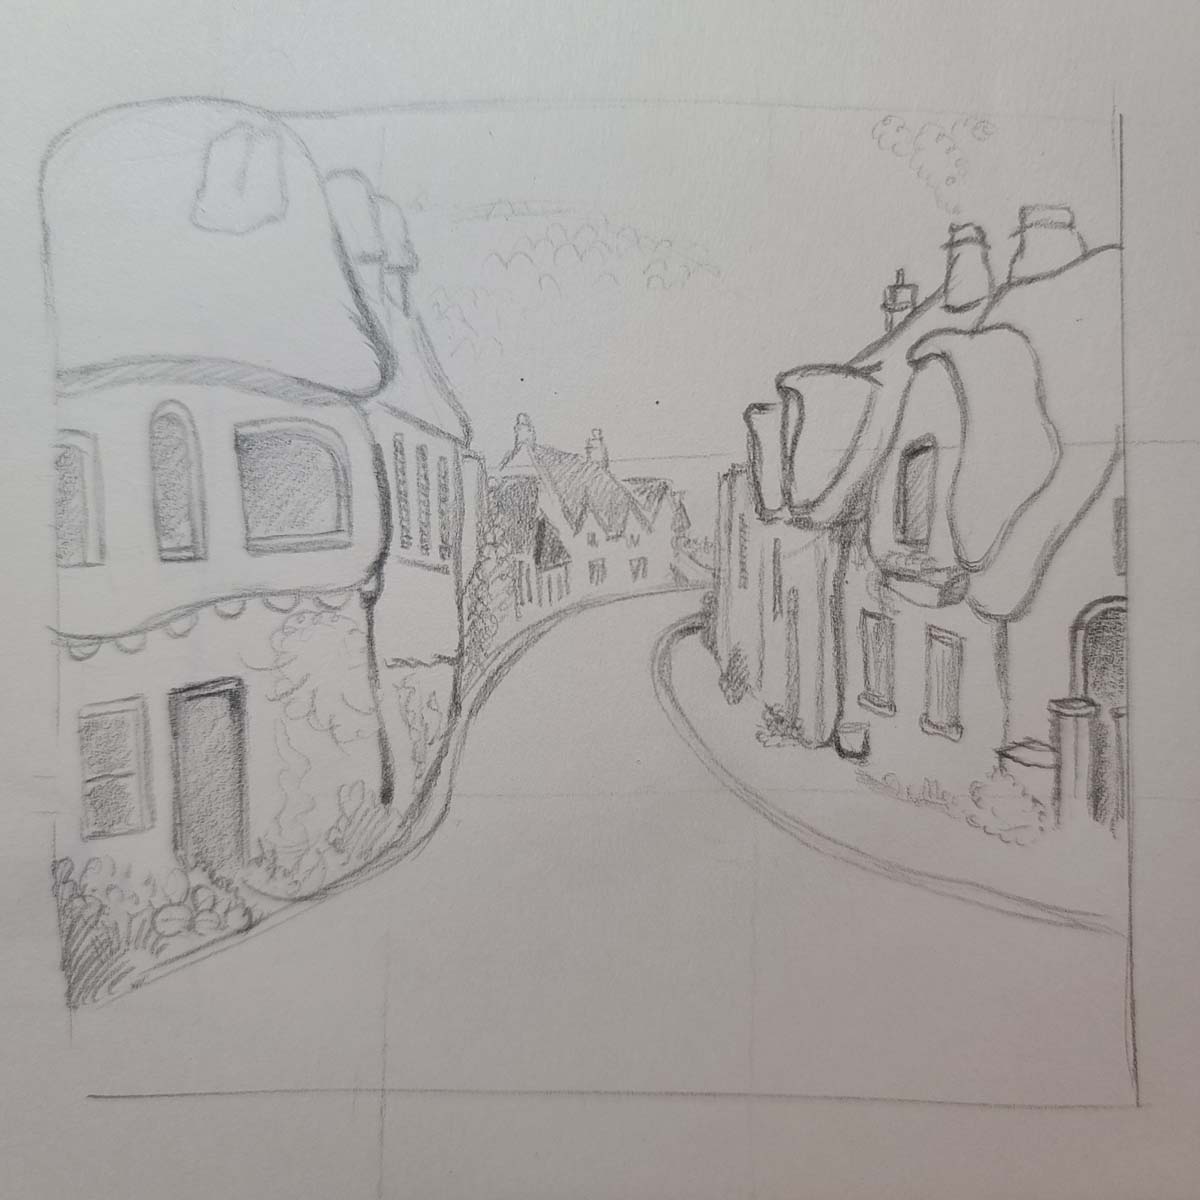
There are times that I rough out a very simple composition sketch to know how my illustration will fill the picture. Some thumbnails are basic shapes, while others I spend more time working up a fairly detailed mini illustration to use as a reference. In this case, I did work up a more detailed sketch.
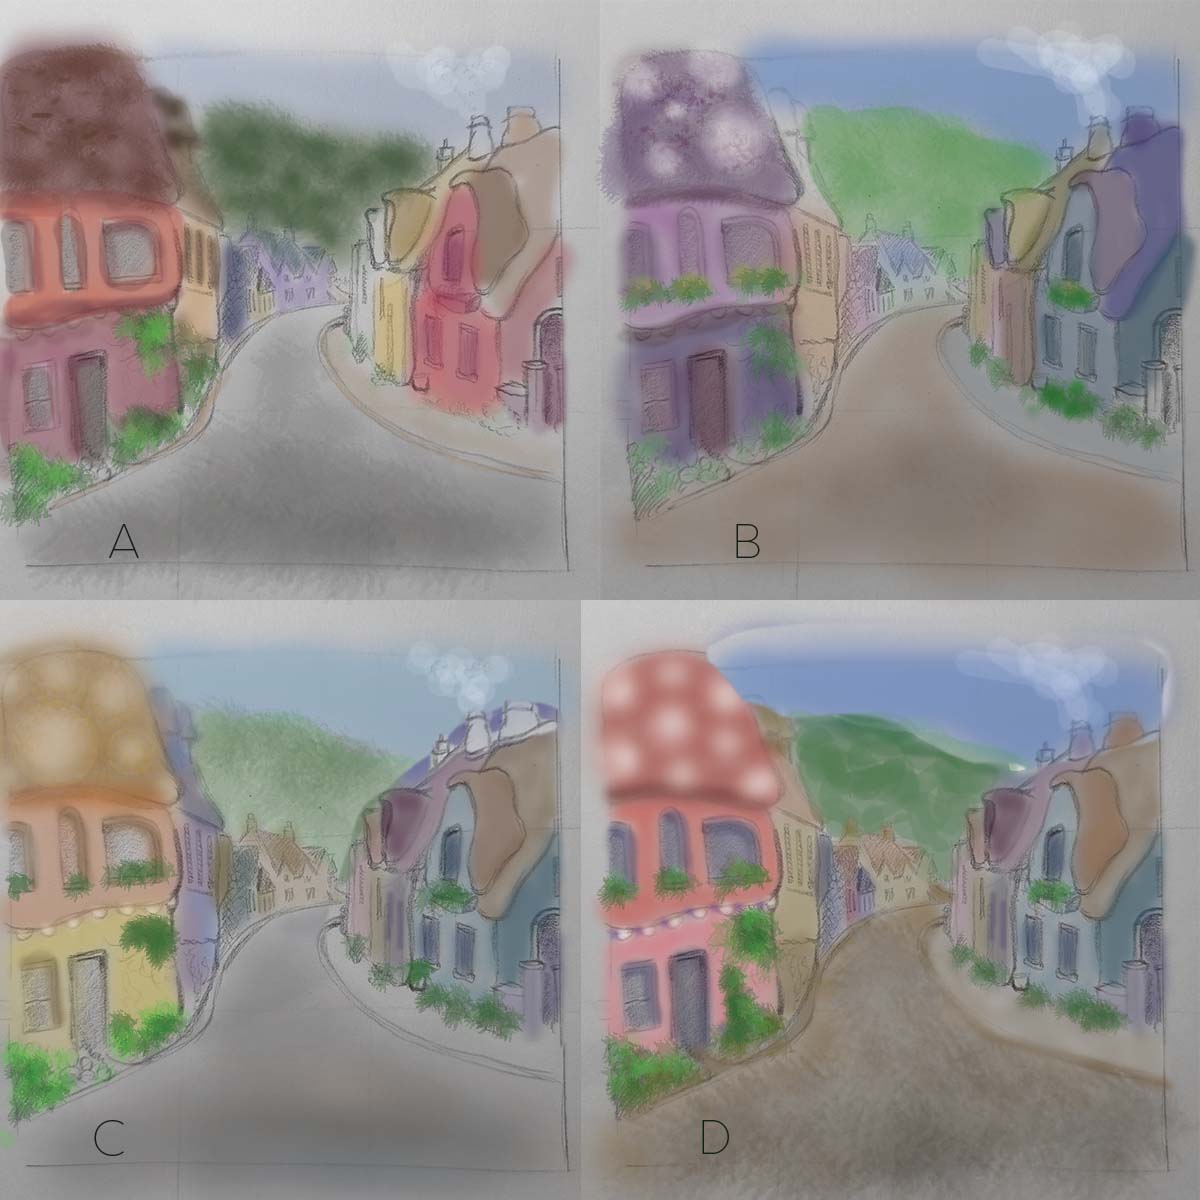
The next step is to duplicate the thumbnail in Photoshop and brush in different color combinations. The color palette tool is called color studies. When I was an art school student at the University of Hartford I used to photocopy my thumbnail sketches and use rubber cement to glue them on foamboard. I would then color them with colored pencils and/or watercolors. Photoshop is a lot easier!
Live Needle Felting Class
In November 2021 we are still navigating the renovation process after our house flooded back in the spring (darn faulty 2nd floor supply line to our bathroom sink). Without contractors here in mid-November I was home for this monthly free needle felting lesson. With so many different colors in this illustration, it was incredibly useful to be home and have all of my wool supplies on hand to pull colors from.
Before I began I selected and laid out a healthy pile of wool that established my color palette. Sticking with a palette (for the most part) is helpful for many reasons. Adding the littlest pinch of a random color can stand right out against an otherwise consistent color palette it hasn’t already been incorporated into. A unique pop of color is useful for some things, like final details. When you want a color to really pop use a unique color of wool. For the most part, I do try and work from the giant pile of colors I layout from the start.
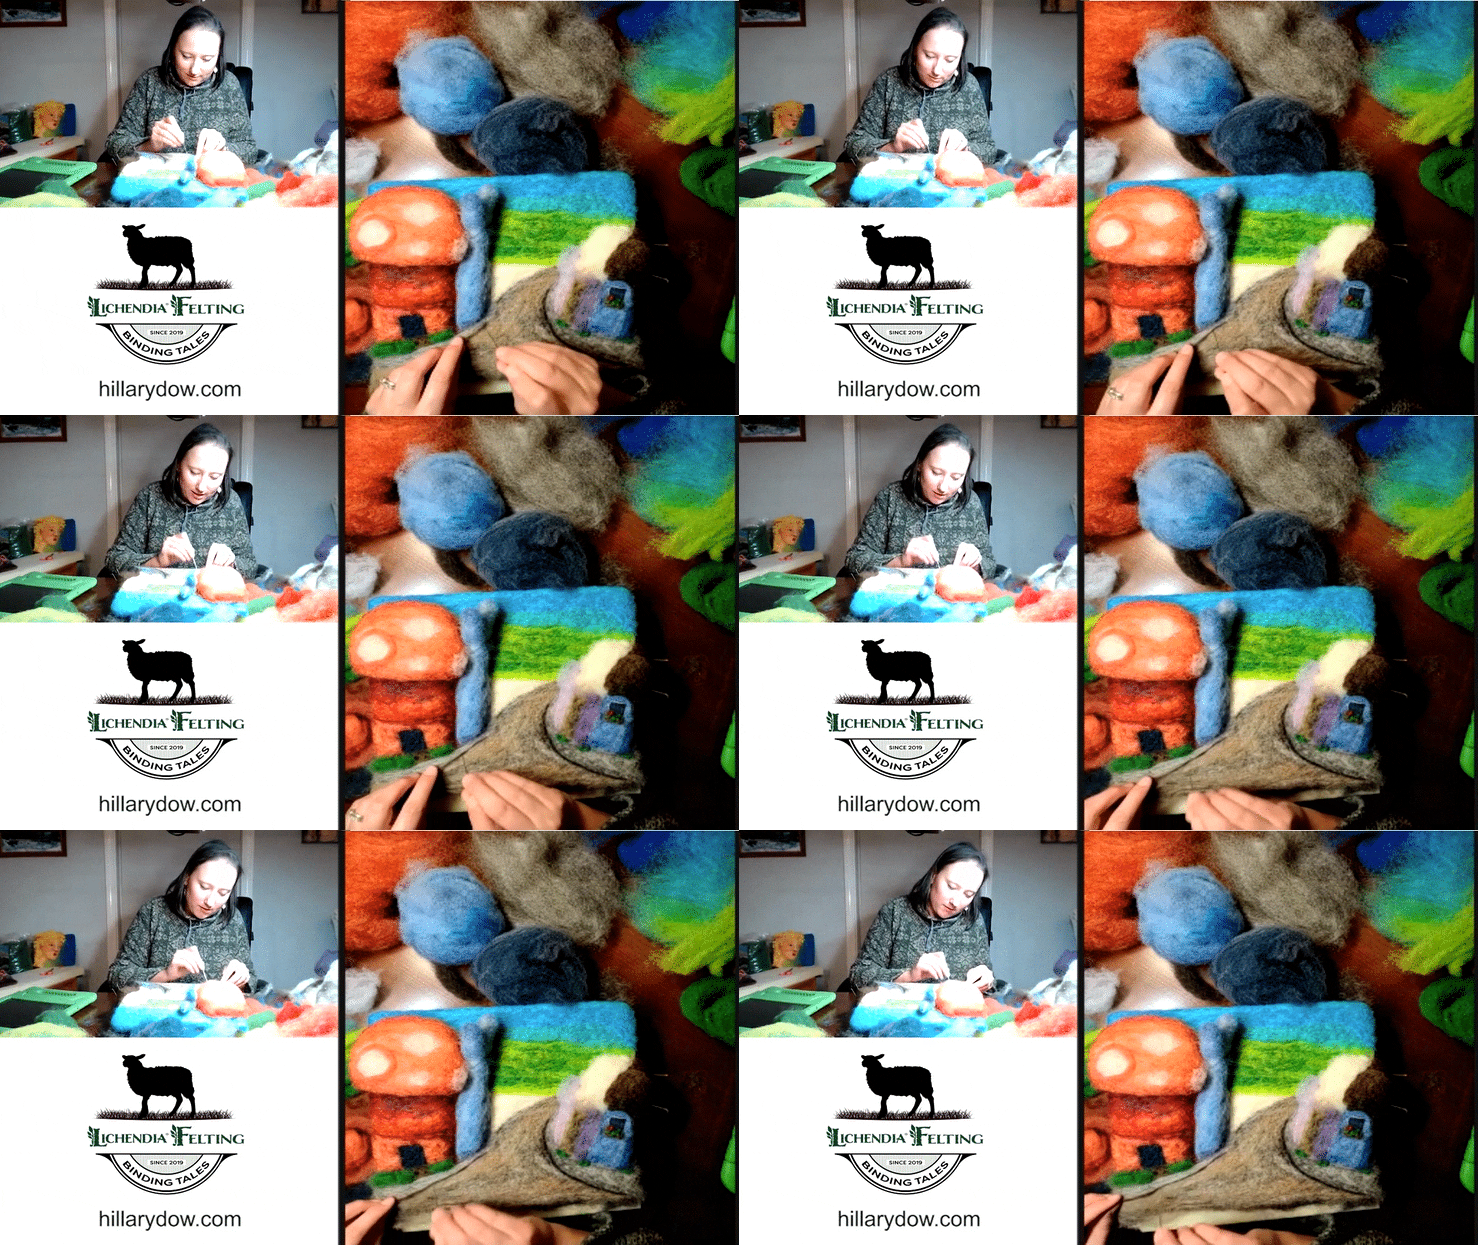
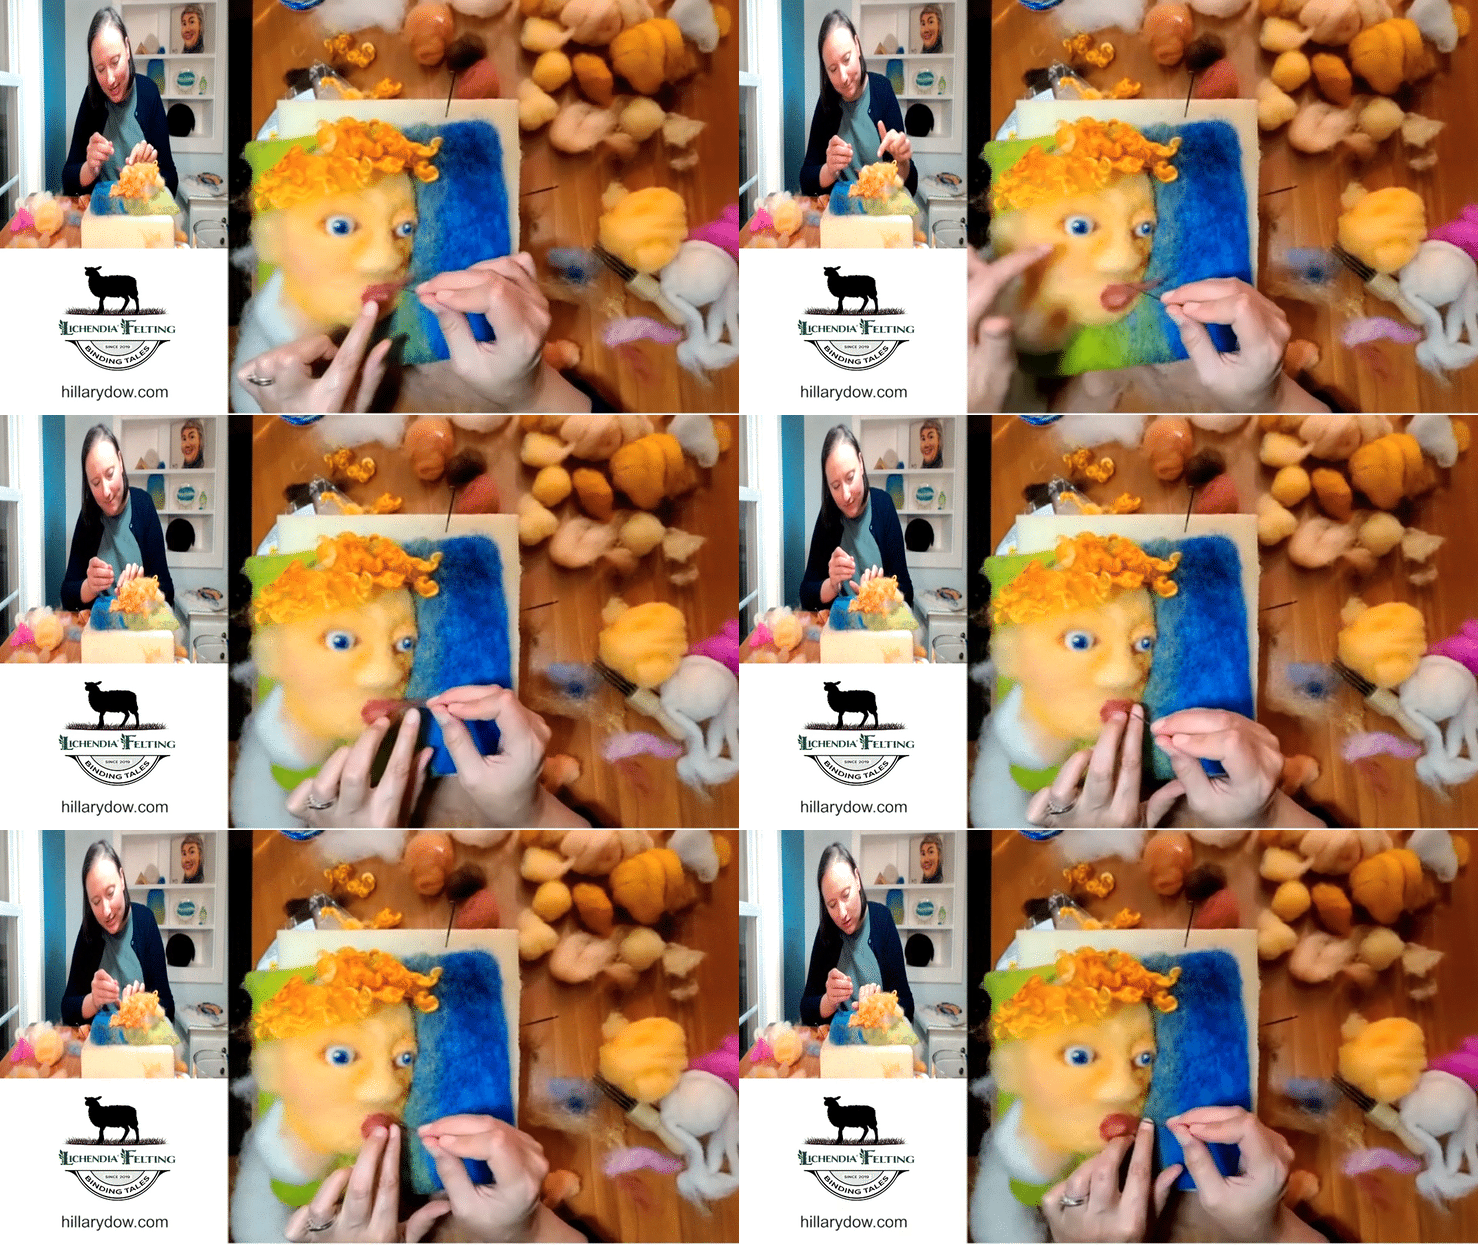
After class, I zip the Zoom recording off to be cut into this double view format, and what typically runs as a two-hour lesson gets cut into four thirty-minute videos. I have felting artists from around the world log in for live class, which is so cool! The video lessons are posted by the end of the weekend following our Tuesday class and remain available for free till the end of that month on a private page for everyone on my email list (Join Now). Once the next month arrives the free lesson page converts to a lesson for sale in my shop, with additional learning tools added that I create as I work more on the illustration.
Needle Felting Techniques
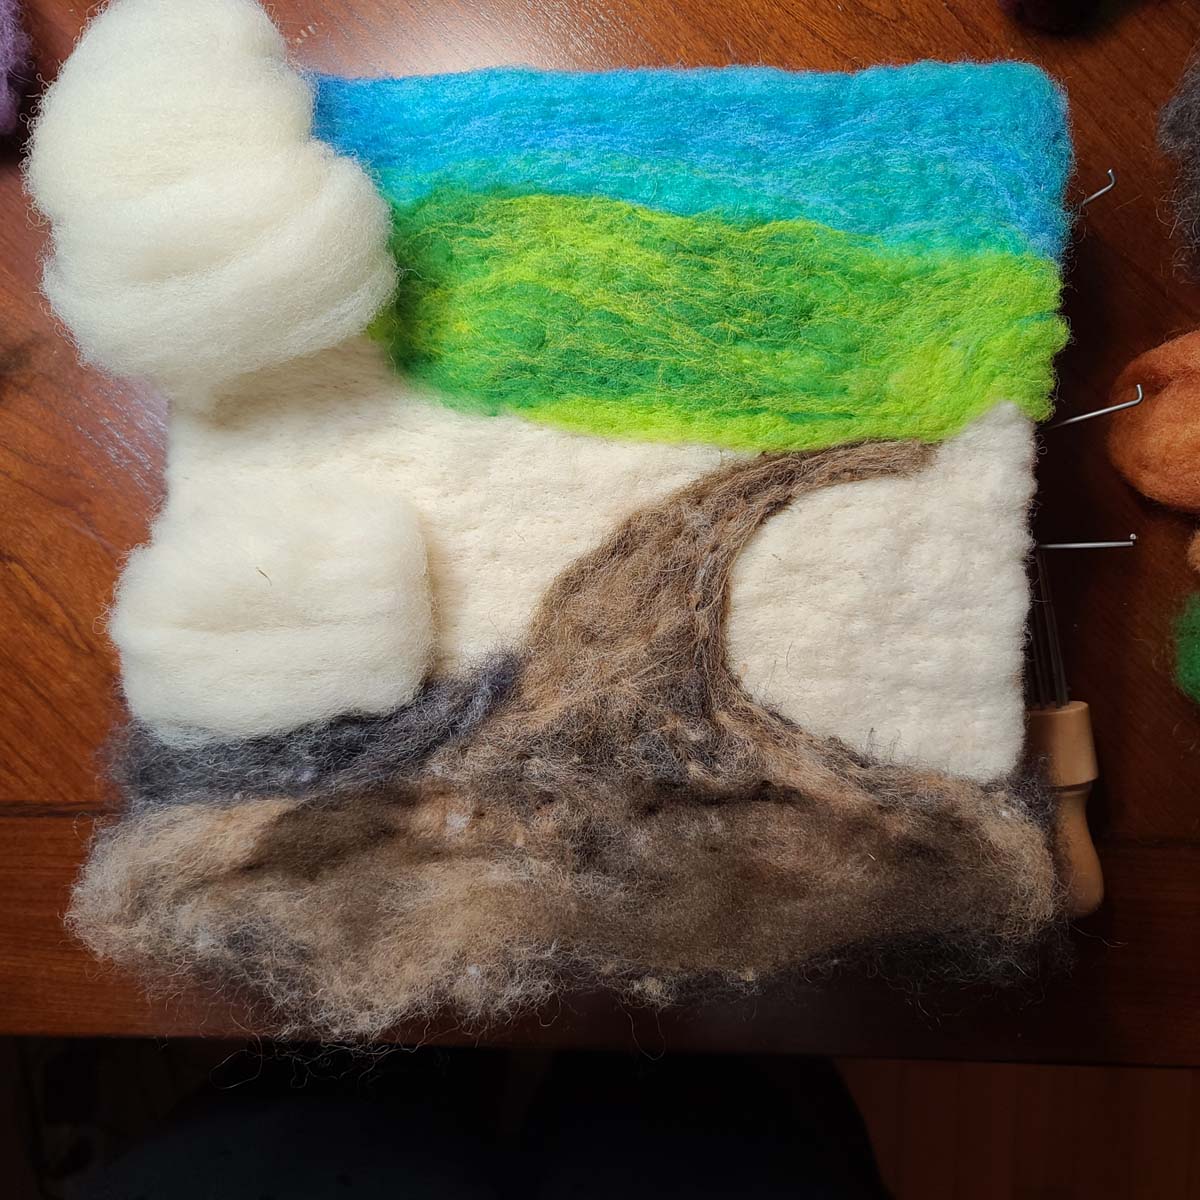
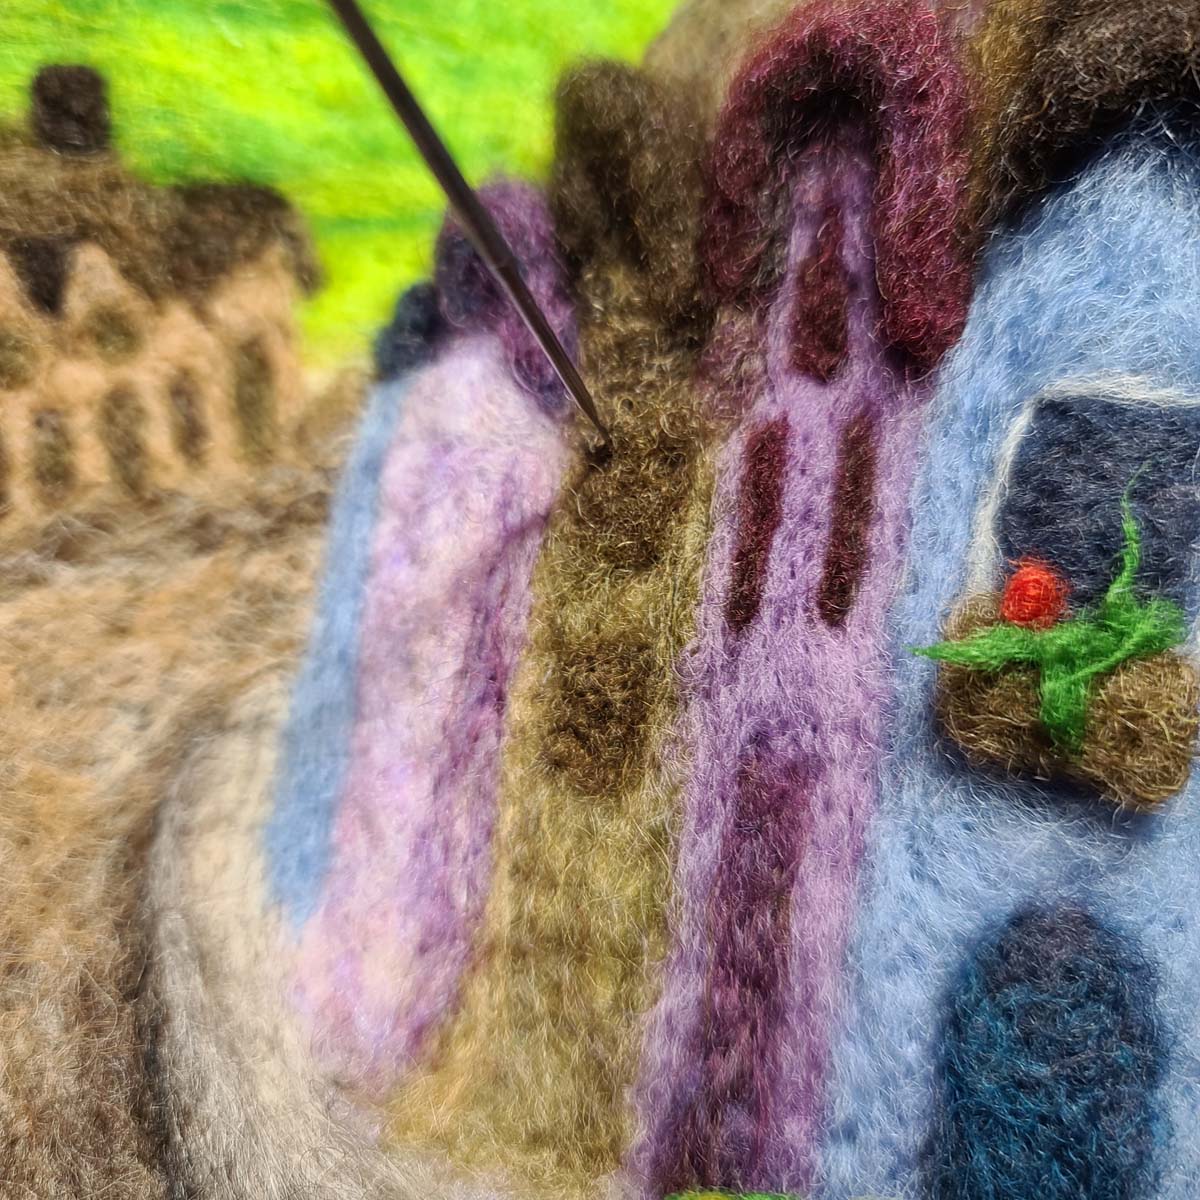
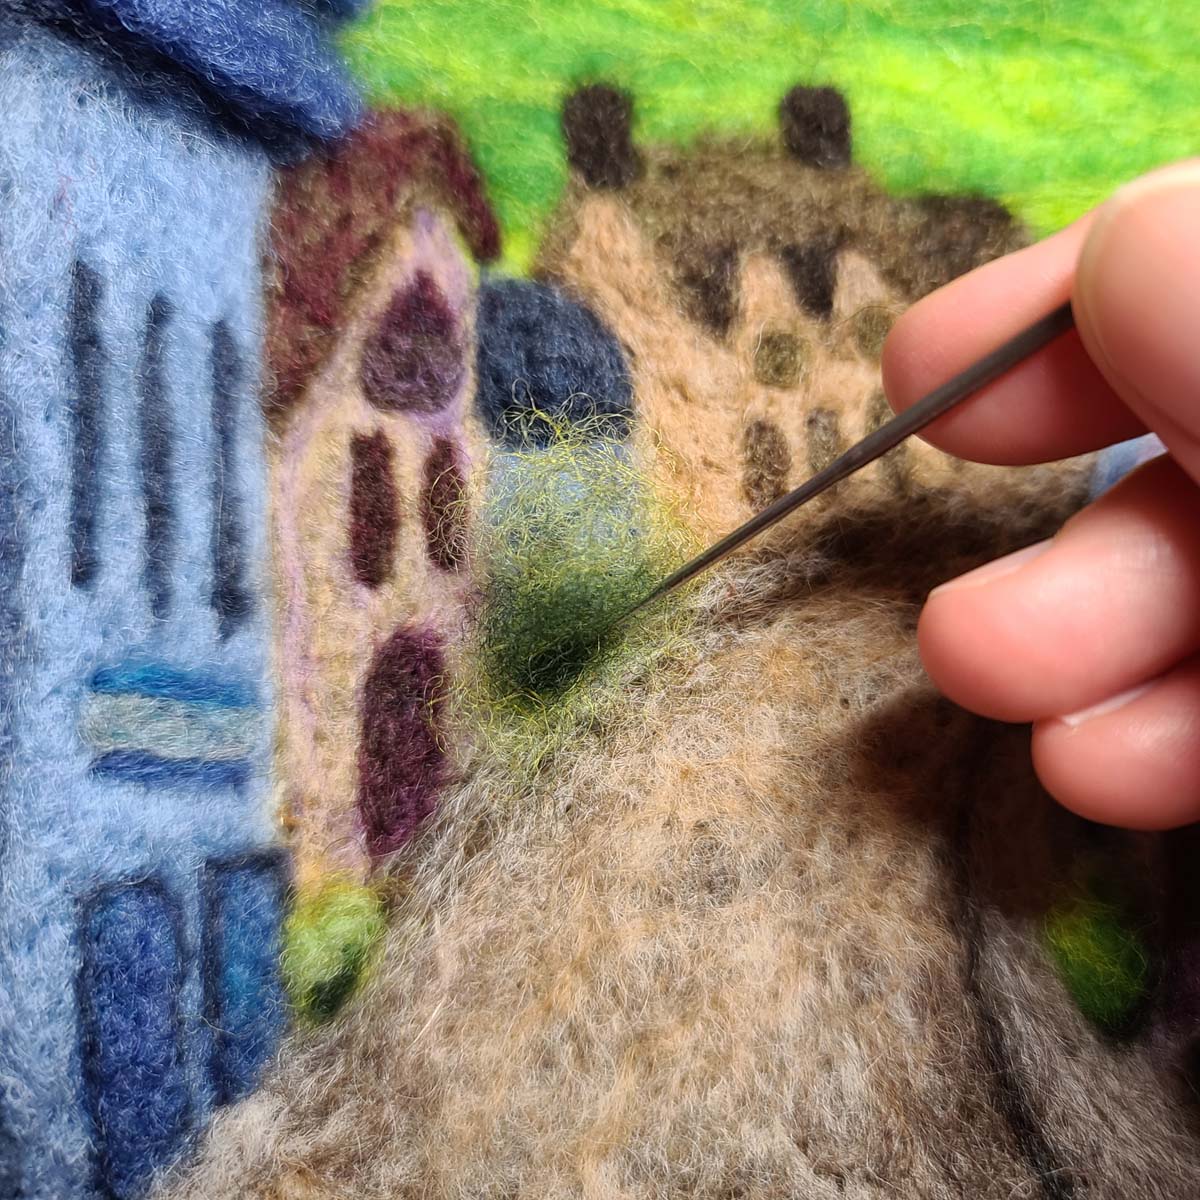
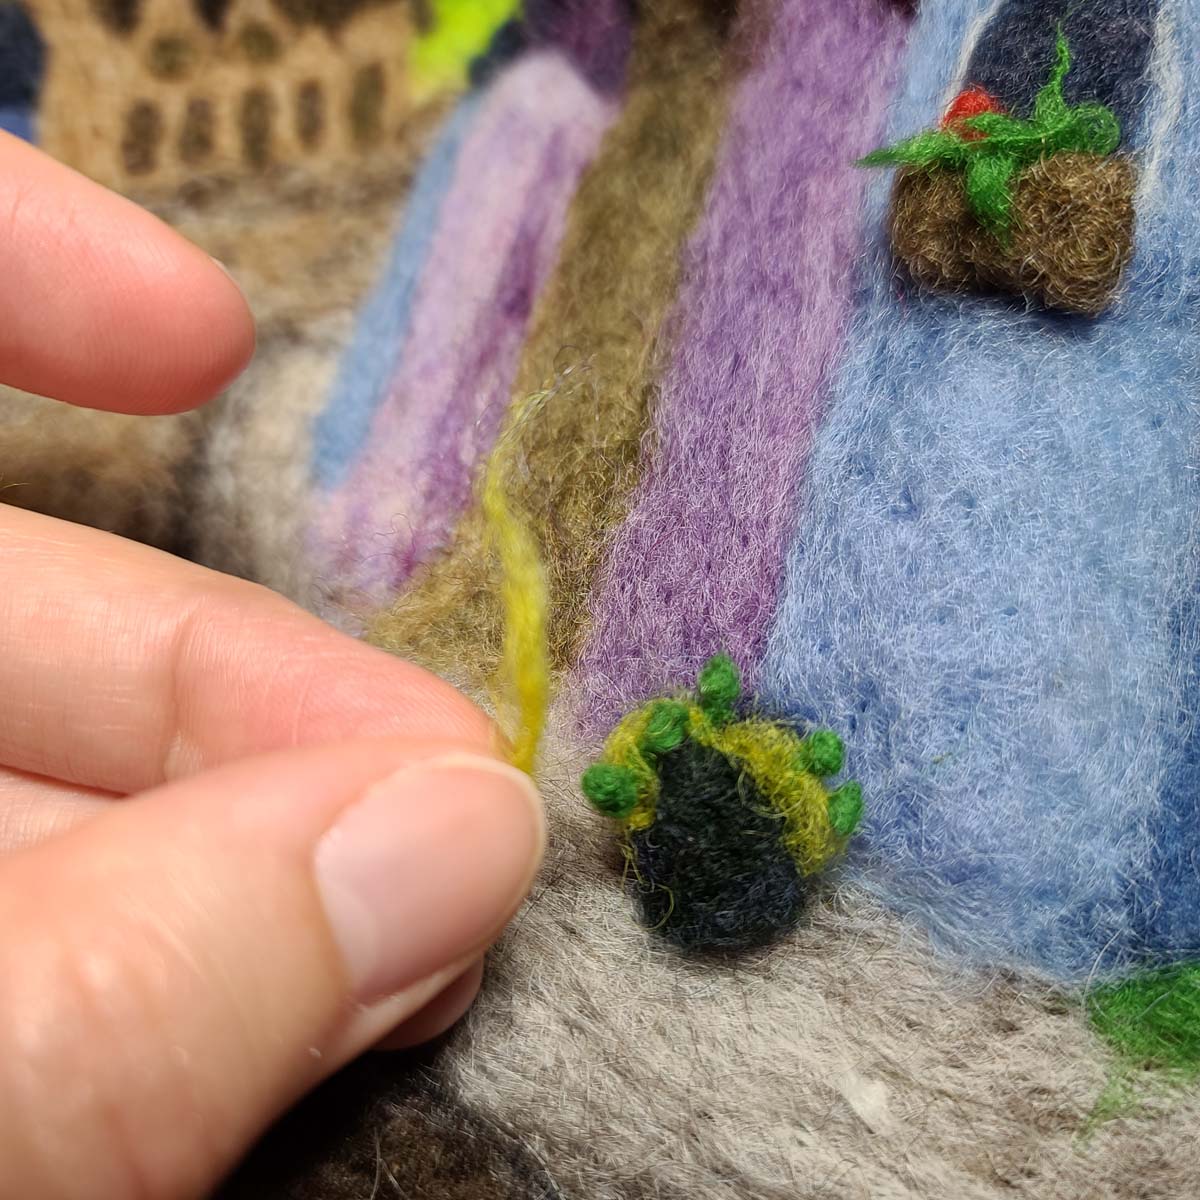
There are times that I get in the flow and realize I haven’t taken all the detail shots I really would have liked to. If you ask me, being in a creative flow is a great excuse! But I do keep my camera right next to me as I felt, usually with a podcast or music playing, and snap pictures of the detailed close-ups necessary to really unpack what I’m doing for each step of the processes that result in my finished work. My hope is that these efforts help you learn new techniques and enjoy your own felting even more!
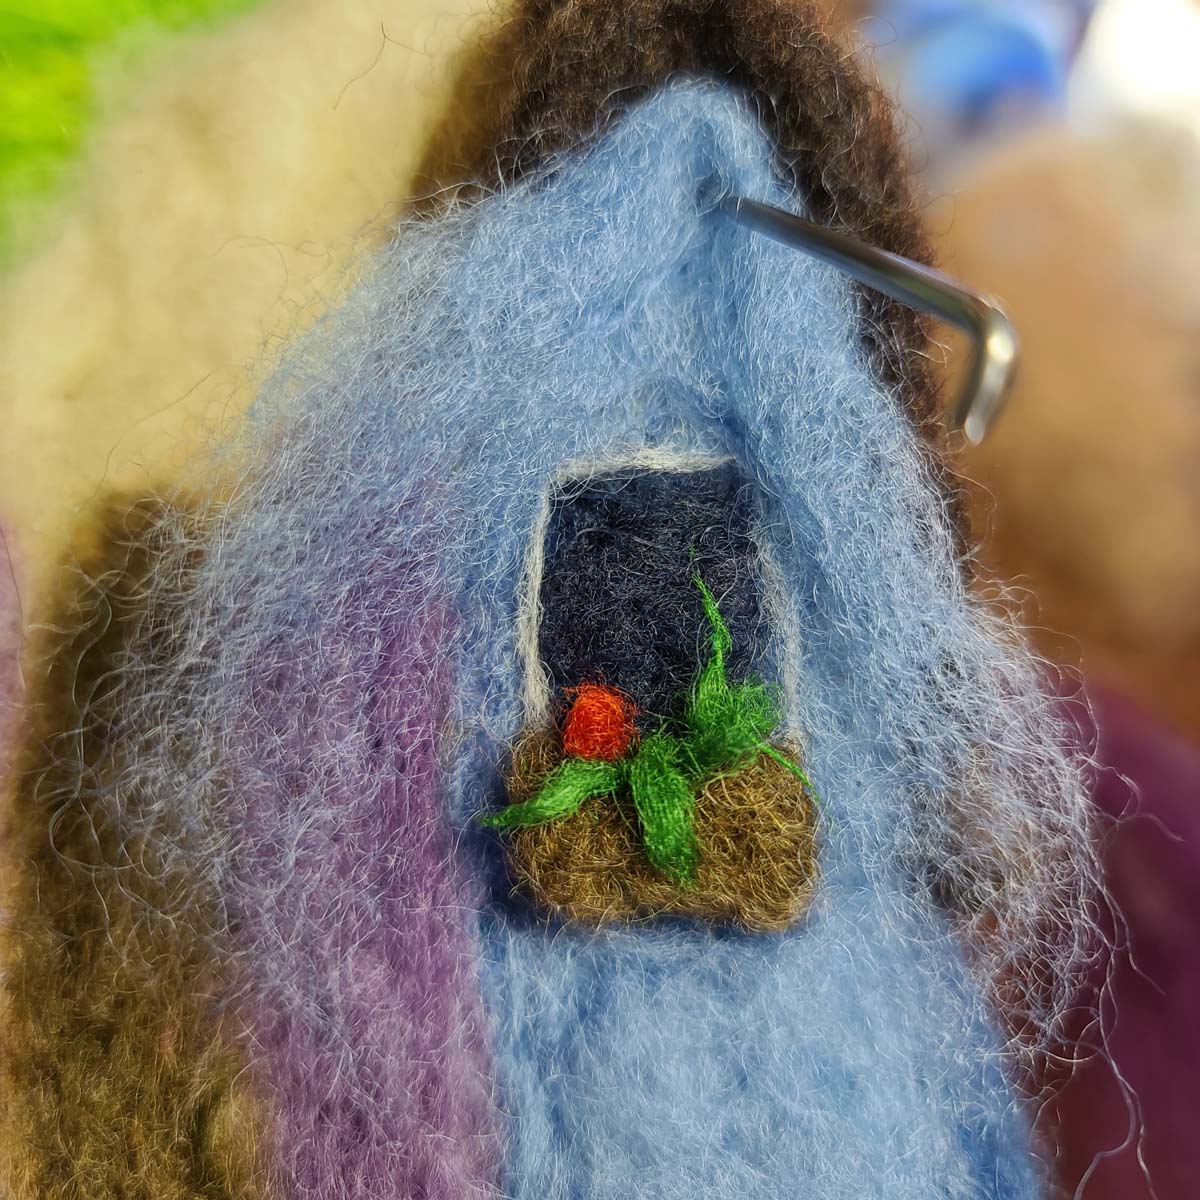
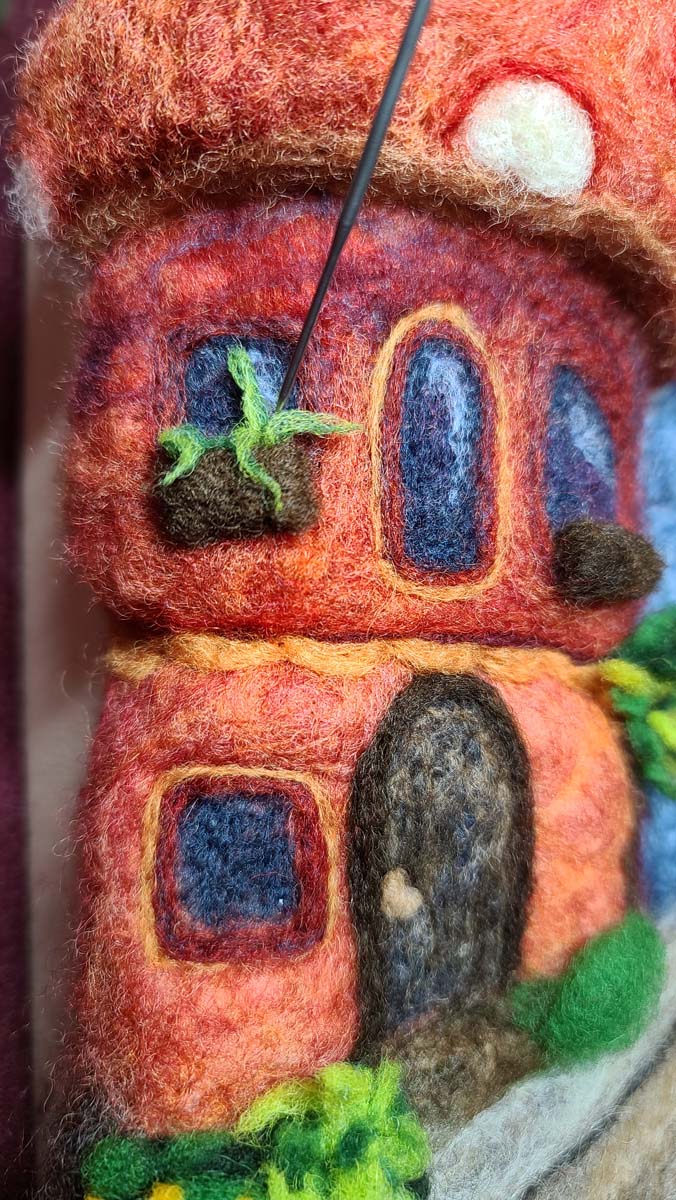
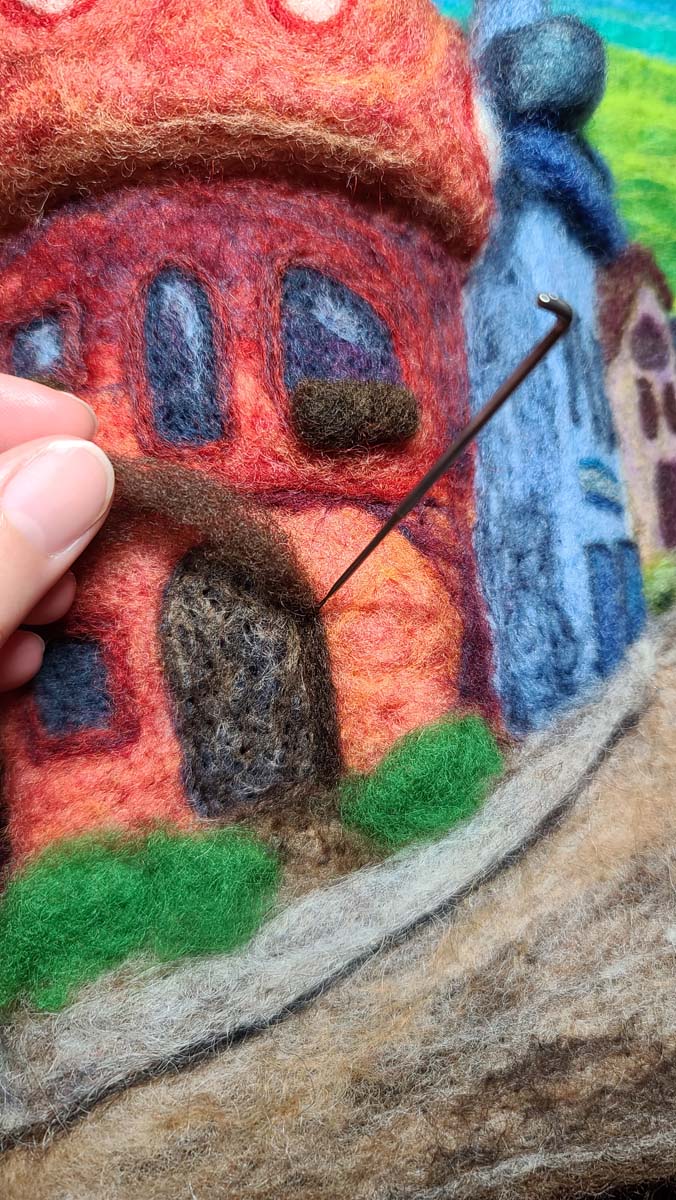
Plants, Planters & Window Boxes
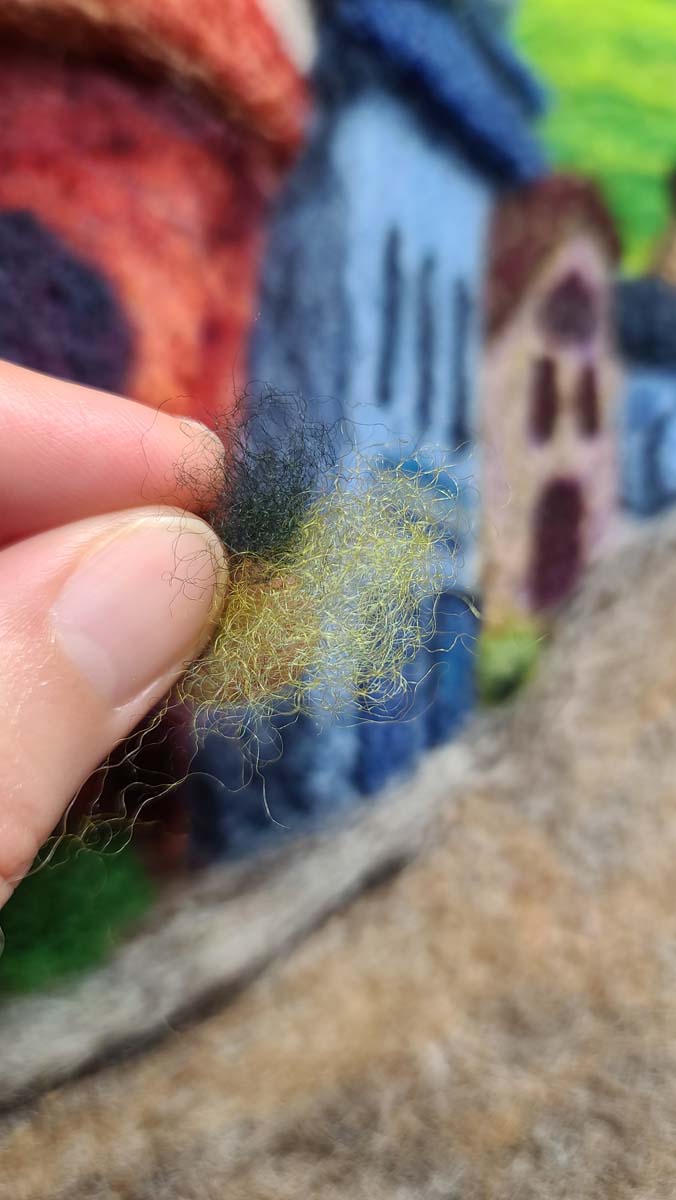
The setting of my fairy children’s books is Lichendia, a woodland fairyland. Whether the scene is in the woods or along the main street of Lichendia proper, there are a lot of trees and plants. I’ve been figuring out various nifty tricks and techniques for making different plant shapes, textures, and color combinations.
Start Learning Today!
-

Coral Reef Class Registration
$60.00 Add to cart -
Sale!

2 Book Hardcover Bundle
Original price was: $50.00.$45.00Current price is: $45.00. Add to cart -
Sale!

2 Book Lichendia Bundle
Original price was: $25.00.$22.50Current price is: $22.50. Add to cart -
Sale!

3 Book Paperback Bundle
Original price was: $40.00.$36.00Current price is: $36.00. Add to cart
Free Felting Lessons
Learn techniques used to merge 2D & 3D felting into works of art that POP off the wall!
Sign Up
For everyone on my email list, please remember that when the month ends, lessons are then available for individual sale or added to the membership portal for paid members of the Felting Master Class.

