Artist's Palette Felting Lessons
With Hillary DowThank you for purchasing an Artist’s Palette Felting Kit! Here you will find a collection of 3 felting lessons pulled from the full Felting Master Class with fiber artist, Hillary Dow. Thank you for being a part of this adventure!
Modules
The felting master class is divided into six modules. Your felting kit comes with 3 complete felting lessons. To access additional content in the felting master class, please visit my online shop!
Module 1
Fiber Base & Final Touches
Module 2
Composition & Background
Module 3
Landscapes, Nature, Animals
Module 4
People & Portraits
Module 5
Objects & Structures
Module 6
Felting in 2D and 3D
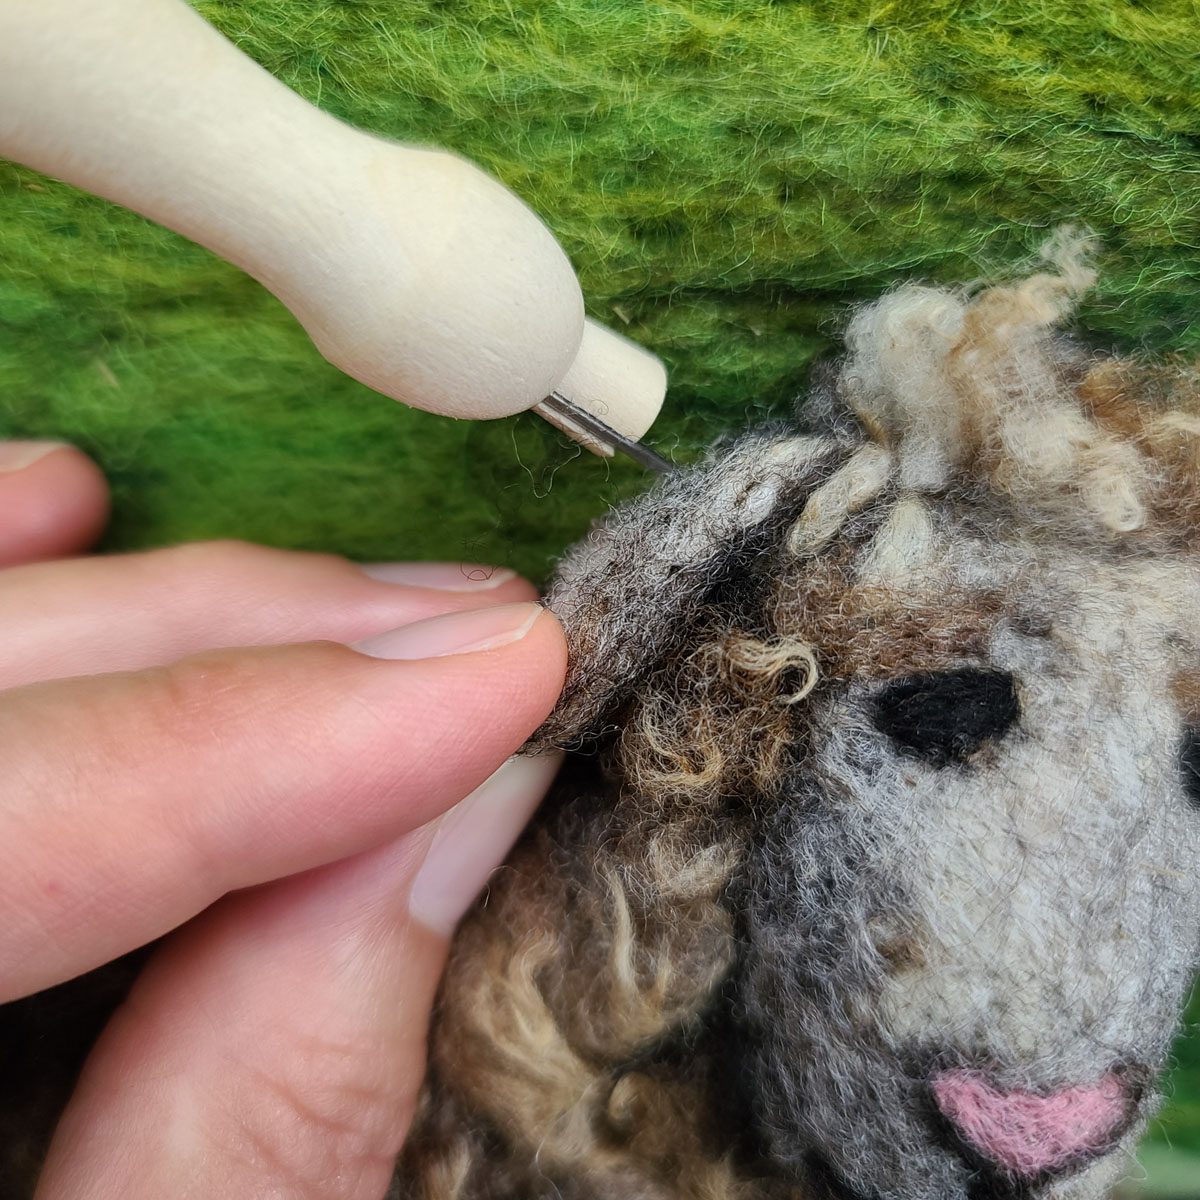
Landscapes - Nature - Animals
Lessons From Module 3
Nature as the Setting or a Detail
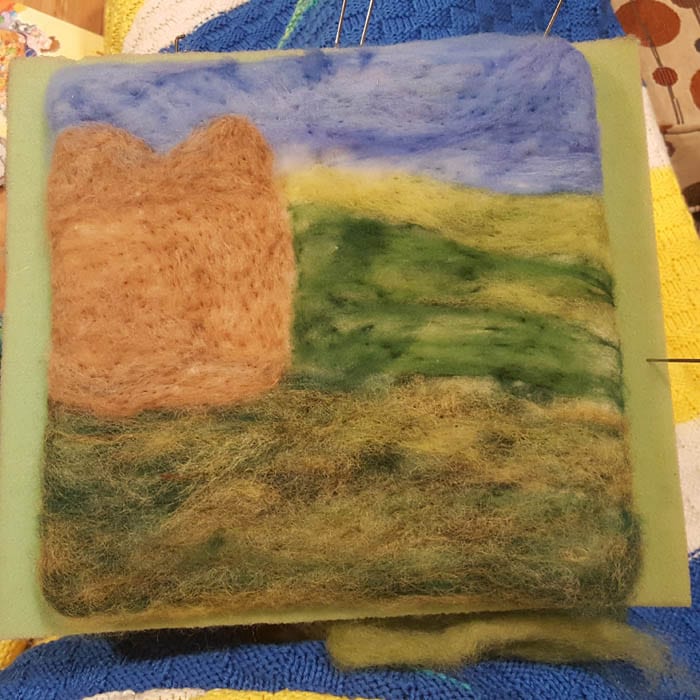
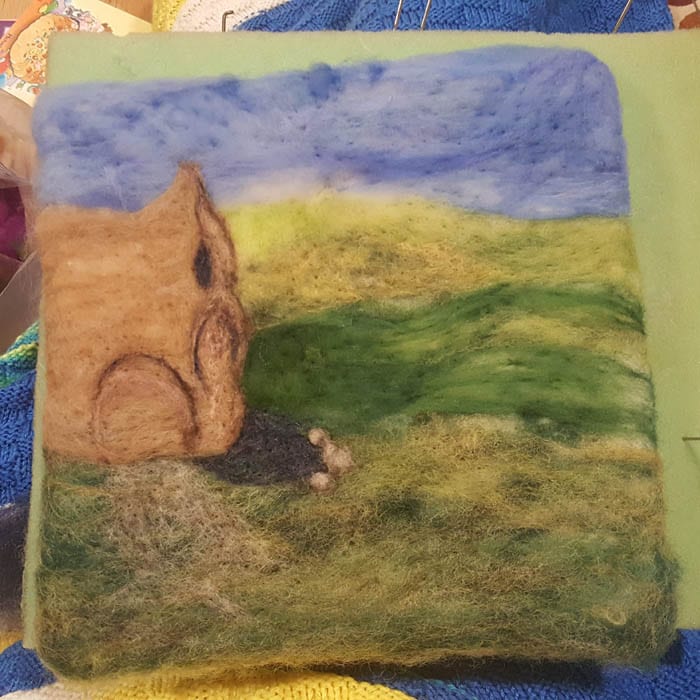
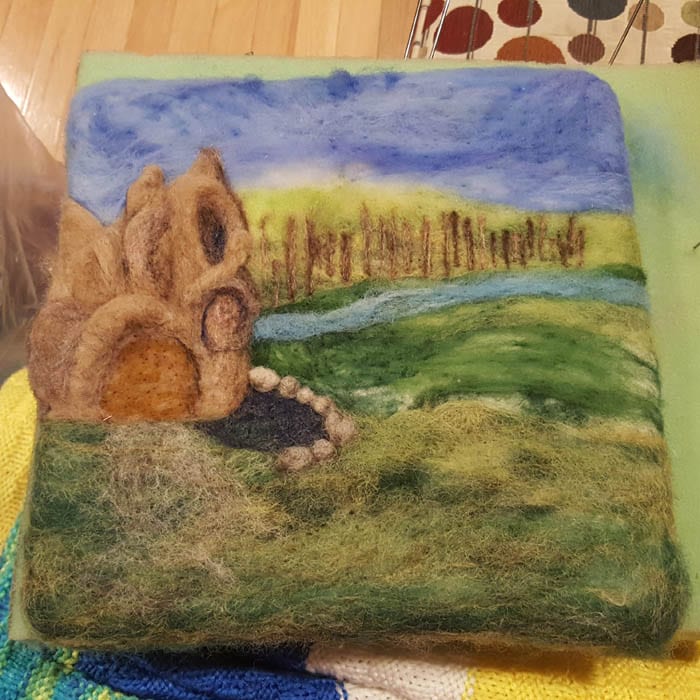
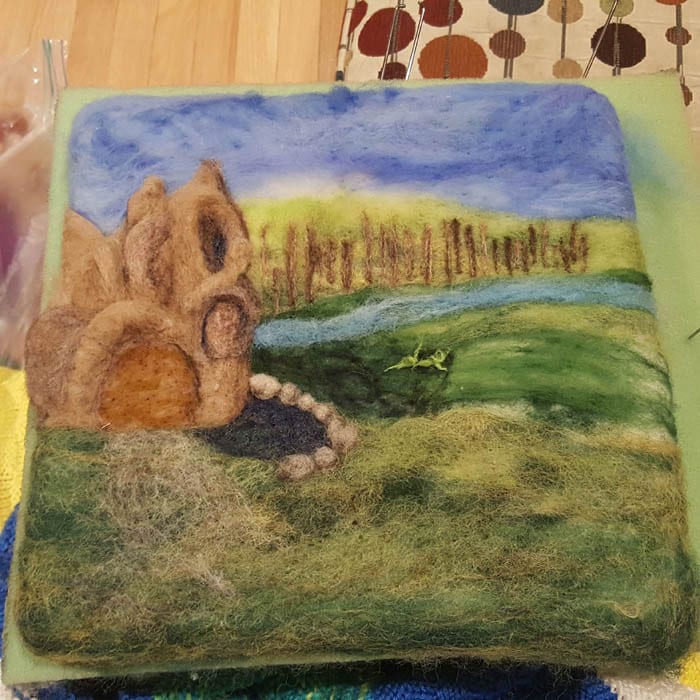
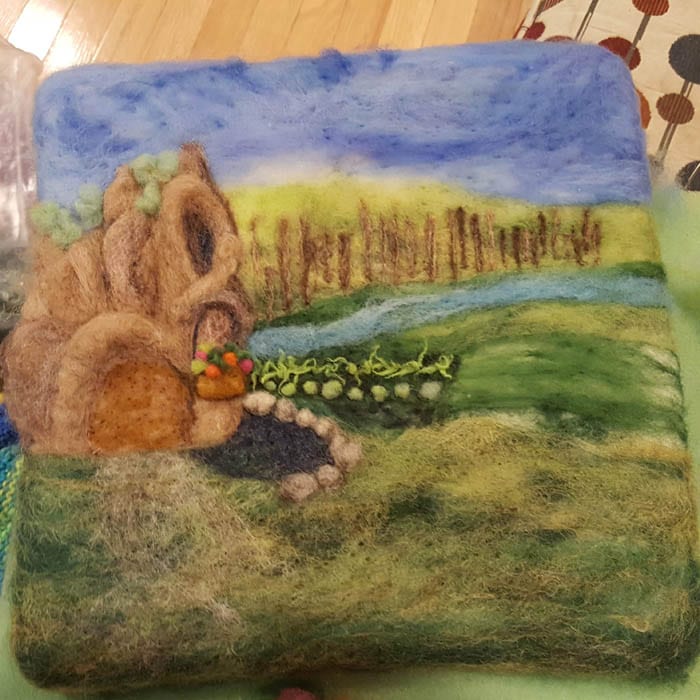
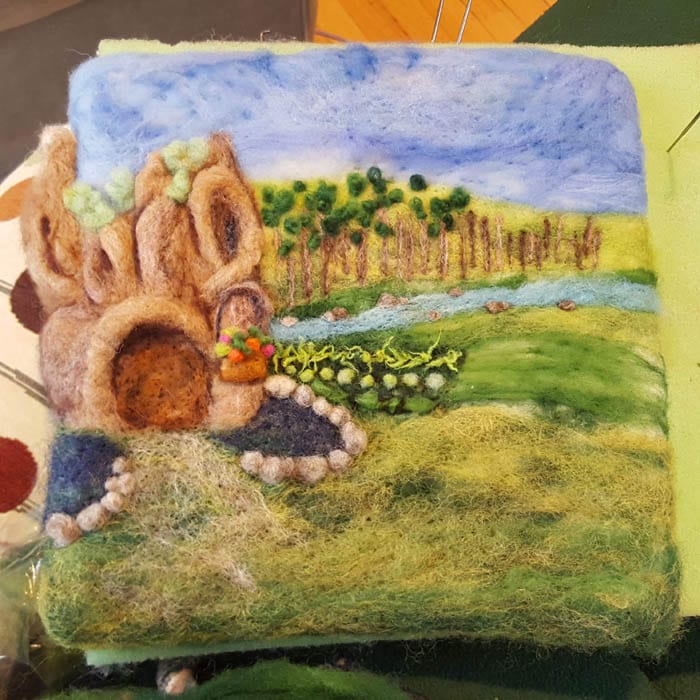
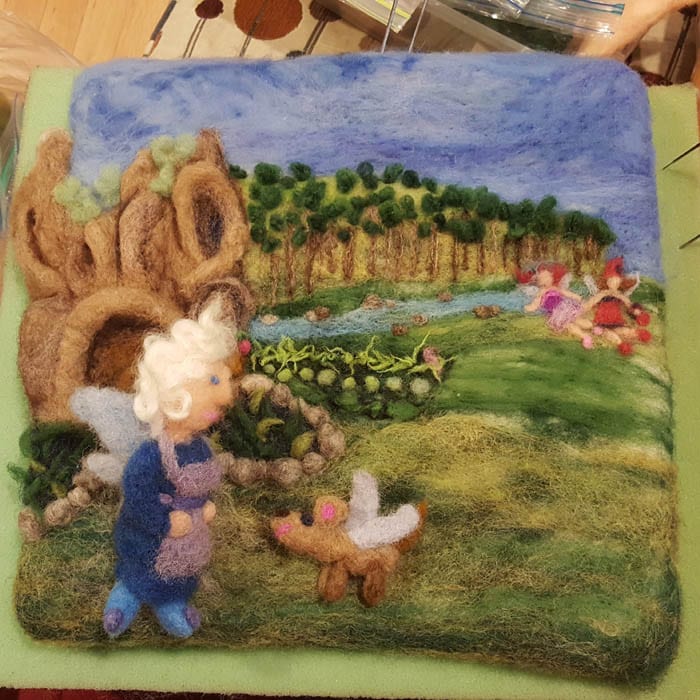
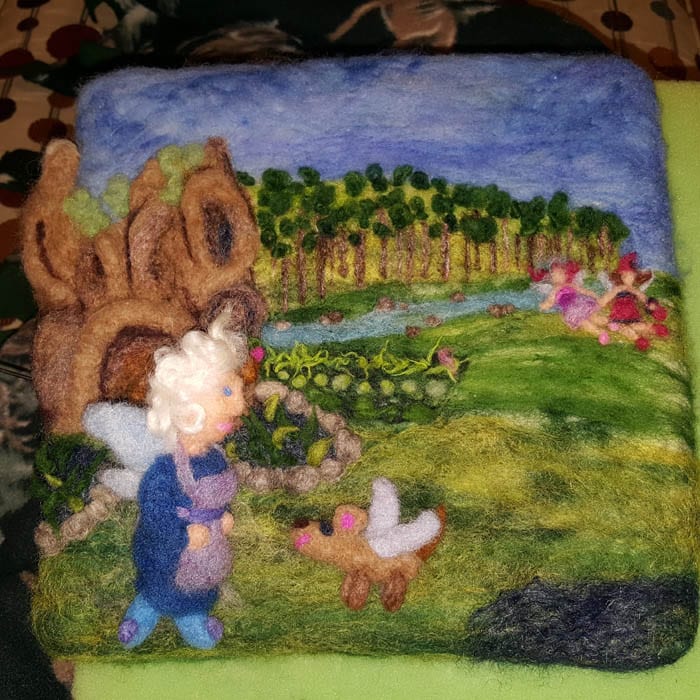
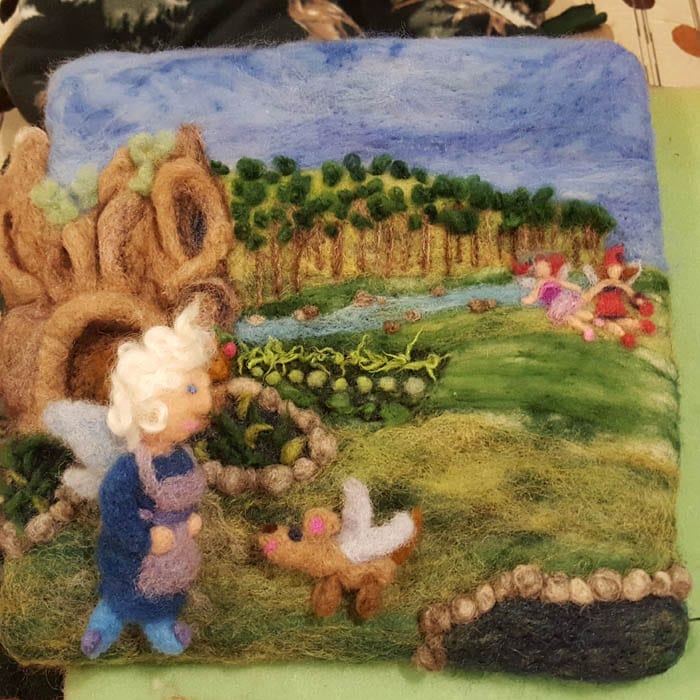
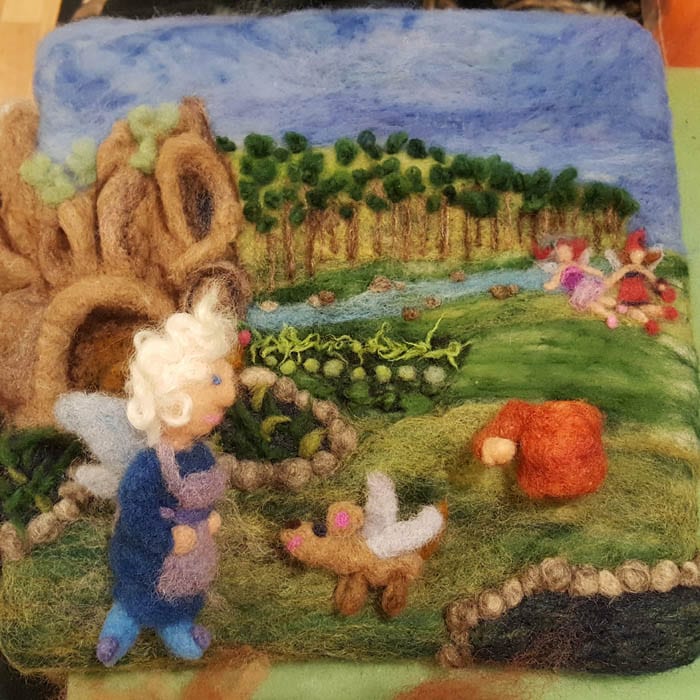
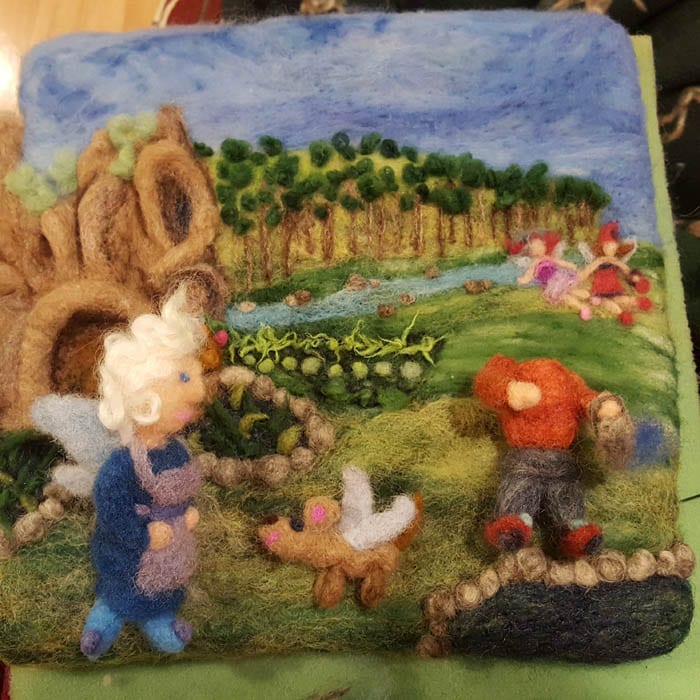
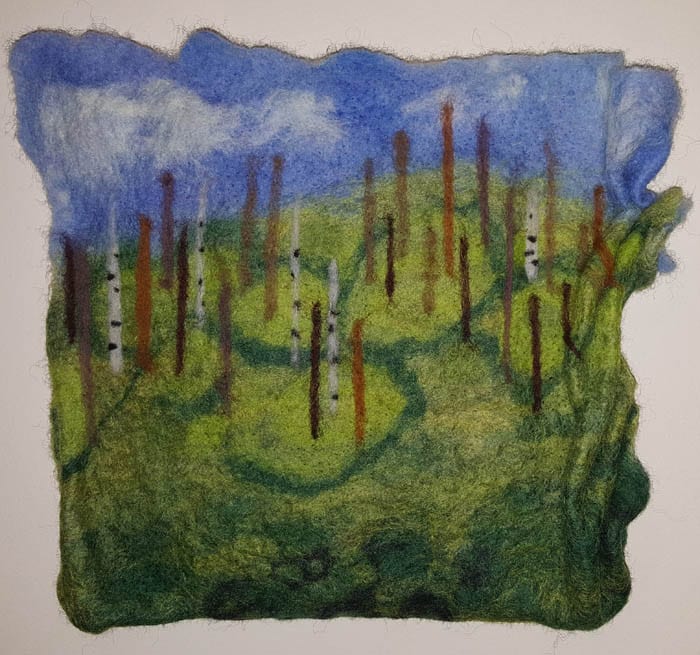
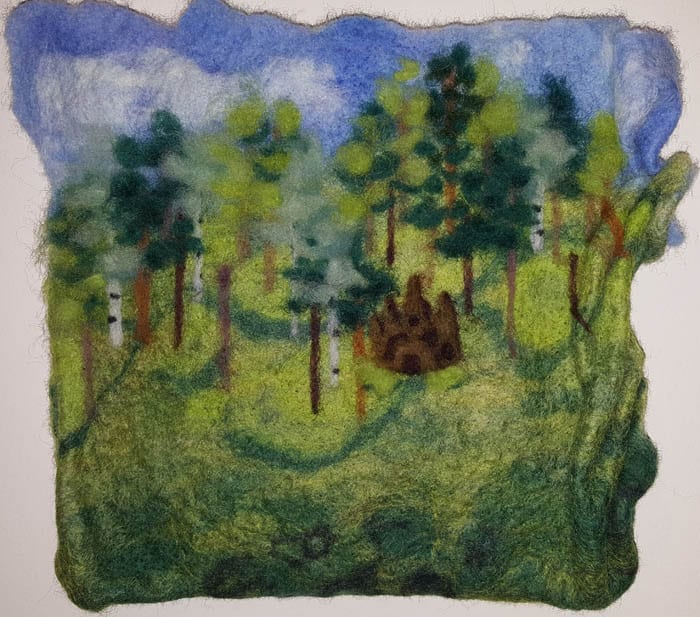
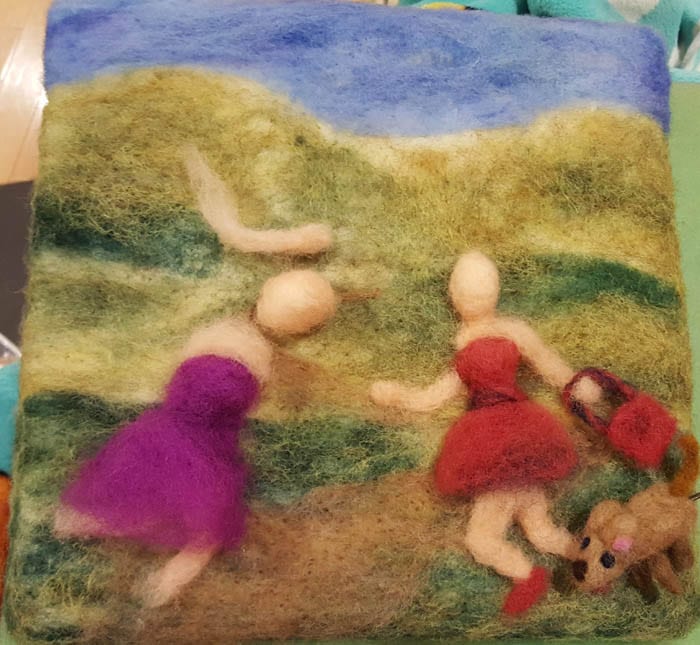
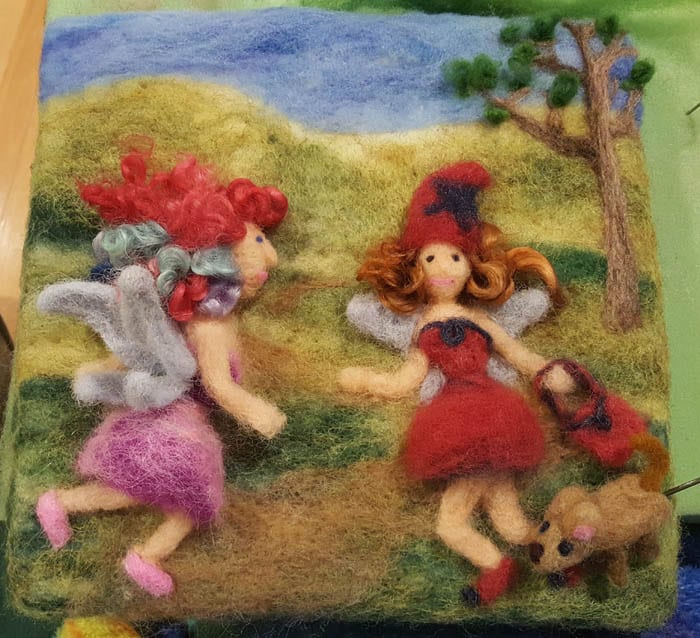
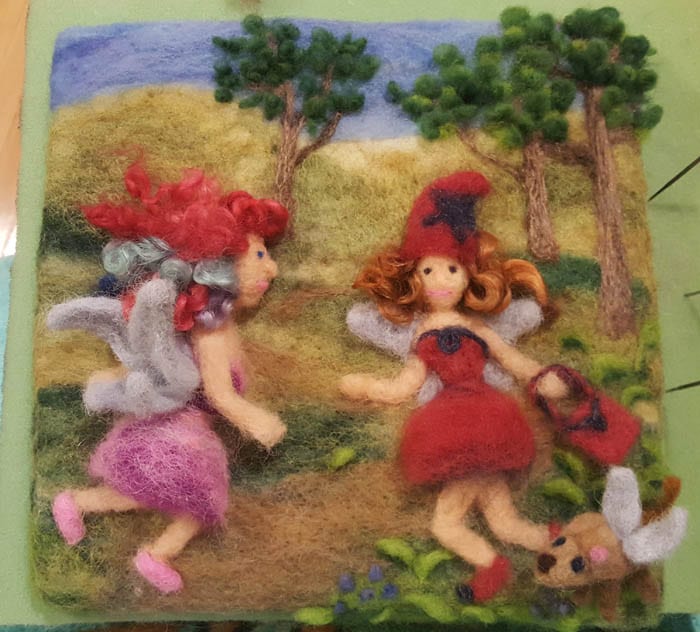
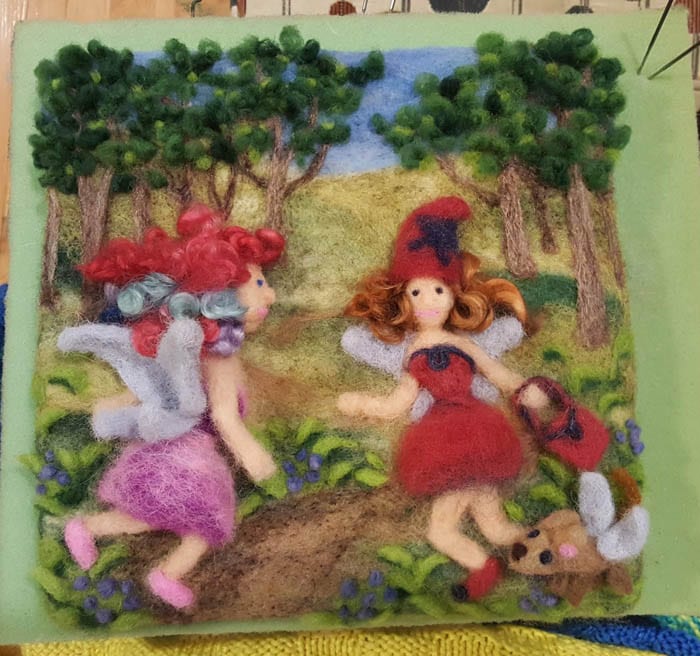
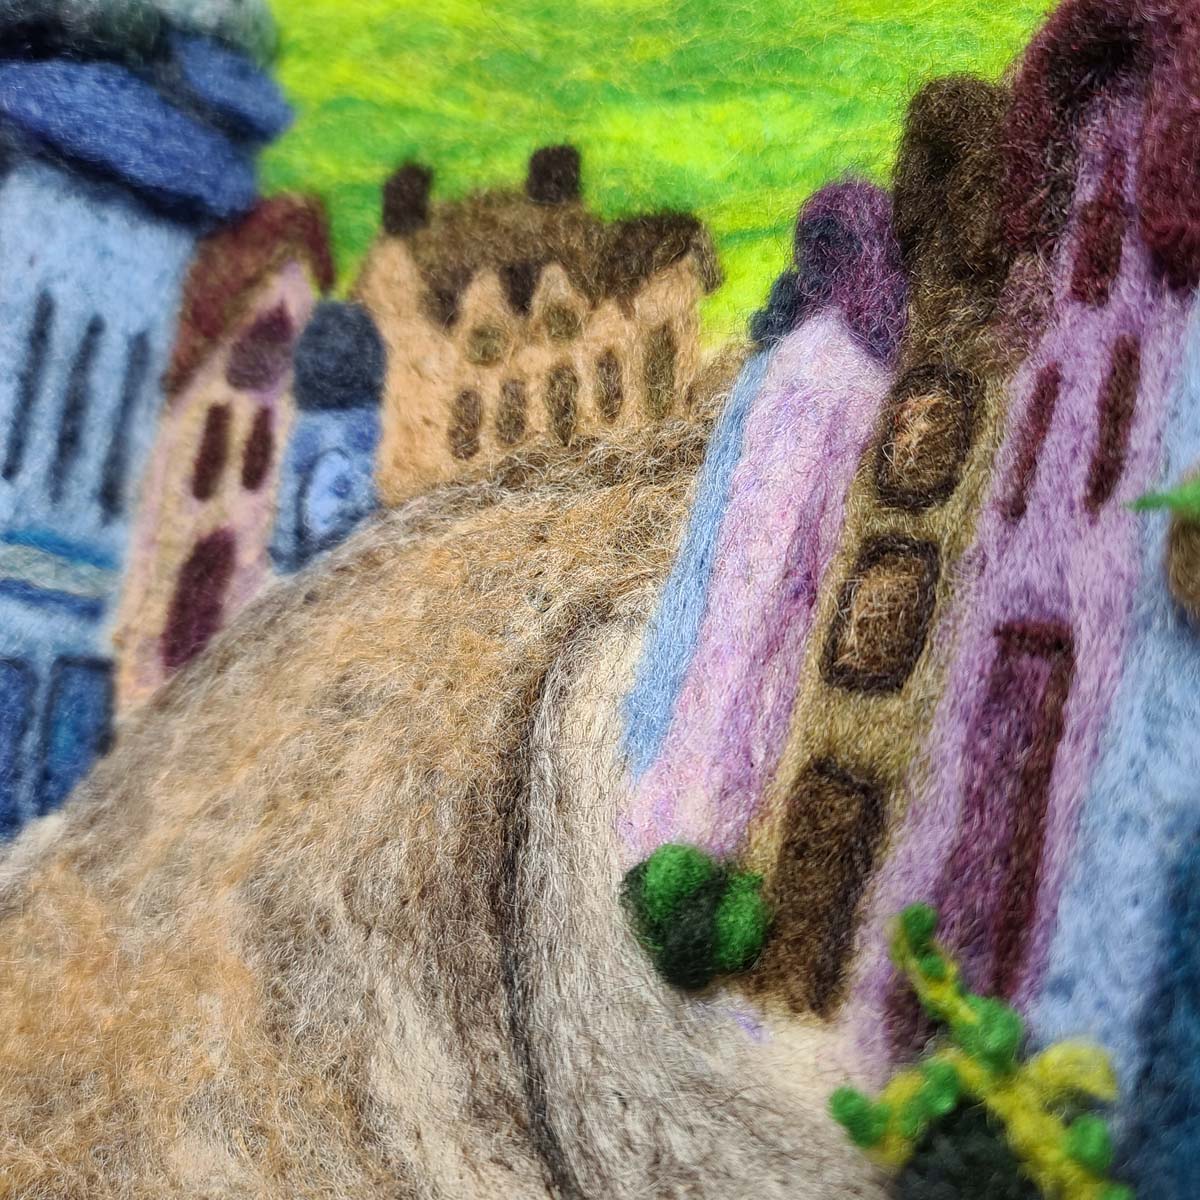
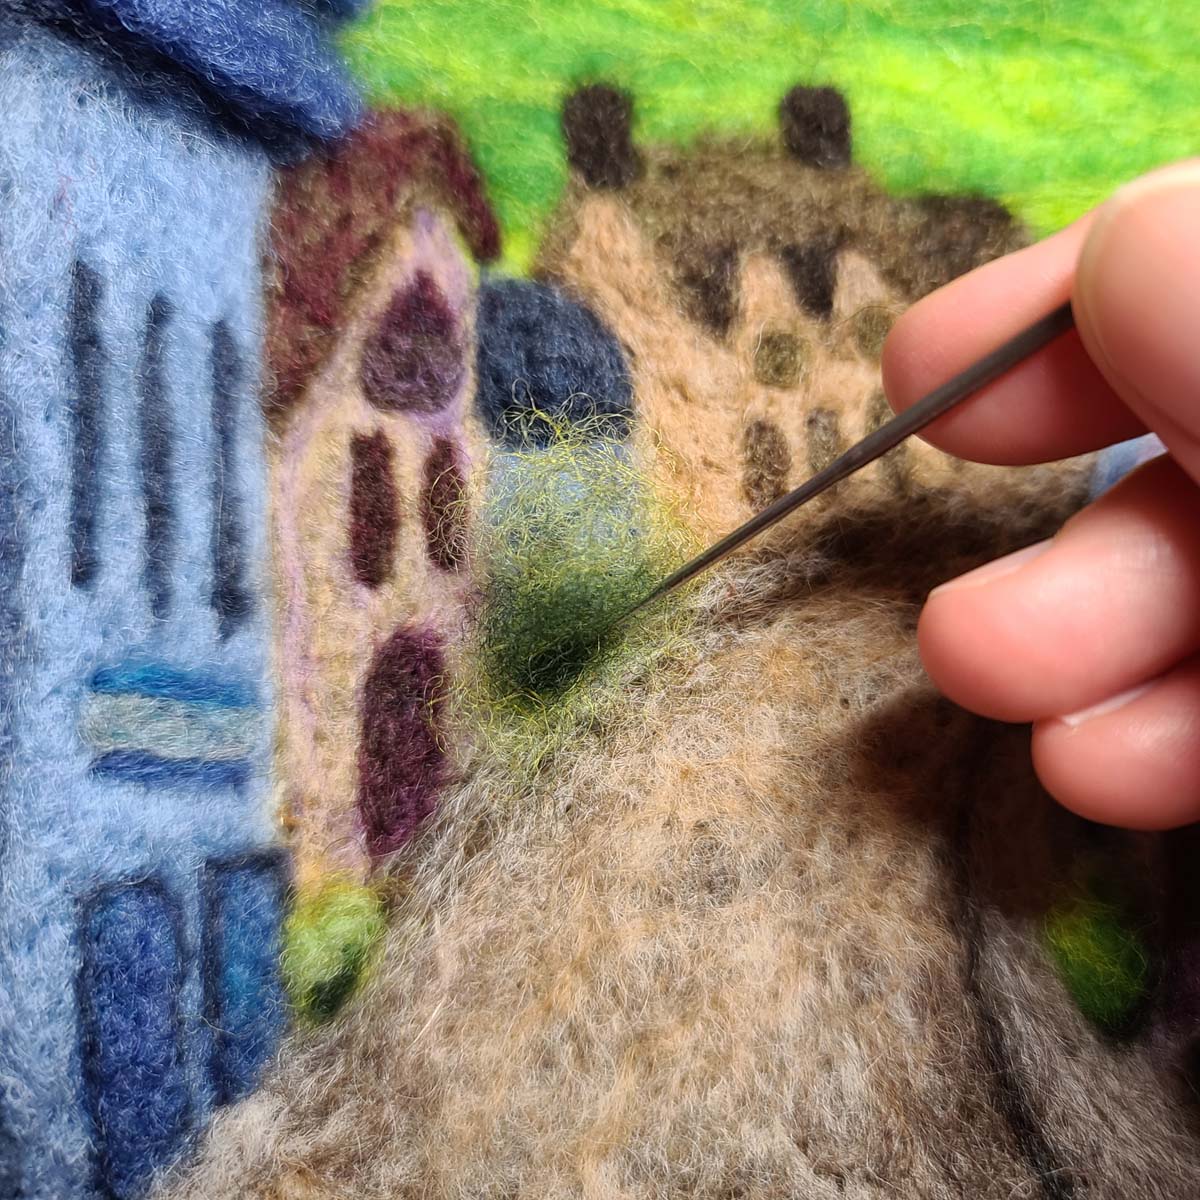
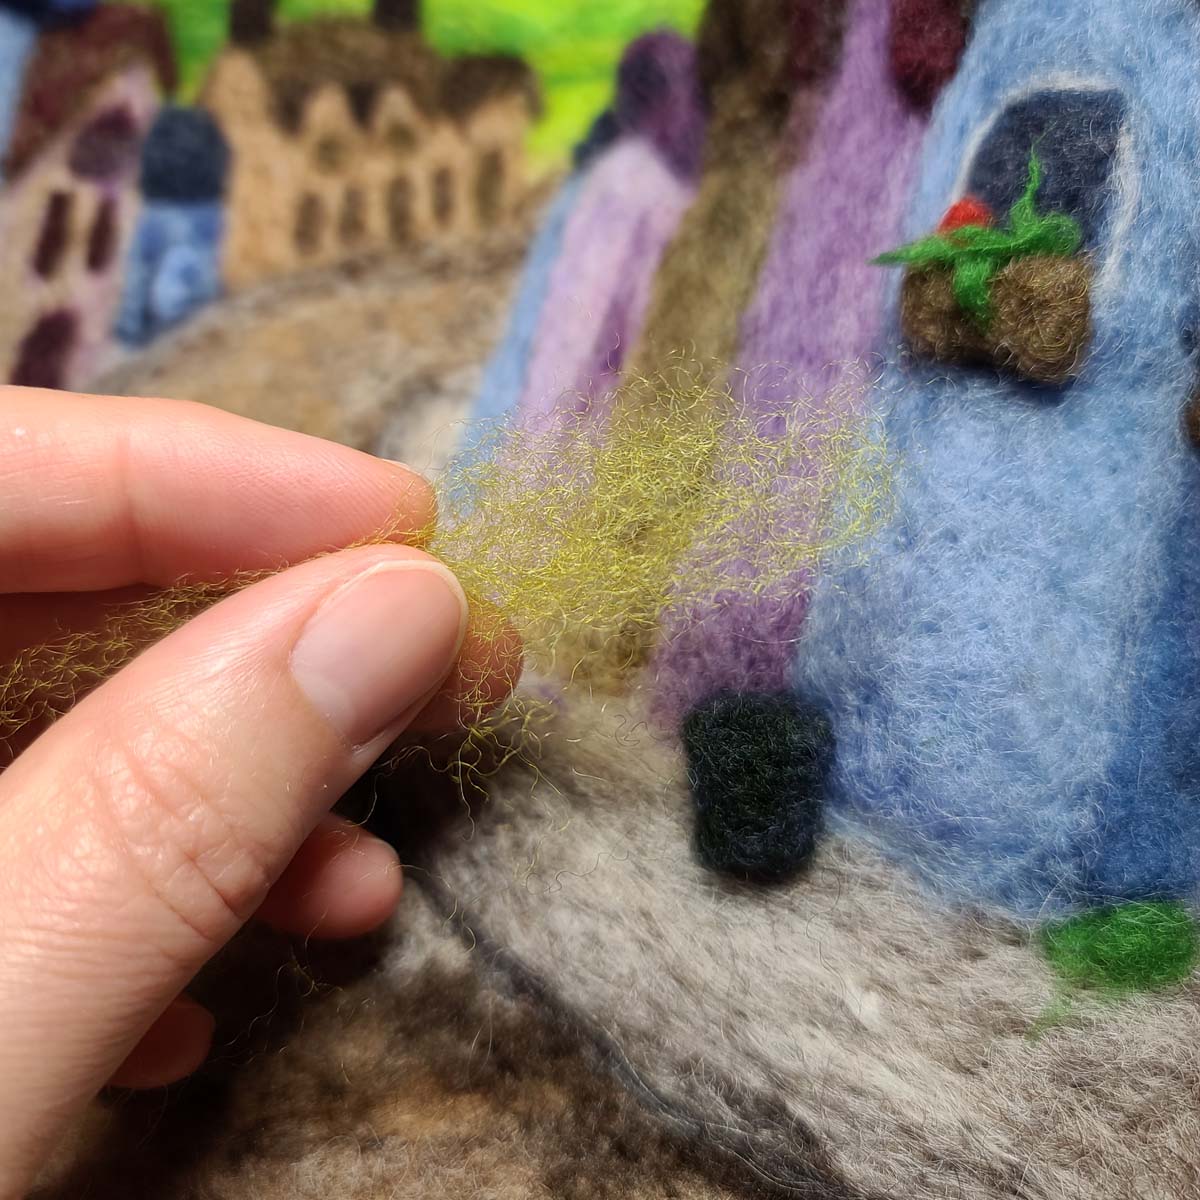
Displayed below are galleries of still images I captured as I worked on some of my very first Lichendia illustrations. In the first gallery, the images progress through felting the base layer background, then adding a distant tree line, shadows to add depth to the field, small, detailed plants, and the illustration focal point in the foreground. There are also progression images of adding trees with more detail that are placed closer to the foreground.
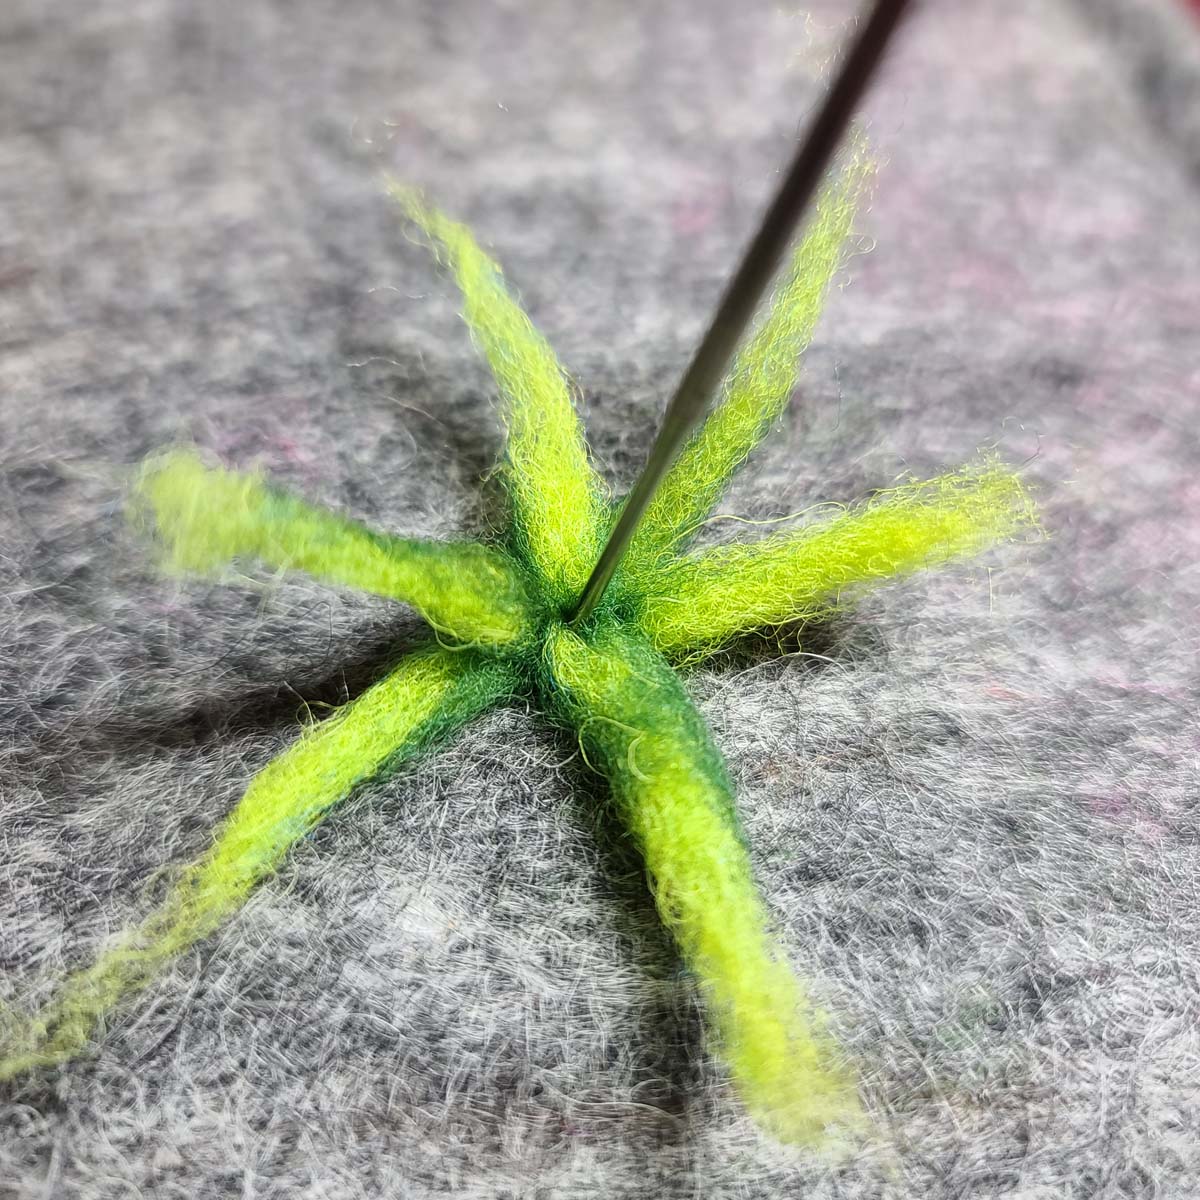
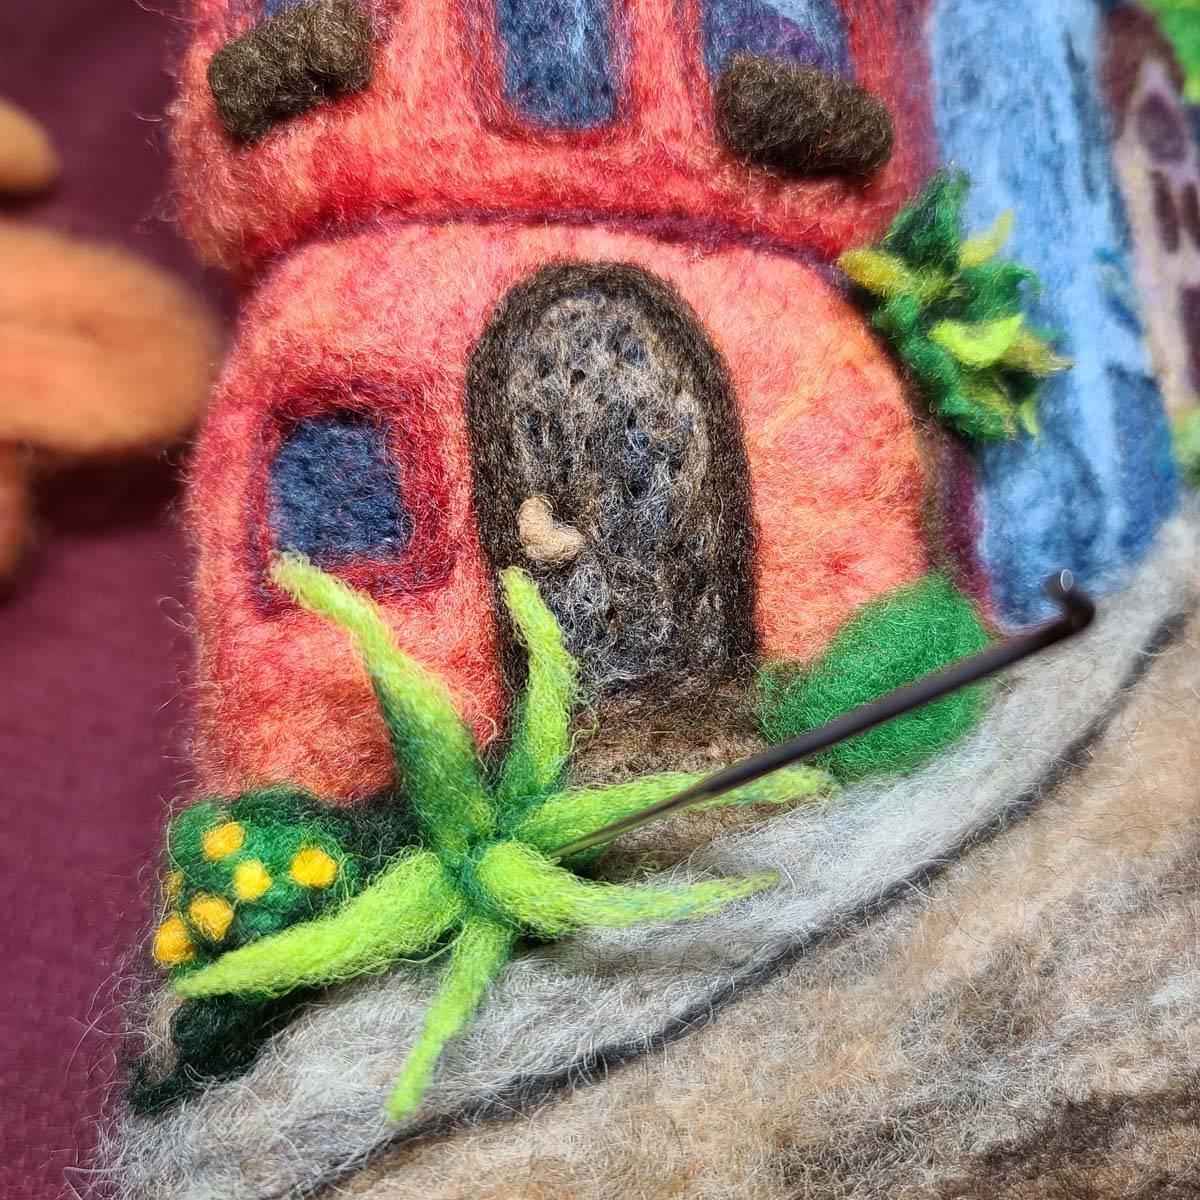
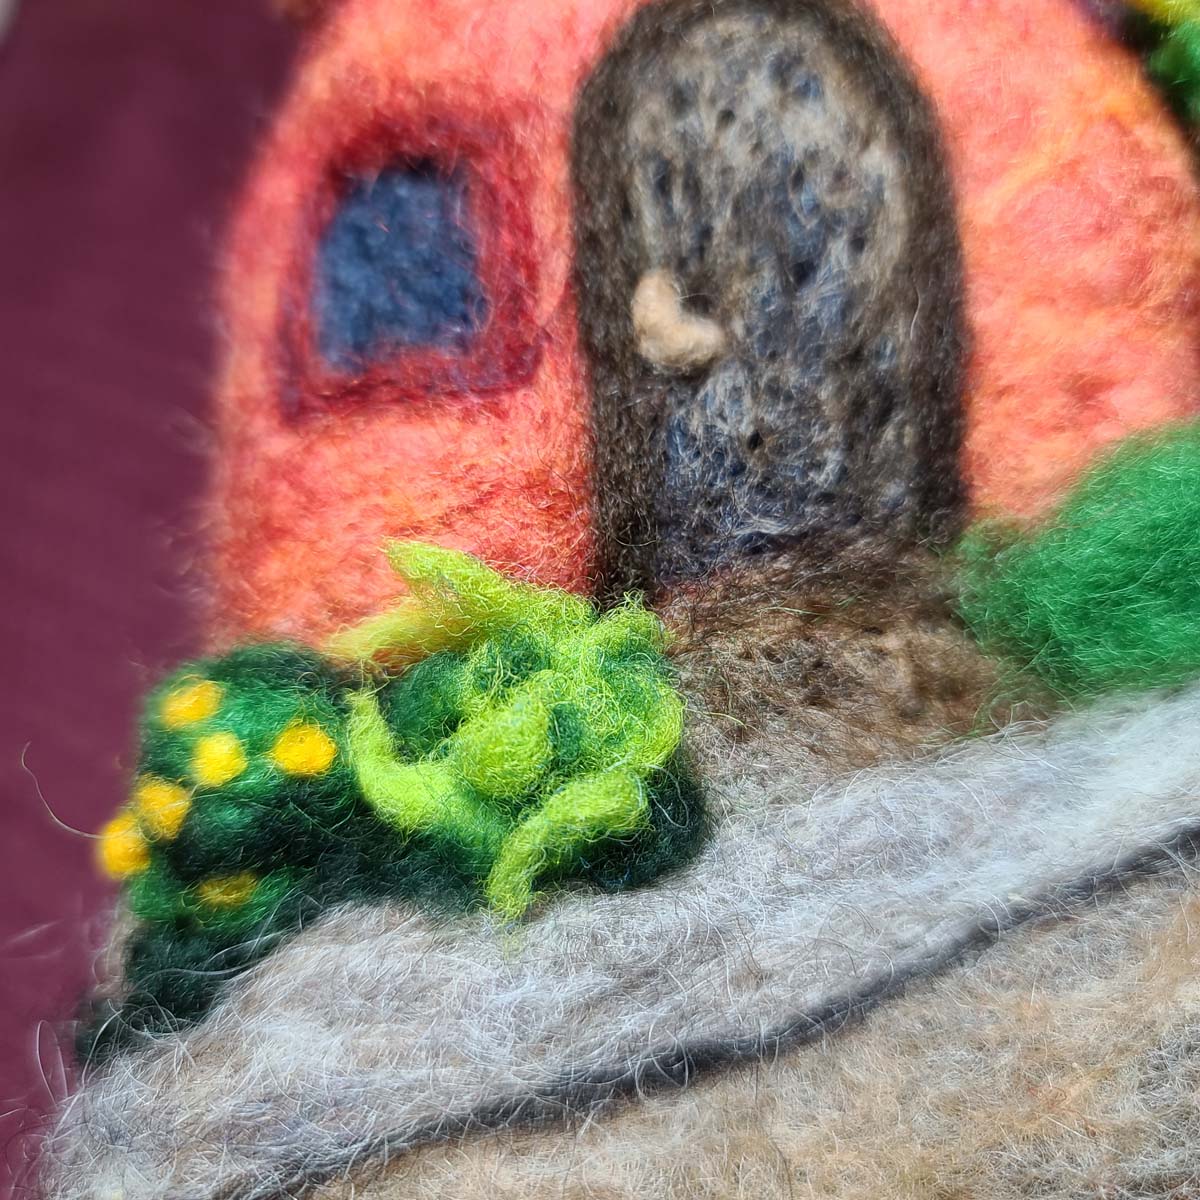
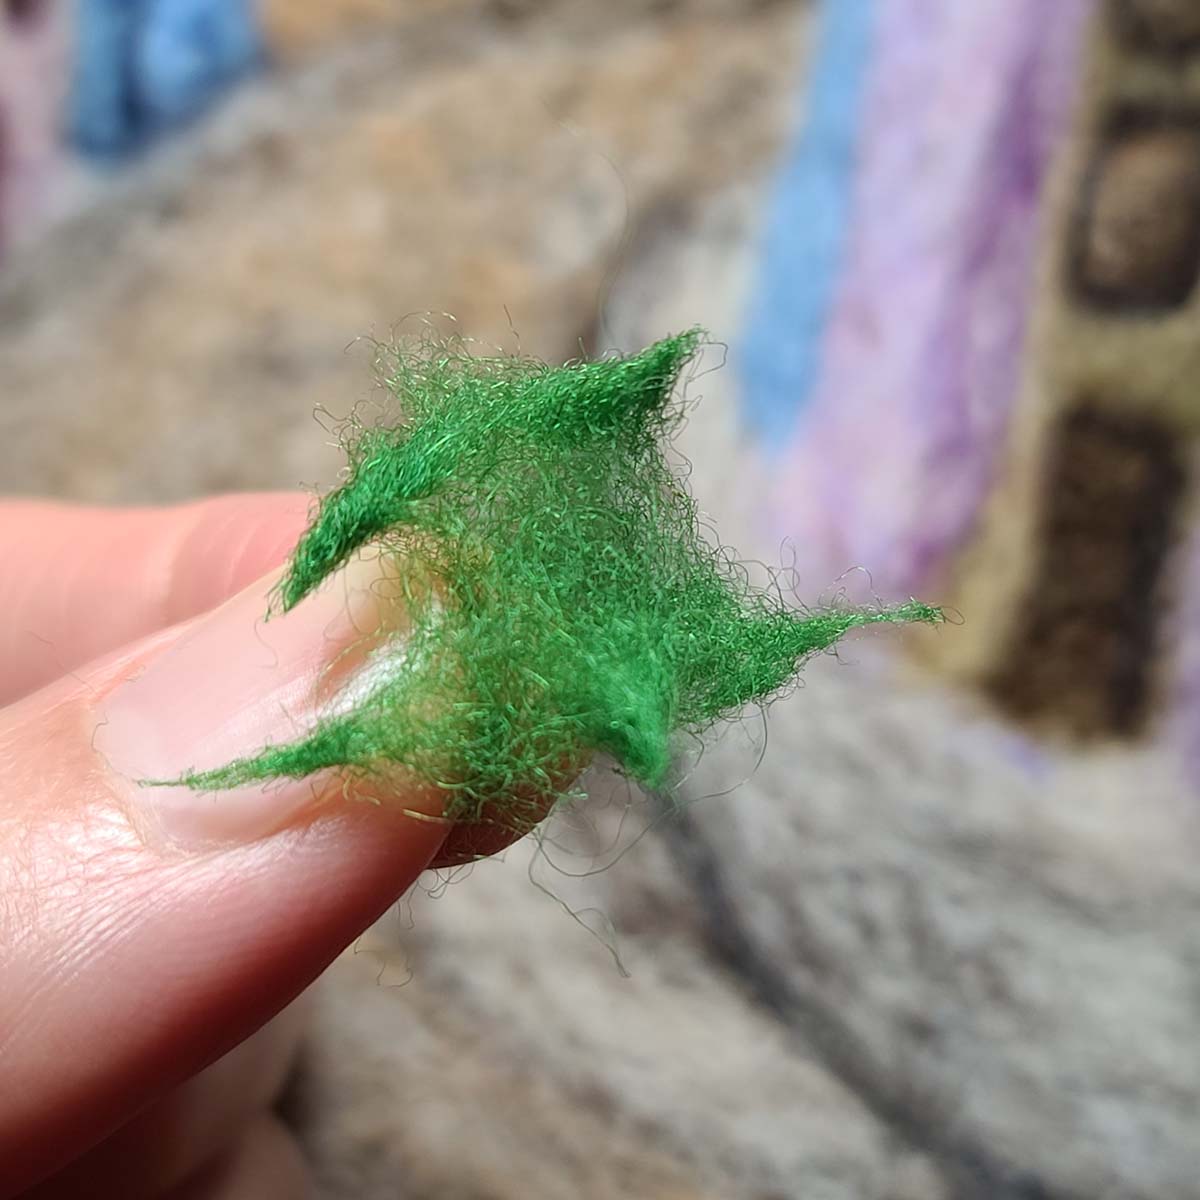
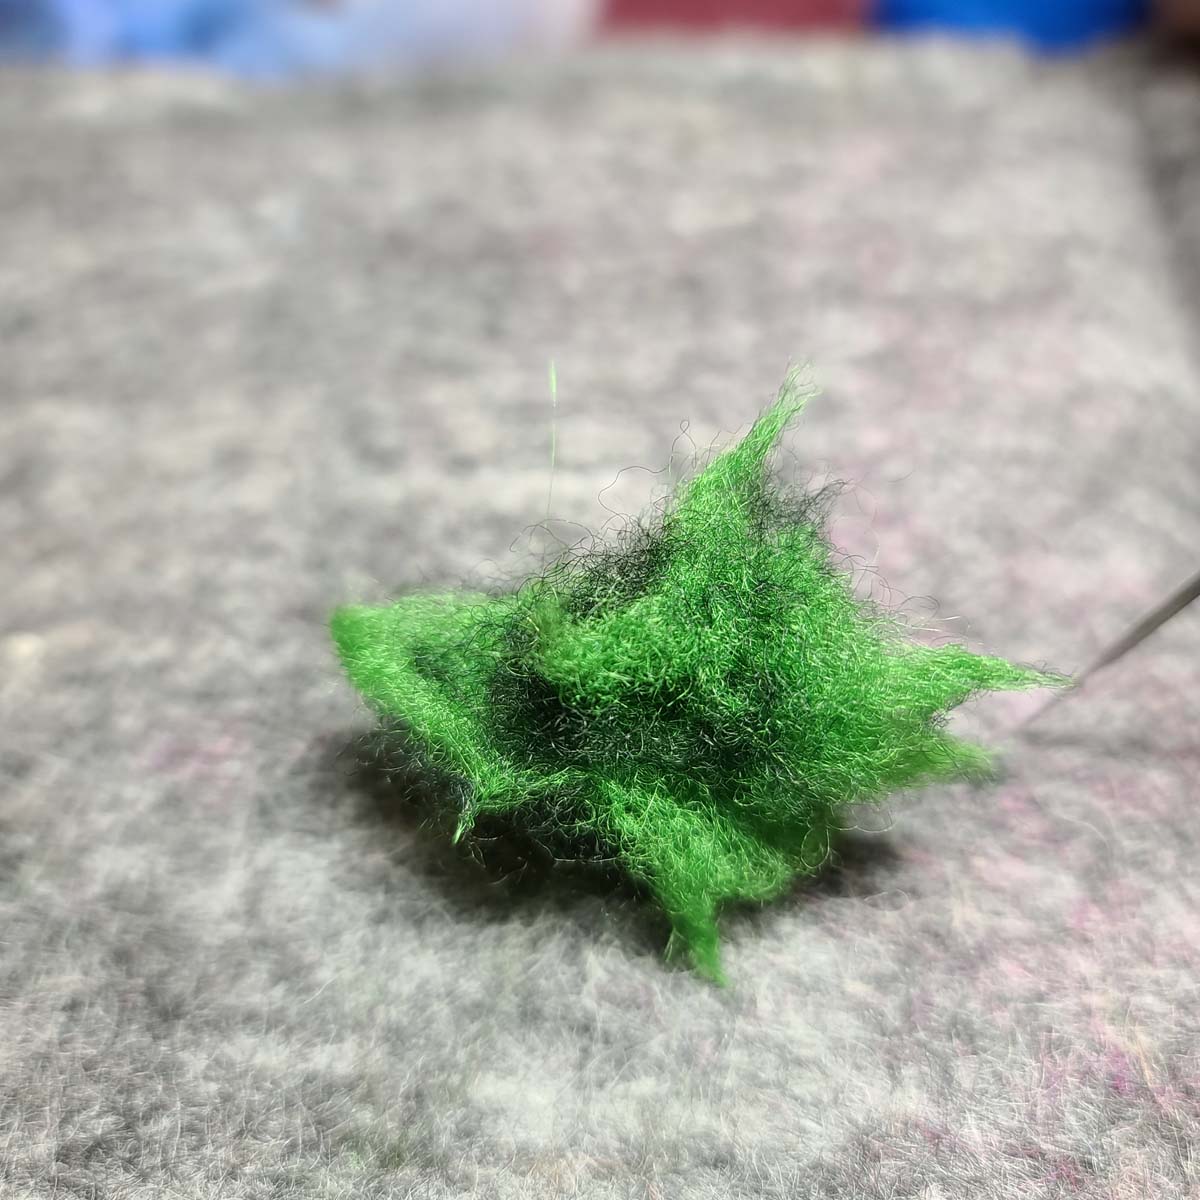
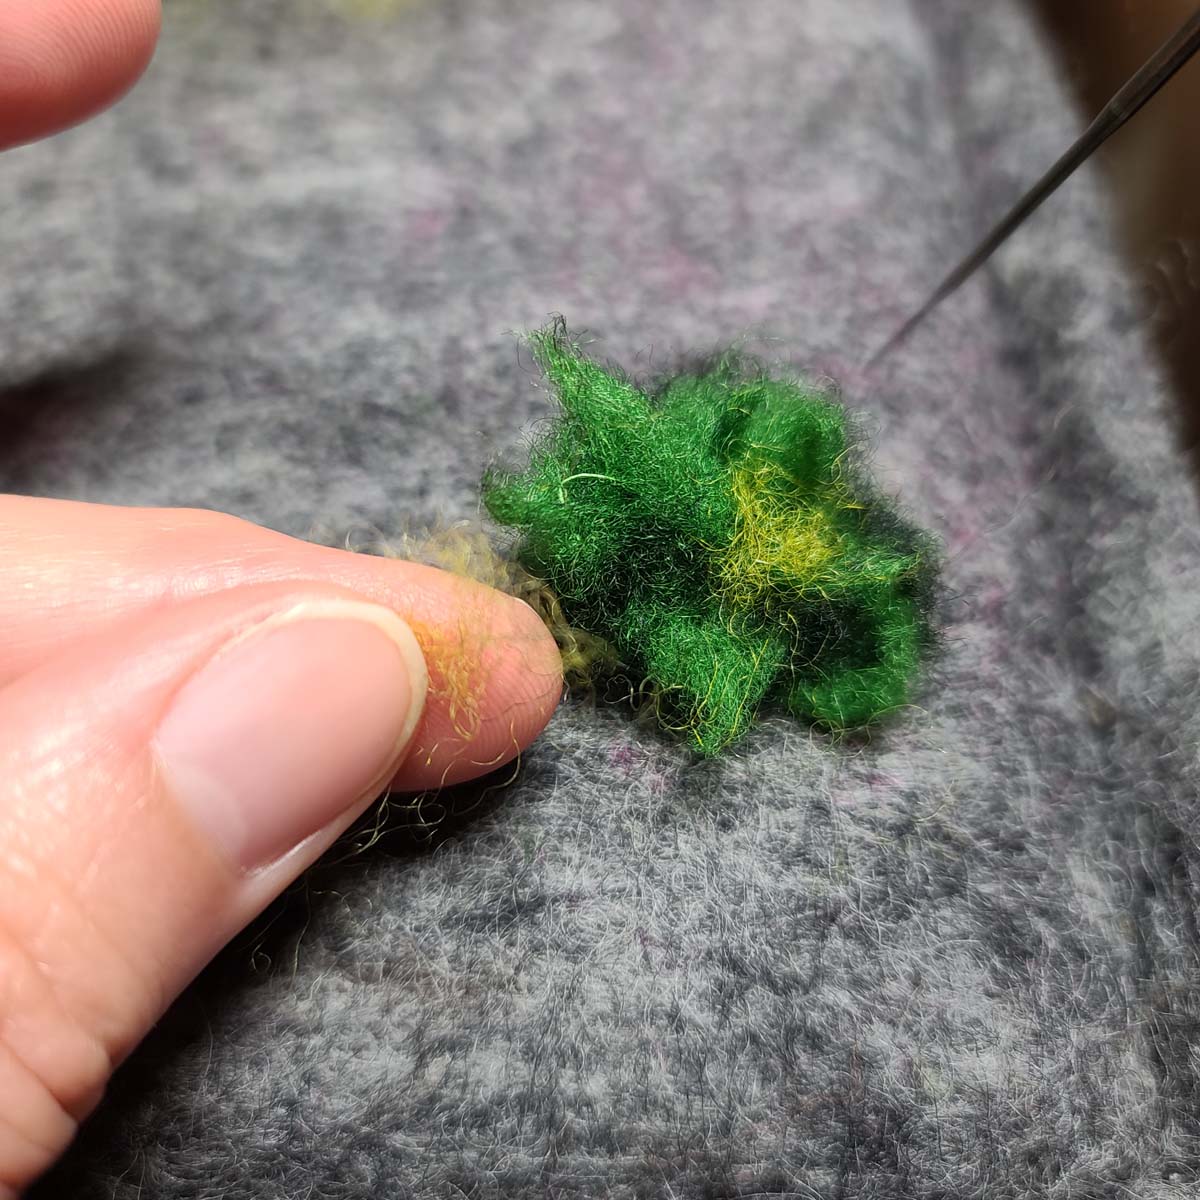
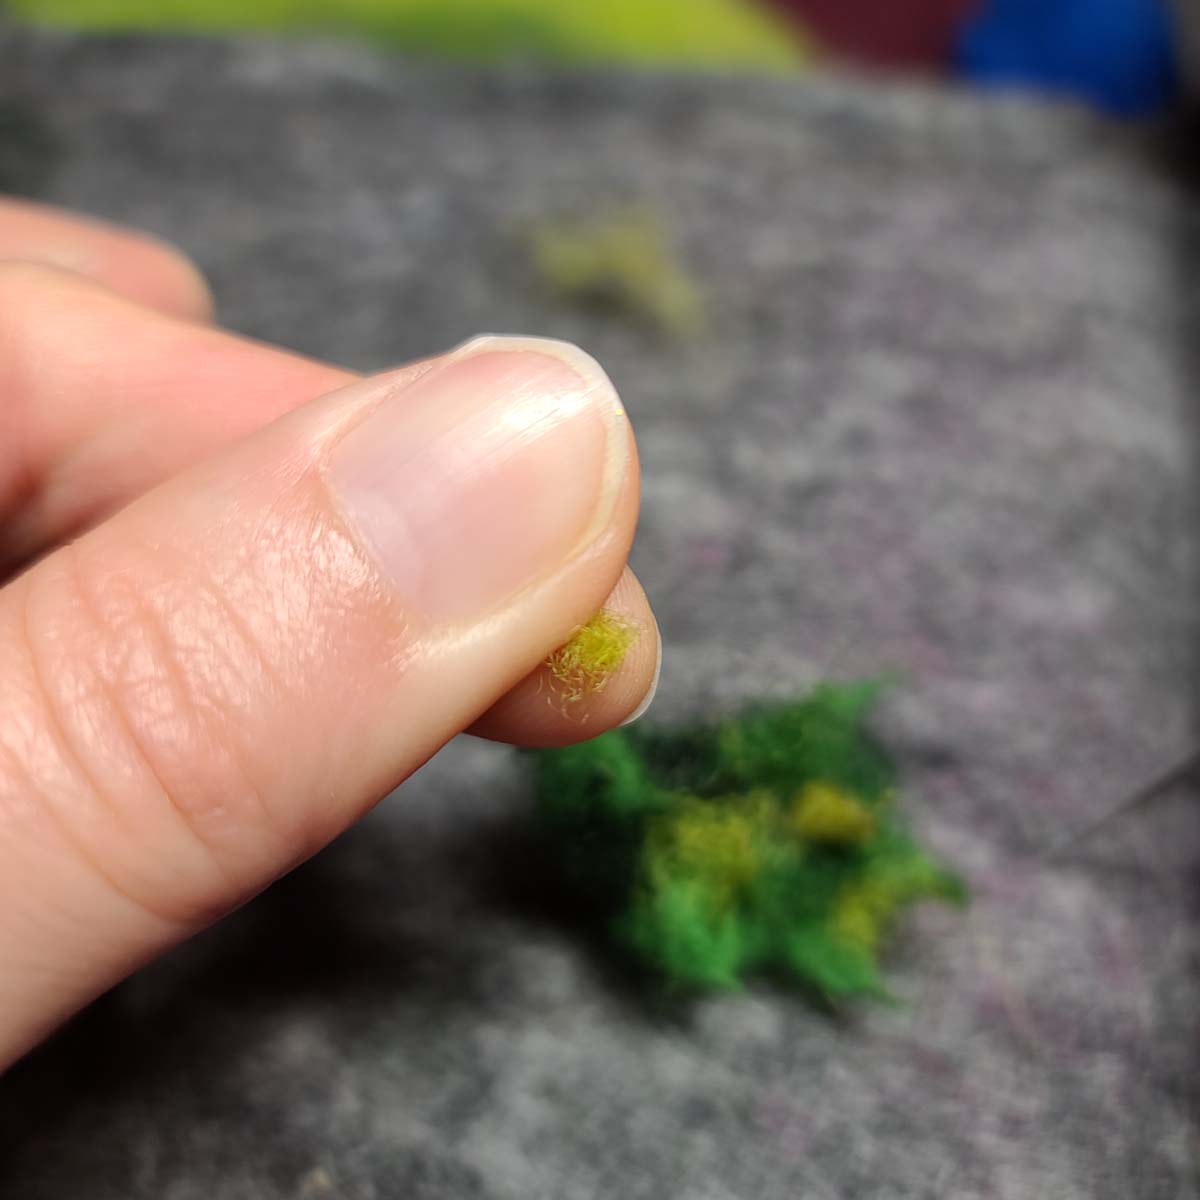
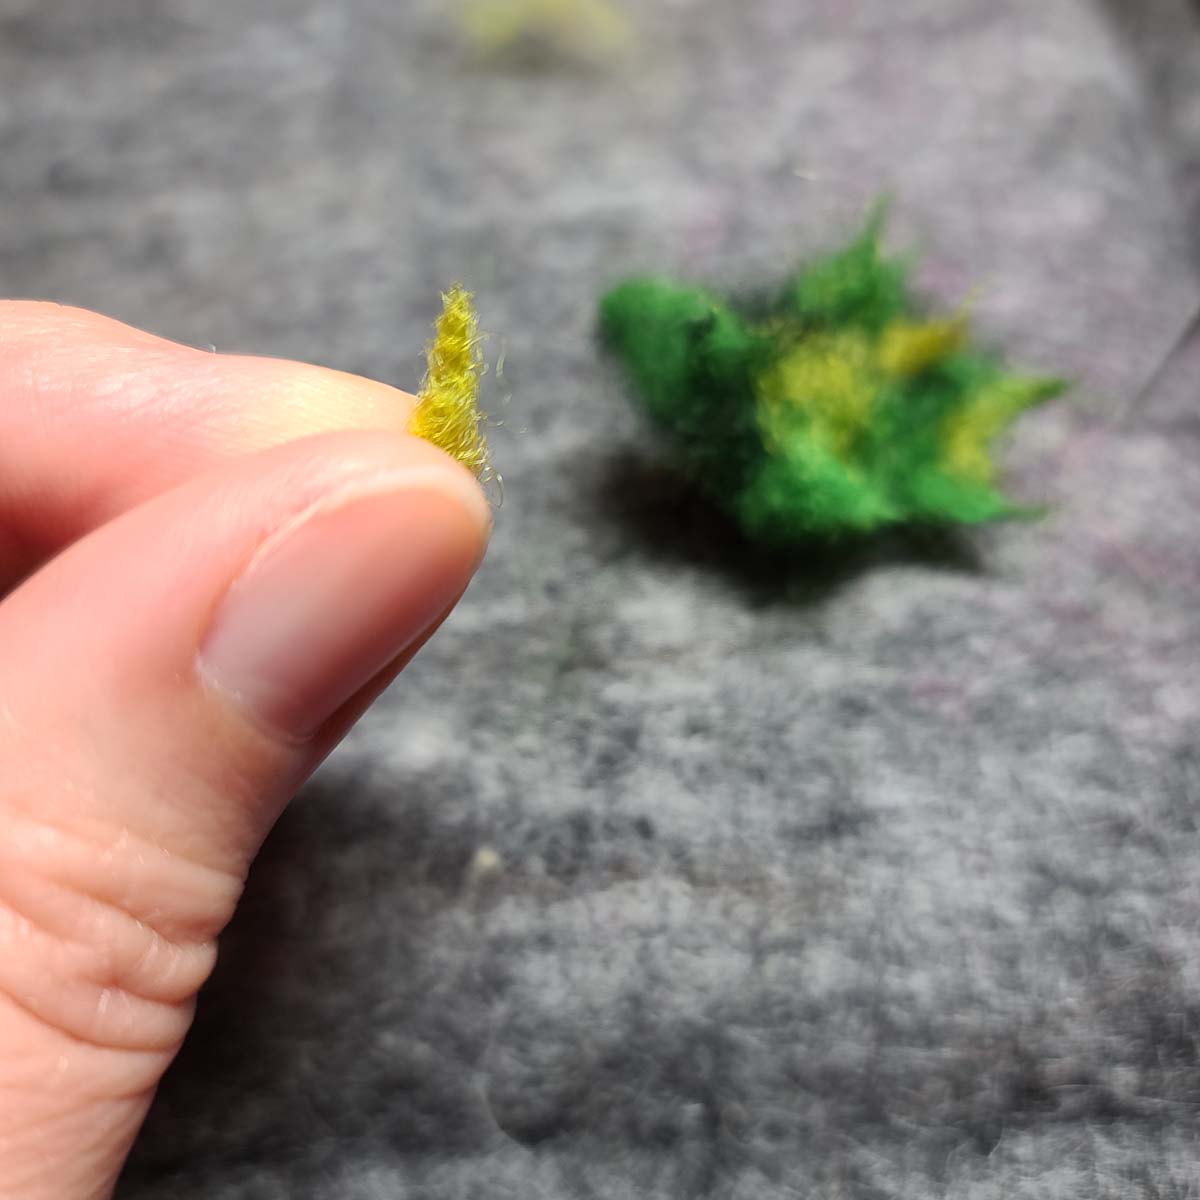
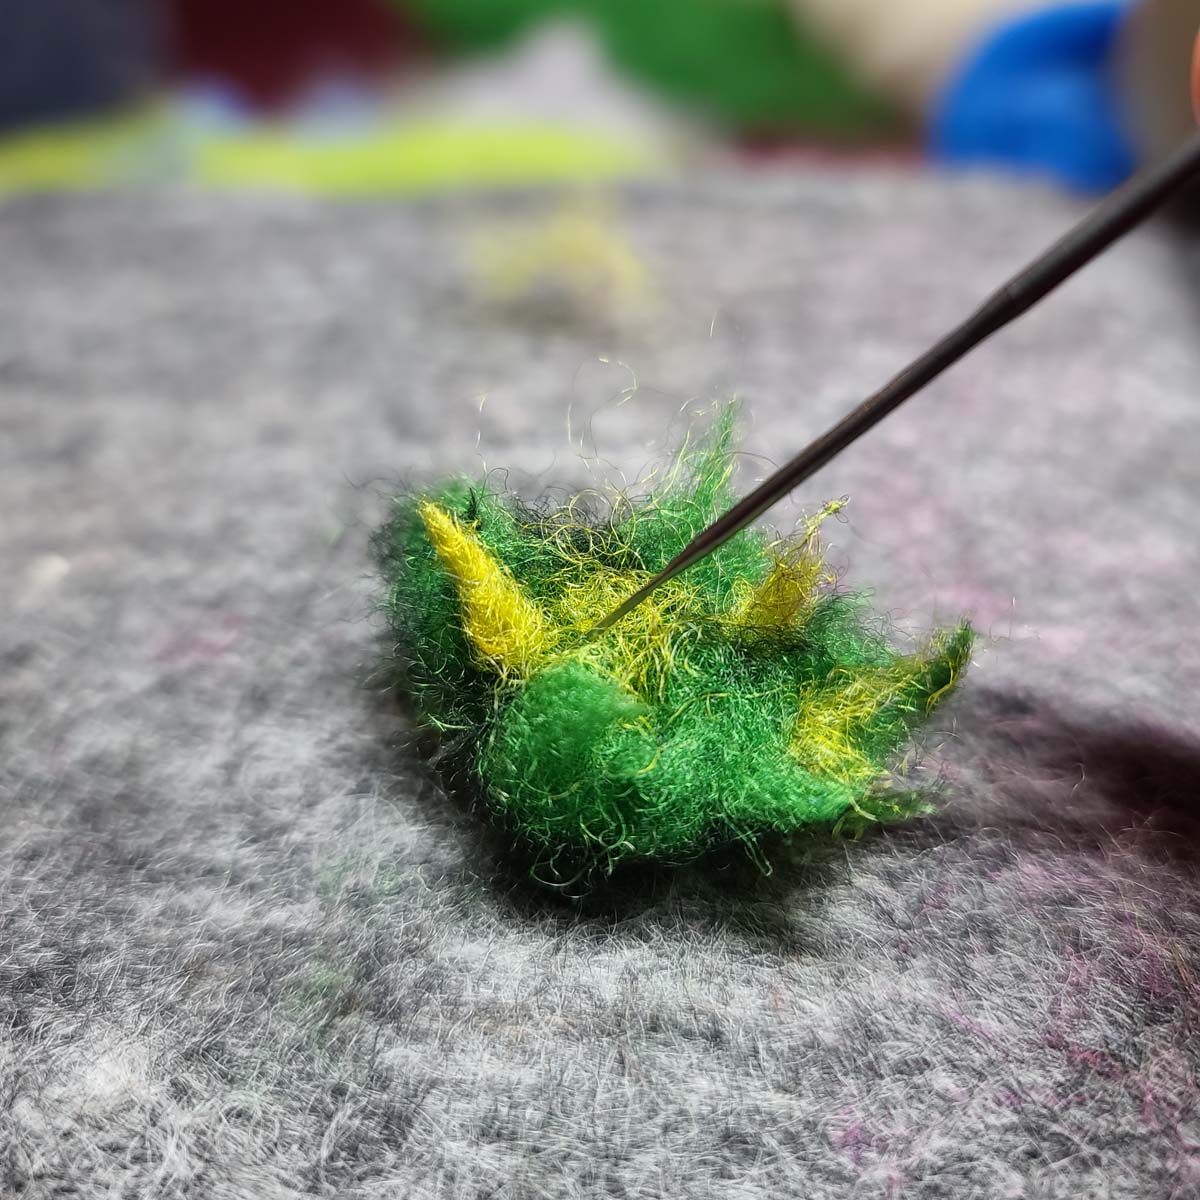
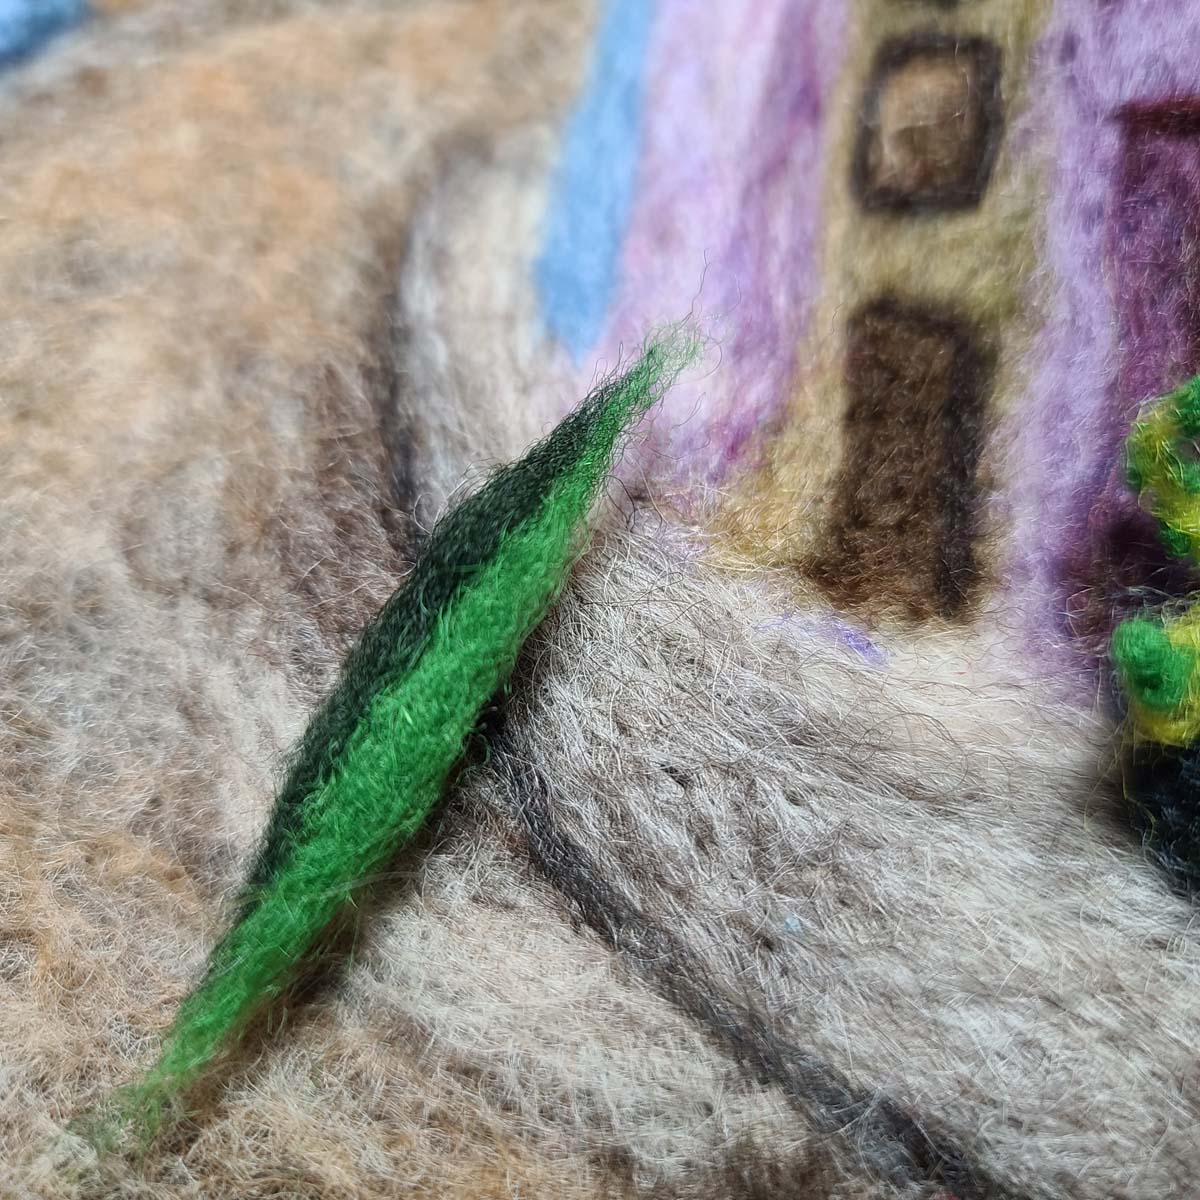
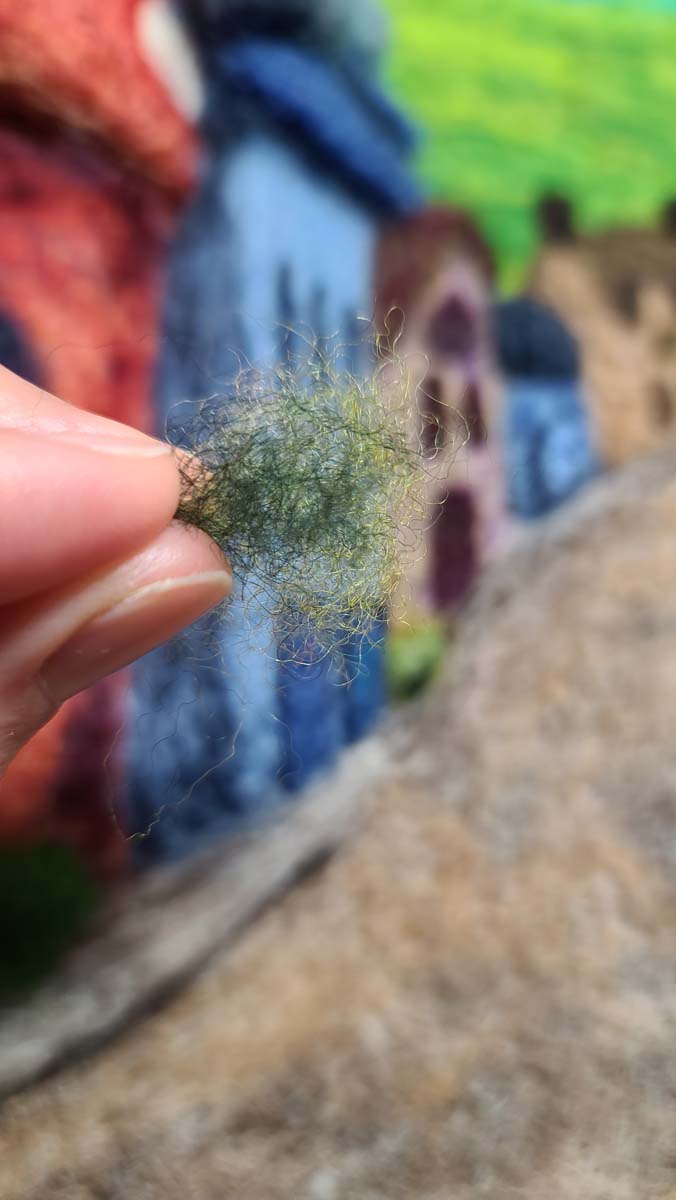
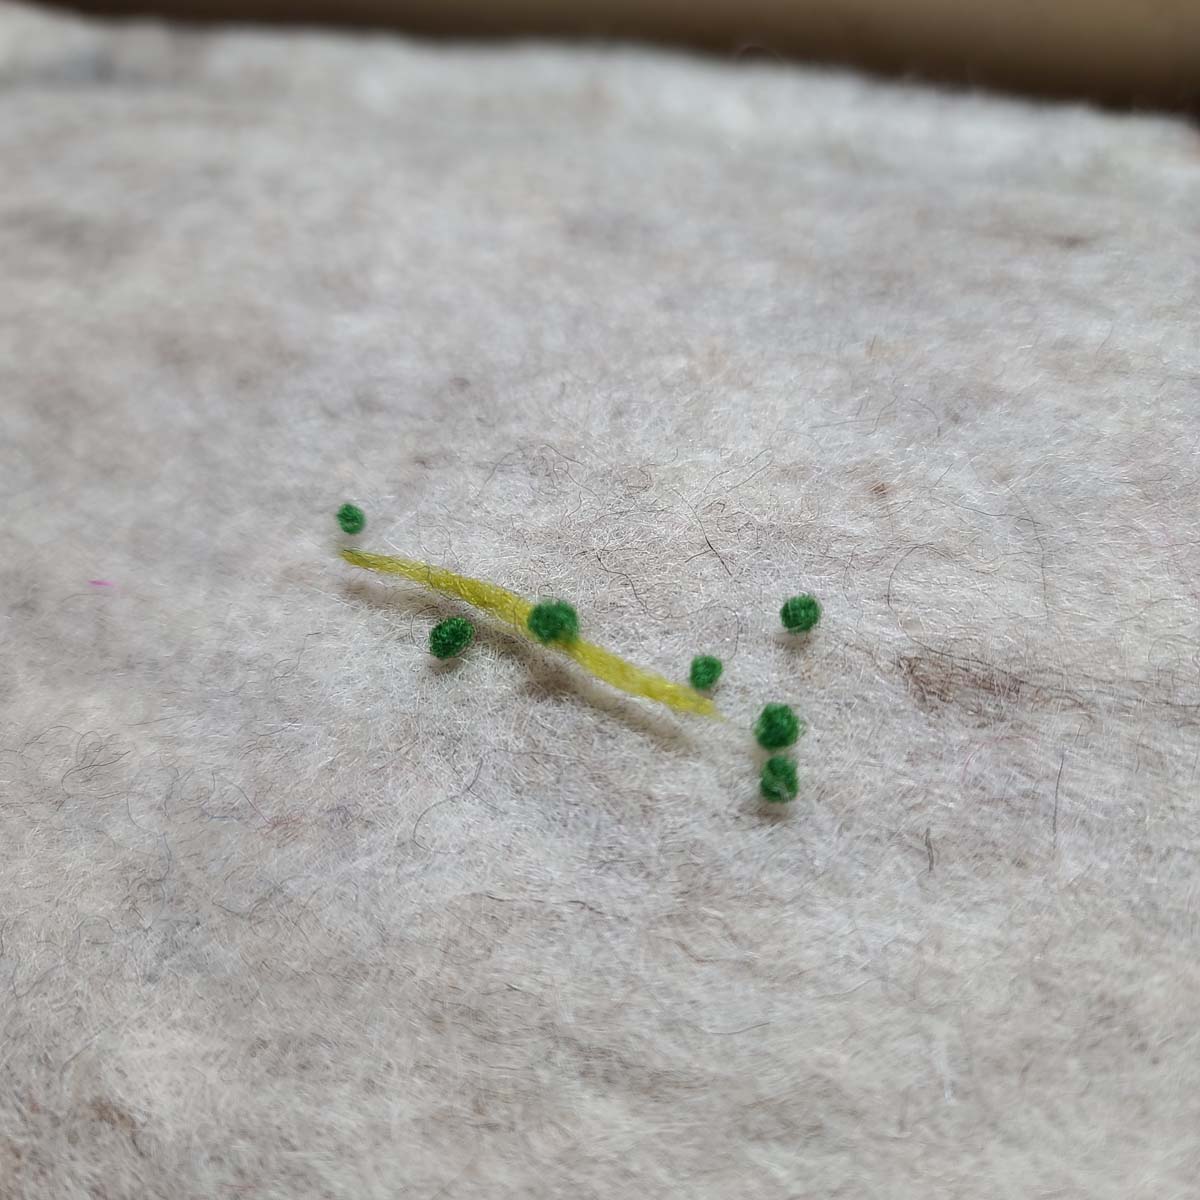
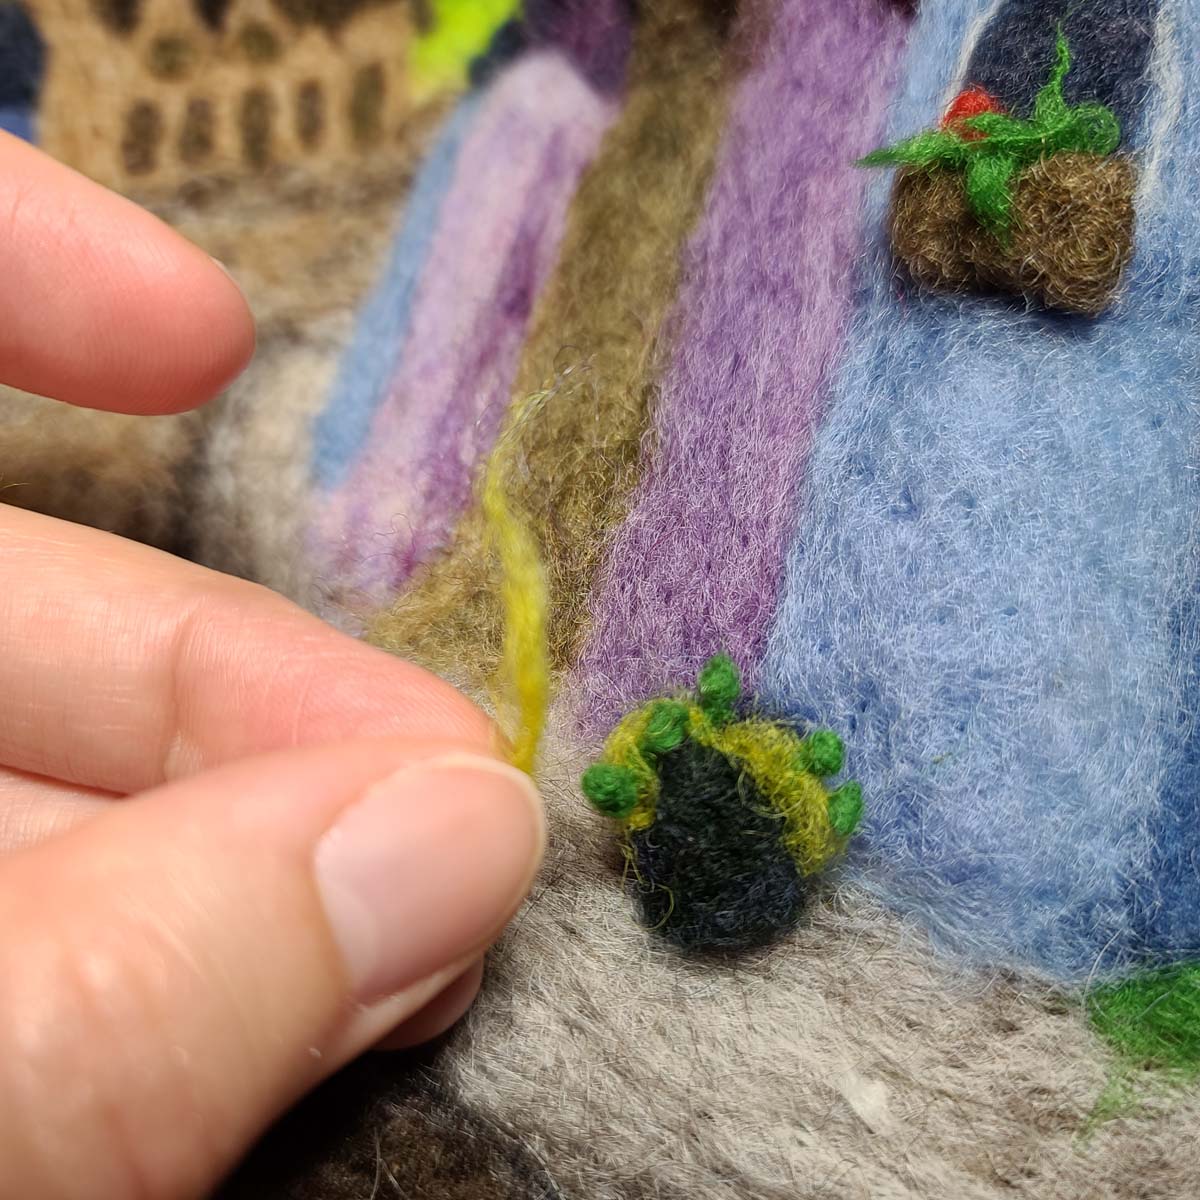
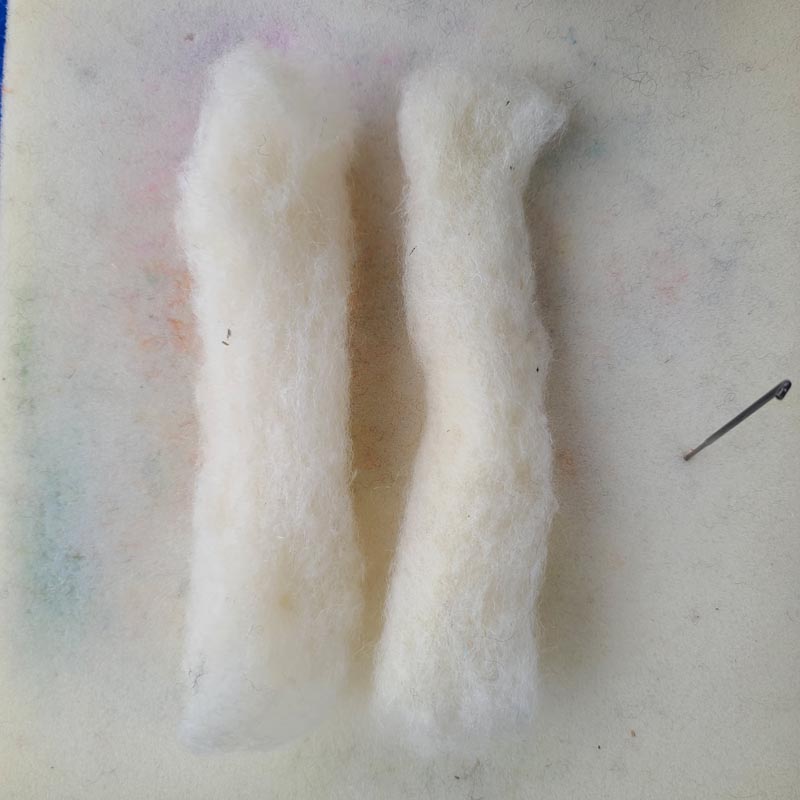
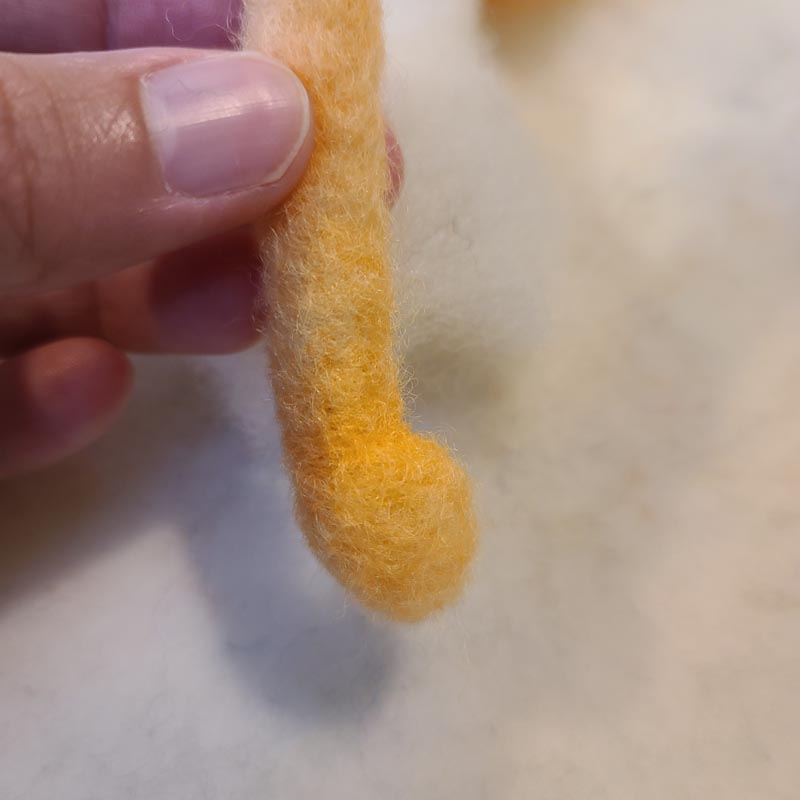
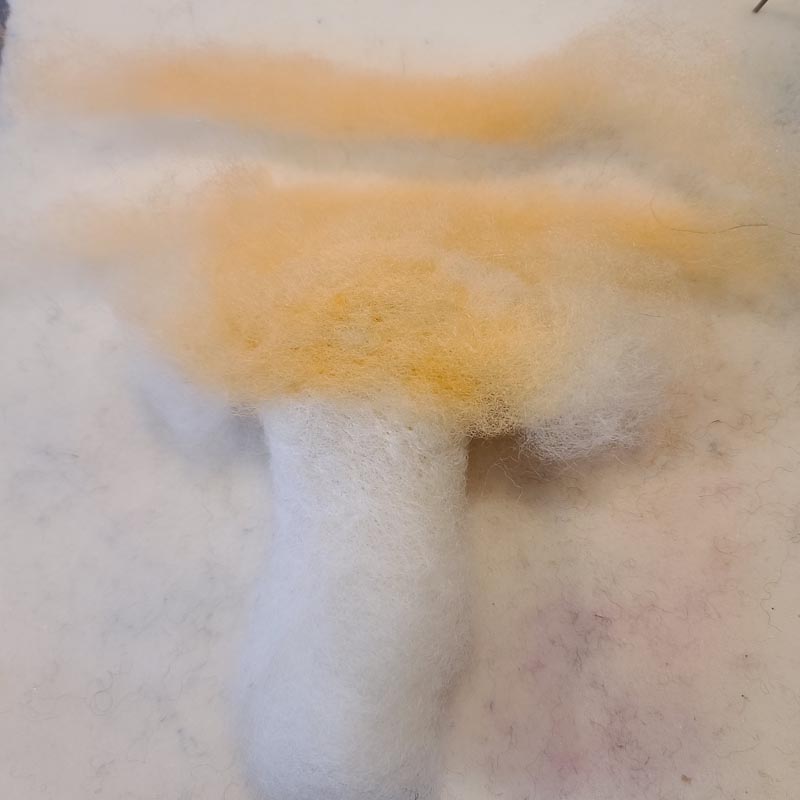
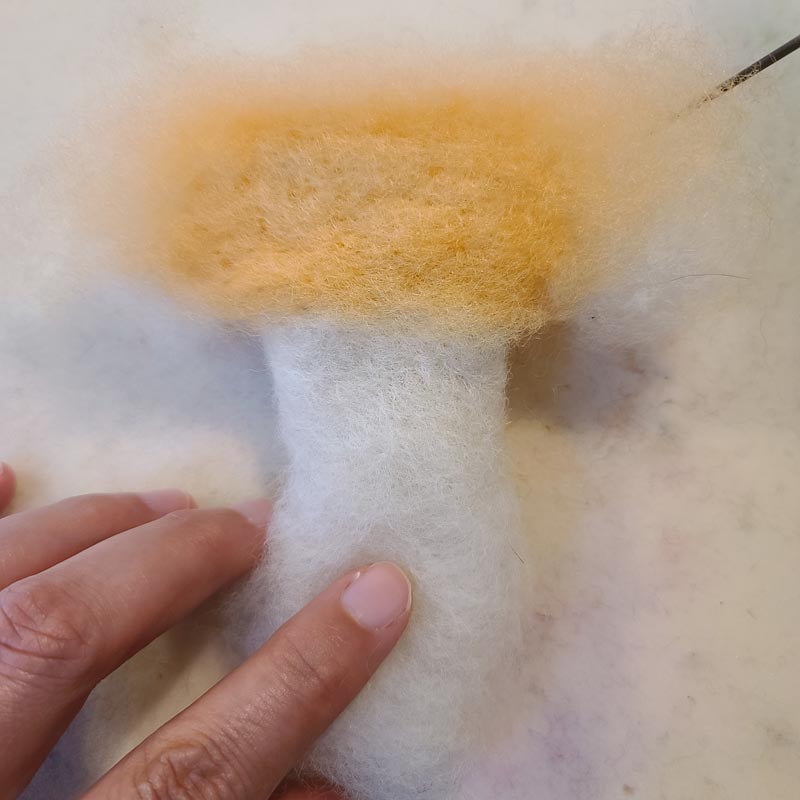
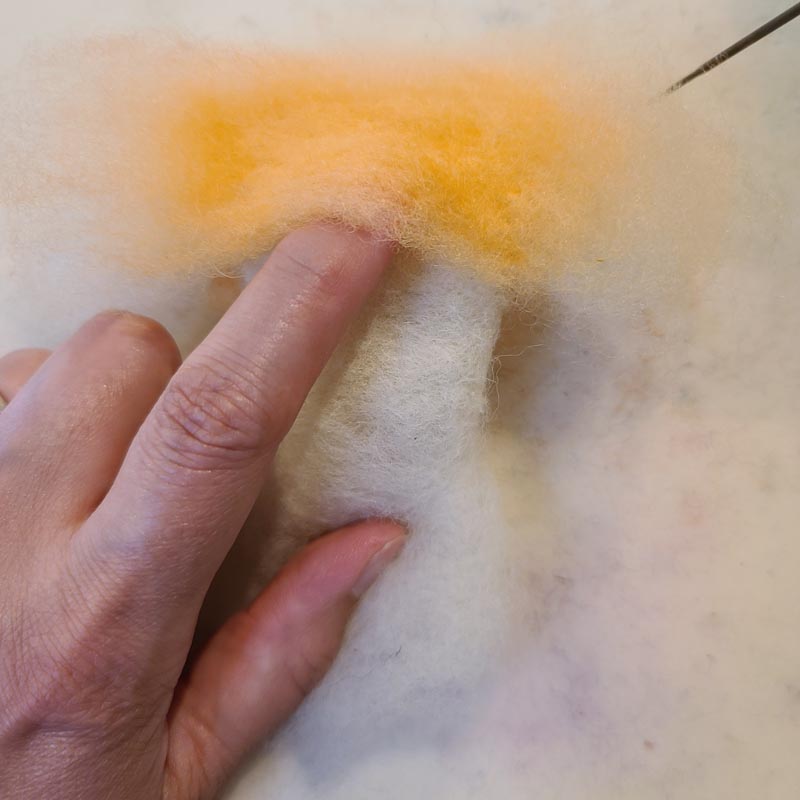
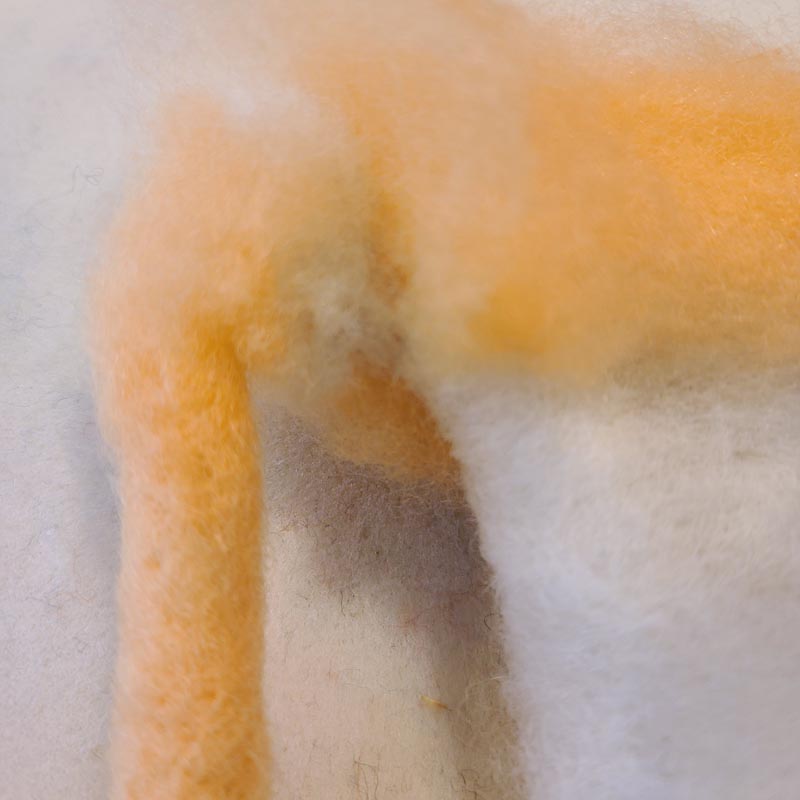
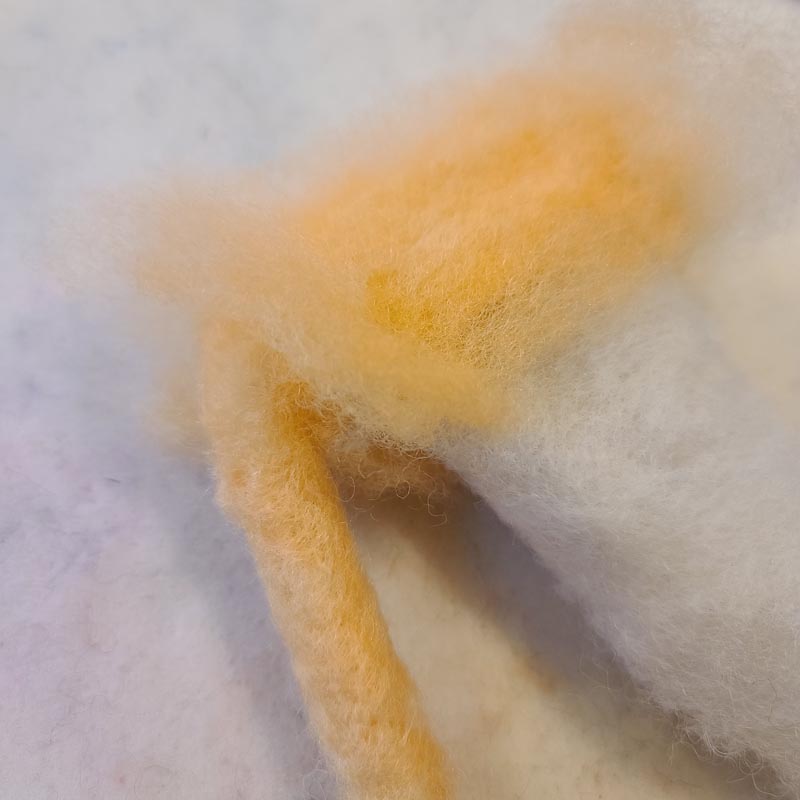
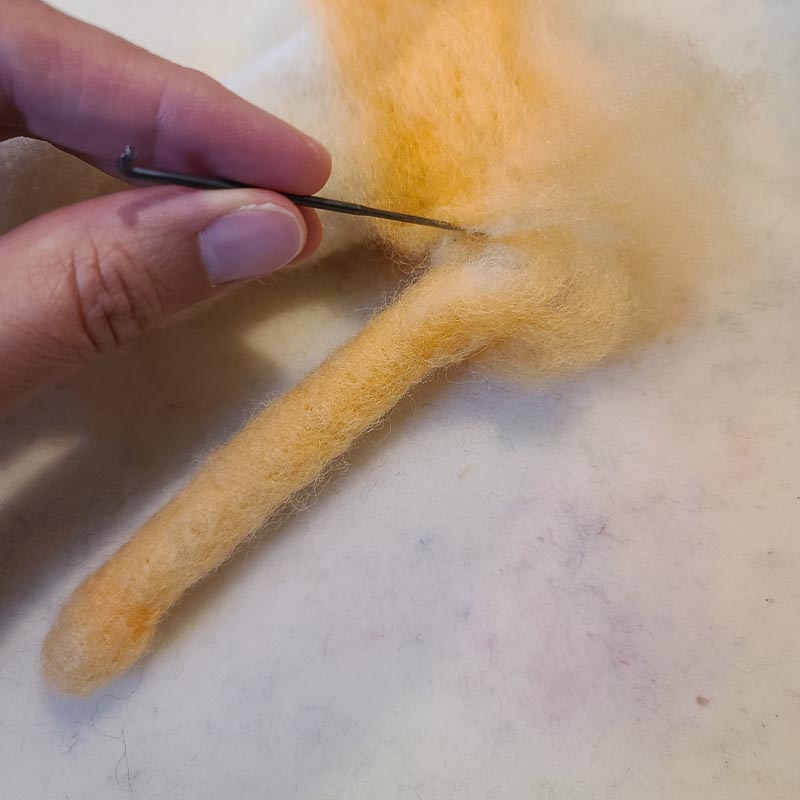
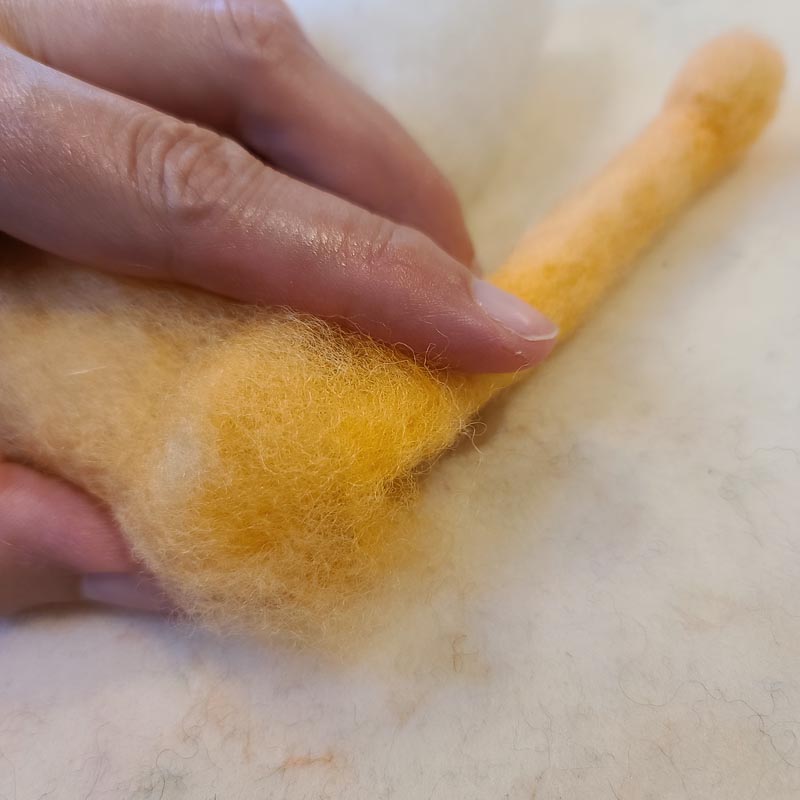
In the second gallery, I walk through the detailed steps of forming and assembling small plants. These little beauties are included in the felting a fairy village lesson, which is part of the master class or sold individually.
Felting Landscapes, Trees, Plants
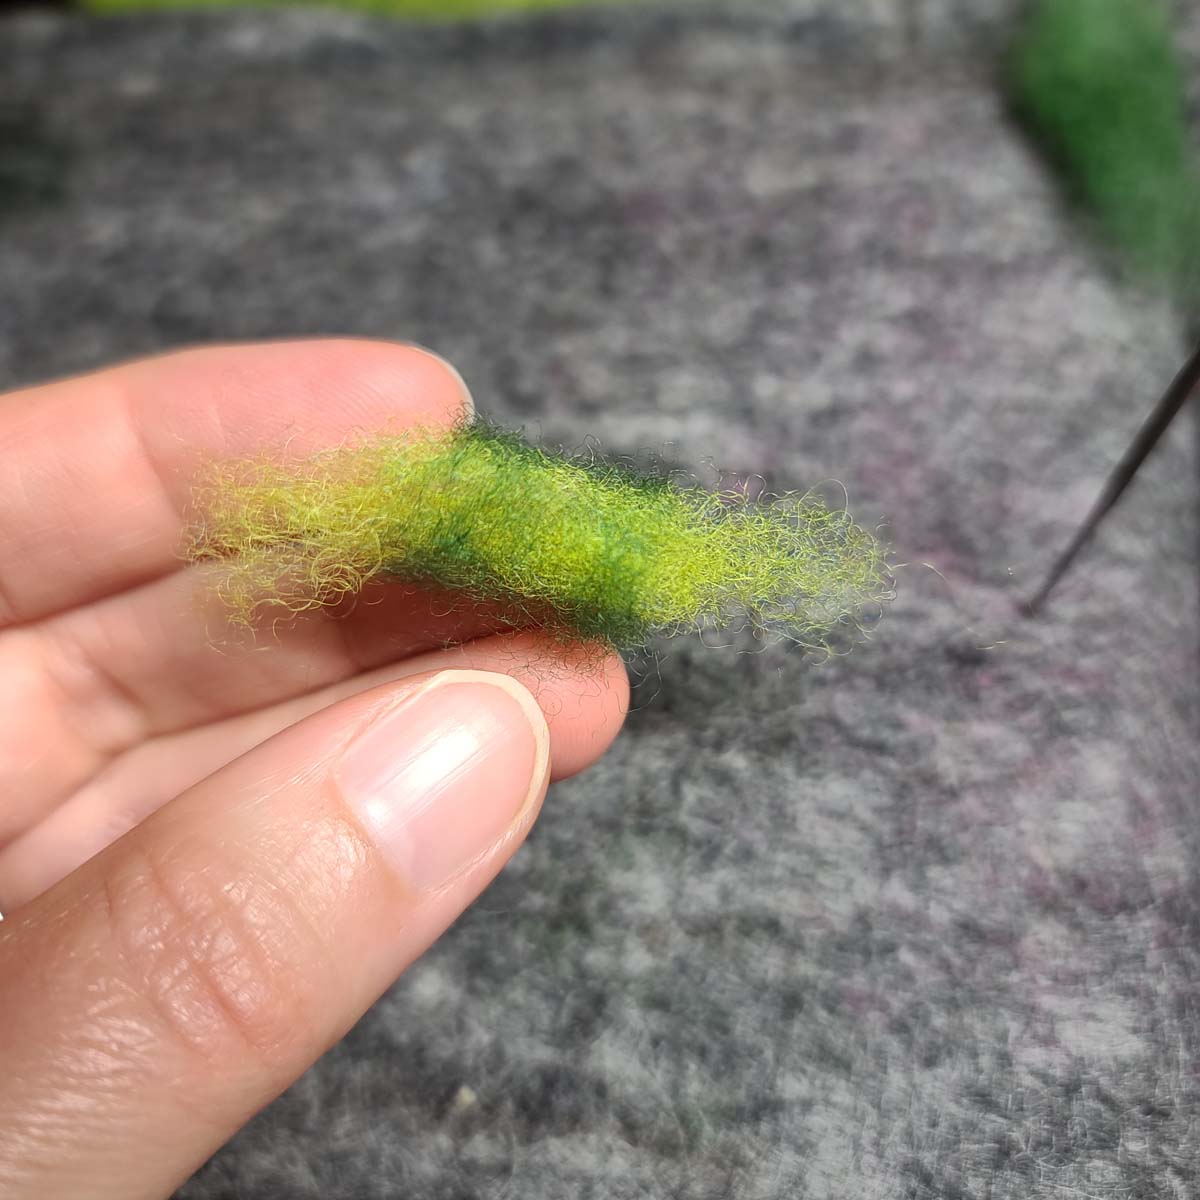
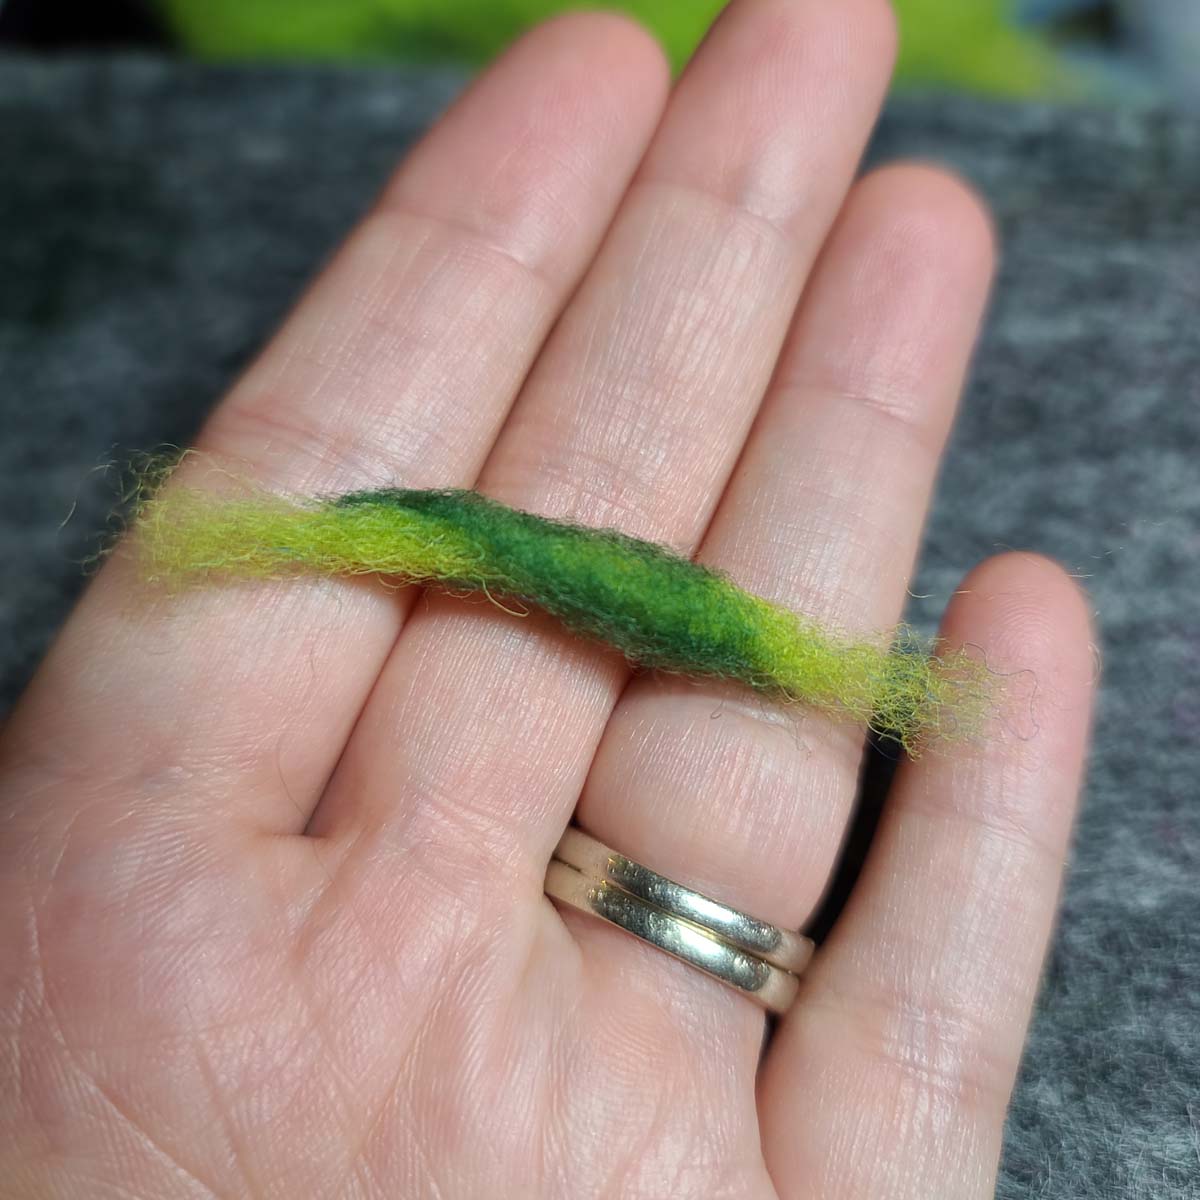
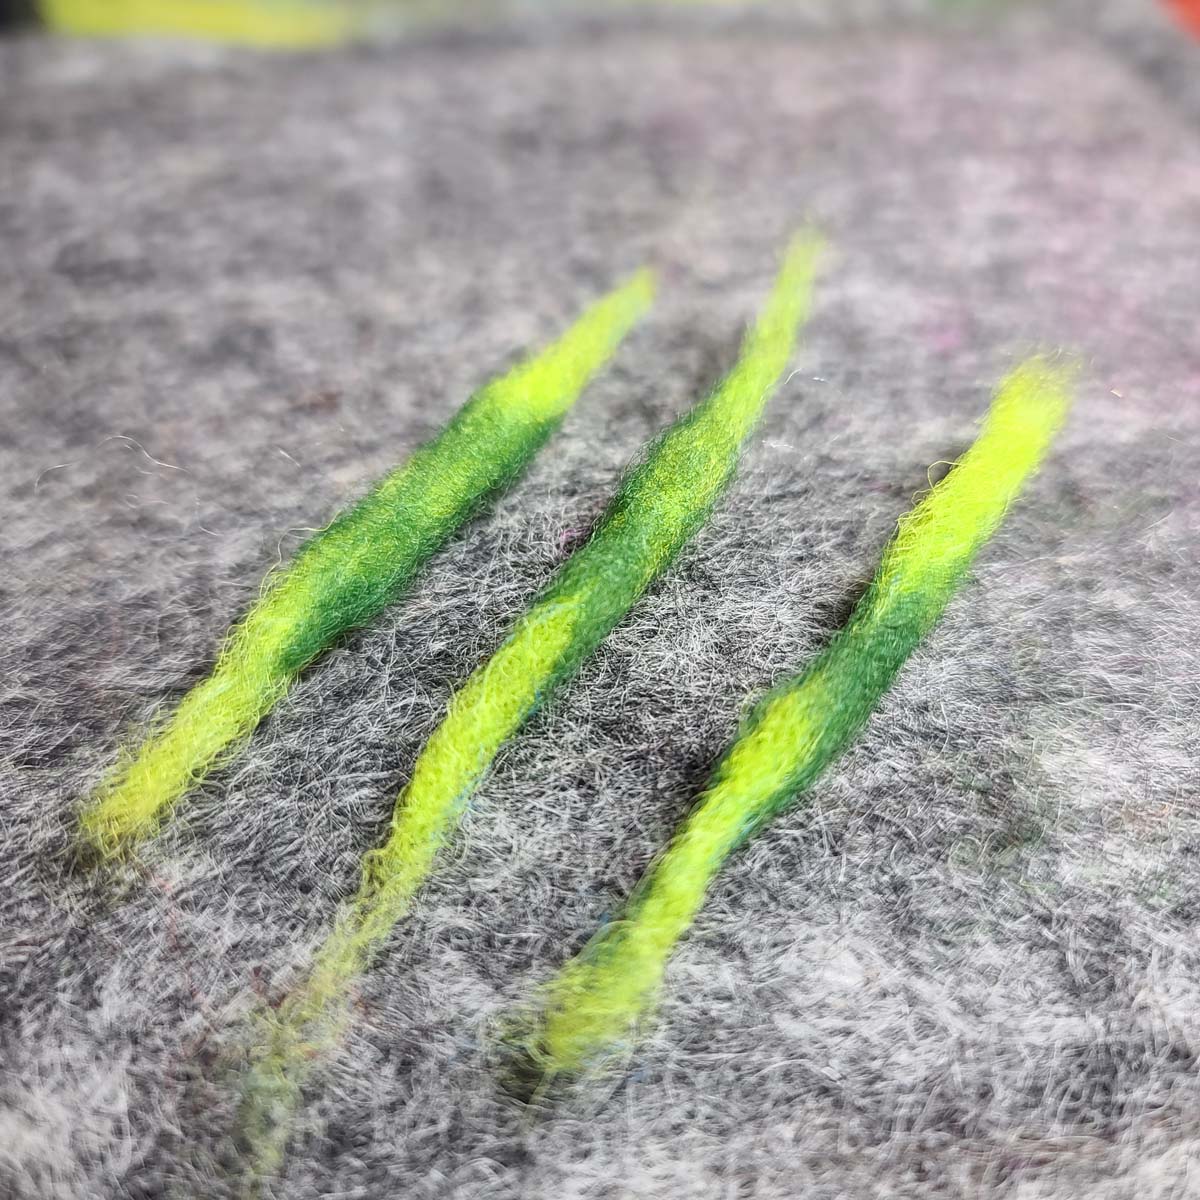
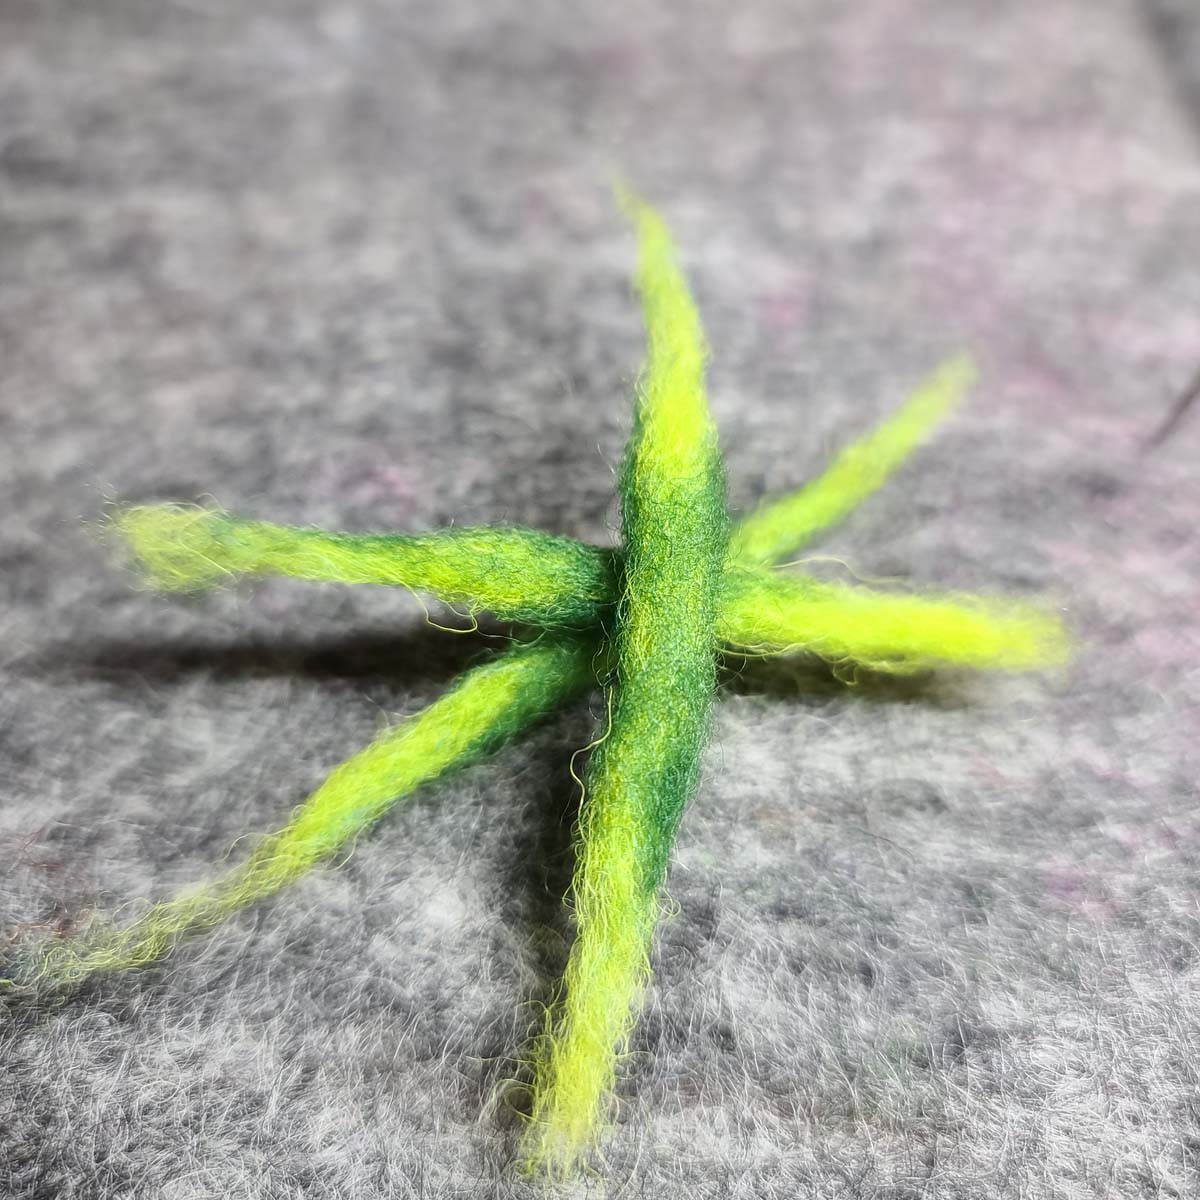
Felting Trees, Rocks and Plants

This felting lesson includes six videos with step by step instructions that walk you through forming realistic trees, tall grass, rocks, and ground cover plants.
Felting a Field of Sunflowers

This felting lesson includes four videos (61 minutes of instruction) with step by step instructions that walk you through each step of needle felting a field of sunflowers.
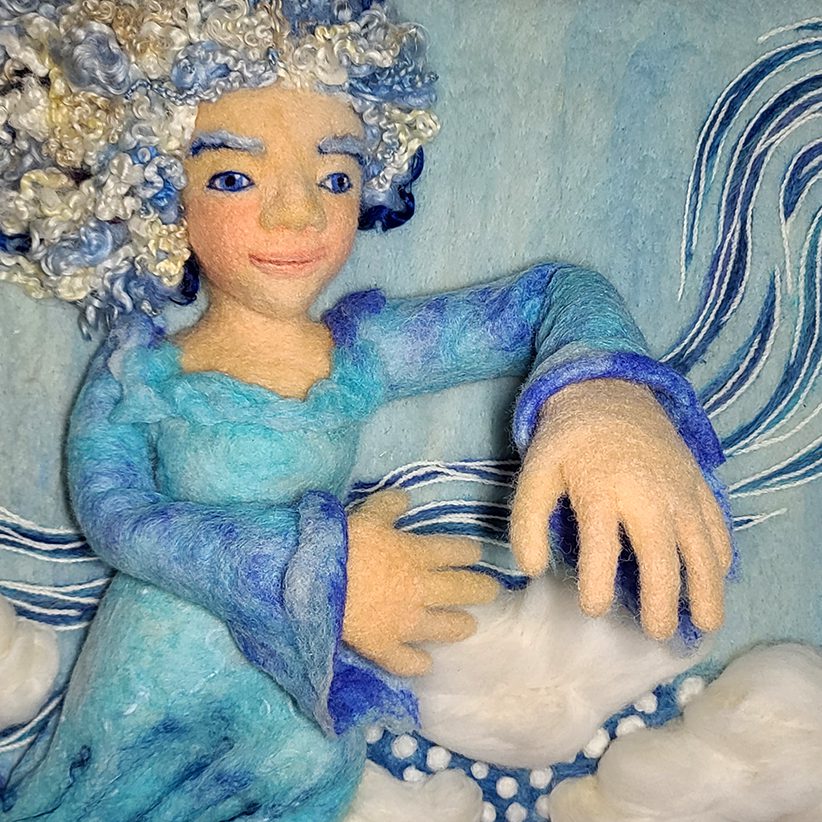
People - Characters
Lesson From Module 4
")
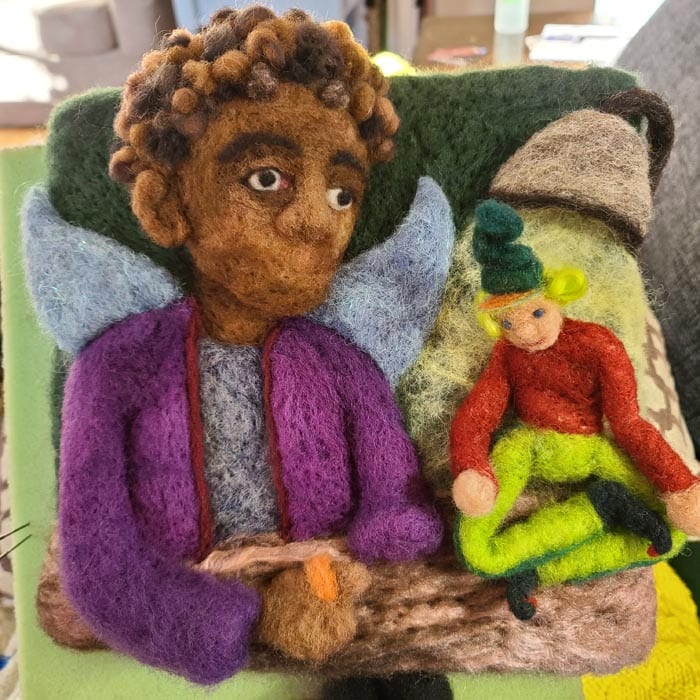
For as long as I can remember I have enjoyed the challenge and the joy of drawing, painting, and now needle felting people and figures. My pull toward portraiture, drawing live models or people sitting in a cafe, and characters in my stories, all fuel my drive to forever hone my craft as an illustrator. How magical are places and things without the people and characters to experience them and bring them to life?

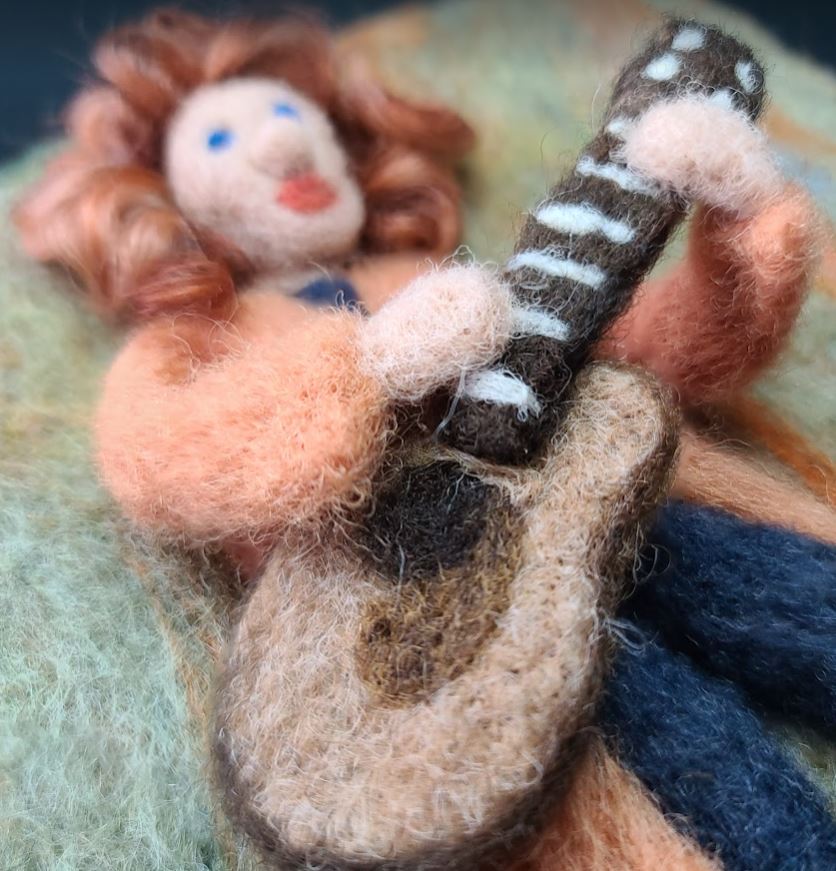
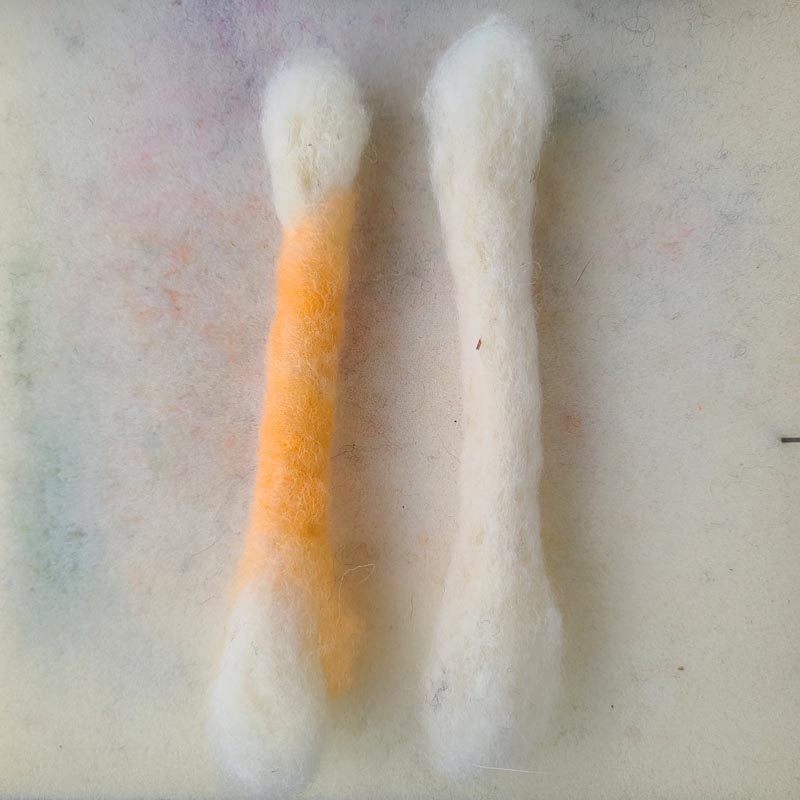
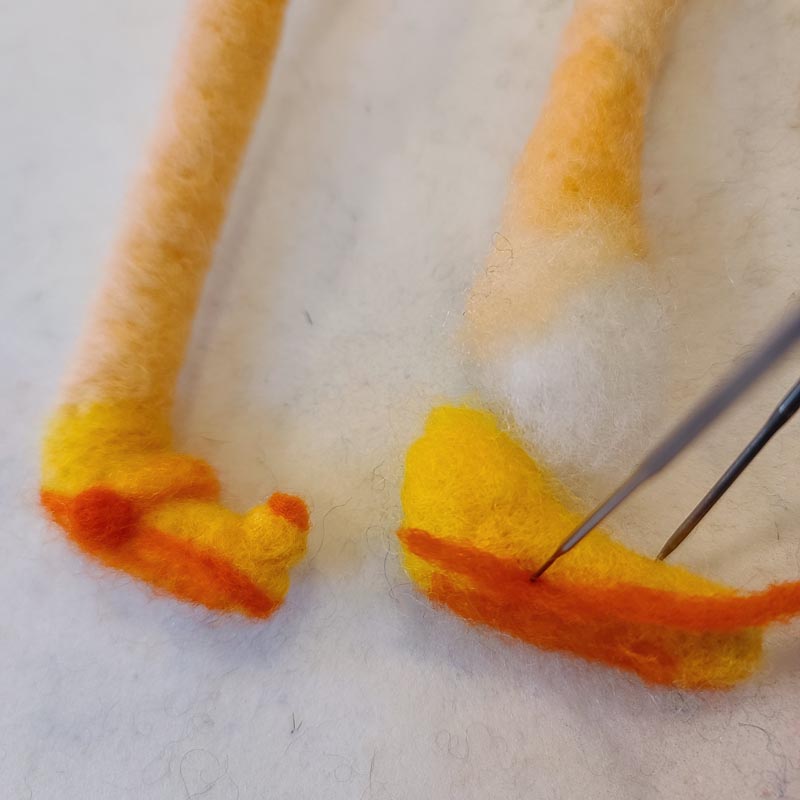
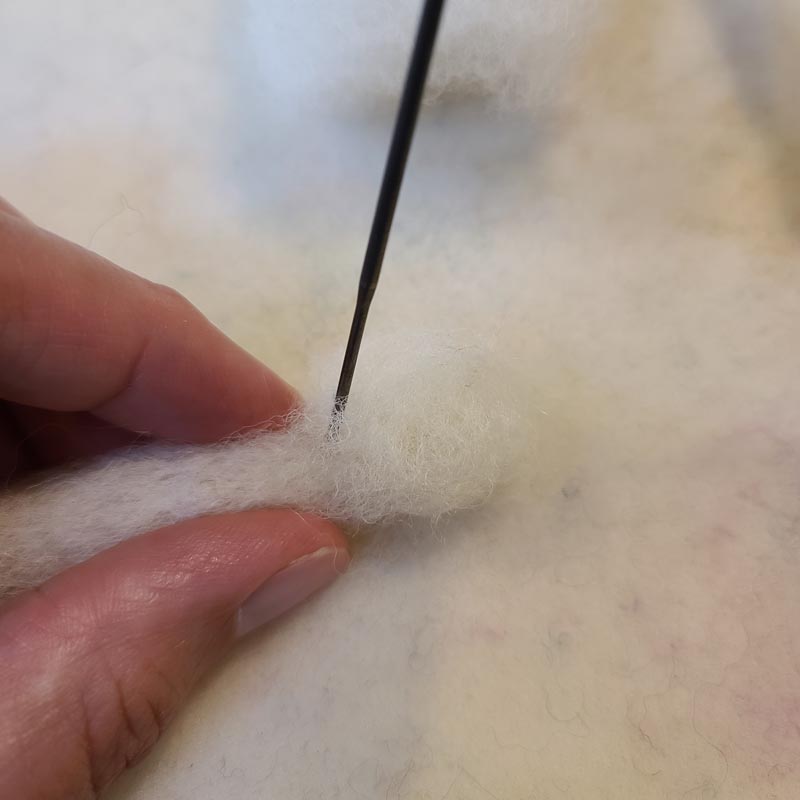
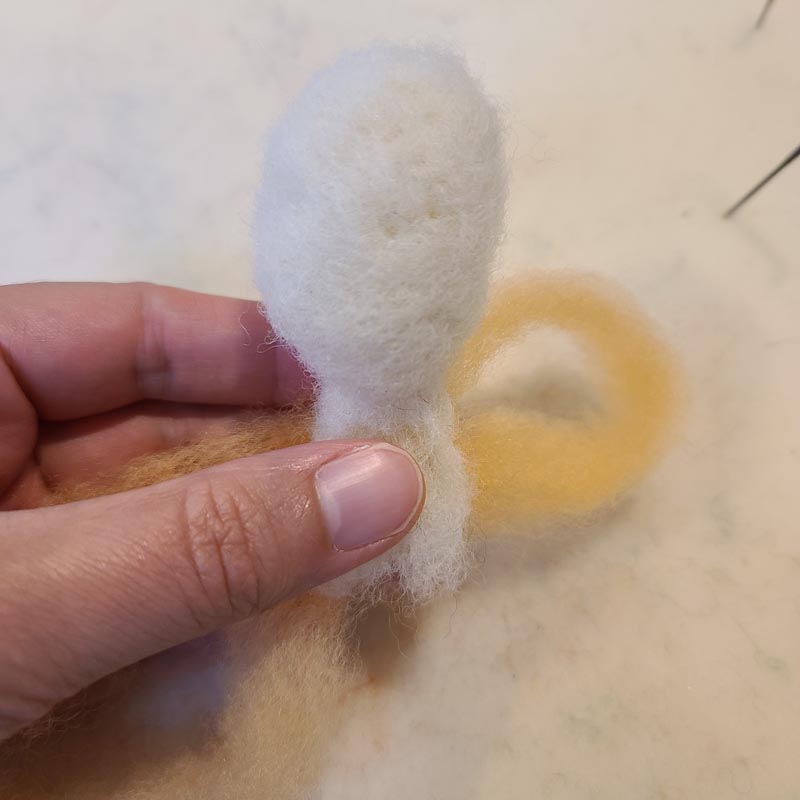
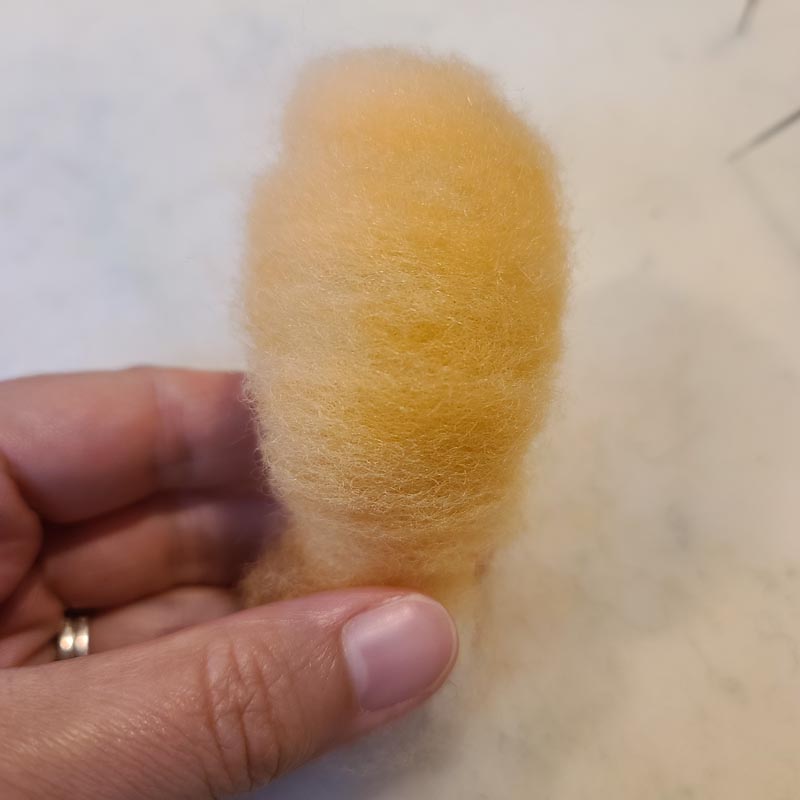
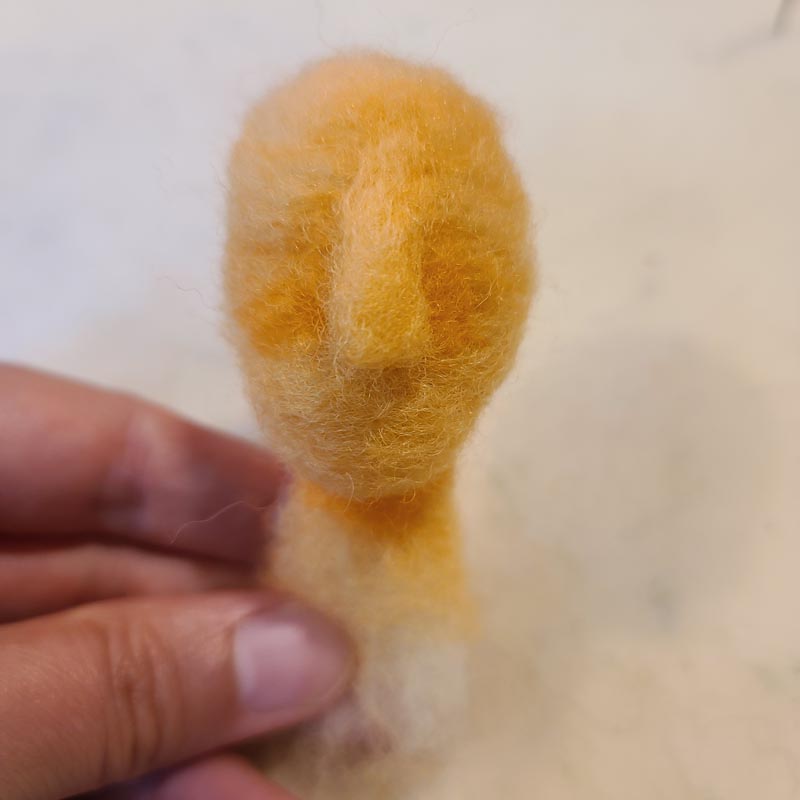
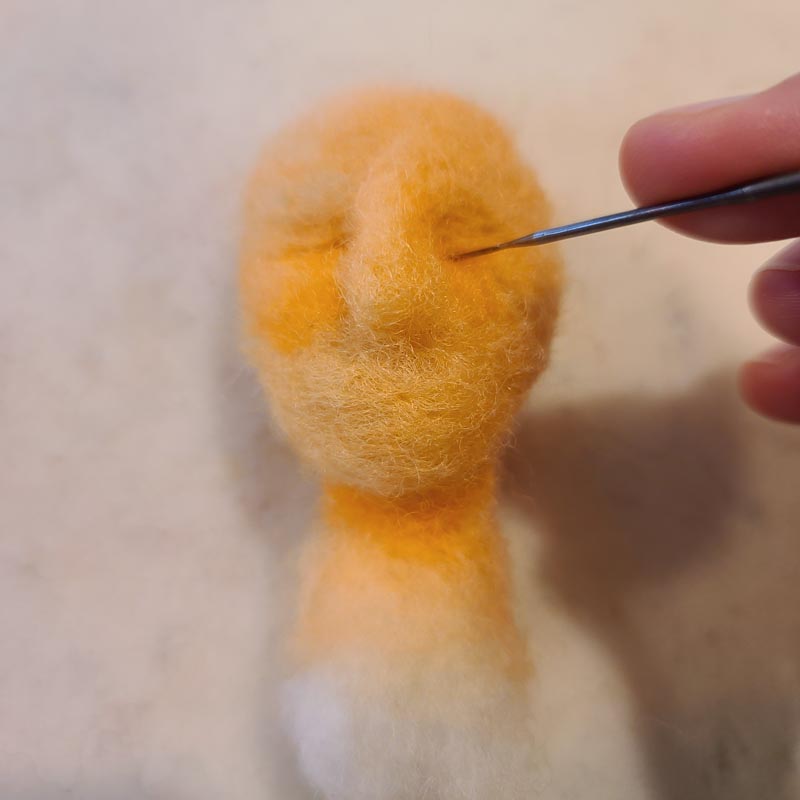
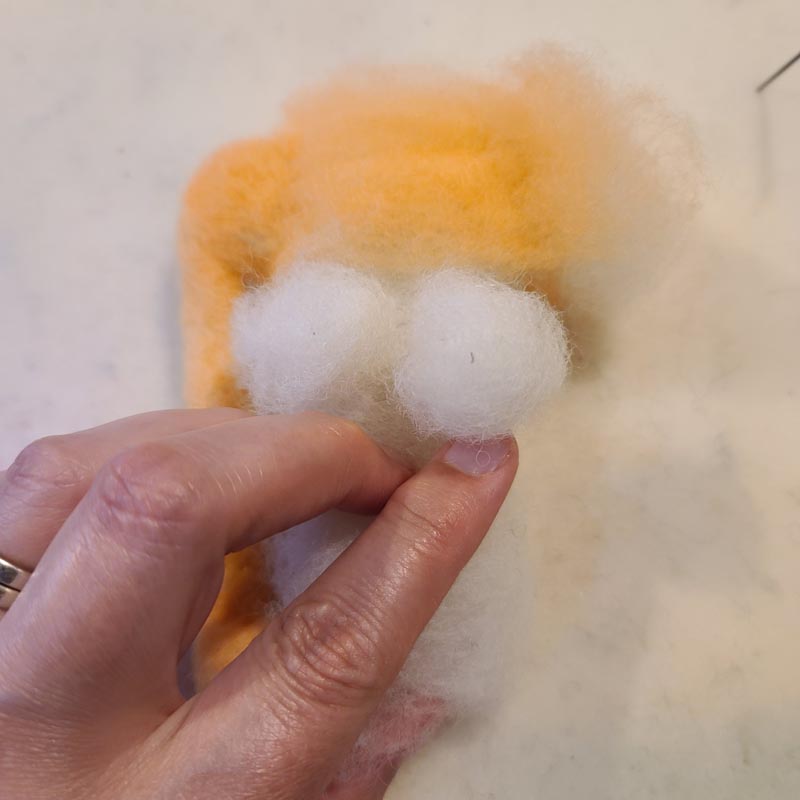
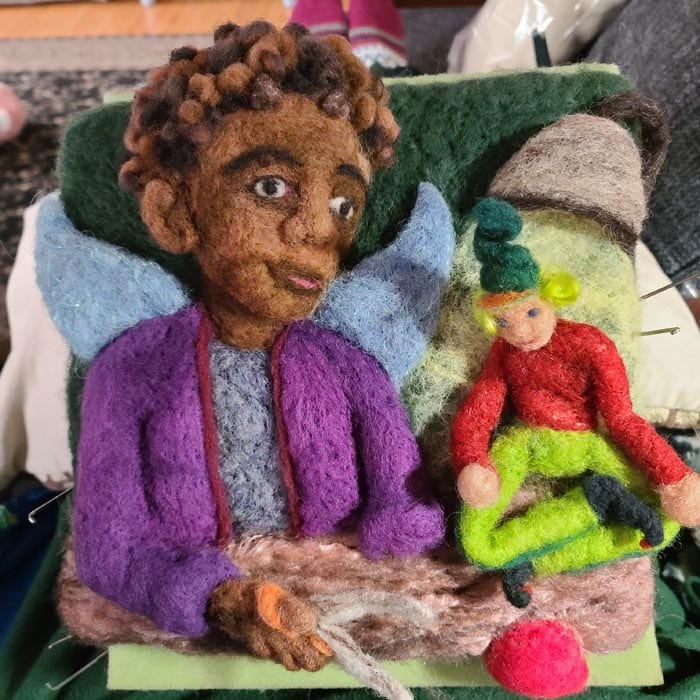
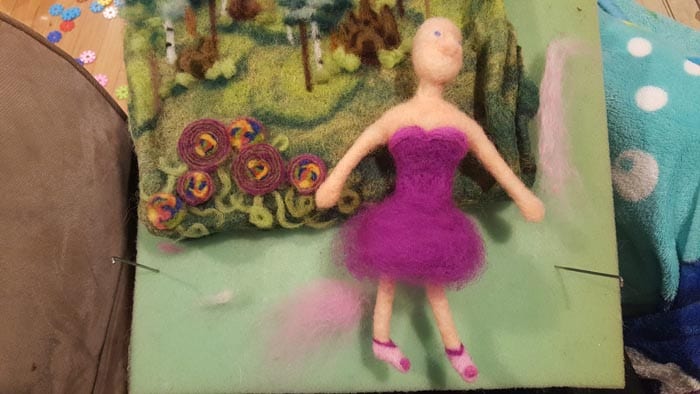
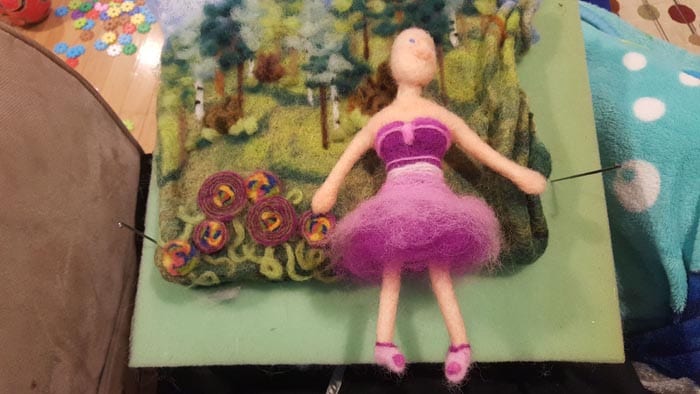
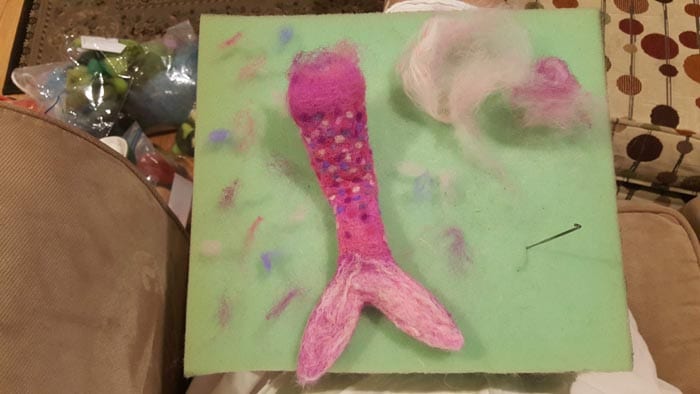
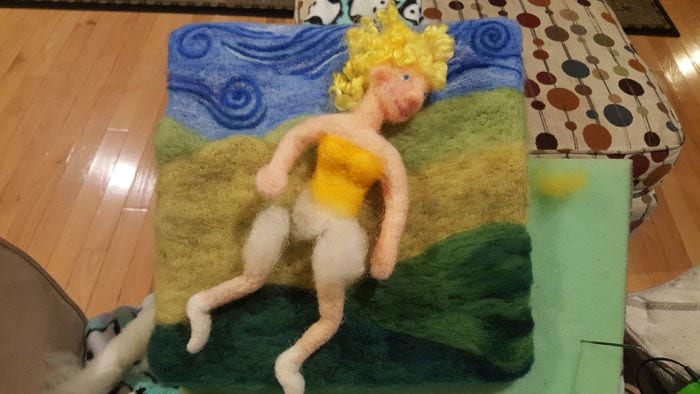
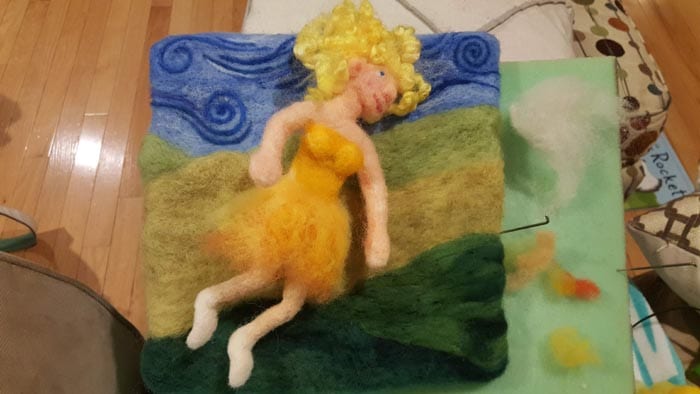
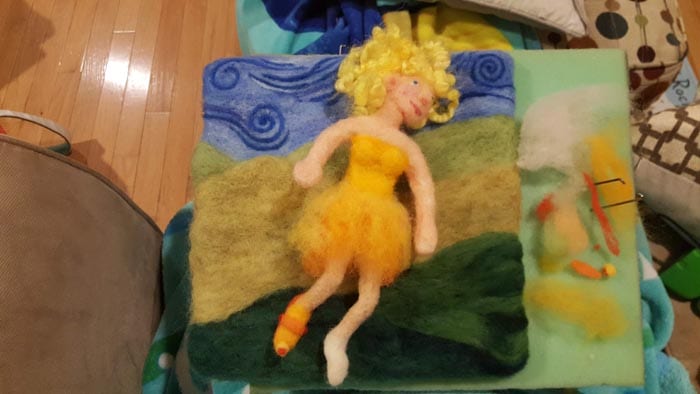
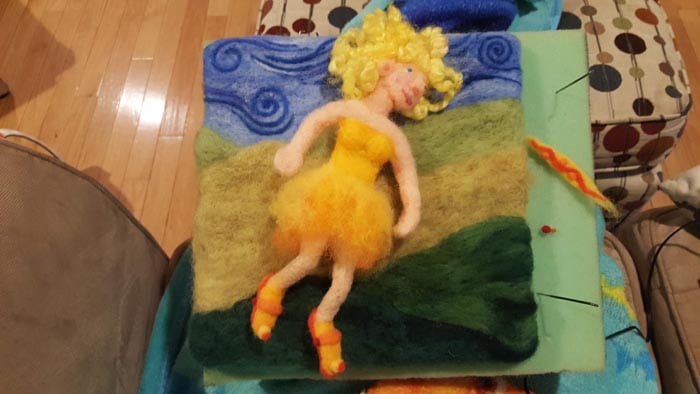
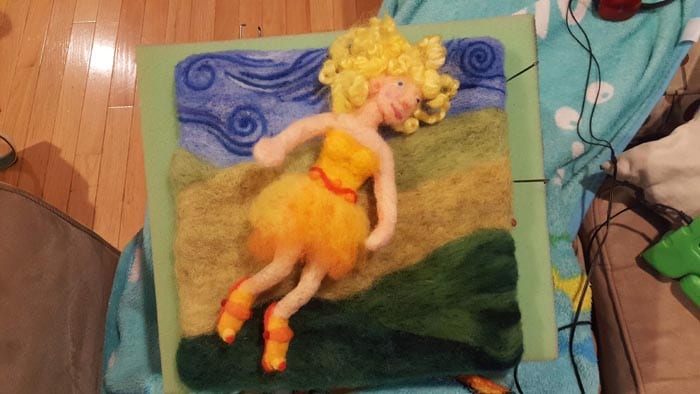
Felting A Fairy, Creating a 3D Felted Figure
This felting lesson includes six videos with step by step instructions that walk you through each step of needle felting a 3D figure, with a bonus still image gallery.
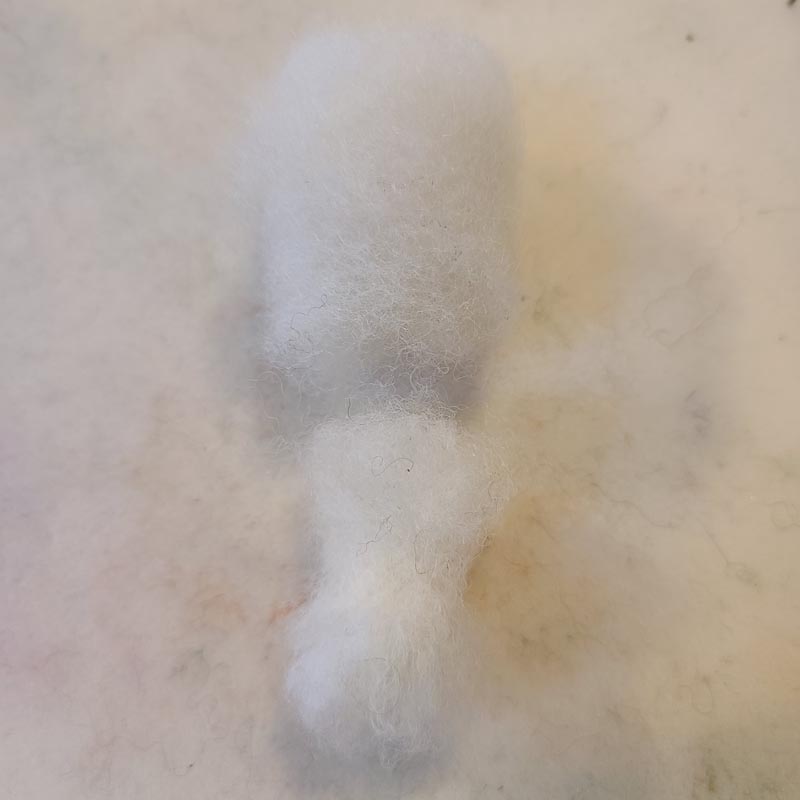
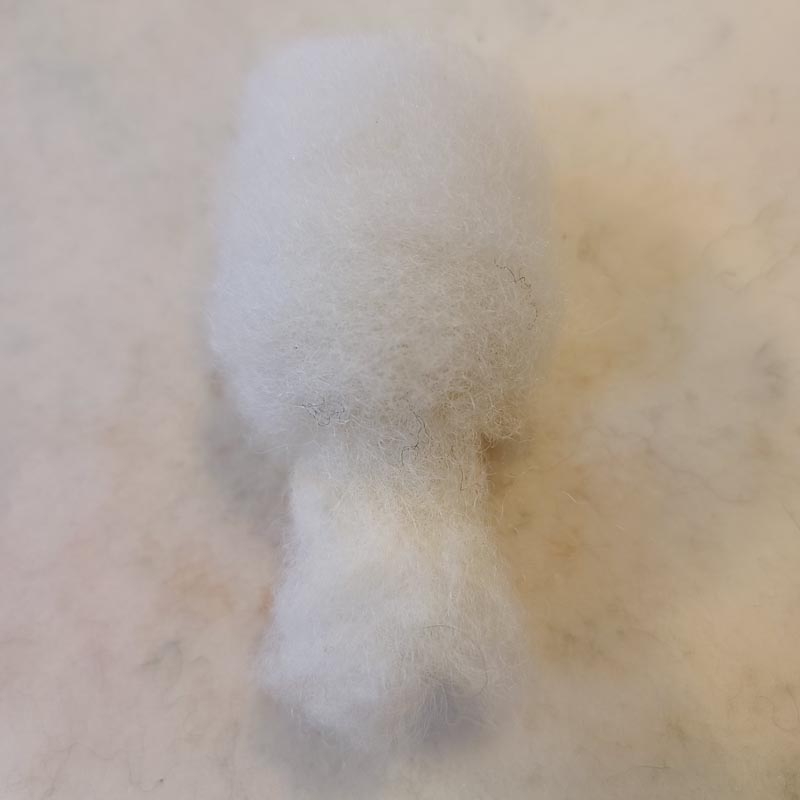
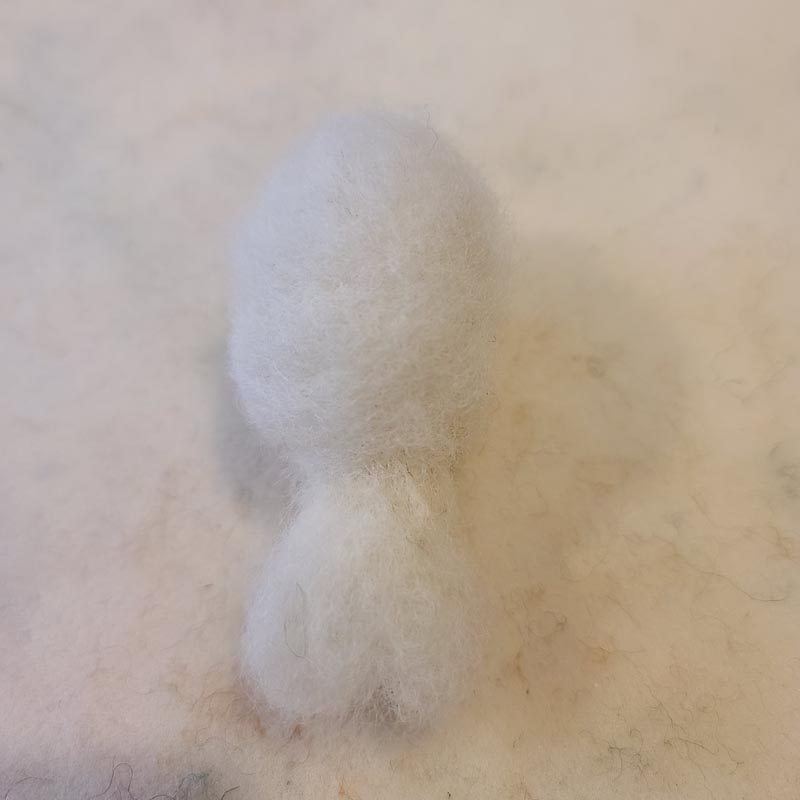
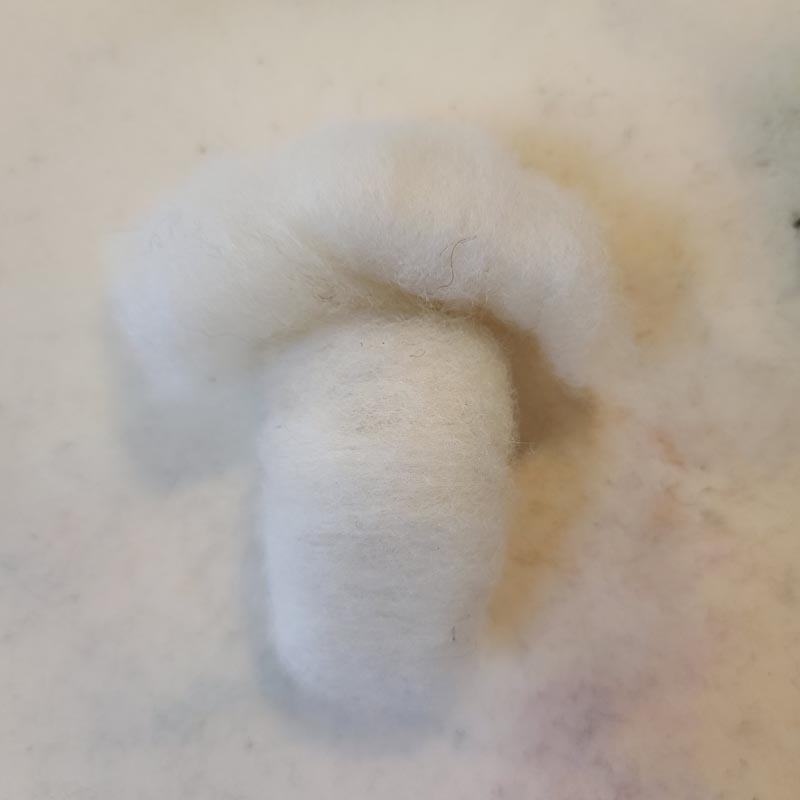
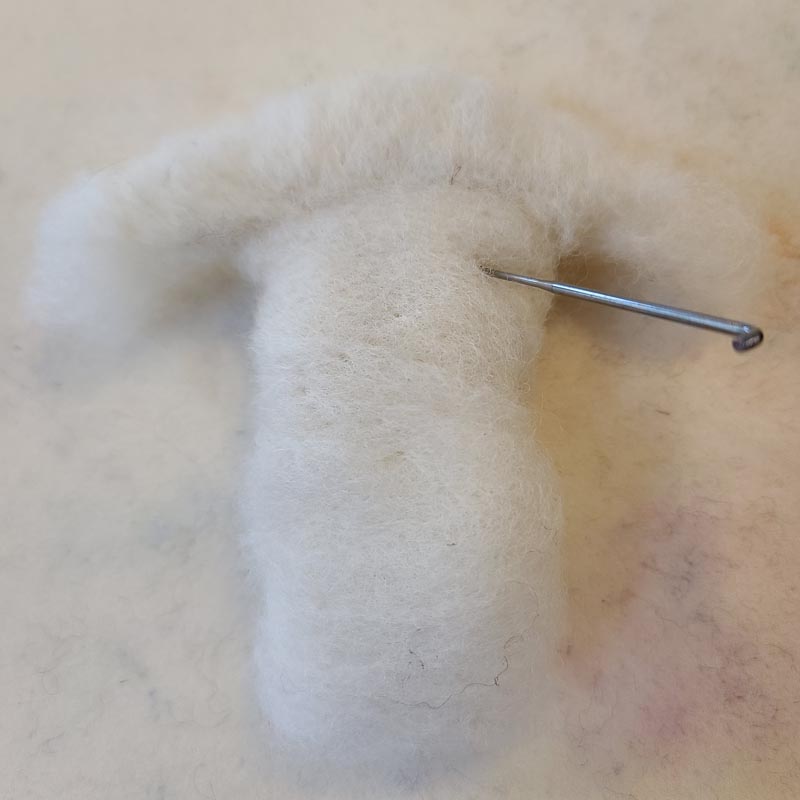
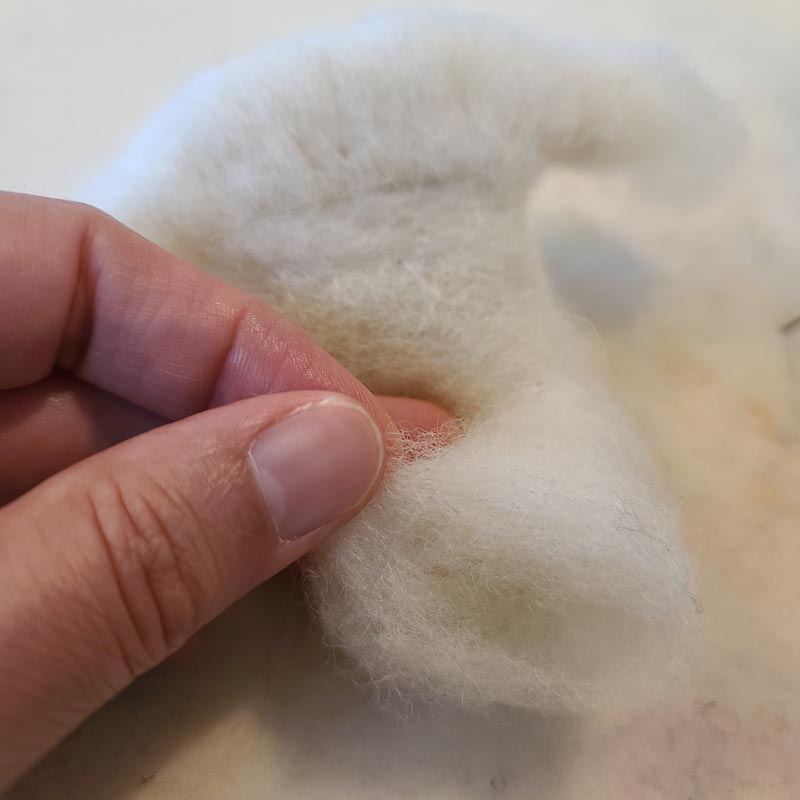
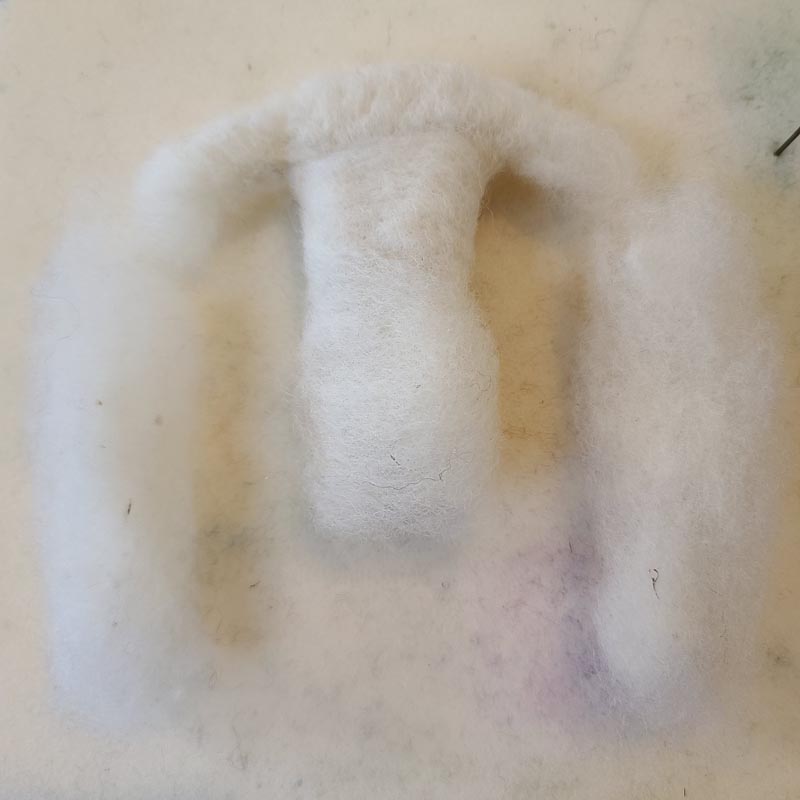
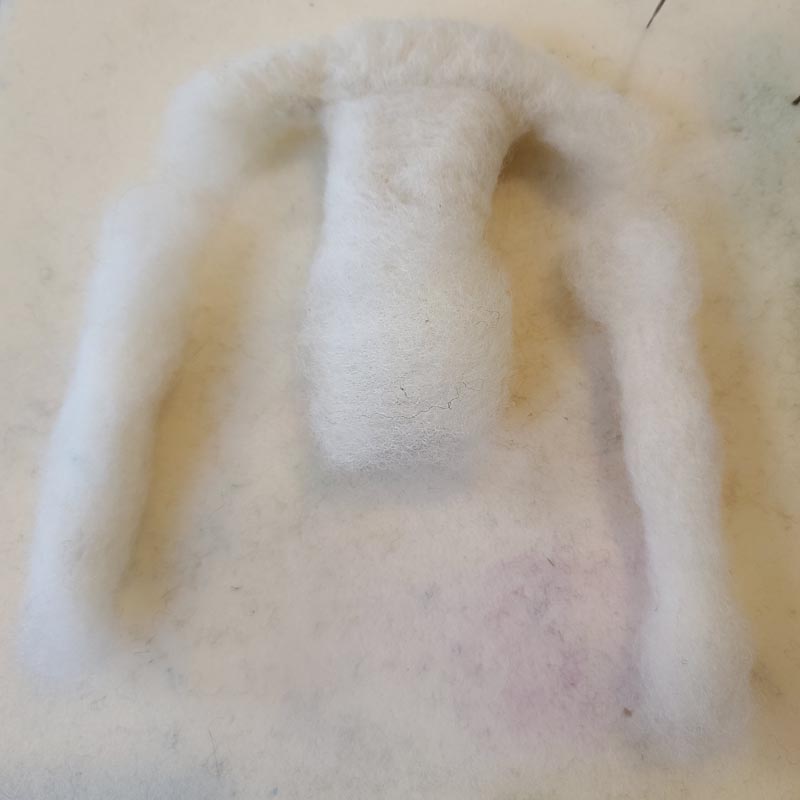
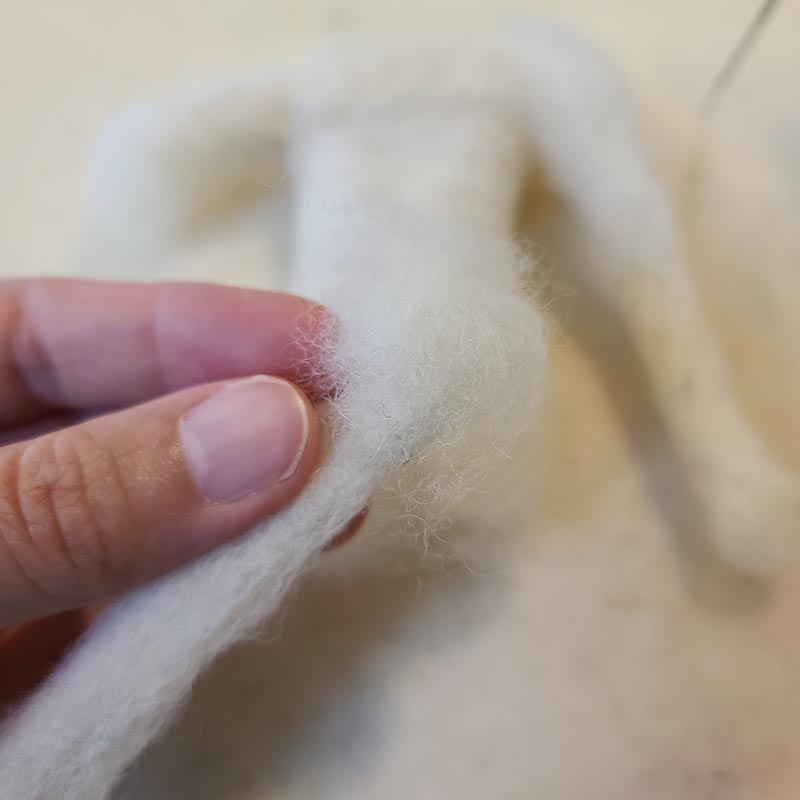
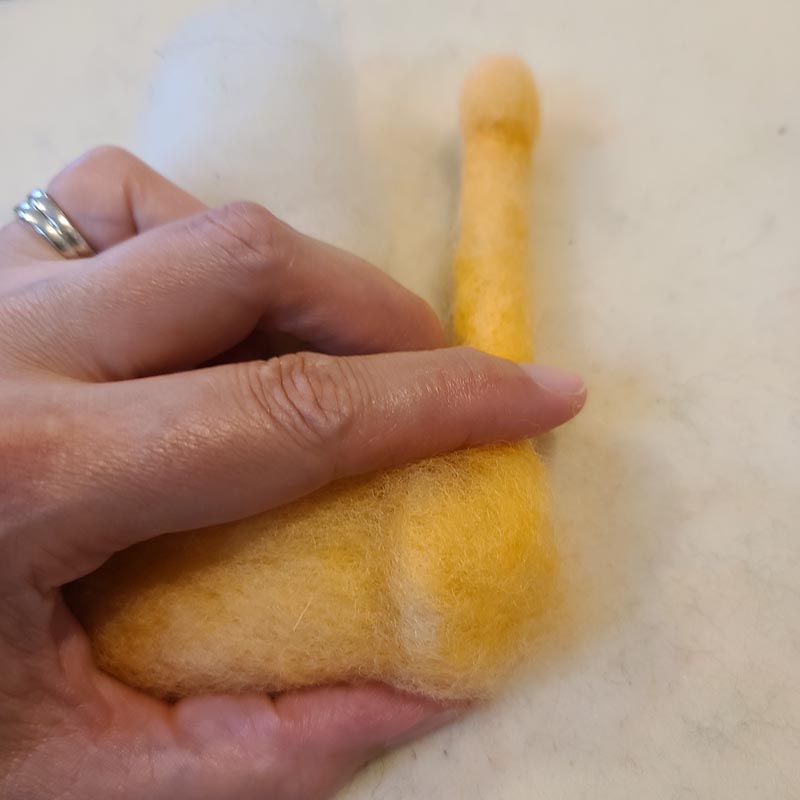
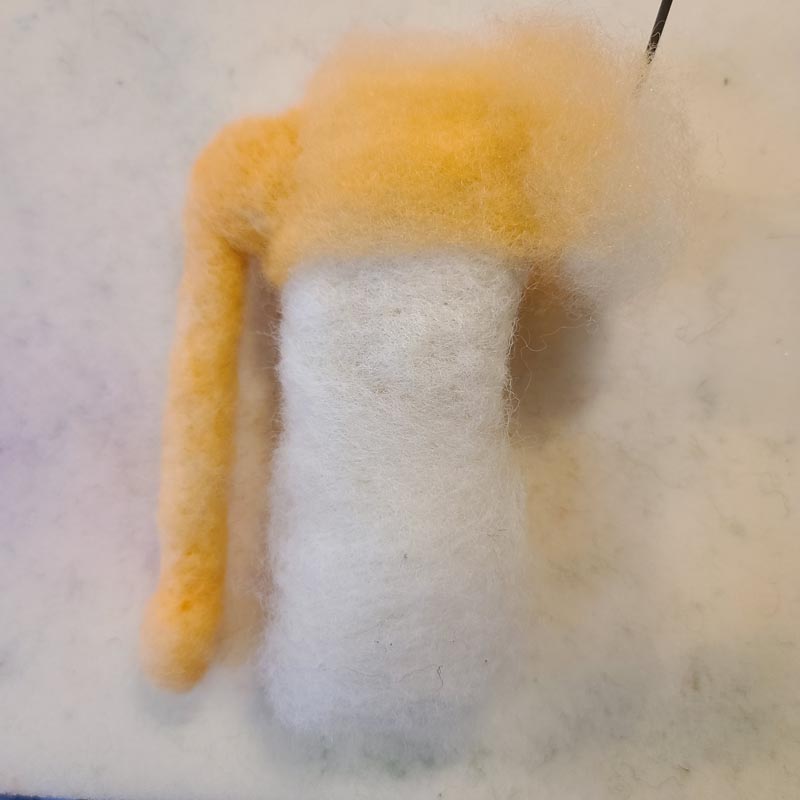
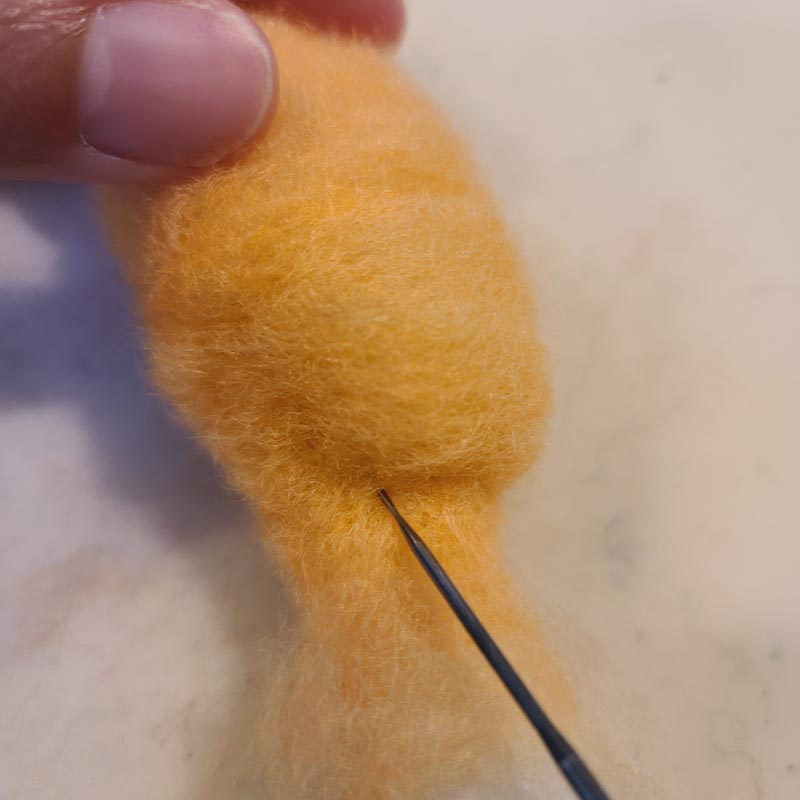
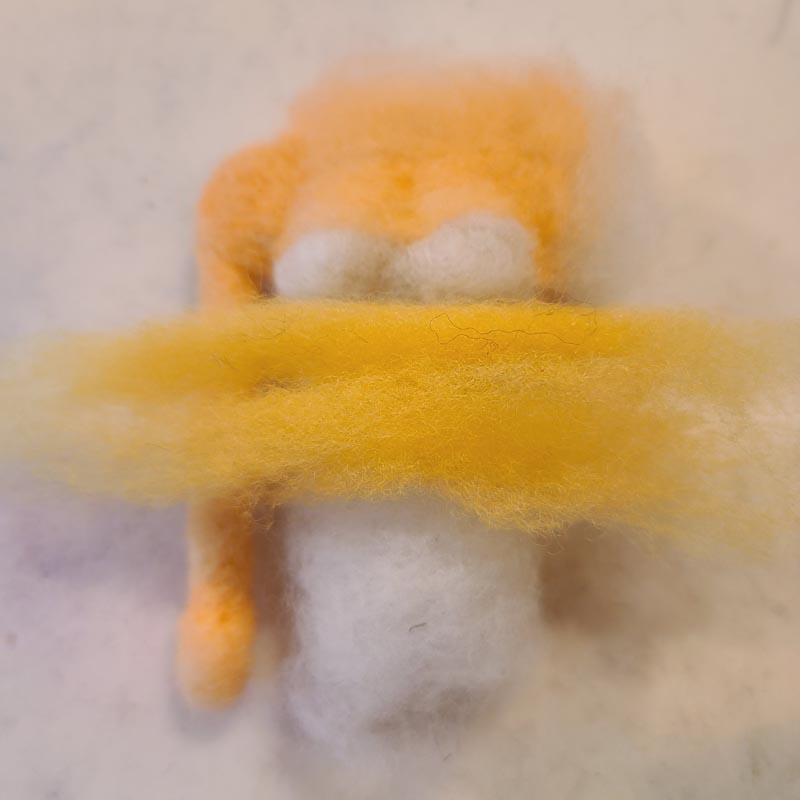
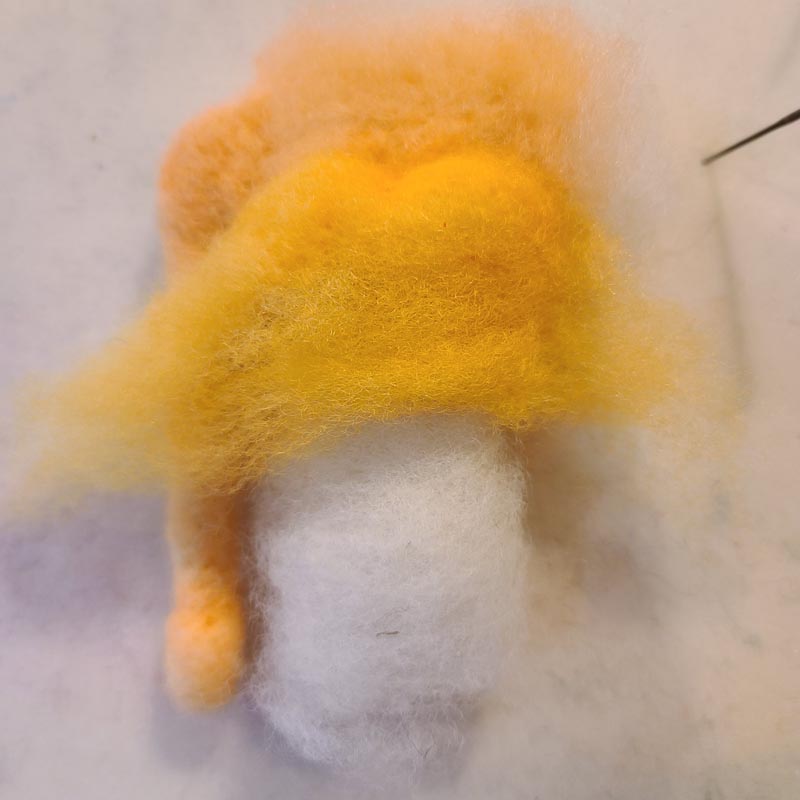
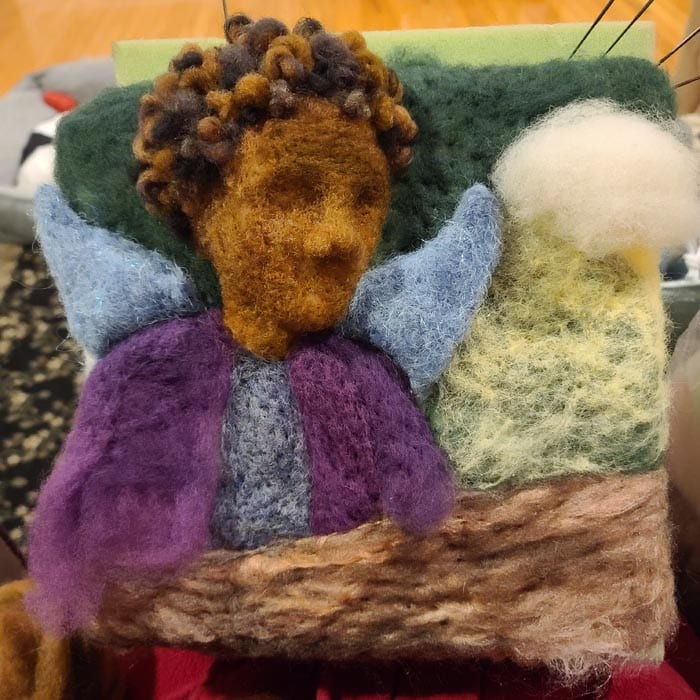
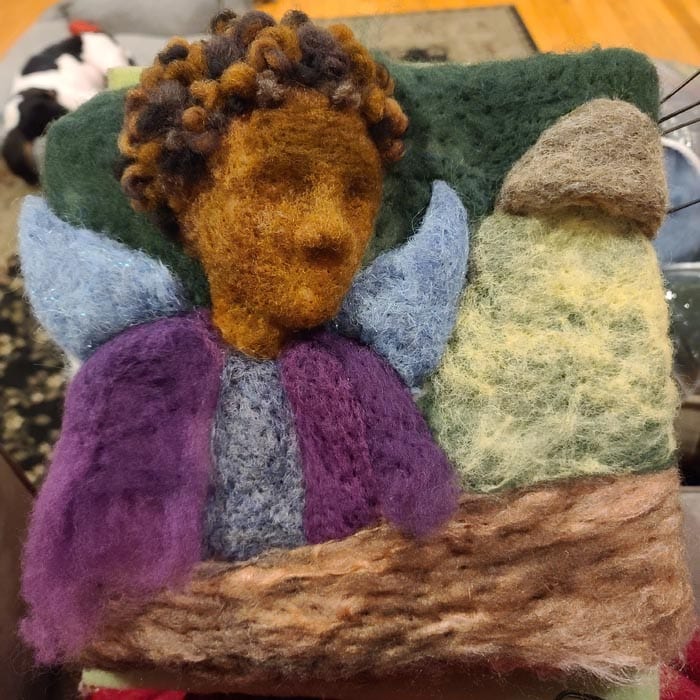
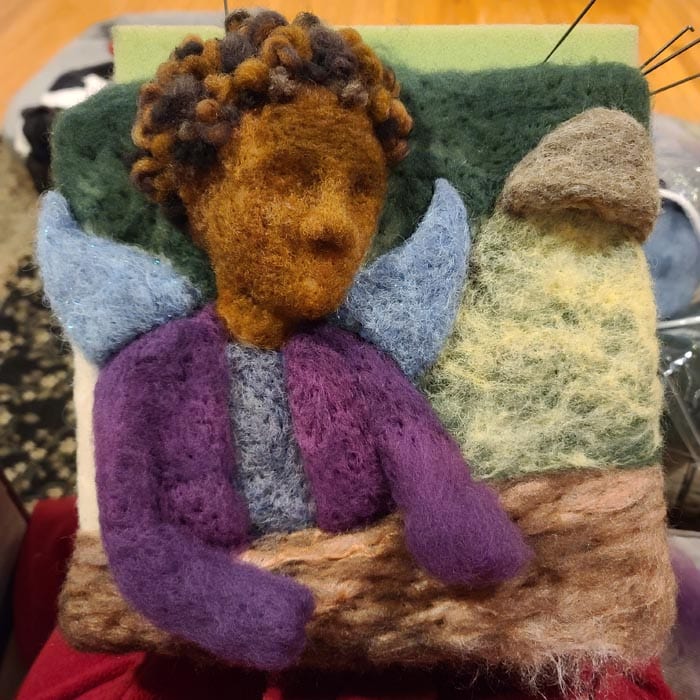
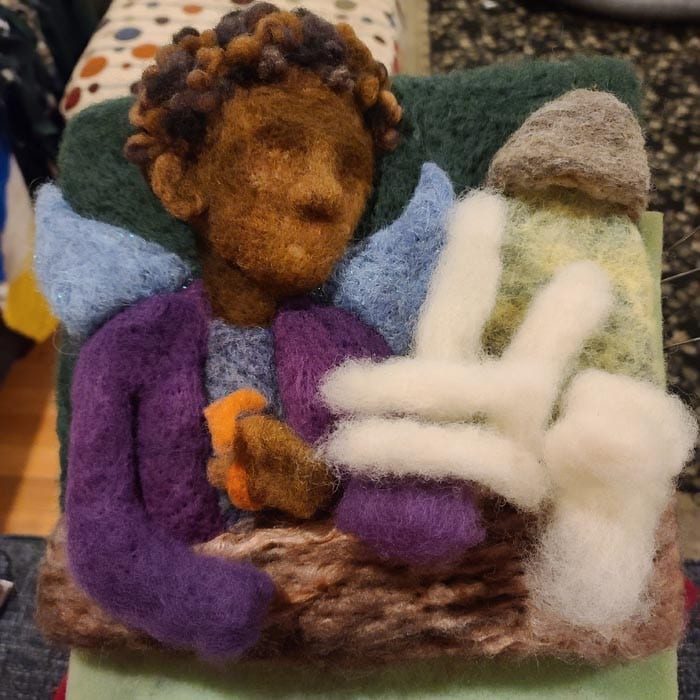
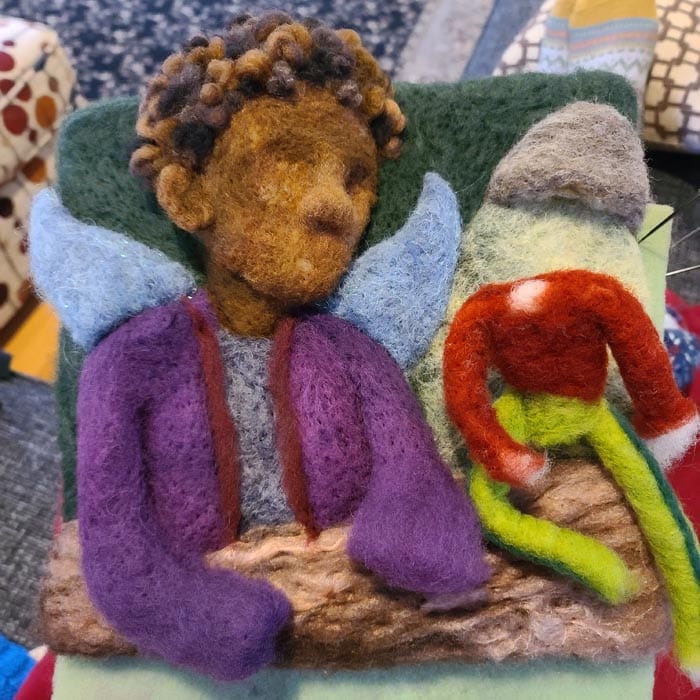
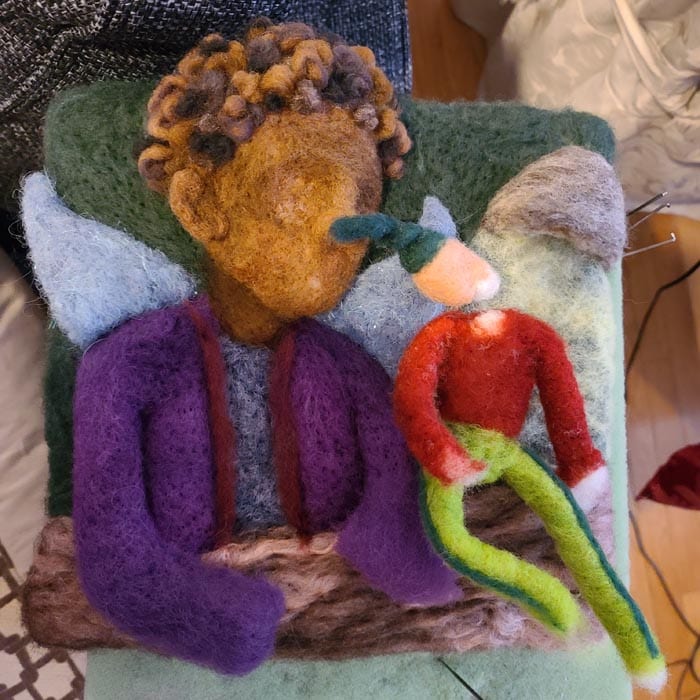
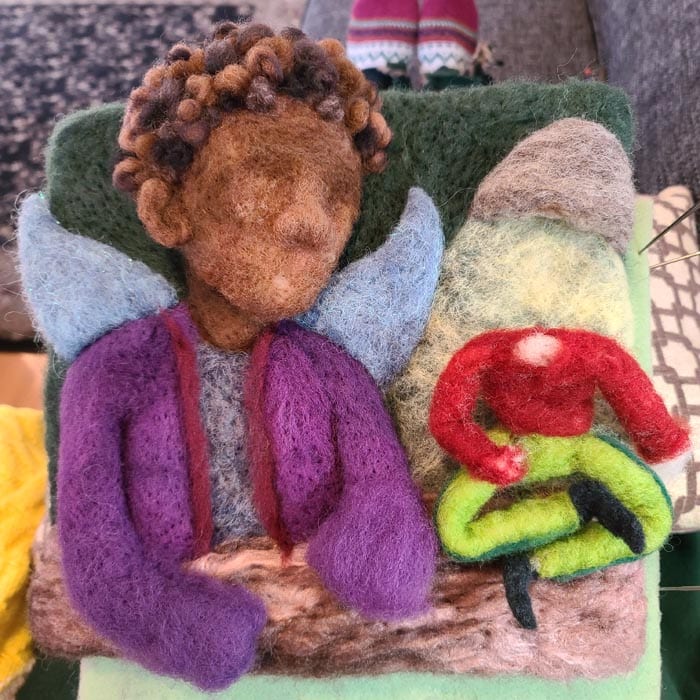
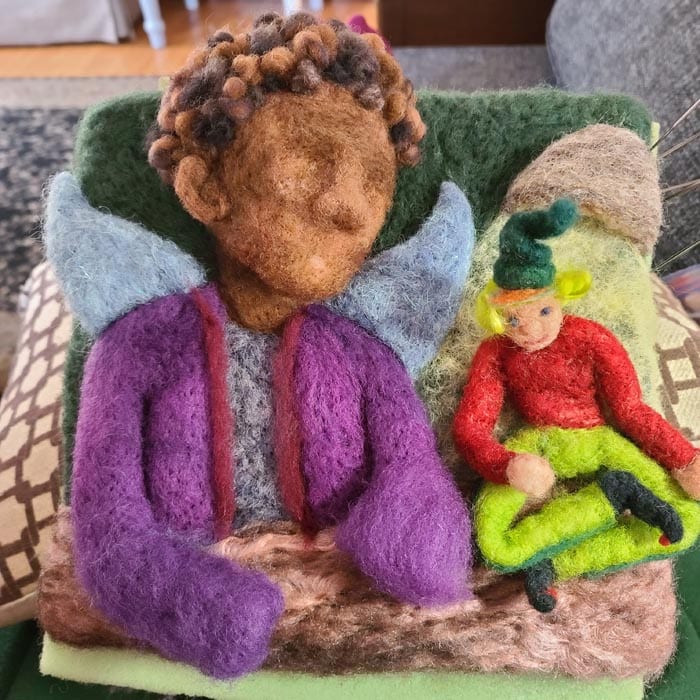
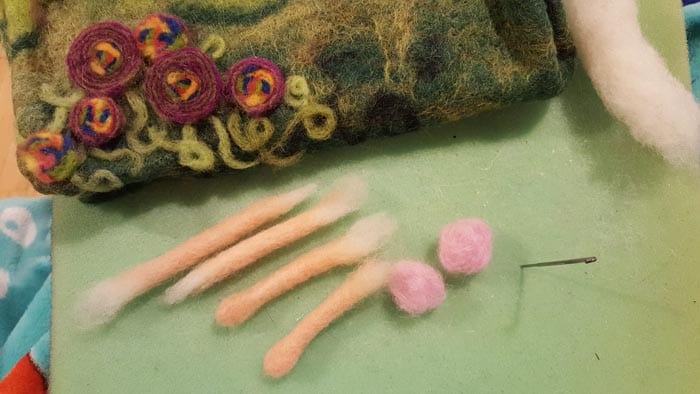
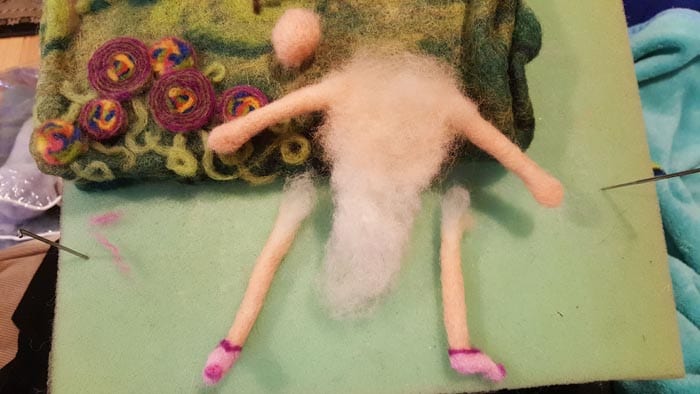
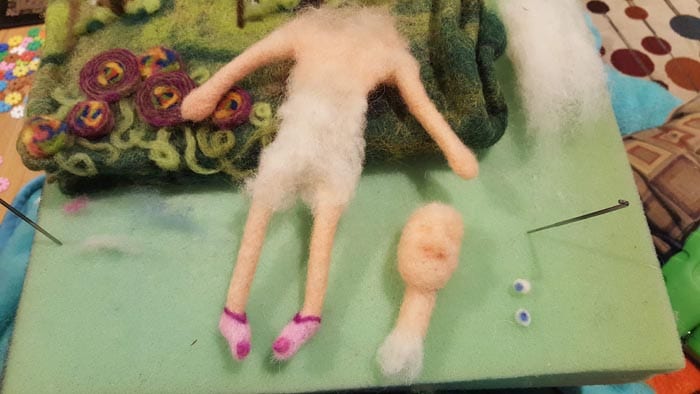
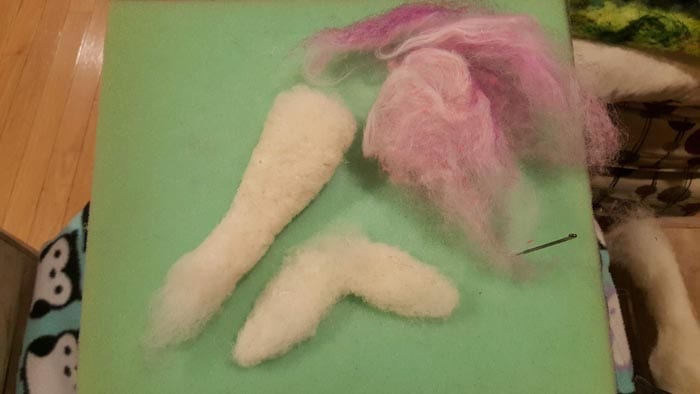
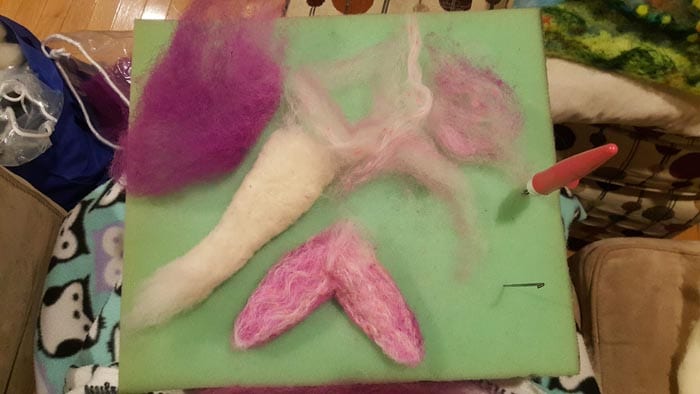
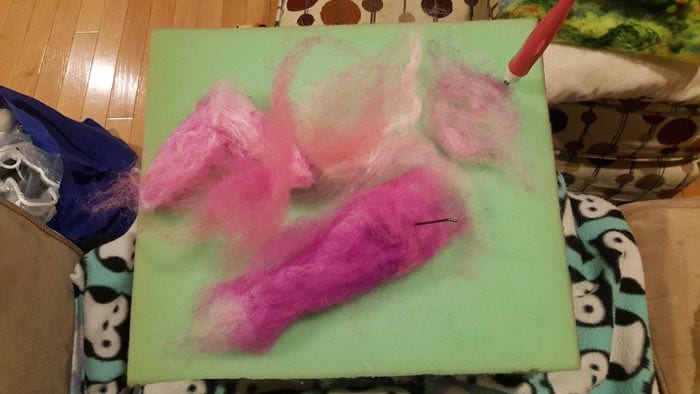
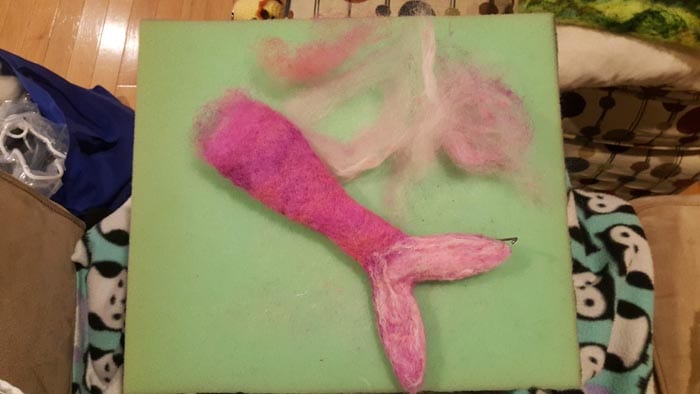
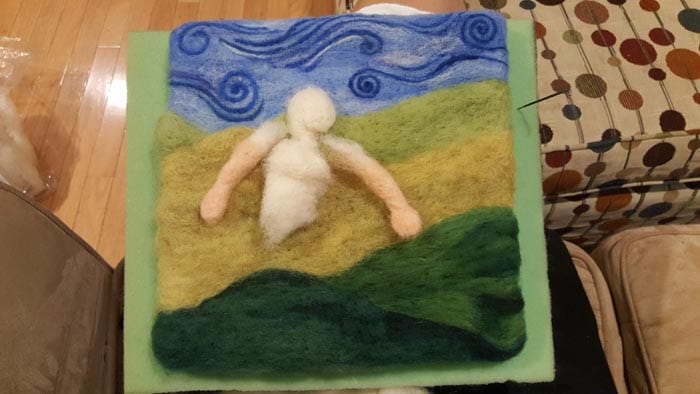
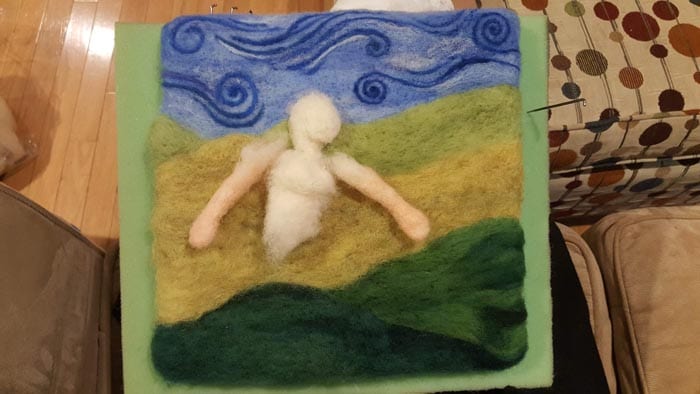
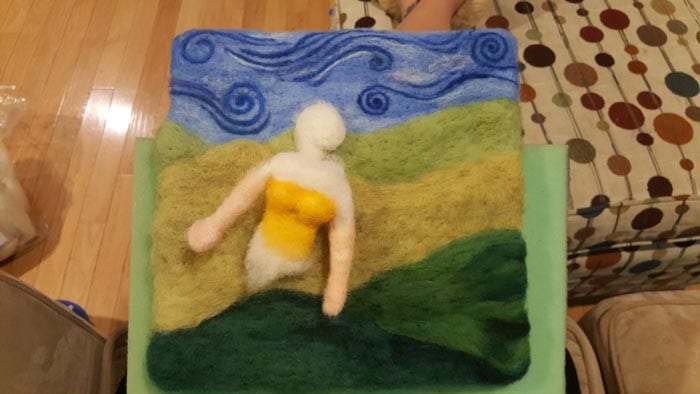
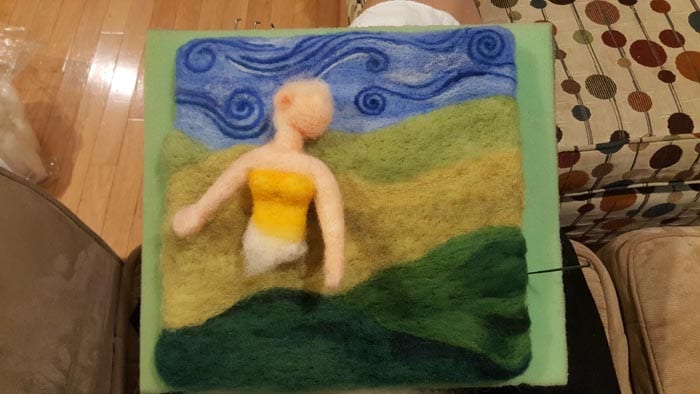
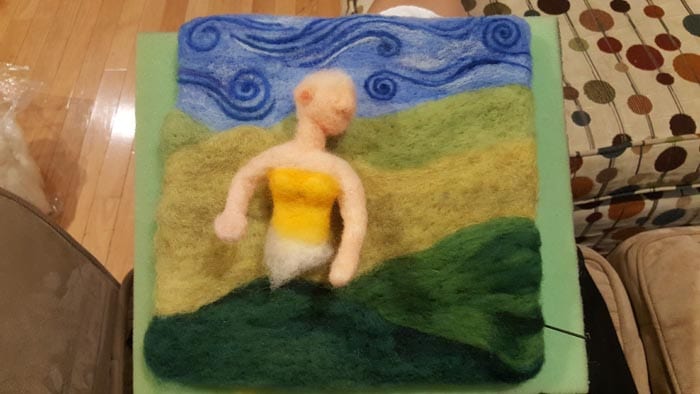
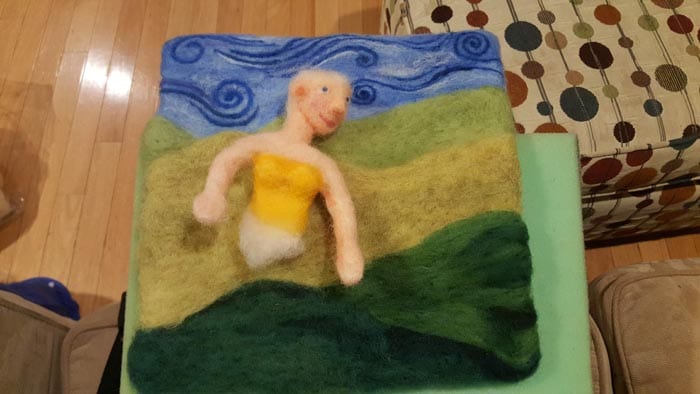
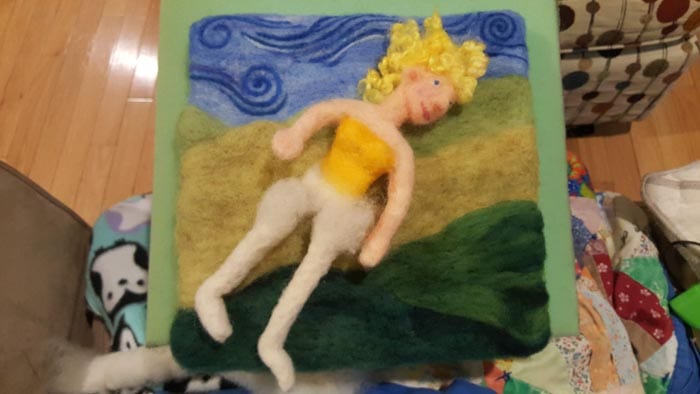
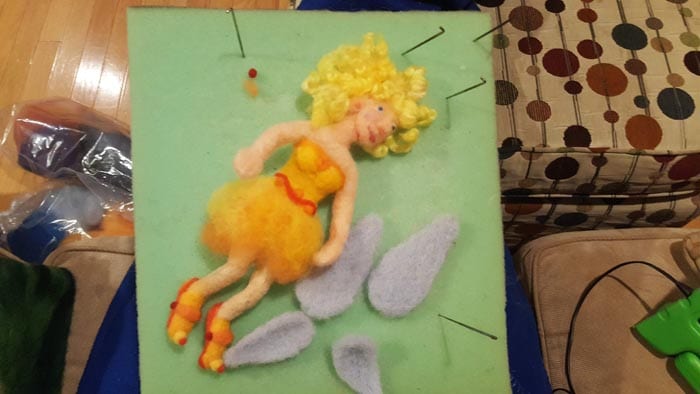
Felting People – Steps to Put Them Together
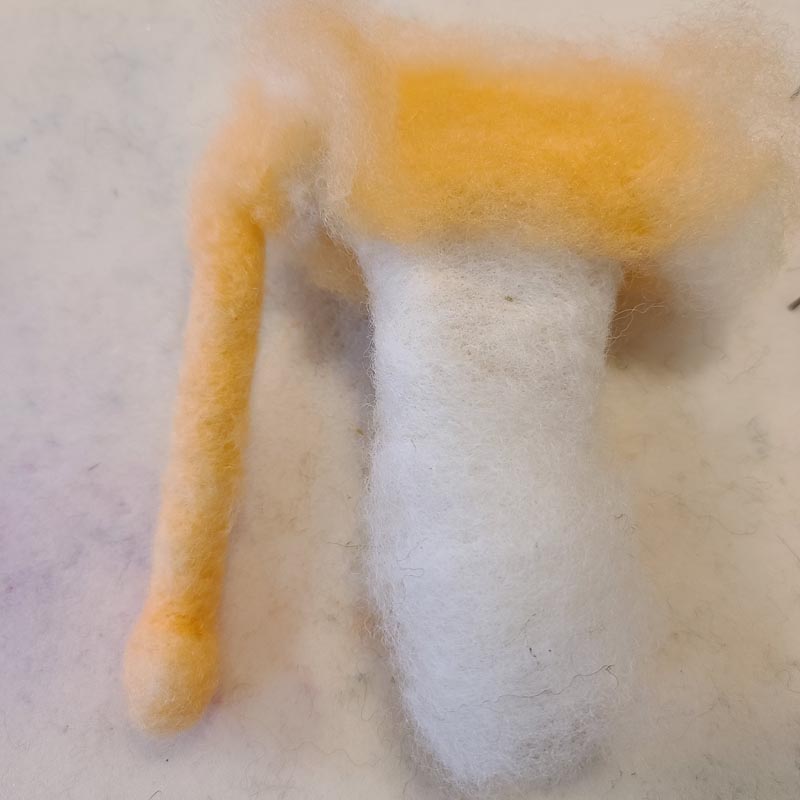
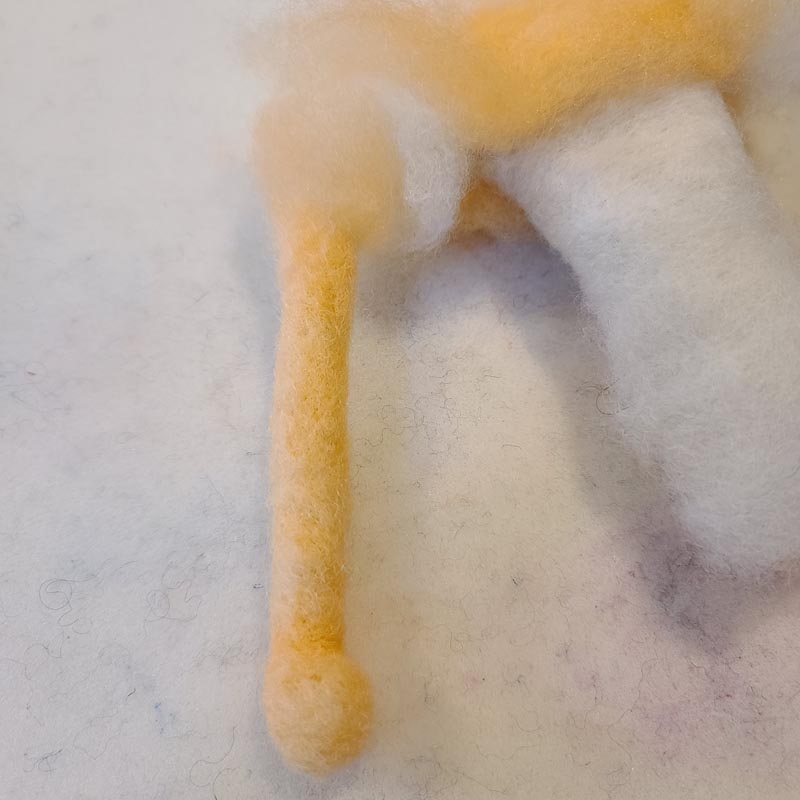
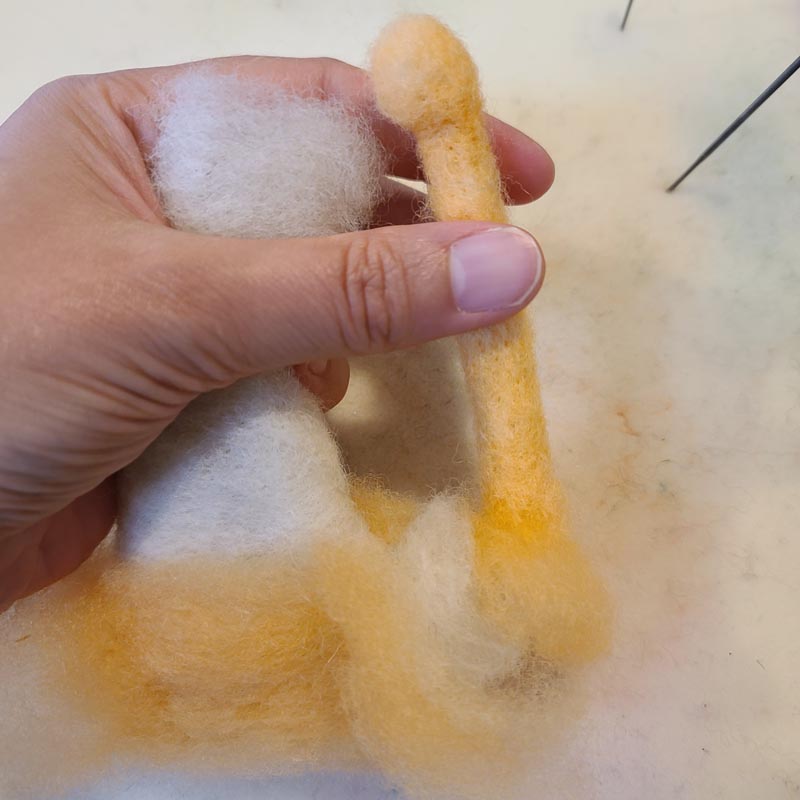
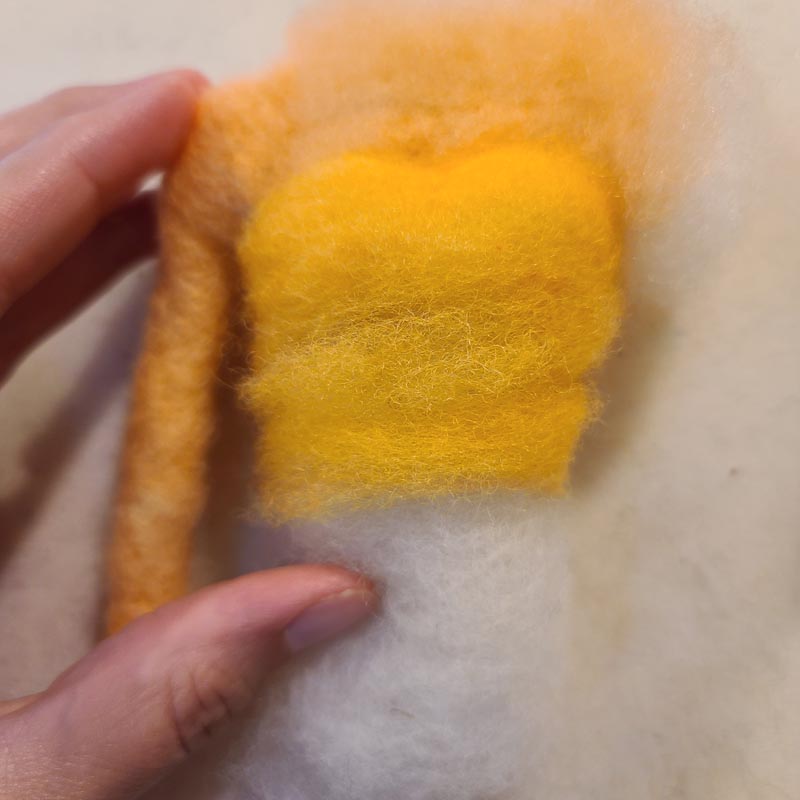
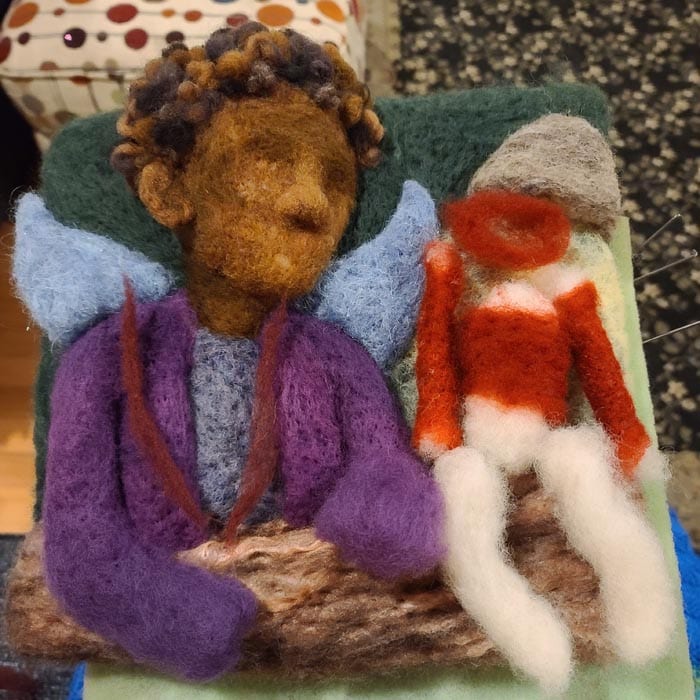
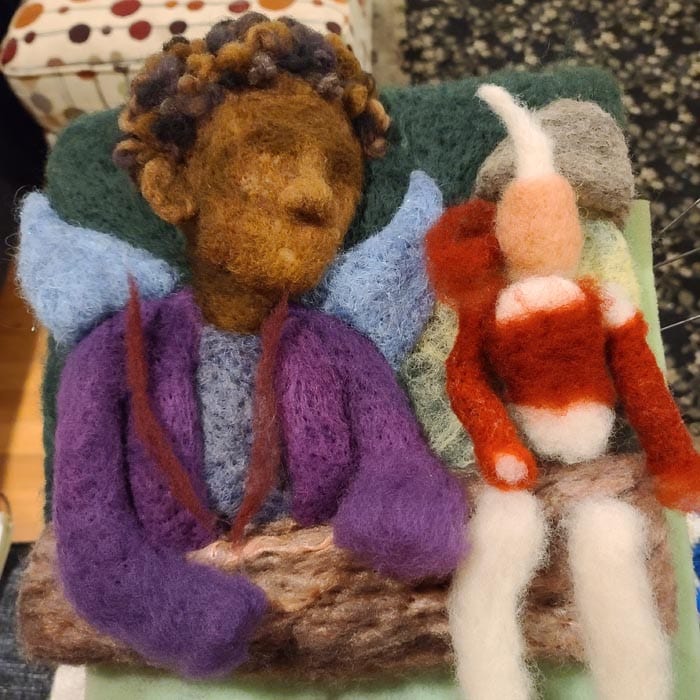
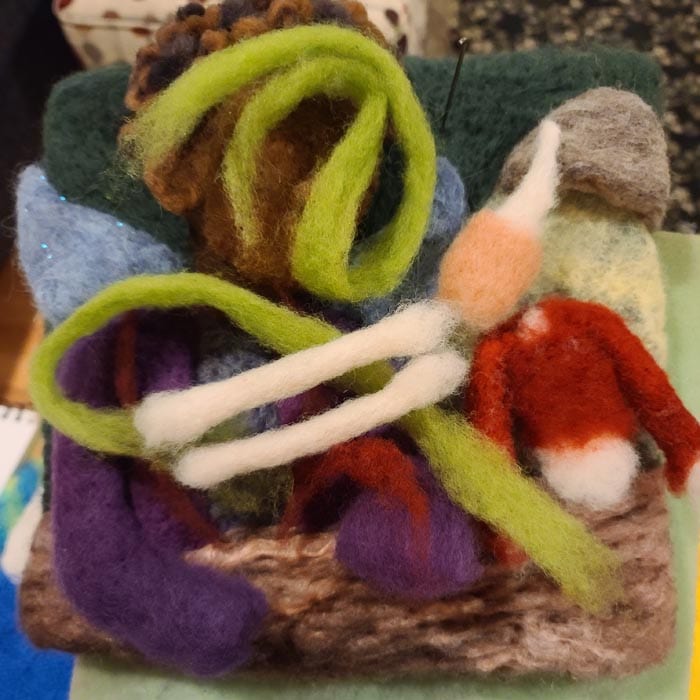
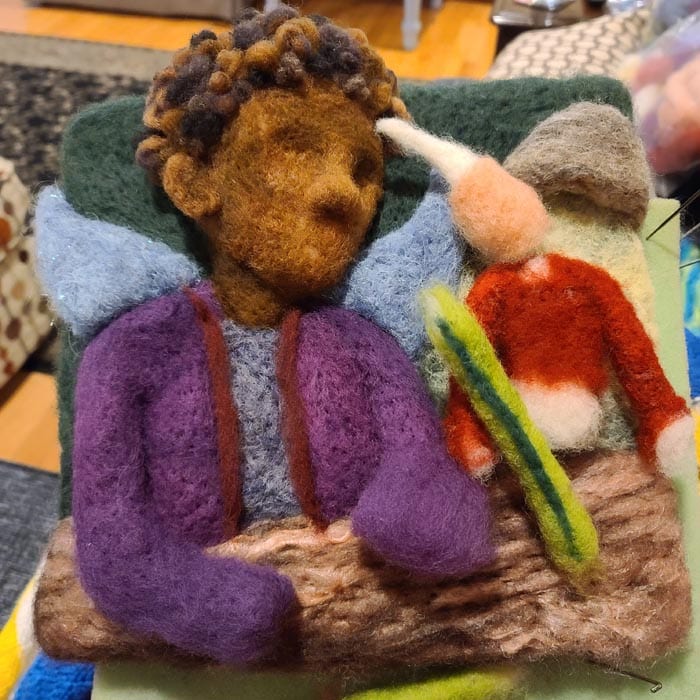
This slideshow of images walks through the steps of building the separate body parts of a figure, before assembling them into your character. Adding your details to each component prior to assembling a 3D figure will make the process easier!
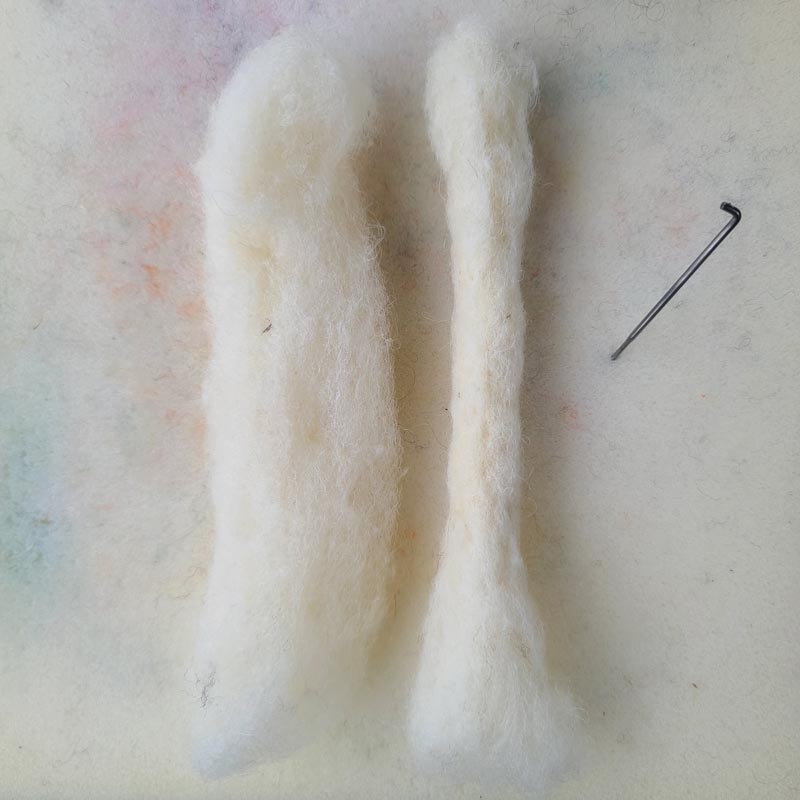
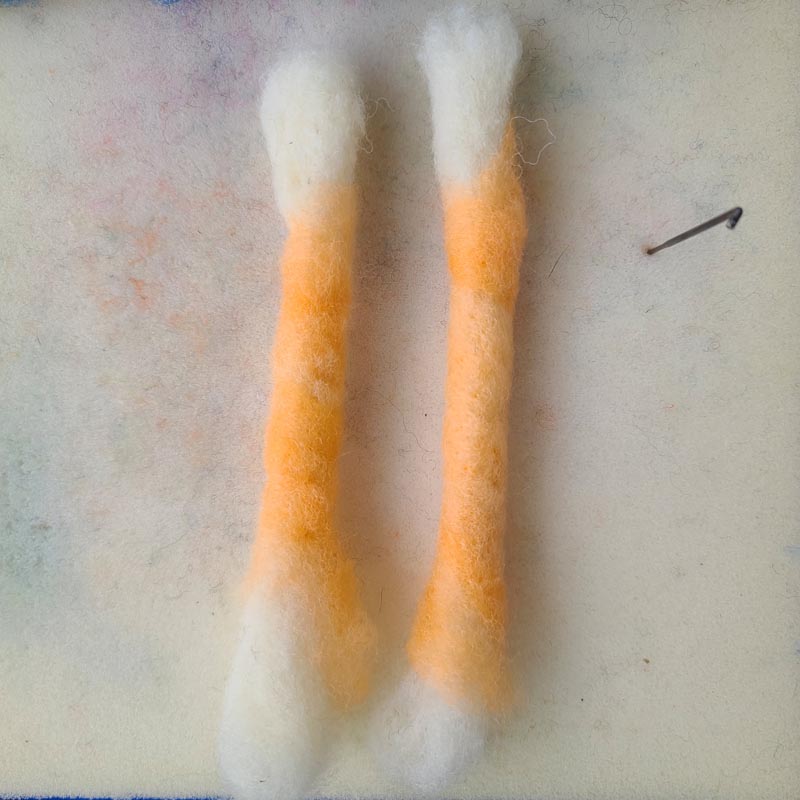
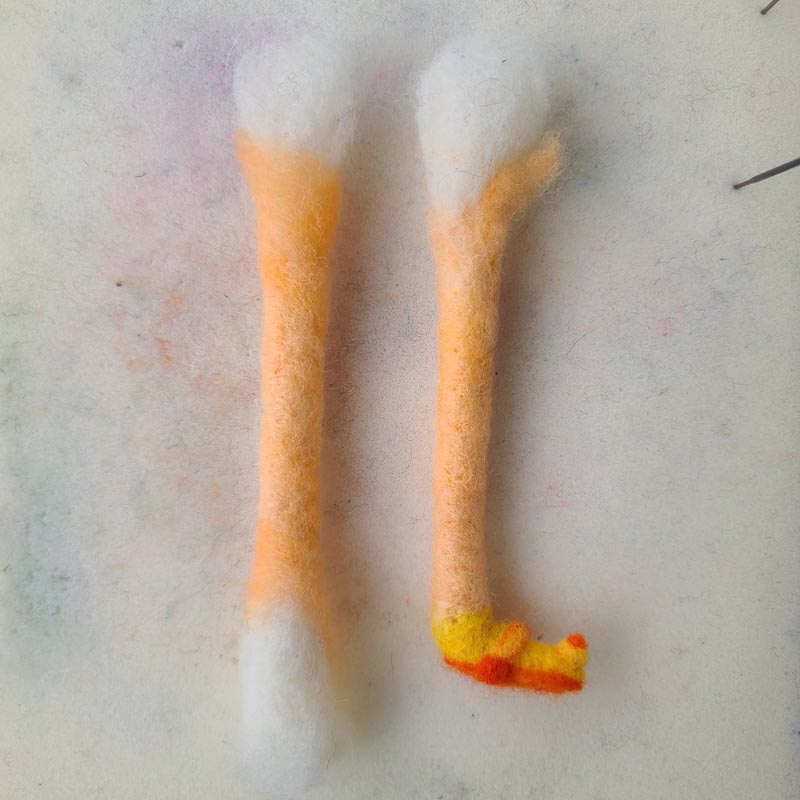
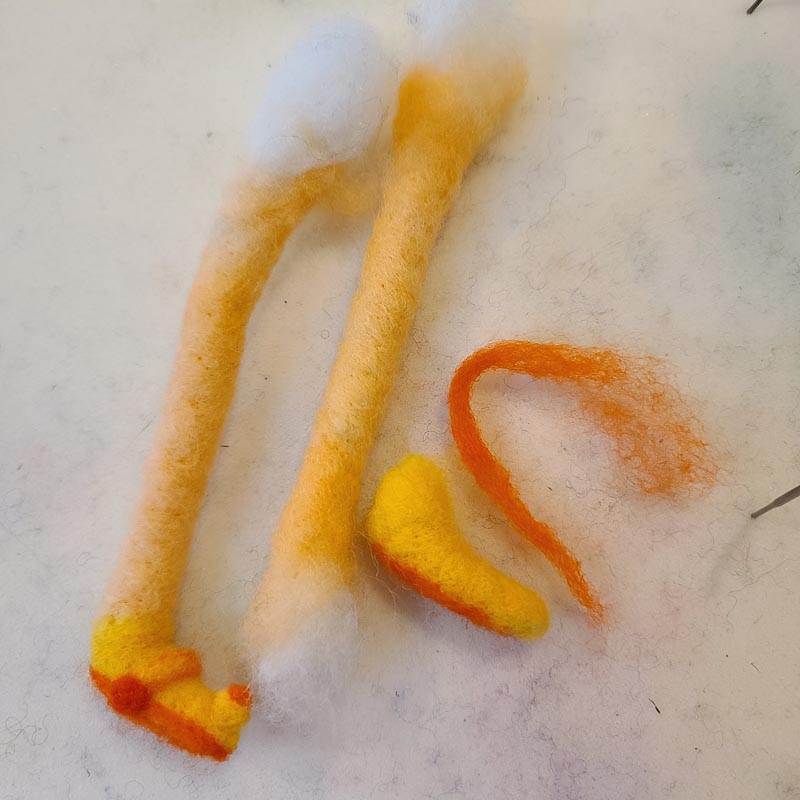
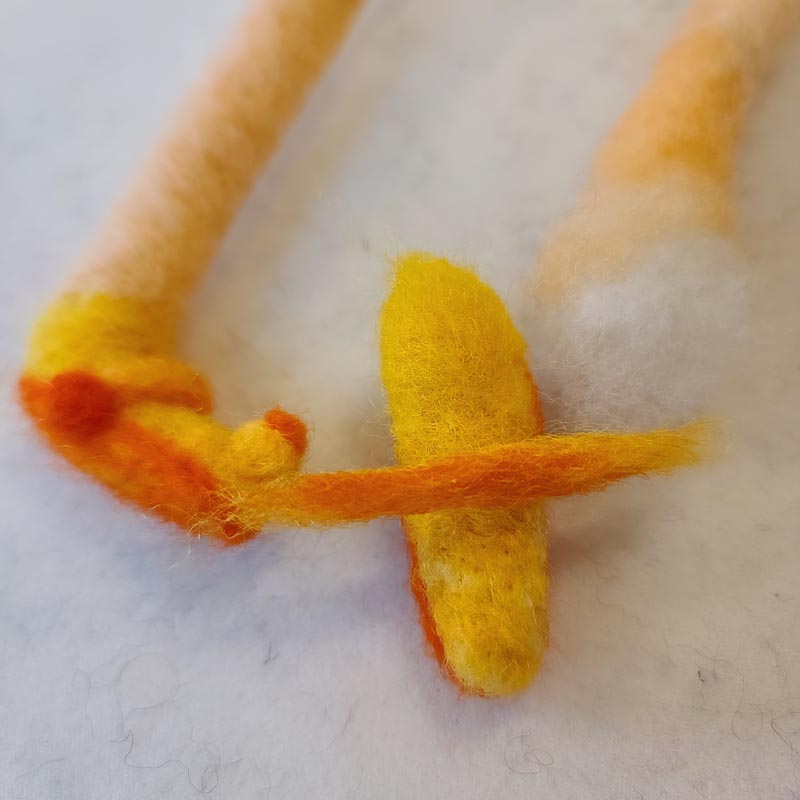

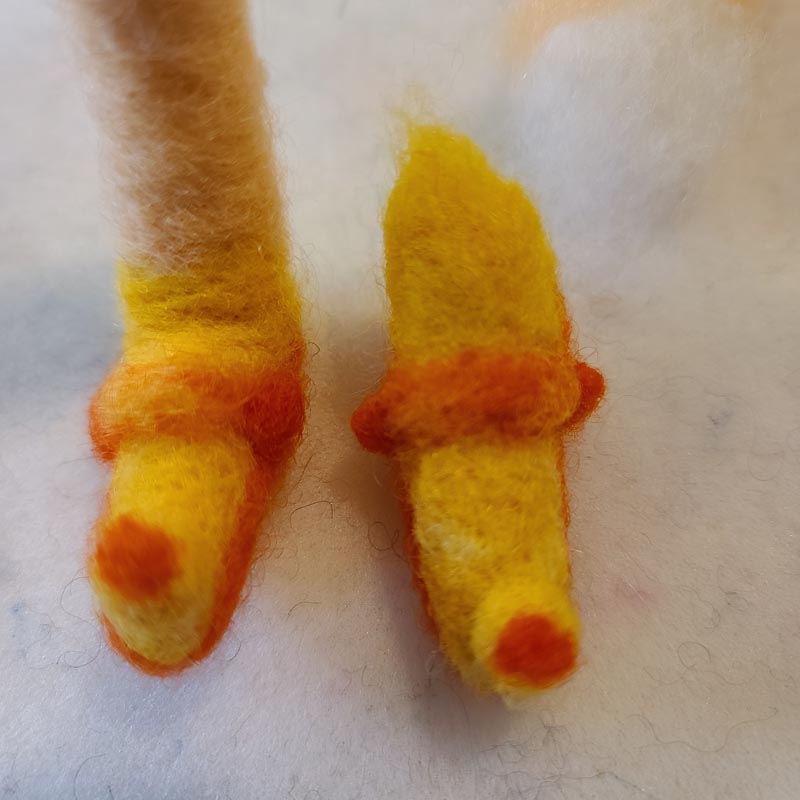

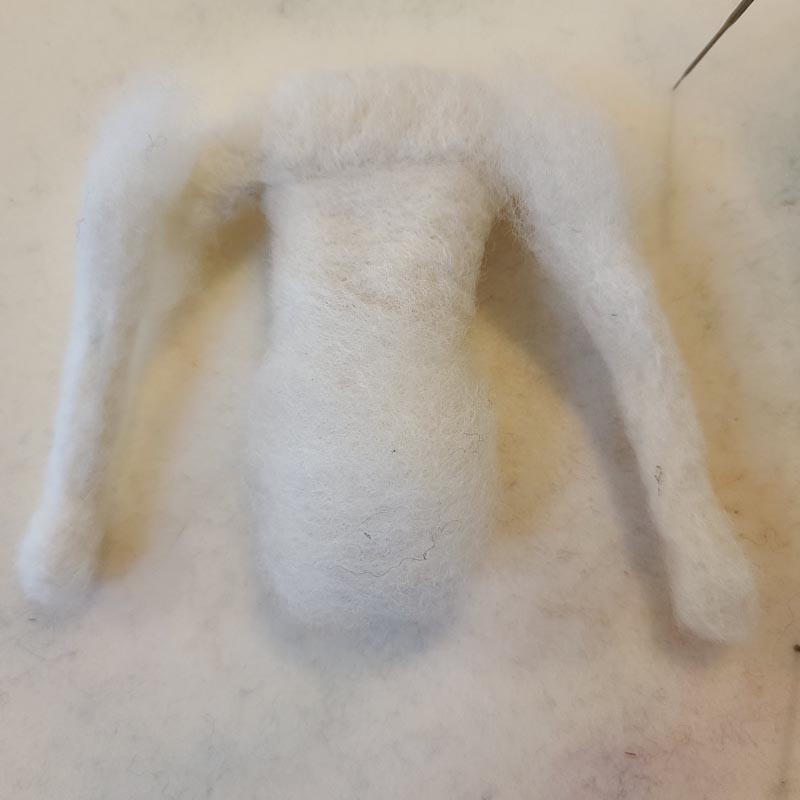
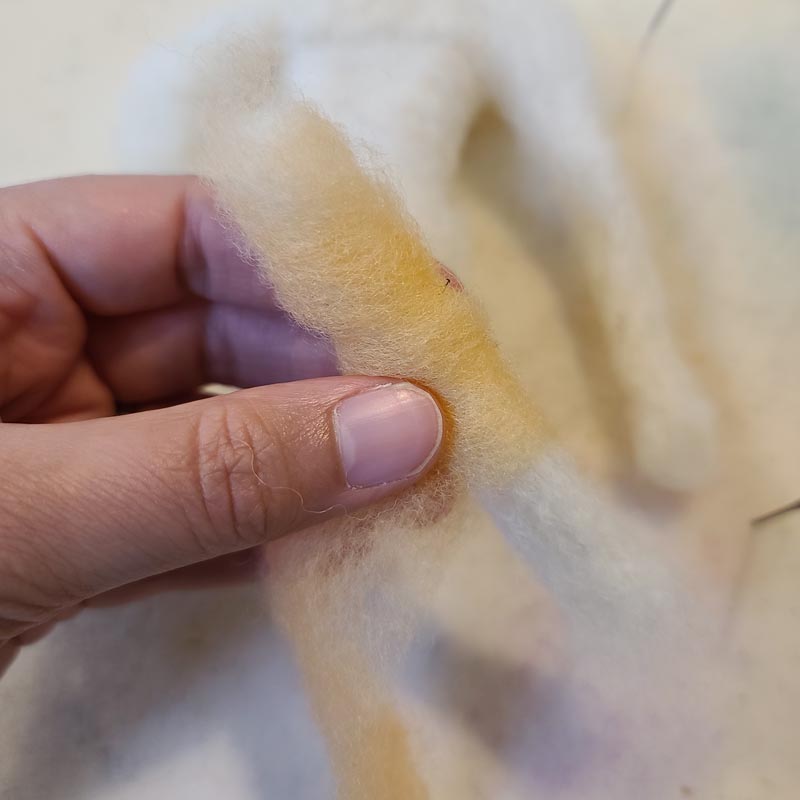
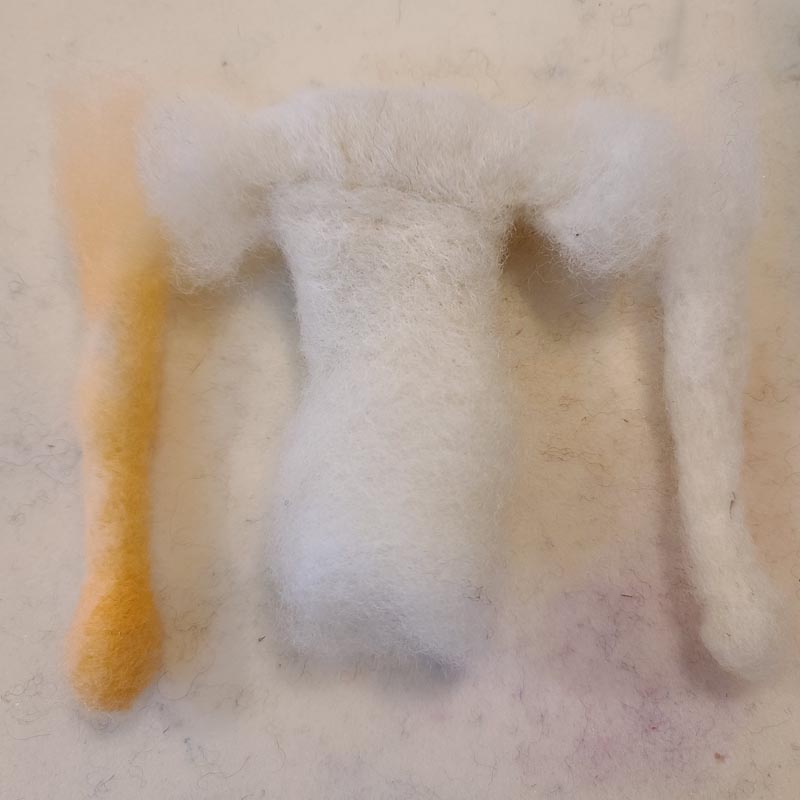

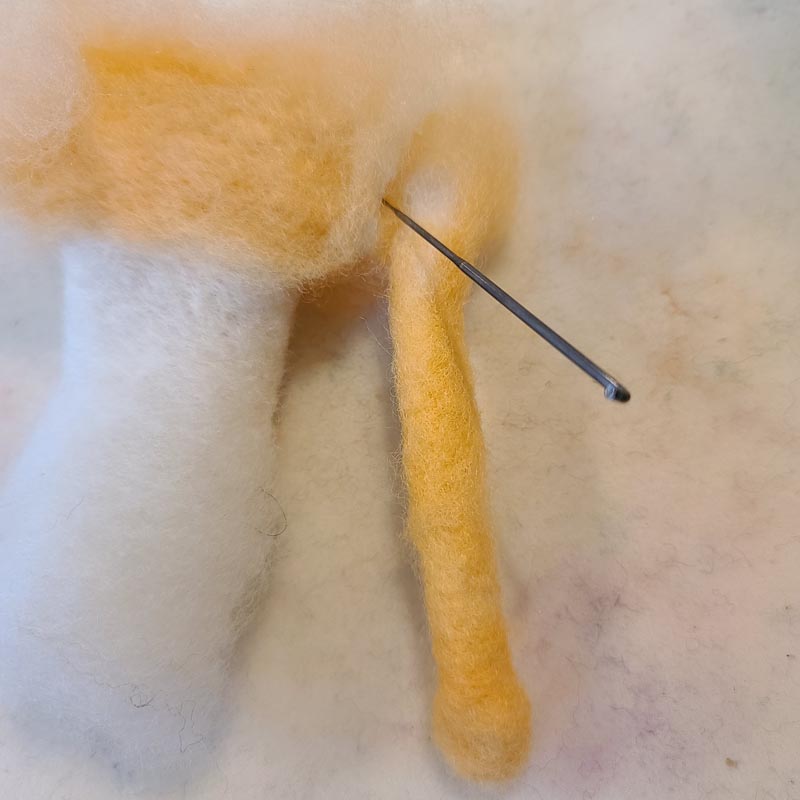

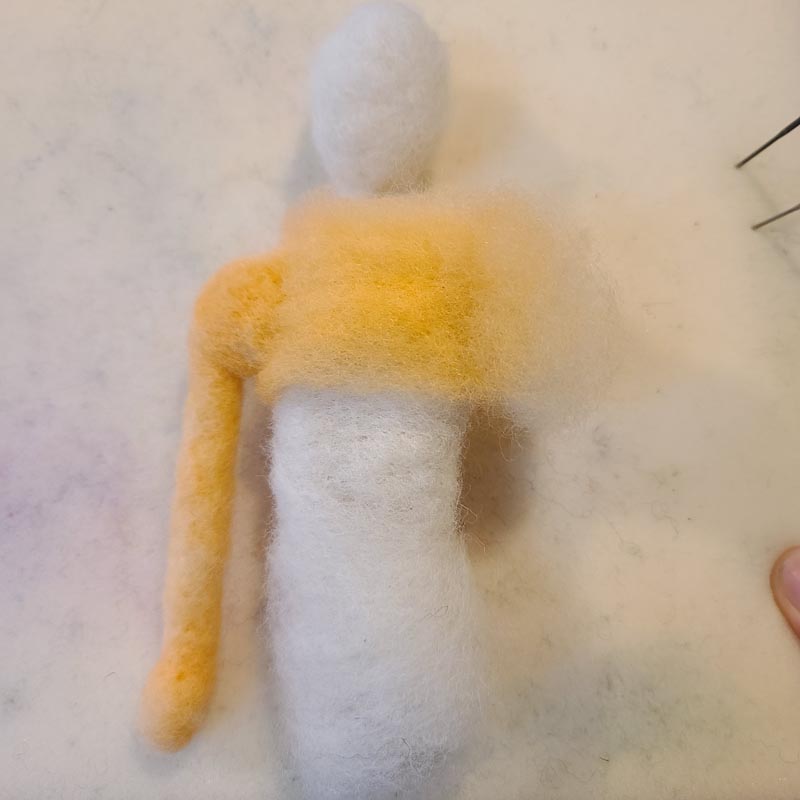
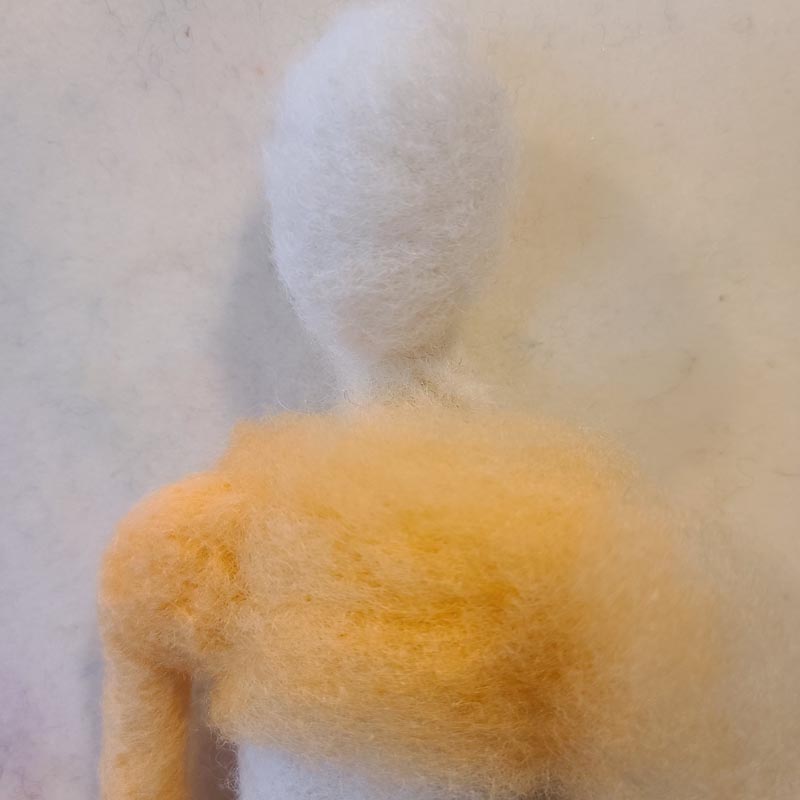

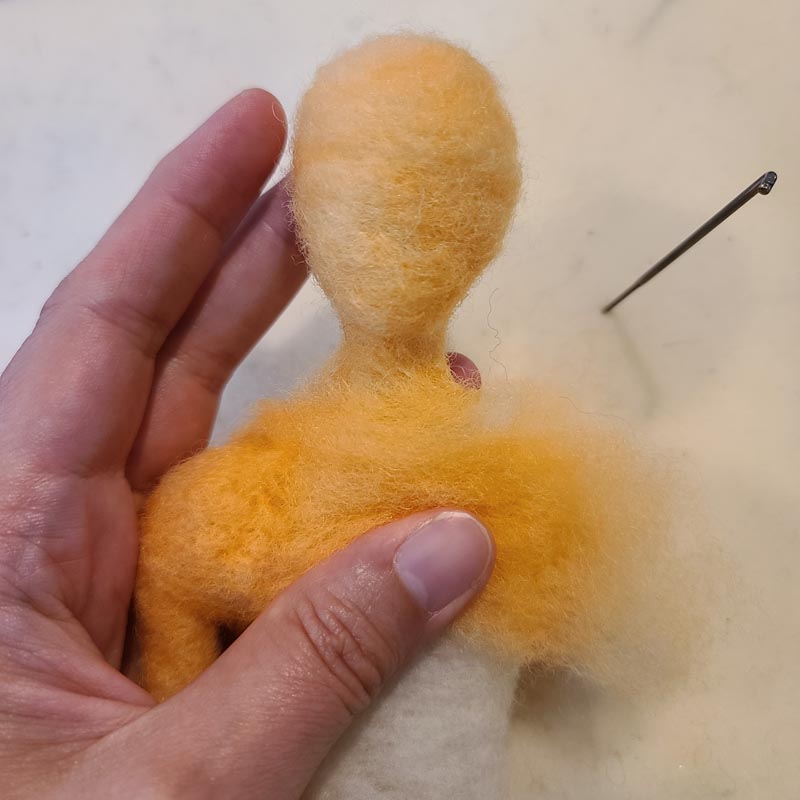
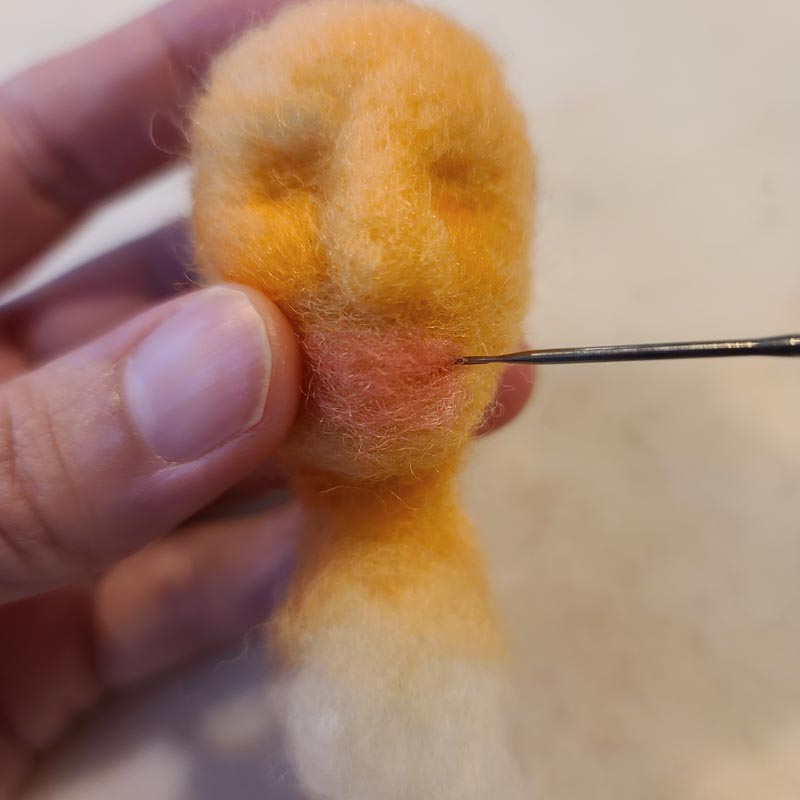
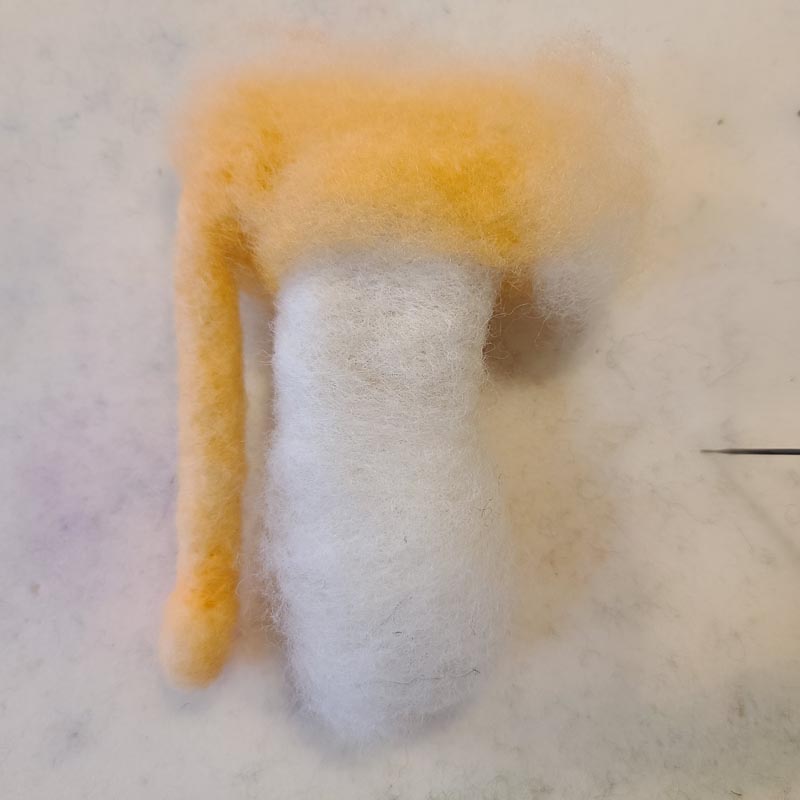
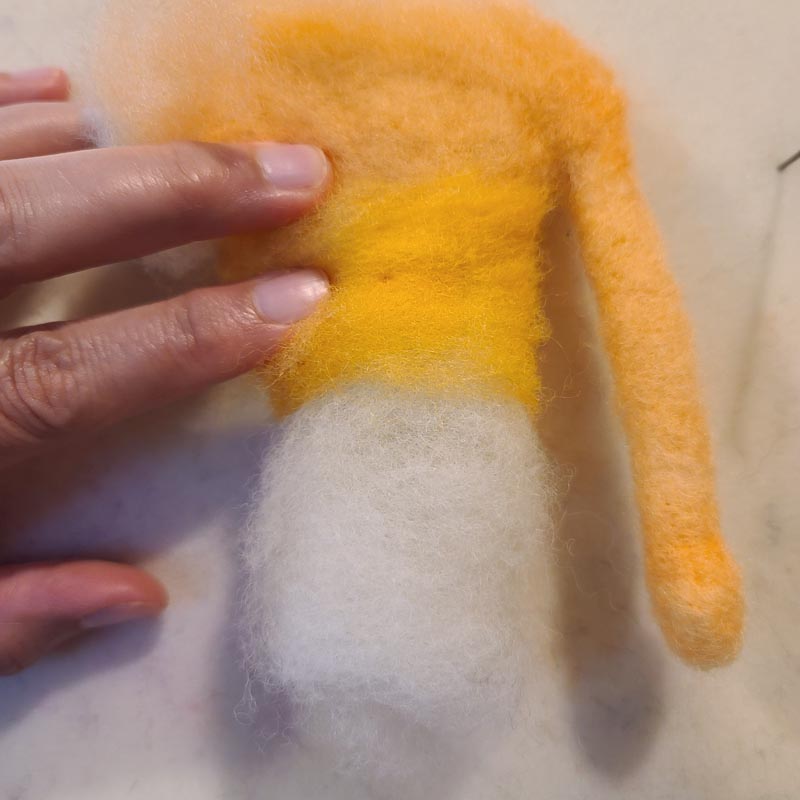
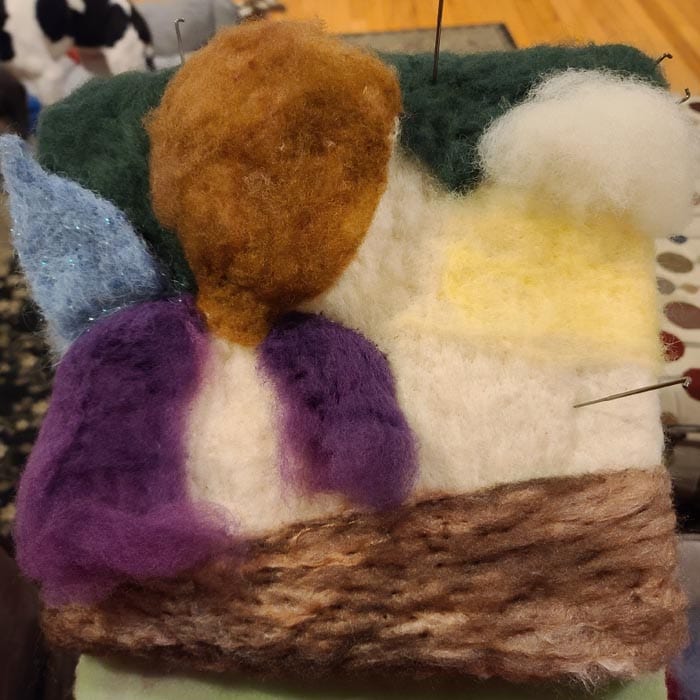
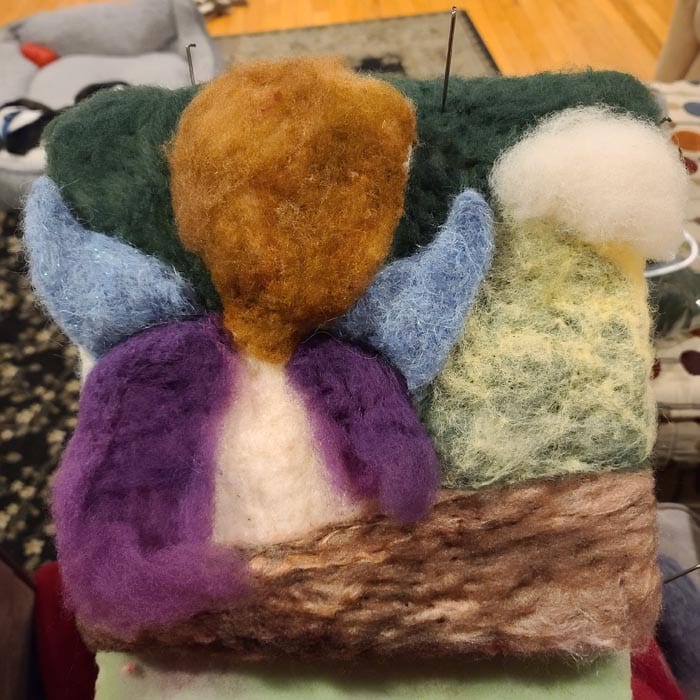
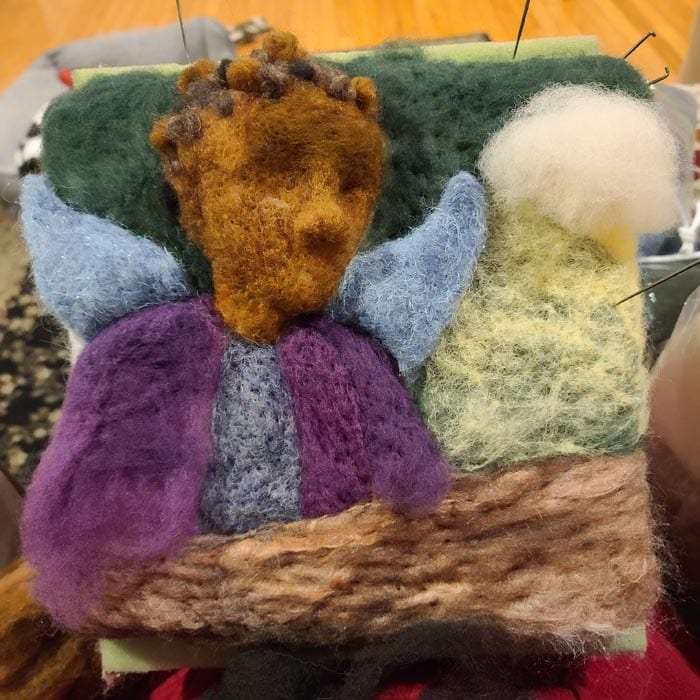
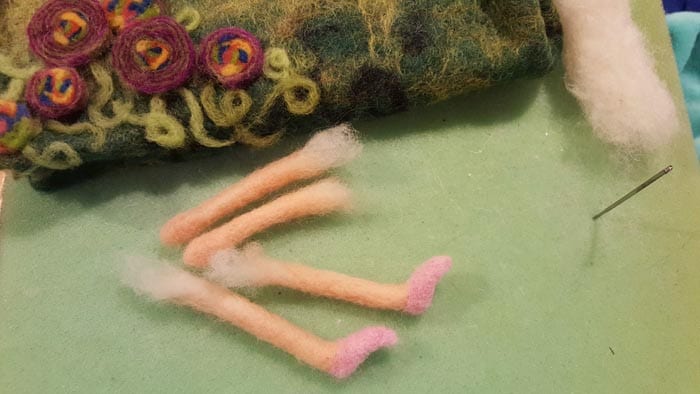
This slideshow of images pulls in several illustrations as they progress through the stages of adding people. There are examples where you’ll see that I attached limbs to the torso BEFORE completing the detail on the limb and that actually makes it harder. Find the right sequence that works well for you, and please remember, adding the majority of your details to each component PRIOR to assembling a 3D figure will make the process easier!


Final Touches
Signing Your Work
When I reach the end of another felting painting I celebrate the joy of having brought another piece of artwork to life, drawing great satisfaction out of adding the last few fibers – my initials! My style is to only add my initials since felting an entire name requires a lot of space, and I prefer to put my initials on the front of my illustrations. I color match wool that is close to the tone of fibers in the lower right or left corner and place my initials there.
")
")
")
")

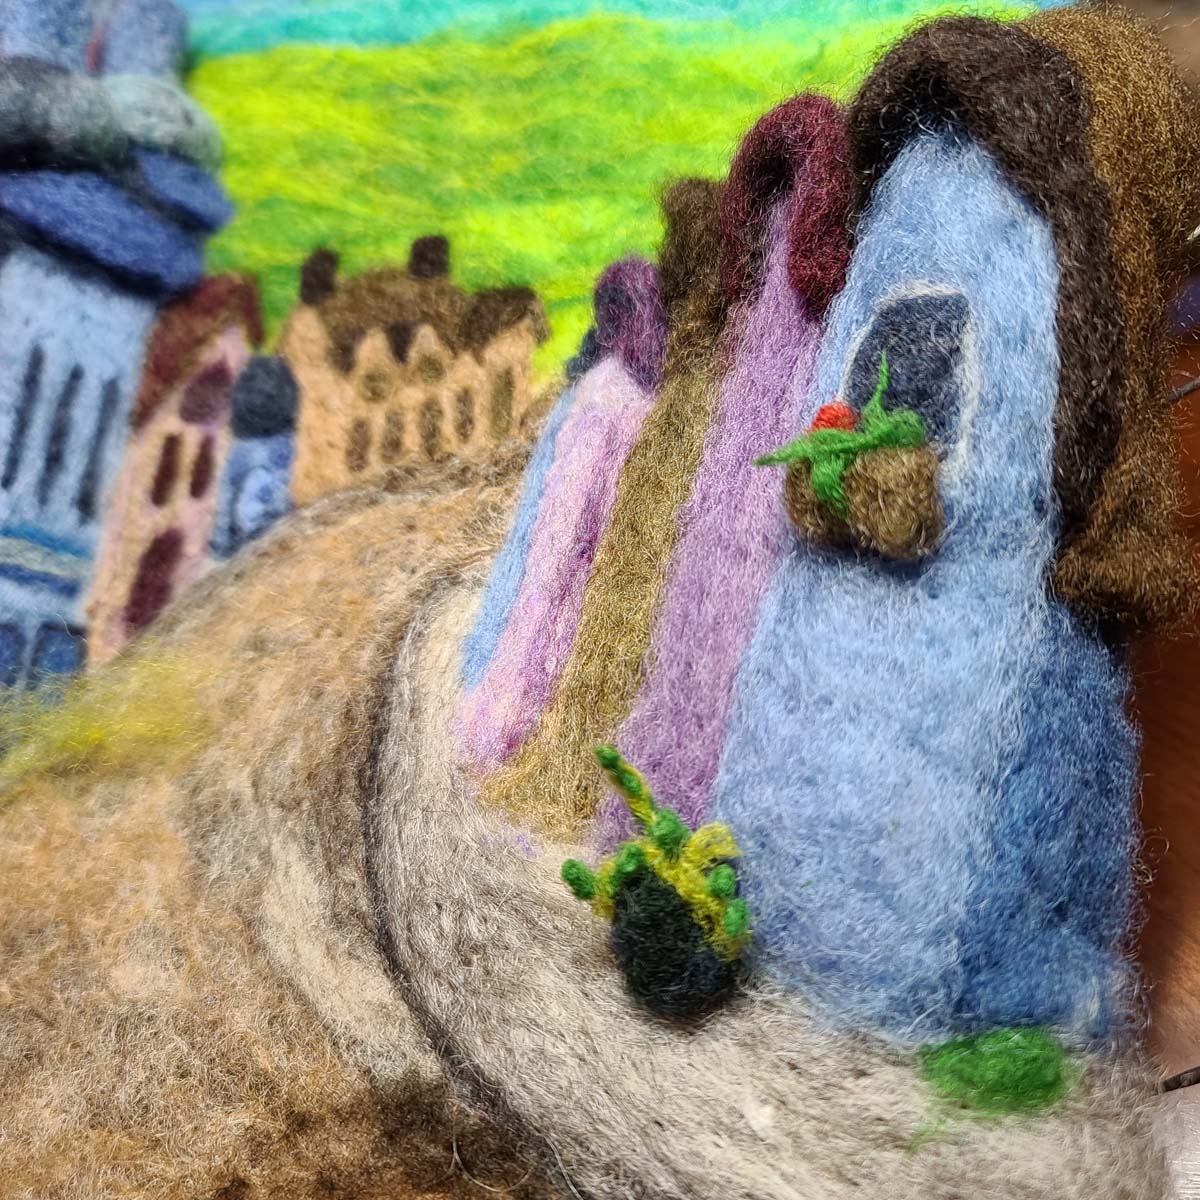
Alternate Placement
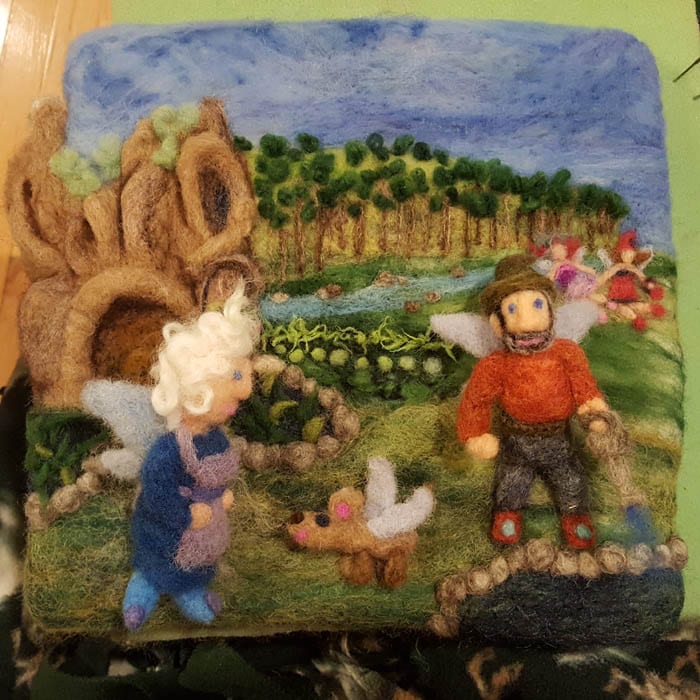
Occasionally, there will be 3D elements in the lower corners of the illustration which make it impractical (if not impossible) to place my initials in the lower corner. When this happens I find an alternative placement somewhere else along the bottom of the pieces, as featured here in the placement within the peddles of the dirt road. In this example, I used the same dark brown as the pebbles and shadows so that the initials blend into the other details of the dirt road vs. disappearing into the lighter tan of the sand.

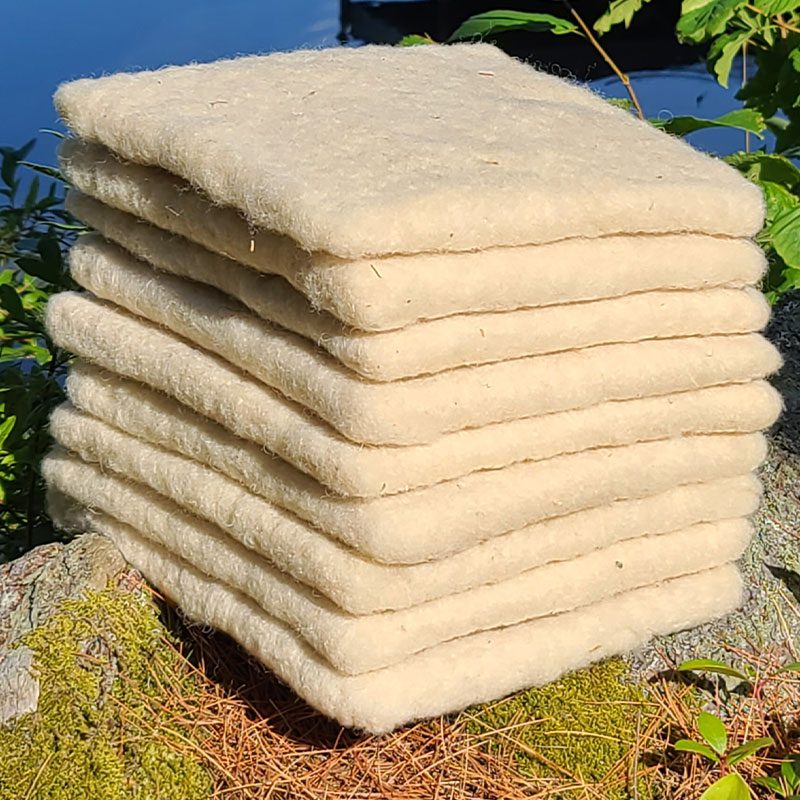
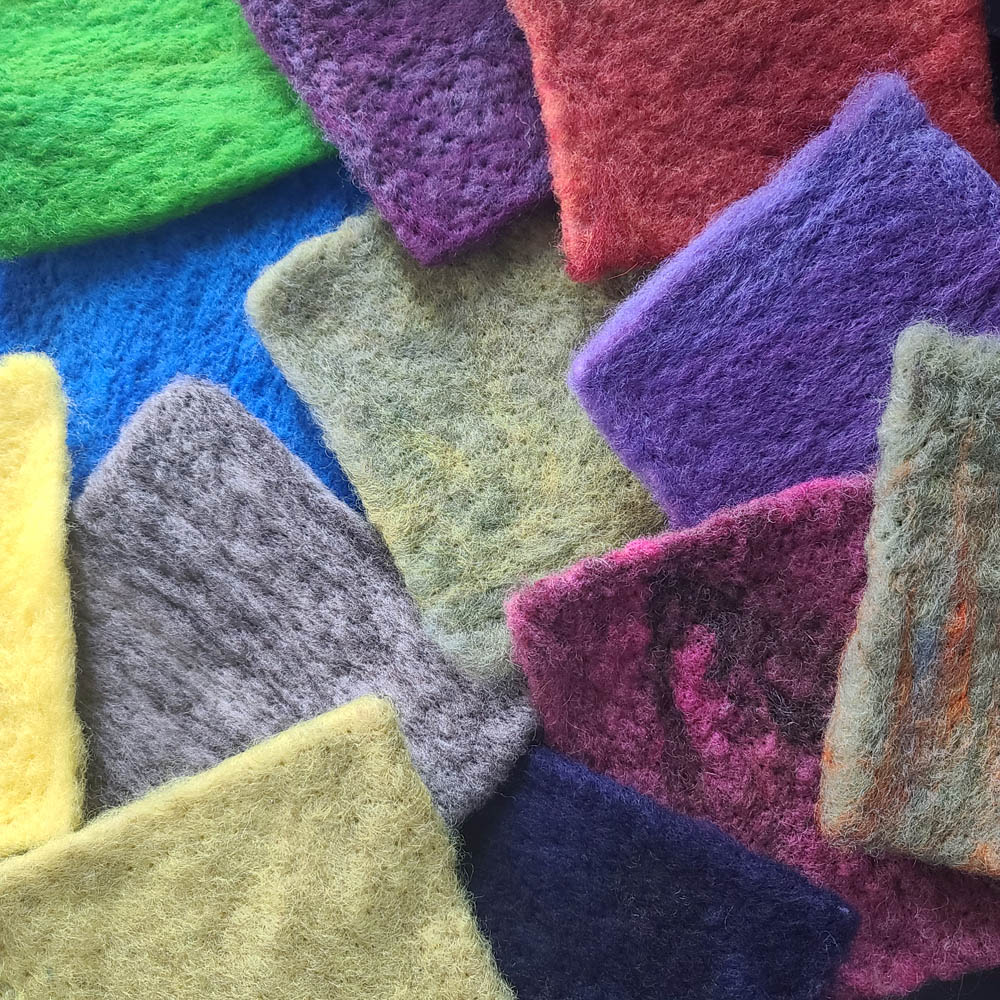
Materials

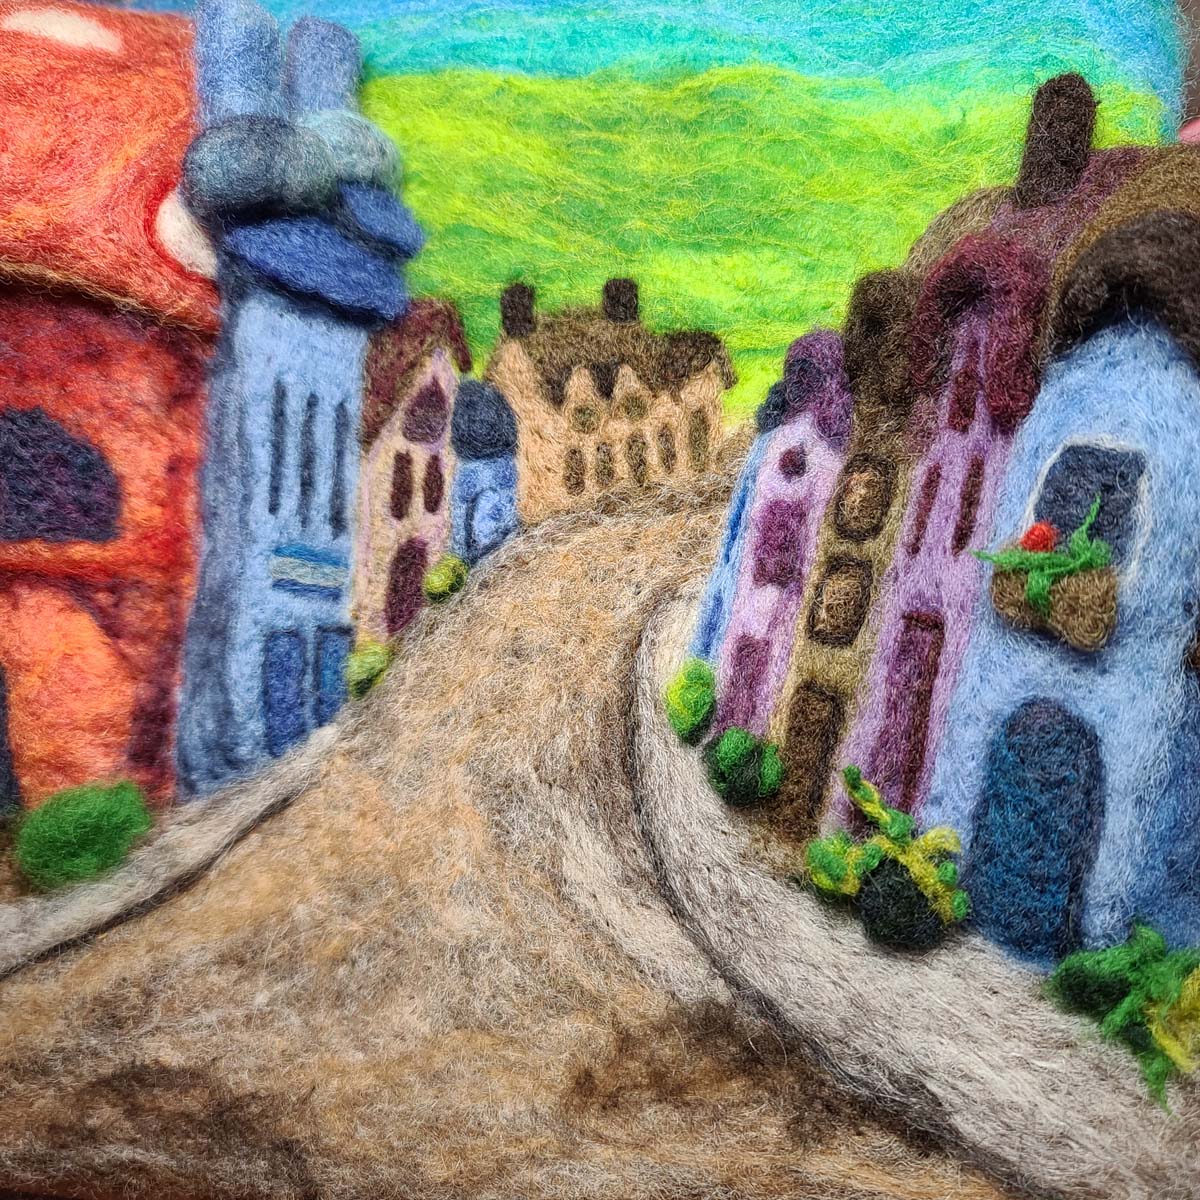
Landscape Illustration Composition
